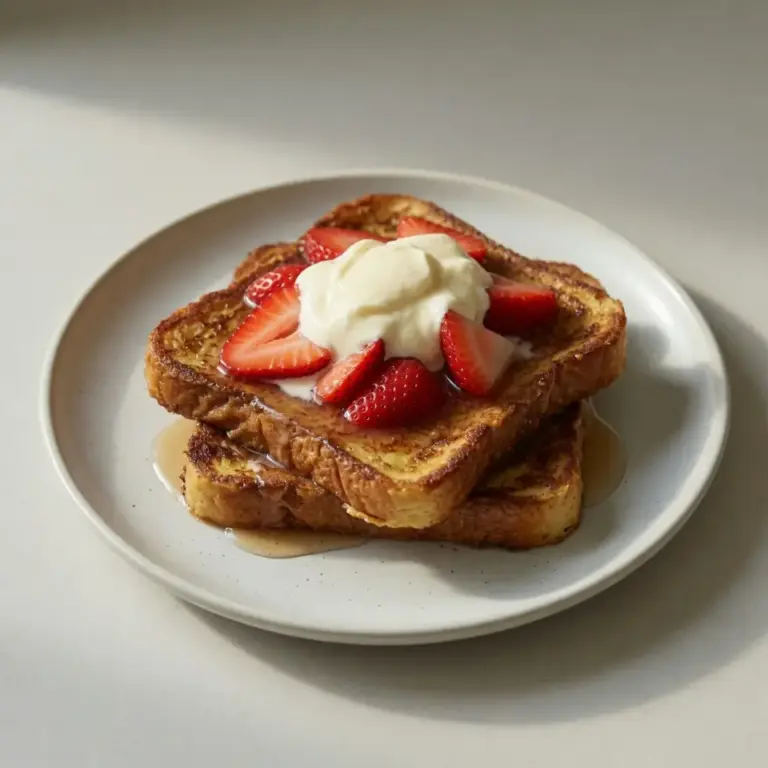
Strawberry Cheesecake Danish For A Sweet Brunch Treat

Life with a bustling family often means dinner becomes a race against the clock, but who says a quick weeknight meal can’t be a delightful, sweet surprise? Forget the usual savoury scramble; tonight, we’re embracing a moment of pure comfort with something truly special: the Strawberry Cheesecake Danish. It’s a brilliant way to bring a smile to everyone’s face, offering that comforting, sweet end to a busy day without hours of fuss.
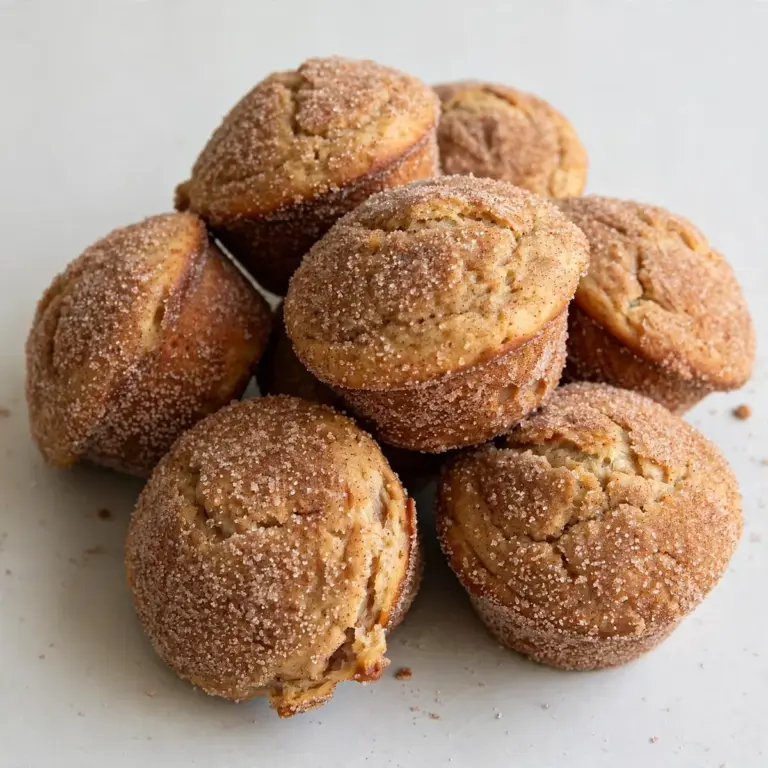
I remember one particularly chaotic Tuesday evening. The kids had football practice, my husband was running late, and I hadn’t even thought about what to cook. That’s when I spotted a forgotten block of puff pastry in the fridge. Inspiration struck! I whipped up a batch of these Strawberry Cheesecake Danishes, and the aroma alone filled the kitchen with warmth. My husband, who’s usually picky about sweet main courses, took one bite and immediately asked, “Is there another one of these, Sara?” It was almost as exciting as discovering Decadent Chocolate Covered Doughnuts For Breakfast. It’s become our little secret weapon for those nights when we crave something truly comforting and utterly delicious, yet need it on the table in a flash. The beauty of this recipe lies in its simplicity and how easily it transforms humble ingredients into a show-stopping treat that feels far more indulgent than the effort involved, perhaps even lighter than some, much like Tangy Lemon Blueberry Desserts For Entertaining or Apple Crisp Mini Cheesecakes For A Fall Dessert.com/tangy-lemon-blueberry-desserts-for-entertaining/”>Tangy Lemon Blueberry Desserts For Entertaining.com/greek-yogurt-brownies-for-a-light-sweet-treat/”>Greek Yogurt Brownies For A Light Sweet Treat.
This isn’t just a recipe; it’s a strategy for culinary calm amidst the storm of family life. It’s about leveraging readily available ingredients and clever techniques to create something truly memorable, even when time is short, whether for brunch or a fun morning meal like Blueberry Breakfast Quesadillas For A Fun Morning. We’re going to make a Strawberry Cheesecake Danish that’s quick to assemble, offers minimal washing up, and can even be prepped ahead to make those weeknights even smoother. It’s proof that a sweet treat can indeed be a brilliant, stress-free solution for any meal, bringing a touch of joy and homemade goodness right when you need it most.
Recipe Overview
- Prep Time: 15 minutes
- Cook Time: 20-25 minutes
- Total Time: 35-40 minutes
- Servings: 8 individual danishes
- Difficulty: Easy
Why You’ll Love This Strawberry Cheesecake Danish for a Sweet Brunch Treat
- Speedy Solution for Weeknights: Utilises pre-made puff pastry, drastically cutting down on preparation time. You can have these ready from fridge to table in under 40 minutes, making them ideal for a quick, comforting “dinner” or dessert after a light main.
- Minimal Washing Up: With puff pastry as the base and a simple filling, you’ll find yourself reaching for very few bowls and utensils, ensuring a swift cleanup. This is a lifesaver on busy evenings.
- Make-Ahead Flexibility: The cheesecake filling can be prepared a day in advance, and the assembled danishes can even be chilled before baking, ready to pop into the oven when hunger strikes.
- Simple, Wholesome Ingredients: Made with familiar ingredients you likely already have in your fridge and pantry, ensuring a delicious outcome without needing a trip to specialty stores.
- Family Favourite: The combination of creamy cheesecake, sweet strawberries, and flaky pastry is universally loved. My kids absolutely devour this every time I make it, and it always brings smiles all round.

Ingredients You’ll Need
- 375g ready-rolled puff pastry sheet
- 200g cream cheese, full-fat, softened
- 50g caster sugar
- 1 large egg yolk
- 1 teaspoon vanilla extract
- 150g fresh strawberries, hulled and sliced
- 1 tablespoon lemon juice
- 1 tablespoon cornflour (cornstarch)
- 1 tablespoon granulated sugar (for strawberries)
- 1 large egg, beaten (for egg wash)
- Icing sugar, for dusting (optional)
Tip: Ensure your cream cheese is at room temperature before mixing; this helps create a wonderfully smooth, lump-free cheesecake filling.
How to Make Strawberry Cheesecake Danish for a Sweet Brunch Treat
- Prepare the Cheesecake Filling: In a medium bowl, combine the softened cream cheese, caster sugar, egg yolk, and vanilla extract. Beat with an electric mixer or whisk until the mixture is light, creamy, and completely smooth, with no visible lumps. The filling should look glossy and inviting. Set aside.
- Prepare the Strawberries: In a separate small bowl, gently toss the hulled and sliced strawberries with the lemon juice, cornflour, and granulated sugar. The strawberries will begin to look slightly coated and glistening. This helps them thicken beautifully during baking.
- Preheat Oven and Prepare Pastry: Preheat your oven to 200°C (180°C fan/Gas Mark 6). Line a large baking tray with baking parchment. Unroll the puff pastry sheet onto the prepared tray. Use a sharp knife or a pizza cutter to cut the pastry into 8 equal rectangles. You’ll hear a slight rustle as the pastry separates cleanly.
- Assemble the Danishes: Lightly score a border about 1cm in from the edge of each pastry rectangle, being careful not to cut all the way through. This creates a natural crust. Spoon a generous dollop of the cream cheese filling into the centre of each pastry rectangle, staying within the scored border. The cream cheese will look bright white against the pale pastry.
- Add Strawberries and Egg Wash: Arrange a few slices of the prepared strawberries on top of the cream cheese filling on each Danish. The vibrant red of the strawberries will contrast beautifully with the white filling. Brush the outer pastry edges (the scored border) with the beaten egg wash. This will give them a lovely golden-brown finish and a pleasant crispness.
- Bake to Golden Perfection: Place the baking tray in the preheated oven and bake for 20-25 minutes, or until the pastry is puffed, golden brown, and flaky around the edges. The cream cheese filling should appear set and slightly golden, and the strawberries will look softened and bubbly, releasing their sweet aroma throughout your kitchen.
- Cool and Serve: Once baked, carefully remove the danishes from the oven and let them cool on the baking tray for a few minutes before transferring them to a wire rack to cool completely. For an extra touch of sweetness, dust with a little icing sugar before serving.
Tips From My Kitchen
- Room Temperature Cream Cheese is Key: Always ensure your cream cheese is softened to room temperature before mixing. The ‘why’ behind this is crucial: cold cream cheese will form lumps that are difficult to smooth out, resulting in a grainy filling. Room temperature cream cheese, however, blends effortlessly into a silky, uniform mixture, ensuring a wonderfully creamy texture in your finished danishes.
- Don’t Overfill the Pastry: When spooning the cream cheese filling onto the pastry, be mindful not to overfill, and ensure it stays within the scored border. The ‘why’ here is practical: during baking, the filling will expand slightly, and if overfilled, it can spill over the edges, making the danishes soggy and messy. Staying within the lines keeps everything contained and neat.
- The Power of Egg Wash: Don’t skip the egg wash for the pastry edges. The ‘why’ is twofold: it gives the pastry a beautiful, appetising golden-brown sheen and helps create that desirable crisp, flaky texture that is characteristic of a perfectly baked Danish. It seals the edges and encourages even baking.
- Pre-prepped Filling for Speed: For an even quicker weeknight ‘dinner’ solution, prepare the cream cheese filling a day in advance and store it in an airtight container in the fridge. The ‘why’ is simple: this shaves off valuable minutes on a busy evening, allowing you to just unroll the pastry, assemble, and bake, getting that comforting treat on the table even faster.
- Minimal Cleanup Trick: Line your baking tray with baking parchment or a silicone mat. The ‘why’ is purely for convenience: it prevents any potential sticking and makes washing up a breeze. Simply peel off the parchment, and your baking tray is virtually clean, saving you precious time after a long day.
- Vary Your Fruit for Fun: While strawberries are delightful, feel free to experiment with other fruits. The ‘why’ is to encourage culinary creativity and cater to different preferences: raspberries, blueberries, or even thinly sliced peaches work beautifully. Just ensure any very juicy fruits are tossed lightly with a touch of cornflour to absorb excess moisture.
Delicious Variations to Try
- Spicy Version: For a warming, spiced twist, incorporate a pinch of ground cinnamon or a tiny grating of fresh nutmeg into your cream cheese filling. You could also add a very fine dusting of cinnamon over the strawberries before baking. This adds a subtle, fragrant warmth without any actual heat, perfect for those who enjoy a comforting spice.
- Vegetarian/Vegan Option: To make these danishes suitable for vegans, use a plant-based puff pastry (most ready-rolled varieties are accidentally vegan, but do check the label for butter). For the filling, substitute the cream cheese with a good quality vegan cream cheese alternative, and replace the egg yolk with 1 tablespoon of cornflour mixed with 2 tablespoons of plant-based milk (like oat or almond milk) to achieve a similar binding and thickening effect. For the egg wash, use a splash of plant-based milk or a little agave syrup mixed with water for a golden sheen.
- Different Protein: While this is a sweet treat, you could subtly enhance its satiety if serving it as part of a light “dinner.” Try mixing 1-2 tablespoons of a smooth, unsweetened almond butter or cashew butter into the cream cheese filling alongside the other ingredients. This adds a lovely nutty depth and a touch more protein, making it feel slightly more substantial.
What to Serve With Strawberry Cheesecake Danish for a Sweet Brunch Treat
- A light green salad with a simple vinaigrette, to balance the sweetness.
- A cup of hot Earl Grey tea or a robust black coffee.
- A glass of chilled orange juice or a homemade berry smoothie.
- For a more substantial weeknight treat, pair it with a small bowl of plain Greek yoghurt.
Frequently Asked Questions
Strawberry Cheesecake Danish for a Sweet Brunch Treat
Ingredients
Method
-
Prepare the Cheesecake Filling: In a medium bowl, combine the softened cream cheese, caster sugar, egg yolk, and vanilla extract. Beat with an electric mixer or whisk until the mixture is light, creamy, and completely smooth, with no visible lumps. The filling should look glossy and inviting. Set aside.
-
Prepare the Strawberries: In a separate small bowl, gently toss the hulled and sliced strawberries with the lemon juice, cornflour, and granulated sugar. The strawberries will begin to look slightly coated and glistening. This helps them thicken beautifully during baking.
-
Preheat Oven and Prepare Pastry: Preheat your oven to 200°C (180°C fan/Gas Mark 6). Line a large baking tray with baking parchment. Unroll the puff pastry sheet onto the prepared tray. Use a sharp knife or a pizza cutter to cut the pastry into 8 equal rectangles. You’ll hear a slight rustle as the pastry separates cleanly.
-
Assemble the Danishes: Lightly score a border about 1cm in from the edge of each pastry rectangle, being careful not to cut all the way through. This creates a natural crust. Spoon a generous dollop of the cream cheese filling into the centre of each pastry rectangle, staying within the scored border. The cream cheese will look bright white against the pale pastry.
-
Add Strawberries and Egg Wash: Arrange a few slices of the prepared strawberries on top of the cream cheese filling on each Danish. The vibrant red of the strawberries will contrast beautifully with the white filling. Brush the outer pastry edges (the scored border) with the beaten egg wash. This will give them a lovely golden-brown finish and a pleasant crispness.
-
Bake to Golden Perfection: Place the baking tray in the preheated oven and bake for 20-25 minutes, or until the pastry is puffed, golden brown, and flaky around the edges. The cream cheese filling should appear set and slightly golden, and the strawberries will look softened and bubbly, releasing their sweet aroma throughout your kitchen.
-
Cool and Serve: Once baked, carefully remove the danishes from the oven and let them cool on the baking tray for a few minutes before transferring them to a wire rack to cool completely. For an extra touch of sweetness, dust with a little icing sugar before serving.
Notes
There you have it – a wonderfully simple, yet utterly delightful Strawberry Cheesecake Danish that proves a sweet treat can indeed be a brilliant solution for a quick weeknight ‘dinner’ or a comforting end to any day. It’s all about making life a little sweeter, one flaky, creamy bite at a time, and I truly hope your family enjoys these as much as mine does. Don’t forget to explore All Recipes on the site for more culinary inspiration! I’d love to hear your thoughts and any variations you try in the comments below!