15 Minute Vegan Crispy Rice Treats
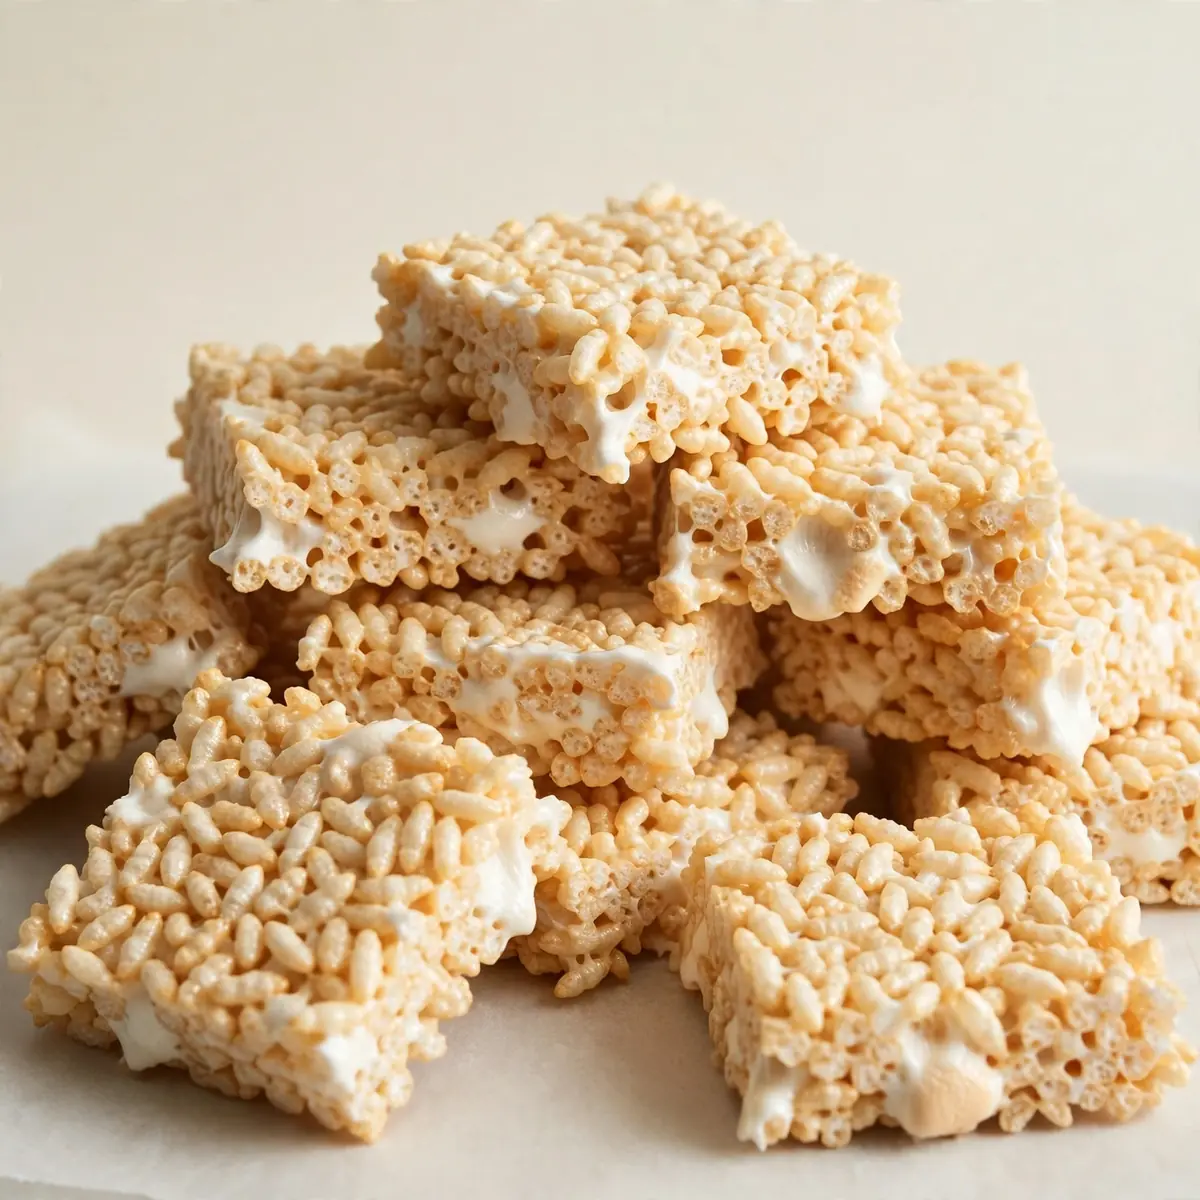
Tuesday nights are my kitchen battleground; between homework and after-school clubs, sitting down to a proper family meal feels like a minor miracle. That is precisely why I developed this recipe for crispy rice treats using vegan/pork-free marshmallows — it’s the dessert that comes together in the time it takes to clear the school bags from the hallway, with no oven required and only one pan to wash.
Recipe Overview
- Prep time: 5 minutes
- Cook time: 10 minutes
- Total time: 15 minutes
- Servings: 12 generous squares
- Difficulty: Beginner-friendly
Why You’ll Love This Crispy Rice Treats (Using Vegan/Pork-Free Marshmallows)
- One-pan cleanup: You only need a single large saucepan or frying pan, a spatula, and a baking dish — no mixer, no blender, no separate bowls for melting.
- No oven required: Everything happens on the hob, which means your kitchen stays cool in summer and you free up oven space for the main course.
- Ready in under 20 minutes: From the moment you pull the marshmallows from the cupboard to the point you press the mixture into the tin, you’re looking at about 15 minutes flat.
- Make-ahead friendly: These keep beautifully for days in an airtight container, so you can prepare them on Sunday and have a ready-to-serve dessert all week.
- Totally halal-friendly: Using vegan marshmallows means no gelatine from any source, so everyone at the table can enjoy them without worry.
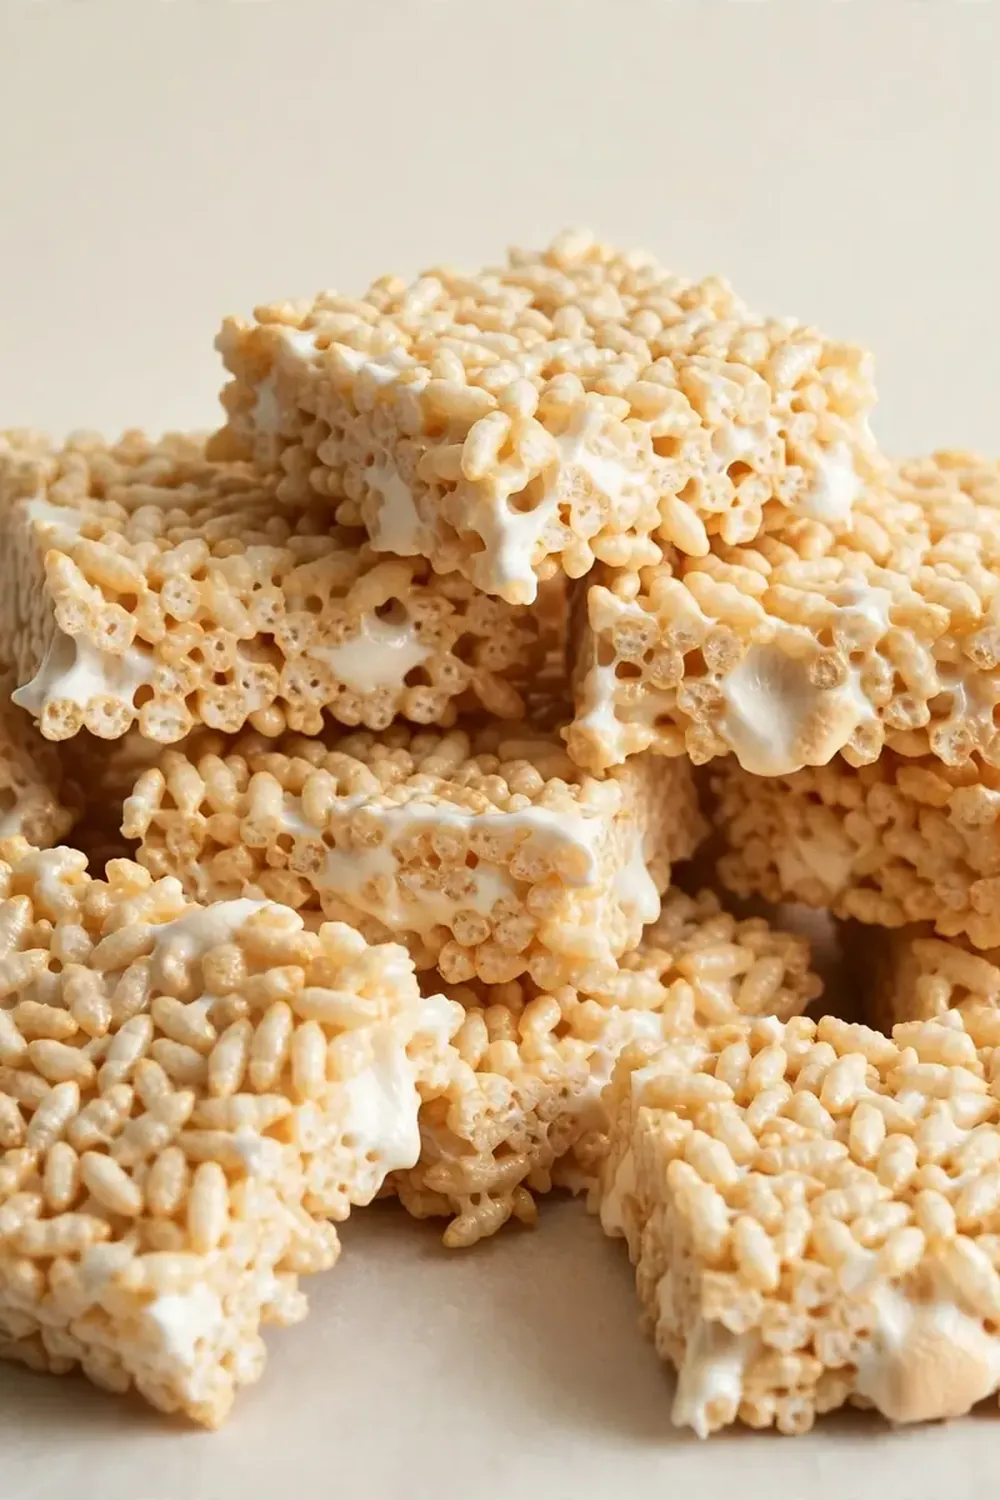
Ingredients You’ll Need
- 400g vegan/pork-free marshmallows (about 4 cups)
- 3 tablespoons dairy-free butter or margarine (I use a coconut-oil based spread)
- 180g crispy rice cereal (about 6 cups)
- 1 teaspoon vanilla extract
- ¼ teaspoon fine sea salt
- Optional: 50g dark chocolate chips (check they are dairy-free if needed)
- Optional: 2 tablespoons desiccated coconut
- Optional: 1 tablespoon freeze-dried raspberries, crushed
Tip: Measure your crispy rice cereal before you start melting the marshmallows — once that mixture is hot, you need to move quickly, and having everything pre-measured makes the difference between silky treats and a sticky mess.
How to Make Crispy Rice Treats (Using Vegan/Pork-Free Marshmallows)
- Prepare your dish: Line a 20cm x 20cm square baking tin with a sheet of baking paper, leaving some overhang on two sides so you can lift the finished block out easily. Lightly grease the paper with a dab of butter.
- Melt the butter: Place your large saucepan or deep frying pan over a low heat and add the dairy-free butter. Watch it slowly melt into a golden puddle — you will see small bubbles form around the edges, and the butter will smell nutty and warm. This takes about 2 minutes.
- Add the marshmallows: Tip the entire bag of vegan marshmallows into the melted butter. Stir constantly with a wooden spoon or silicone spatula. The marshmallows will first look lumpy and opaque, then gradually soften into a glossy, stretchy mass that pulls away from the sides of the pan. You will hear a gentle bubbling sound as they melt. This takes about 4-5 minutes.
- Remove from heat and add flavour: Take the pan off the hob immediately. Stir in the vanilla extract and salt. The mixture will release a sweet, creamy aroma that fills the kitchen. If you are adding chocolate chips, coconut, or crushed raspberries, fold them in now.
- Fold in the cereal: Pour the crispy rice cereal into the pan all at once. Using a folding motion — lift the marshmallow mixture from the bottom and turn it over the cereal — work until every grain is coated. You will see the cereal turn from pale beige to a uniform golden colour, and the mixture will feel heavy and slightly resistant to the spoon. Work quickly but gently; you want to coat the cereal without crushing it into dust.
- Press into the tin: Scrape the mixture into your prepared baking tin. Lightly wet your hands with cold water (this stops the mixture sticking to your fingers) and press the treats into an even layer. Press firmly into the corners and flatten the top. The surface should look smooth and even, with no gaps showing the paper underneath.
- Cool and set: Leave the tin on the counter for at least 30 minutes. Do not put it in the fridge — rapid cooling can make the treats turn hard and brittle. You will know they are ready when the top feels firm to the touch and the block lifts cleanly from the paper when you pull the overhang.
- Slice and serve: Lift the block onto a cutting board. Use a large, sharp knife to cut into 12 even squares. You will hear a satisfying crackle as the knife goes through the crispy rice layers. Serve immediately or store for later.
Tips From My Kitchen
- Use a heavy-bottomed pan: A thin pan can scorch the marshmallow mixture before it fully melts, leaving you with burnt spots and a bitter taste. A heavy pan distributes the heat evenly, giving you that smooth, stretchy texture every time.
- Wet your hands before pressing: The marshmallow mixture is incredibly sticky when warm. Dipping your hands in cold water before pressing creates a thin barrier that stops the mixture clinging to your skin. Re-wet your hands if you feel the mixture starting to stick.
- Work quickly once the cereal is added: The marshmallow mixture begins to set as soon as it cools, so you only have about 60 seconds to fold in the cereal and press it into the tin. Having your tin lined and your hands wet beforehand saves precious seconds.
- Let them cool completely before cutting: Cutting into warm treats will squish them into a dense, chewy block rather than a light, crispy square. Patience here gives you clean edges and that perfect airy texture.
- Store with a piece of bread: Place a slice of plain bread in the container with the treats — it absorbs excess moisture and keeps the rice cereal crunchy for days. Replace the bread slice every two days if the treats last that long.
Equipment You’ll Need
- Large saucepan or deep frying pan (heavy-bottomed preferred)
- Wooden spoon or silicone spatula
- 20cm x 20cm square baking tin
- Baking paper
- Sharp knife and cutting board
- Measuring cups and spoons
Common Mistakes to Avoid
- Overcrowding the pan: If you try to double this recipe in the same pan, the marshmallow mixture will take too long to melt and will start to burn on the bottom before the centre is done. Stick to a single batch, or use a very large, wide pot if you must double it.
- Wrong temperature: High heat will scorch the marshmallows and butter, creating dark brown specks and a burnt flavour. Keep the hob on a low setting throughout — the butter should melt gently, not sizzle, and the marshmallows should soften without bubbling aggressively.
- Skipping the rest time: Rushing to cut and serve the treats while they are still warm will result in a sticky, compressed mess. The 30-minute rest allows the marshmallow mixture to firm up and bind the cereal properly, giving you those clean, distinct squares.
What to Serve With Crispy Rice Treats (Using Vegan/Pork-Free Marshmallows)
- A tall glass of cold oat milk or almond milk — the creamy flavour balances the sweetness beautifully.
- A bowl of fresh berries, such as strawberries or blueberries, for a tart contrast.
- A scoop of dairy-free vanilla ice cream on the side for an extra-special treat.
- A warm mug of herbal tea, like peppermint or chamomile, to round off the meal.
Still hungry for ideas? You might also love Classic Rice Krispie Treats, Classic Rice Krispie Treats from our sister kitchens.
Frequently Asked Questions
Crispy Rice Treats (Using Vegan/Pork-Free Marshmallows)
Ingredients
Method
- Prepare your dish: Line a 20cm x 20cm square baking tin with a sheet of baking paper, leaving some overhang on two sides so you can lift the finished block out easily. Lightly grease the paper with a dab of butter.
- Melt the butter: Place your large saucepan or deep frying pan over a low heat and add the dairy-free butter. Watch it slowly melt into a golden puddle — you will see small bubbles form around the edges, and the butter will smell nutty and warm. This takes about 2 minutes.
- Add the marshmallows: Tip the entire bag of vegan marshmallows into the melted butter. Stir constantly with a wooden spoon or silicone spatula. The marshmallows will first look lumpy and opaque, then gradually soften into a glossy, stretchy mass that pulls away from the sides of the pan. You will hear a gentle bubbling sound as they melt. This takes about 4-5 minutes.
- Remove from heat and add flavour: Take the pan off the hob immediately. Stir in the vanilla extract and salt. The mixture will release a sweet, creamy aroma that fills the kitchen. If you are adding chocolate chips, coconut, or crushed raspberries, fold them in now.
- Fold in the cereal: Pour the crispy rice cereal into the pan all at once. Using a folding motion — lift the marshmallow mixture from the bottom and turn it over the cereal — work until every grain is coated. You will see the cereal turn from pale beige to a uniform golden colour, and the mixture will feel heavy and slightly resistant to the spoon. Work quickly but gently; you want to coat the cereal without crushing it into dust.
- Press into the tin: Scrape the mixture into your prepared baking tin. Lightly wet your hands with cold water (this stops the mixture sticking to your fingers) and press the treats into an even layer. Press firmly into the corners and flatten the top. The surface should look smooth and even, with no gaps showing the paper underneath.
- Cool and set: Leave the tin on the counter for at least 30 minutes. Do not put it in the fridge — rapid cooling can make the treats turn hard and brittle. You will know they are ready when the top feels firm to the touch and the block lifts cleanly from the paper when you pull the overhang.
- Slice and serve: Lift the block onto a cutting board. Use a large, sharp knife to cut into 12 even squares. You will hear a satisfying crackle as the knife goes through the crispy rice layers. Serve immediately or store for later.
Notes
There you have it — my go-to recipe for those evenings when the clock is ticking and everyone is hungry. My kids absolutely devour this every time I make it, and I love that I can throw it together while the pasta is boiling without breaking a sweat. If you give these crispy rice treats a go, I would love to hear how they turned out for you — drop a comment below and tell me if your family polished them off as fast as mine does.