Easy Weeknight Classic Apple Pie with All-Butter Crust
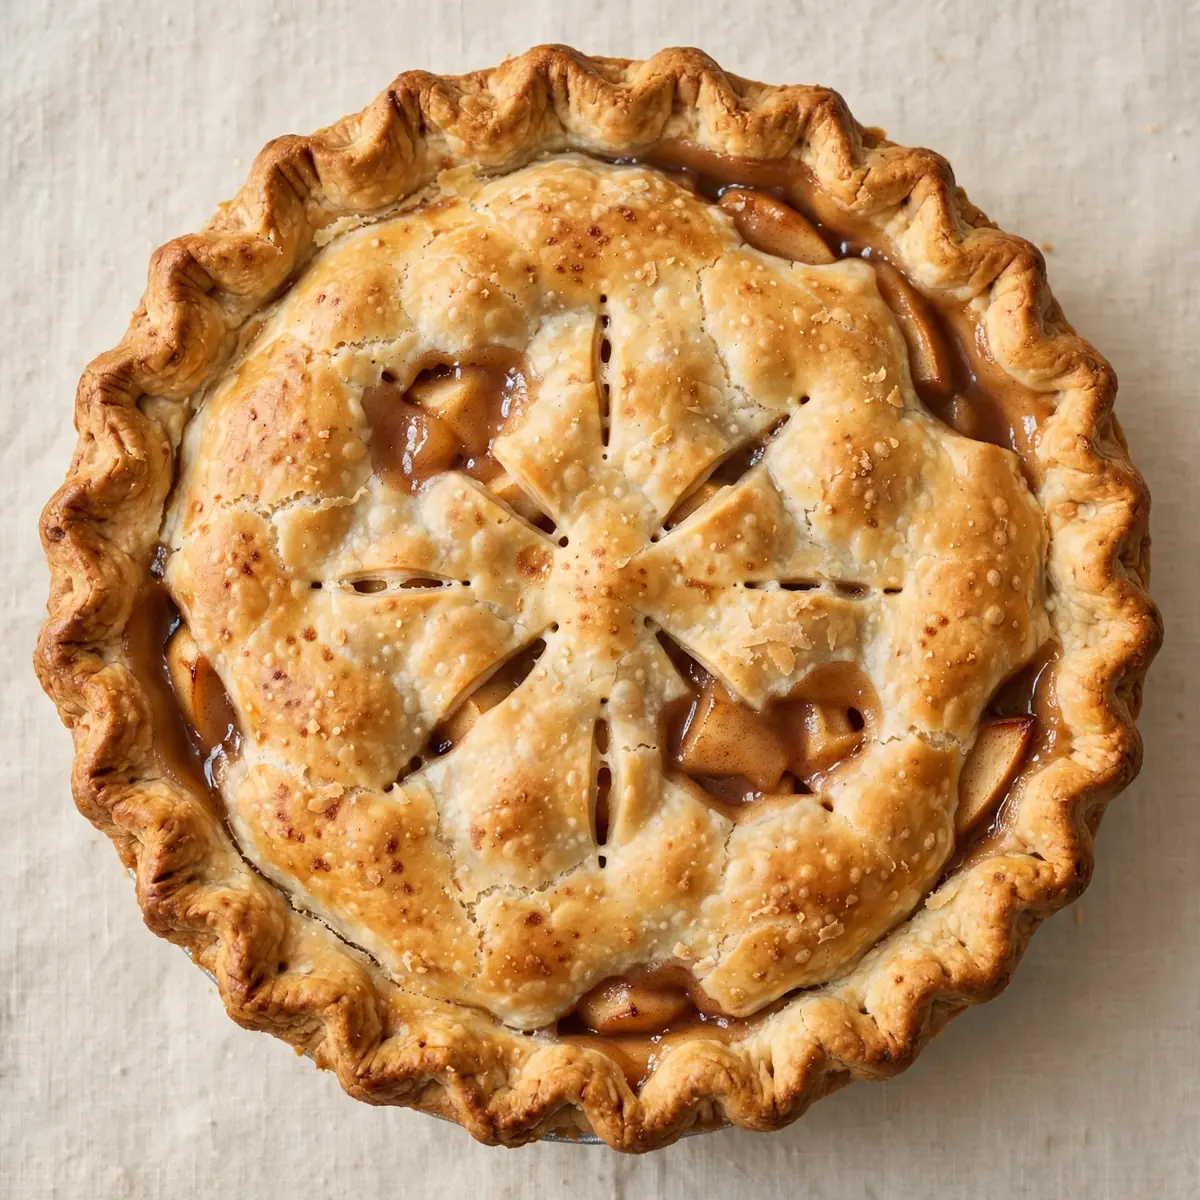
You know that glorious smell of buttery pastry and spiced apples filling your kitchen? It usually takes an entire afternoon to achieve, but what if I told you we could get that same result on a frantic Tuesday night with the kids doing homework at the table? This recipe for Classic American Apple Pie with an all-butter crust uses a few clever shortcuts to get a stunning, from-scratch dessert on the table in under an hour and a half, with most of that time being hands-off baking.
Recipe Overview
- Prep Time: 25 minutes
- Cook Time: 50 minutes
- Total Time: 1 hour 15 minutes
- Servings: 8 generous slices
- Difficulty: Medium (but achievable on a weeknight)
Why You’ll Love This Classic American Apple Pie (All-Butter Crust, No Lard)
- Weeknight Viability: We skip the lengthy chilling of the dough and use a freezer trick that cuts the prep time in half compared to traditional methods.
- Minimal Washing Up: This entire recipe uses just one bowl for the pastry, one bowl for the filling, and a pie dish. No food processor, no stand mixer — just your hands and a wooden spoon.
- All-Butter, No Lard: We achieve a flaky, tender crust using only cold butter. No lard or shortening required, which means a purer, richer flavour that lets the apples shine.
- Make-Ahead Friendly: You can prep the dry pastry mix and slice the apples the night before. On the day, assembly takes less than 15 minutes.
- Foolproof Filling: The apples are tossed with a touch of cornflour and sugar, then layered directly into the raw crust. No pre-cooking the filling means one less pan to wash and more time with your family.
Ingredients You’ll Need
- 300g plain flour (all-purpose), plus extra for dusting
- 1 teaspoon fine sea salt
- 1 tablespoon caster sugar
- 225g cold unsalted butter, cut into 1cm cubes
- 120ml ice-cold water (have 150ml on standby, just in case)
- 1kg Bramley or Granny Smith apples (about 6 medium apples)
- 150g soft light brown sugar
- 2 tablespoons cornflour
- 1 teaspoon ground cinnamon
- ½ teaspoon ground nutmeg (freshly grated is best)
- Pinch of ground cloves
- 2 tablespoons lemon juice (from about 1 lemon)
- 1 large egg, beaten, for the egg wash
- 1 tablespoon demerara sugar, for sprinkling
Tip: For the flakiest all-butter crust, put your cubed butter back in the freezer for 10 minutes after cutting it. It seems like an extra step, but it guarantees those beautiful steam pockets that create flaky layers.
How to Make Classic American Apple Pie (All-Butter Crust, No Lard)
- Make the pastry: In a large bowl, whisk together the flour, salt, and caster sugar. Scatter the frozen butter cubes over the flour. Using your fingertips, quickly rub the butter into the flour until the mixture looks like coarse breadcrumbs with some pea-sized butter pieces remaining. You should see distinct yellow flecks of butter — this is what makes the crust flaky.
- Bring the dough together: Drizzle 120ml of the ice-cold water over the flour mixture. Stir with a butter knife or a spatula until the dough just starts to clump together. Squeeze a handful of dough — if it holds together without crumbling, it’s ready. If it seems dry, add the remaining 30ml of water, one tablespoon at a time. Turn the dough onto a lightly floured surface, bring it together into a disc (don’t knead), wrap in cling film, and pop it in the fridge for 15 minutes. Cue: The dough should feel cool and slightly tacky to the touch, not sticky.
- Prep the apples: While the dough chills, peel, core, and slice the apples into 5mm thick slices. Place them in a large bowl. Add the brown sugar, cornflour, cinnamon, nutmeg, cloves, and lemon juice. Toss everything together with your hands until every slice is coated. Cue: You should hear a slight crunch as the sugar granules hit the apple, and the mixture will smell intensely of spiced citrus.
- Roll out the base: On a well-floured surface, roll out two-thirds of the dough into a circle about 30cm in diameter. Carefully lift the dough by rolling it around your rolling pin, then unroll it into a 23cm pie dish. Gently press it into the bottom and up the sides. Cue: The dough should feel cold and firm; if it’s getting sticky, pop it back in the fridge for 5 minutes.
- Fill and top: Pile the apple filling into the crust, mounding it slightly in the centre. Roll out the remaining dough into a 28cm circle. Drape it over the filling. Pinch the edges of the top and bottom crusts together, then crimp them with your fingers or a fork. Cut 4-5 slits in the top to let steam escape. Cue: The pastry feels cool and pliable, and the apples are mounded high — they will shrink as they bake.
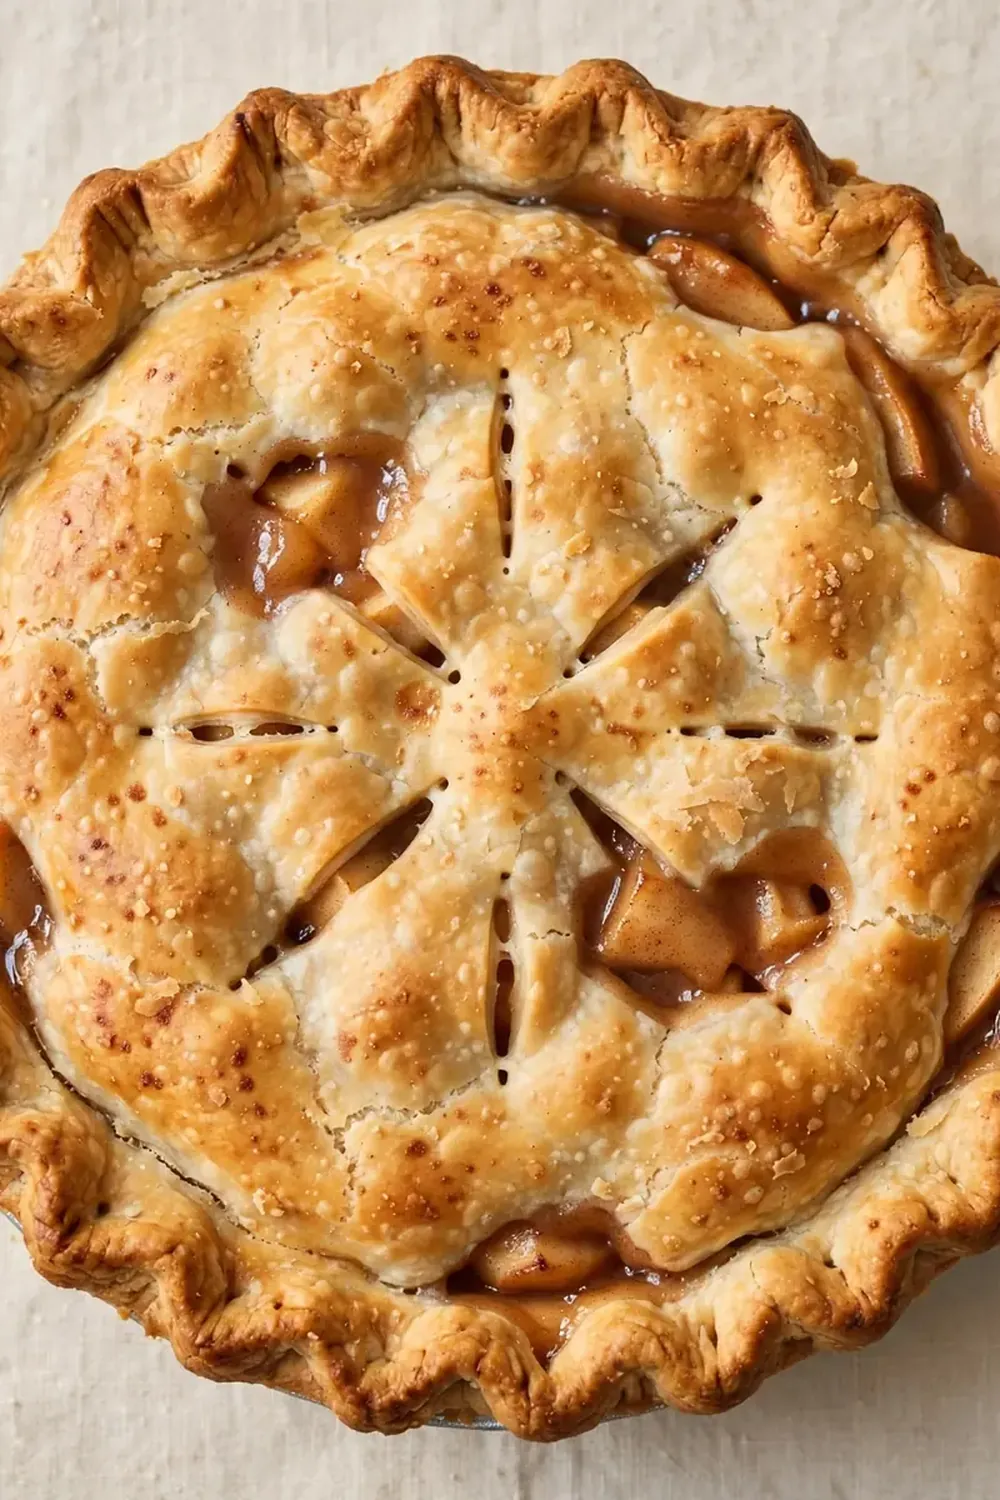
- Bake to golden perfection: Brush the top crust with the beaten egg and sprinkle with the demerara sugar. Place the pie on a baking tray to catch any drips. Bake at 200°C (180°C fan) for 20 minutes. Then, reduce the oven temperature to 180°C (160°C fan) and bake for another 30-35 minutes. Cue: After 20 minutes, the crust should be a pale golden colour. At the end of baking, the crust will be a deep, glossy golden brown, and you should see thick, bubbly juice seeping through the slits. If the edges brown too quickly, cover them loosely with foil.
- Cool before serving: Remove the pie from the oven and place it on a wire rack. Let it cool for at least 1 hour before slicing. Cue: You’ll hear the pie gently crackling and settling as it cools. The filling will thicken as it rests, preventing a runny mess on your plate.
Tips From My Kitchen
- Keep Everything Cold: The secret to a flaky all-butter crust is temperature control. Butter melts at a lower temperature than lard or shortening, so you must work quickly and keep your ingredients cold. If at any point the dough feels warm or oily, wrap it up and refrigerate it for 10 minutes. This prevents the butter from melting into the flour, which would make the crust tough rather than flaky.
- Use a Mix of Apples: For the best texture and flavour, use a mix of cooking apples like Bramleys (which break down into a lovely, soft compote) and eating apples like Granny Smiths (which hold their shape). This gives you a filling that’s both tender and has a little bite.
- Don’t Overwork the Dough: When bringing the pastry together, stop mixing as soon as it clumps. Overworking develops gluten, which leads to a tough, chewy crust rather than a tender, crumbly one. It’s better to have a few dry patches than a sticky, overworked dough.
- Blind Bake the Bottom Crust (Optional but Helpful): If you want an extra-crispy bottom crust, you can blind bake it for 10 minutes before adding the filling. Line the raw pastry with baking paper and fill with baking beans or dried rice. Bake at 200°C for 10 minutes, then remove the paper and beans. This is a great trick if you find your pies tend to have a soggy bottom.
- Make Ahead for a Stress-Free Weeknight: You can prepare the dry flour mixture (flour, salt, sugar) and store it in a sealed bag in the pantry. You can also slice the apples and toss them with the lemon juice (to prevent browning) and store them in the fridge for up to 24 hours. On the day you bake, all you need to do is cut in the butter and assemble. My husband, who’s usually picky, asked for seconds the first time I used this make-ahead method!
- Use a Baking Tray: Always place your pie dish on a baking tray lined with foil or baking paper. This catches any bubbling juices that spill over, saving you from scrubbing a burnt-on mess from the bottom of your oven. I’ve been making this for over 2 years, and it never disappoints — but it does bubble over occasionally!
Delicious Variations to Try
- Spicy Version: Add ½ teaspoon of ground ginger and a pinch of cayenne pepper to the apple filling. The warmth of the ginger and the subtle heat from the cayenne will complement the sweetness of the apples beautifully without overwhelming the palate.
- Vegetarian/Vegan Option: This recipe is already vegetarian. To make it vegan, substitute the butter with a high-quality block of vegan butter (look for one with a high fat content, like Naturli or Flora Plant Block). Use a plant-based milk (like oat or soya) mixed with a teaspoon of maple syrup for the egg wash. The texture will be slightly less flaky but still very satisfying.
- Different Protein: While apple pie is traditionally a dessert, you can turn it into a savoury meal by omitting the sugar and adding shredded cooked chicken or turkey. Toss the apples with a tablespoon of wholegrain mustard, some fresh thyme, and a handful of grated cheddar cheese. Bake as directed — it makes a fantastic, unexpected weeknight dinner.
What to Serve With Classic American Apple Pie (All-Butter Crust, No Lard)
- A generous scoop of good-quality vanilla ice cream — the cold creaminess is the perfect foil to the warm, spiced pie.
- A dollop of clotted cream or crème fraîche for a less sweet, tangy counterpoint.
- A drizzle of warm custard for an old-school British touch that never fails.
- A cup of strong black tea or coffee to cut through the richness.
Still hungry for ideas? You might also love Spiced Apple Butter Recipe For Fall, Cracker Barrel Apple Butter Copycat Recipe from our sister kitchens.
Frequently Asked Questions
Classic American Apple Pie (All-Butter Crust, No Lard)
Ingredients
Method
- Make the pastry: In a large bowl, whisk together the flour, salt, and caster sugar. Scatter the frozen butter cubes over the flour. Using your fingertips, quickly rub the butter into the flour until the mixture looks like coarse breadcrumbs with some pea-sized butter pieces remaining. You should see distinct yellow flecks of butter — this is what makes the crust flaky.
- Bring the dough together: Drizzle 120ml of the ice-cold water over the flour mixture. Stir with a butter knife or a spatula until the dough just starts to clump together. Squeeze a handful of dough — if it holds together without crumbling, it's ready. If it seems dry, add the remaining 30ml of water, one tablespoon at a time. Turn the dough onto a lightly floured surface, bring it together into a disc (don't knead), wrap in cling film, and pop it in the fridge for 15 minutes. Cue: The dough should feel cool and slightly tacky to the touch, not sticky.
- Prep the apples: While the dough chills, peel, core, and slice the apples into 5mm thick slices. Place them in a large bowl. Add the brown sugar, cornflour, cinnamon, nutmeg, cloves, and lemon juice. Toss everything together with your hands until every slice is coated. Cue: You should hear a slight crunch as the sugar granules hit the apple, and the mixture will smell intensely of spiced citrus.
- Roll out the base: On a well-floured surface, roll out two-thirds of the dough into a circle about 30cm in diameter. Carefully lift the dough by rolling it around your rolling pin, then unroll it into a 23cm pie dish. Gently press it into the bottom and up the sides. Cue: The dough should feel cold and firm; if it's getting sticky, pop it back in the fridge for 5 minutes.
- Fill and top: Pile the apple filling into the crust, mounding it slightly in the centre. Roll out the remaining dough into a 28cm circle. Drape it over the filling. Pinch the edges of the top and bottom crusts together, then crimp them with your fingers or a fork. Cut 4-5 slits in the top to let steam escape. Cue: The pastry feels cool and pliable, and the apples are mounded high — they will shrink as they bake.
- Bake to golden perfection: Brush the top crust with the beaten egg and sprinkle with the demerara sugar. Place the pie on a baking tray to catch any drips. Bake at 200°C (180°C fan) for 20 minutes. Then, reduce the oven temperature to 180°C (160°C fan) and bake for another 30-35 minutes. Cue: After 20 minutes, the crust should be a pale golden colour. At the end of baking, the crust will be a deep, glossy golden brown, and you should see thick, bubbly juice seeping through the slits. If the edges brown too quickly, cover them loosely with foil.
- Cool before serving: Remove the pie from the oven and place it on a wire rack. Let it cool for at least 1 hour before slicing. Cue: You'll hear the pie gently crackling and settling as it cools. The filling will thicken as it rests, preventing a runny mess on your plate.
Notes
I truly hope this recipe helps you bring the warmth of a homemade apple pie into your busy week without the stress. I’d love to hear how you get on — drop a comment below and let me know if your family loved it as much as mine does. And if you’re looking for another quick dessert that feels special, try my Zesty No Bake Key Lime Cheesecake Jars 2 or these Creamy Individual Cheesecake Cups With Berries for another weeknight win. Happy baking!