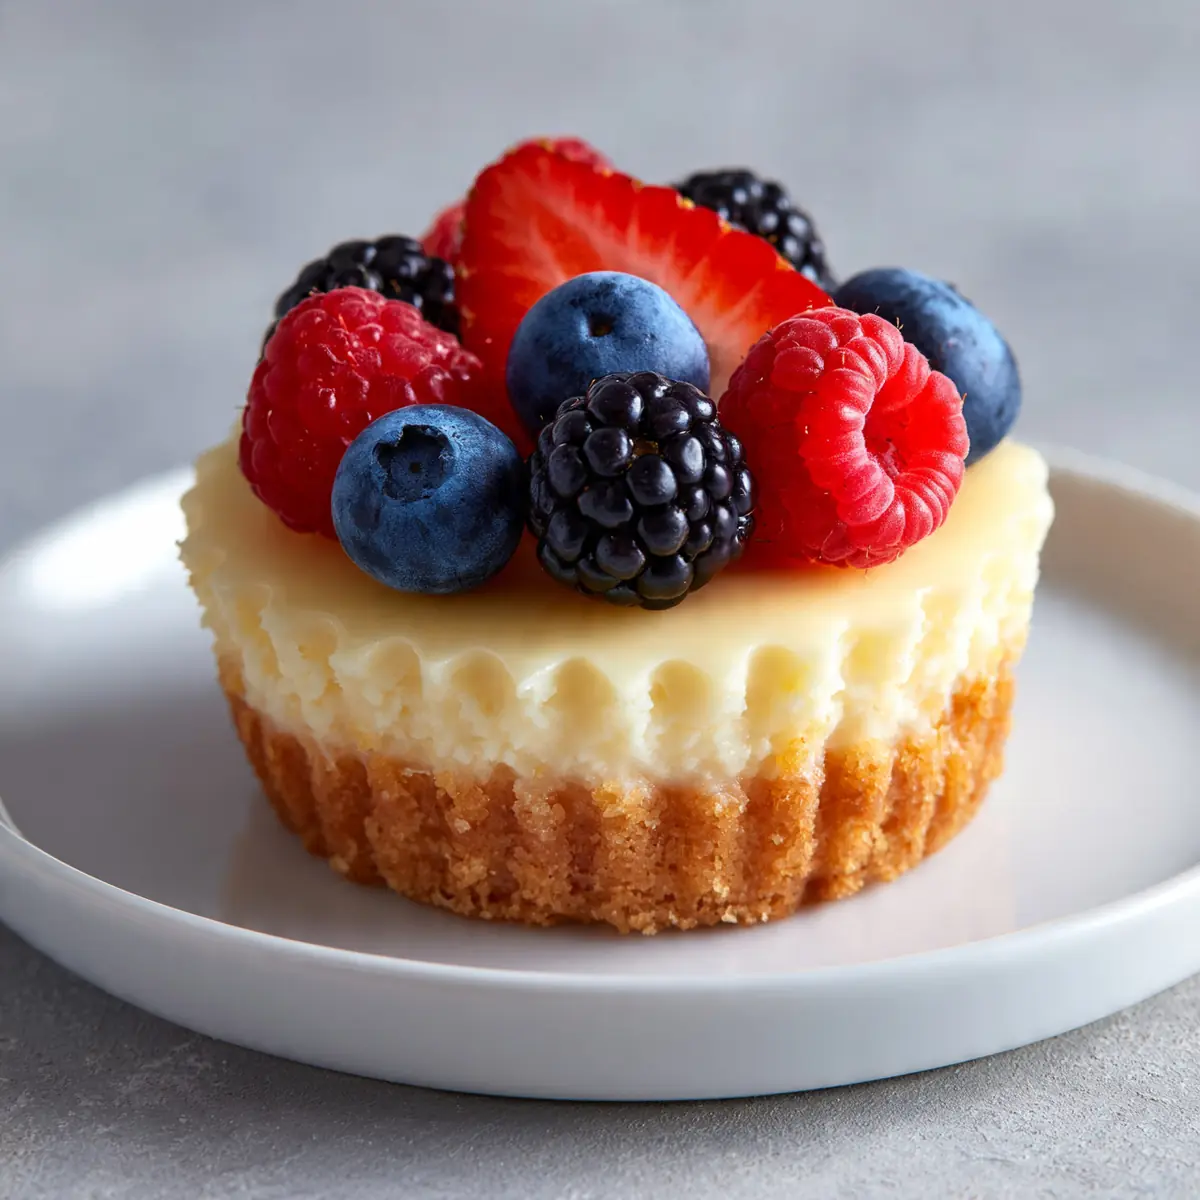
Creamy Individual Cheesecake Cups With Berries
I remember a Tuesday evening when the school run, a last-minute work call, and a hungry family all collided at once. Dinner felt impossible until I remembered the pot of cream cheese in the fridge. Within 20 minutes, I had creamy individual cheesecake cups with berries chilling, and the actual dinner was sorted with zero fuss. That night, a simple dessert saved the whole weeknight madness.
Recipe Overview
- Prep Time: 15 minutes
- Cook Time: 0 minutes (no-bake)
- Total Time: 15 minutes (plus 2 hours chilling)
- Servings: 6 individual cups
- Difficulty: Easy
Why You’ll Love This Creamy Individual Cheesecake Cups with Berries
- Weeknight speed: From fridge to table in 15 minutes of hands-on work — no oven, no stove, no waiting for water to boil. This is real life after a long day, much like our Fluffy 3 Ingredient Lemon Cupcakes Recipe.
- Minimal cleanup: One bowl, one whisk, and a few cups. I’ve been making this for over 10 years, and it never disappoints when I want to avoid a sink full of dishes.
- Make-ahead magic: Prep these the night before or even in the morning, making them an ideal choice among Crowd Pleasing Thanksgiving Desserts For Parties. They sit happily in the fridge for up to two days, meaning you can assemble them while the kids do homework and serve them after dinner.
- Portion control for everyone: Each person gets their own little cup, which stops arguments about who got a bigger slice. I used to struggle with this dish until I discovered this technique of using individual servings, a convenient approach also found in our No Bake Keto Cheesecake Bites Sugar-Free.
- No special equipment needed: You don’t need a springform tin or a water bath. Just a mixing bowl and a few ramekins or small jars you already own.

Ingredients You’ll Need
- 300g full-fat cream cheese, softened to room temperature
- 100g caster sugar
- 1 teaspoon vanilla extract
- 200ml double cream
- 100g digestive biscuits (or any plain sweet biscuit)
- 50g unsalted butter, melted
- 1 tablespoon lemon juice
- 250g mixed berries (fresh or frozen — strawberries, blueberries, raspberries)
- 2 tablespoons icing sugar, for the berries
- 1 teaspoon cornflour (optional, for a thicker berry sauce)
- Mint sprigs, to garnish (optional)
Tip: Make sure your cream cheese is truly at room temperature — if it’s too cold, your filling will be lumpy. Take it out of the fridge 30 minutes before you start.
How to Make Creamy Individual Cheesecake Cups with Berries
- Crush the biscuit base. Place the digestive biscuits in a sealed plastic bag and bash them with a rolling pin until they become fine crumbs — you want a sandy texture with no large chunks. Alternatively, pulse them in a food processor for a few seconds. The crumbs should feel like damp sand when you pinch them.
- Mix the butter and crumbs. Pour the melted butter into the biscuit crumbs and stir with a fork until every crumb is coated. The mixture will smell rich and buttery, and it should clump together when pressed in your fist. Divide this evenly between 6 small cups or ramekins — about 2 tablespoons each — and press down firmly with the back of a spoon. The base should feel compact and solid, not loose.
- Beat the cream cheese and sugar. In a large mixing bowl, beat the softened cream cheese with the caster sugar and vanilla extract using a hand mixer on medium speed. Beat for 2-3 minutes until the mixture is completely smooth, pale, and free of any lumps — you should see no white specks of cream cheese. The texture will look like thick, glossy frosting.
- Whip the double cream. In a separate bowl, whip the double cream until soft peaks form. You know it’s ready when you lift the whisk and the cream holds a gentle peak that flops over slightly. Be careful not to overwhip — if it looks grainy or like butter, you’ve gone too far. The cream should feel light and airy.
- Fold everything together. Gently fold the whipped cream into the cream cheese mixture using a rubber spatula. Add the lemon juice at this stage too. Fold with a gentle cutting motion, scraping the bottom of the bowl, until no white streaks remain. The final mixture should be silky, thick, and mousse-like — it will hold its shape when spooned.
- Fill the cups and chill. Spoon the cheesecake filling over the biscuit bases, dividing it evenly. Smooth the tops with the back of a spoon. The filling should be level and flush with the rim of each cup. Place the cups in the fridge for at least 2 hours — the tops will feel firm to the touch when set, and the filling will no longer jiggle when you tap the cup.
- Prepare the berries. While the cups chill, place the mixed berries in a small saucepan with the icing sugar and 1 tablespoon of water. Heat gently over a medium heat for 3-4 minutes, stirring occasionally, until the berries soften and release their juices. The mixture will turn a deep ruby red and smell intensely fruity. If you want a thicker sauce, stir in the cornflour mixed with a splash of cold water and cook for another minute until glossy. Let the berries cool completely before topping the cheesecakes.
Tips From My Kitchen
- Use full-fat cream cheese for stability. Low-fat versions contain more water, which makes the filling runny and stops it from setting properly. Full-fat cream cheese gives that dense, velvety texture that holds its shape when you spoon it. I learned this the hard way when my first batch turned into soup.
- Chill the bowl and cream before whipping. Pop your mixing bowl and the double cream in the fridge for 10 minutes before you start whipping. Cold cream whips faster and holds its peaks much better. If the cream is warm, it will stay runny and you’ll be whisking forever.
- Press the biscuit base down firmly. Use the bottom of a flat glass or a measuring cup to press the crumbs into a tight, even layer. A loose base will crumble apart when you try to eat the cheesecake with a spoon. You want it to feel like a solid, compact disc when you press it.
- Don’t skip the lemon juice. Even a small amount of lemon juice does two things: it cuts through the richness of the cream cheese and it helps the filling set slightly firmer. The acidity reacts with the cream to give a cleaner, fresher taste. You won’t taste lemon, I promise.
- Let the berries cool before adding them. If you spoon hot berries onto cold cheesecake, the heat will melt the filling and create a watery mess. Let the berry compote cool completely to room temperature, then spoon it over the set cheesecake just before serving. This keeps the layers distinct and beautiful.
- Use glass jars or ramekins for the best presentation. Clear glasses let you see the beautiful layers of biscuit, creamy filling, and glossy berries. It takes 30 seconds to assemble, but it looks like you’ve spent ages. I keep a set of small kilner jars just for this recipe.
Equipment You’ll Need
- Stand mixer or hand mixer — for beating the cream cheese and whipping the cream
- Baking tray — to hold the cups while they chill in the fridge
- Parchment paper — for lining the tray if you want extra stability
- Wire cooling rack — for cooling the berry compote quickly
- Rubber spatula — for folding the cream without deflating it
- 6 small ramekins, jars, or dessert cups — around 150ml each
Delicious Variations to Try
- Spicy Version: Add a pinch of ground cardamom and a tiny pinch of cayenne pepper to the biscuit base. The warmth of the spices pairs beautifully with the sweet berries and cuts through the richness of the cream cheese. Start with a light hand — you want a gentle warmth, not a fiery kick.
- Vegan Option: Use a plant-based cream cheese block (not the spreadable tub kind) and coconut cream instead of double cream. Chill the coconut cream overnight and scoop only the solid white part. The texture will be slightly less firm, but the flavour is still rich and creamy.
- Different Berry Combinations: Swap the mixed berries for a single fruit. Try sliced strawberries macerated in a little orange juice and sugar, or use frozen cherries that you simmer until syrupy. In autumn, roasted sliced pears with a pinch of cinnamon work wonderfully too.
What to Serve With Creamy Individual Cheesecake Cups with Berries
These cups are substantial enough to stand alone, but they pair beautifully with a few simple extras. Serve them alongside a shortbread biscuit for extra crunch, or add a dollop of crème fraîche if you want to balance the sweetness. A cup of strong coffee or a pot of mint tea makes a lovely accompaniment. For a special touch, grate a little dark chocolate over the top just before serving.
- Shortbread biscuits or wafer cookies
- A dollop of crème fraîche or Greek yoghurt
- Fresh mint leaves for garnish
- Grated dark chocolate or cocoa powder dusting
- A strong black coffee or chamomile tea
Frequently Asked Questions
Creamy Individual Cheesecake Cups with Berries
Ingredients
Method
-
Crush the biscuit base. Place the digestive biscuits in a sealed plastic bag and bash them with a rolling pin until they become fine crumbs — you want a sandy texture with no large chunks. Alternatively, pulse them in a food processor for a few seconds. The crumbs should feel like damp sand when you pinch them.
-
Mix the butter and crumbs. Pour the melted butter into the biscuit crumbs and stir with a fork until every crumb is coated. The mixture will smell rich and buttery, and it should clump together when pressed in your fist. Divide this evenly between 6 small cups or ramekins — about 2 tablespoons each — and press down firmly with the back of a spoon. The base should feel compact and solid, not loose.
-
Beat the cream cheese and sugar. In a large mixing bowl, beat the softened cream cheese with the caster sugar and vanilla extract using a hand mixer on medium speed. Beat for 2-3 minutes until the mixture is completely smooth, pale, and free of any lumps — you should see no white specks of cream cheese. The texture will look like thick, glossy frosting.
-
Whip the double cream. In a separate bowl, whip the double cream until soft peaks form. You know it’s ready when you lift the whisk and the cream holds a gentle peak that flops over slightly. Be careful not to overwhip — if it looks grainy or like butter, you’ve gone too far. The cream should feel light and airy.
-
Fold everything together. Gently fold the whipped cream into the cream cheese mixture using a rubber spatula. Add the lemon juice at this stage too. Fold with a gentle cutting motion, scraping the bottom of the bowl, until no white streaks remain. The final mixture should be silky, thick, and mousse-like — it will hold its shape when spooned.
-
Fill the cups and chill. Spoon the cheesecake filling over the biscuit bases, dividing it evenly. Smooth the tops with the back of a spoon. The filling should be level and flush with the rim of each cup. Place the cups in the fridge for at least 2 hours — the tops will feel firm to the touch when set, and the filling will no longer jiggle when you tap the cup.
-
Prepare the berries. While the cups chill, place the mixed berries in a small saucepan with the icing sugar and 1 tablespoon of water. Heat gently over a medium heat for 3-4 minutes, stirring occasionally, until the berries soften and release their juices. The mixture will turn a deep ruby red and smell intensely fruity. If you want a thicker sauce, stir in the cornflour mixed with a splash of cold water and cook for another minute until glossy. Let the berries cool completely before topping the cheesecakes.
Notes
I hope these creamy individual cheesecake cups with berries become your new weeknight secret weapon. They save the day when you’re short on time but still want something that feels special. Have you tried making them with a different fruit topping? I’d love to hear how you get on — drop a comment below and let me know your favourite combination. For more quick dessert ideas, take a look at my All Recipes page, or try my Creamy High Protein Cheesecake Jars No Bake for a lighter twist. If you’re after something chocolatey, these Mini Chocolate Nut Desserts For Any Occasion are always a hit too. Happy cooking!