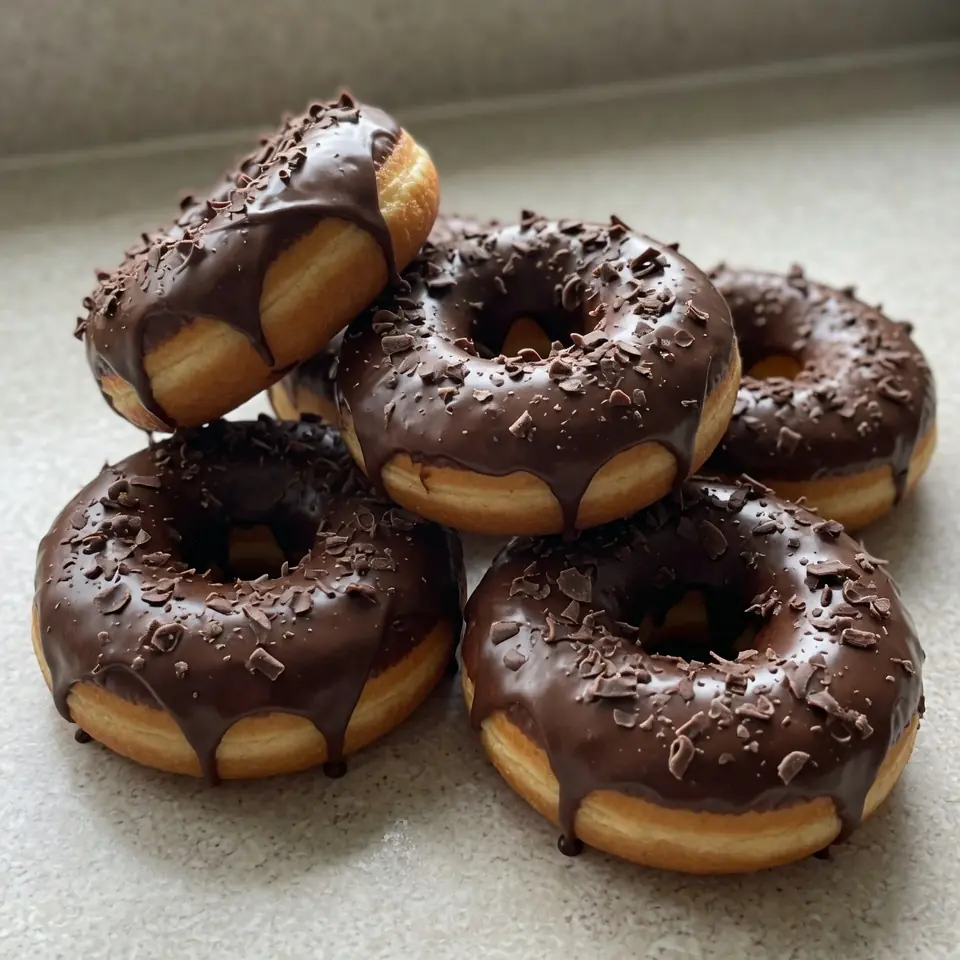
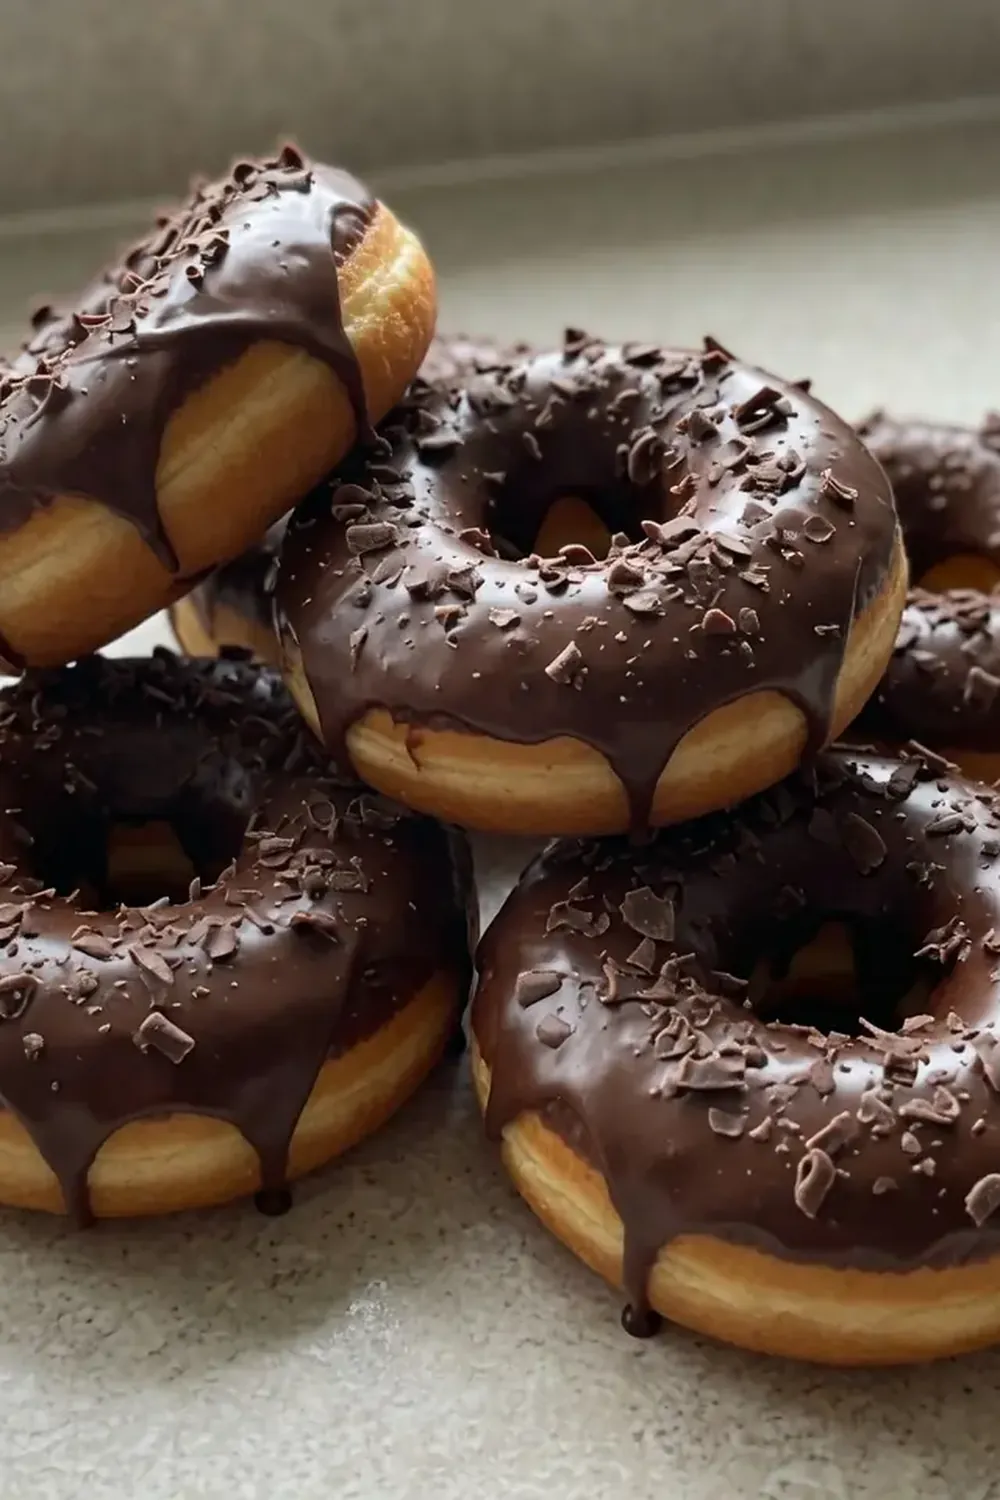
Decadent Chocolate Covered Doughnuts For Breakfast
Forget everything you thought you knew about dinner, especially on those evenings when the clock is ticking faster than your patience. We’re about to dive into a recipe that transforms a morning indulgence into a surprisingly brilliant, fuss-free weeknight meal: Decadent Chocolate Covered Doughnuts for Breakfast – or, in our house, for a delightful and unconventional dinner.
I distinctly remember one particularly chaotic Tuesday evening. The children were buzzing with after-school energy, my work deadline loomed, and the fridge seemed to mock me with its sparse contents. Dinner felt like an insurmountable mountain. That’s when inspiration struck, born from a half-eaten box of doughnuts and a desperate need for something quick and cheerful. I decided to lean into the unexpected, adding a few savoury elements on the side, and the kids absolutely lit up. It was fast, required virtually no washing up, and became an instant legend in our family history, proving that sometimes, breaking the mould is exactly what’s needed to bring joy back to the dinner table.
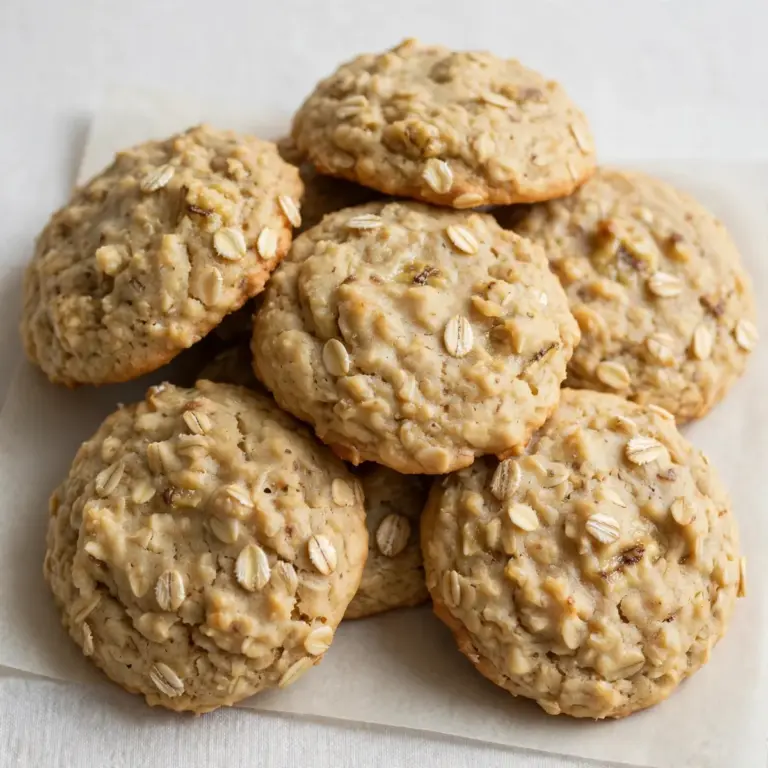
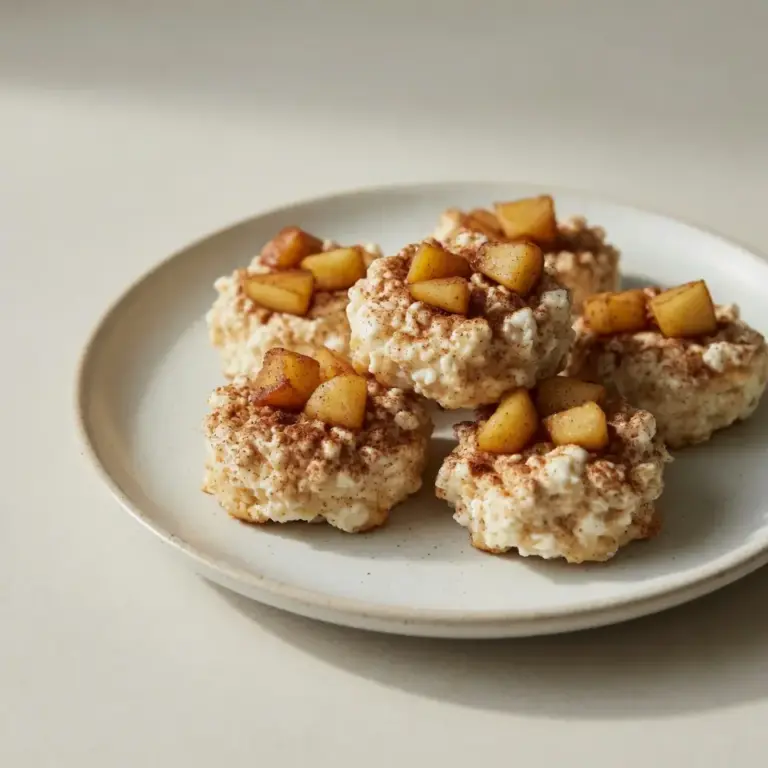
This isn’t just about serving doughnuts for dinner; it’s about reclaiming your evenings, perhaps with a sweet treat like Satisfying High Volume Low Calorie Desserts or Apple Crisp Mini Cheesecakes For A Fall Dessert .com/fudgy-small-batch-brownies-with-crunchy-nuts/”>Fudgy Small Batch Brownies With Crunchy Nuts .com/apple-crisp-mini-cheesecakes-for-a-fall-dessert/”>Apple Crisp Mini Cheesecakes For A Fall Dessert.com/fudgy-small-batch-brownies-with-crunchy-nuts/”>Fudgy Small Batch Brownies With Crunchy Nuts. It’s about a recipe that understands the demands of modern family life, offering a delicious escape from the usual grind. We’ll show you how to whip up these delightful treats with minimal fuss, complete with make-ahead options that make assembly on a busy night practically effortless. Get ready to embrace a new kind of weeknight magic that’s both satisfying and utterly memorable.
Recipe Overview
- Prep Time: 20 minutes
- Cook Time: 15-20 minutes
- Total Time: 35-40 minutes
- Servings: 6-8 doughnuts
- Difficulty: Moderate
Why You’ll Love This Decadent Chocolate Covered Doughnuts for Breakfast
- Speedy Solution for Busy Weeknights: This recipe comes together incredibly fast, making it an ideal choice when time is short and hunger is high.
- Minimal Cleanup Required: With clever make-ahead steps and a streamlined process, you’ll spend less time scrubbing and more time relaxing.
- Delightfully Unexpected Dinner: Surprise and delight your family with a meal that breaks convention and injects a sense of fun into an ordinary evening.
- Make-Ahead Versatility: Prepare elements like the doughnut dough or chocolate ganache in advance, saving precious minutes on the actual evening of serving.
- Customisable for All Tastes: Easily adapt toppings and fillings to suit individual preferences, ensuring everyone finds something they adore.
Ingredients You’ll Need
- 250 ml warm milk (around 40°C)
- 7 g active dry yeast (1 sachet)
- 50 g caster sugar, plus 1 tsp
- 1 large egg
- 50 g unsalted butter, melted
- 400 g strong white bread flour, plus extra for dusting
- 1/2 tsp salt
- Vegetable oil, for deep frying (approx. 1 litre)
- 200 g dark chocolate (minimum 70% cocoa solids), finely chopped
- 150 ml double cream
- 2 tbsp icing sugar (optional, for dusting)
- Sprinkles or chopped nuts, for decoration (optional)
Tip: For the most luxurious chocolate coating, invest in a good quality dark chocolate. The difference in richness and smoothness is truly noticeable.
How to Make Decadent Chocolate Covered Doughnuts for Breakfast
- Activate the Yeast: In a large mixing bowl, combine the warm milk, 1 teaspoon of caster sugar, and the active dry yeast. Stir gently and leave it for 5-10 minutes. You’ll know it’s ready when the mixture looks frothy and smells faintly yeasty – a sure sign the yeast is alive and working its magic.
- Prepare the Dough: Add the remaining 50g caster sugar, egg, and melted butter to the yeast mixture. Whisk until well combined. Gradually add the strong white bread flour and salt, mixing with a wooden spoon until a shaggy dough forms. Turn the dough out onto a lightly floured surface and knead for 8-10 minutes until it feels smooth, elastic, and springs back slightly when poked. Form it into a ball.
- First Rise: Lightly grease the mixing bowl with a little oil, place the dough ball inside, and turn it to coat. Cover the bowl with cling film or a clean tea towel and leave in a warm place for 1-1.5 hours, or until the dough has visibly doubled in size and feels light and airy. This is the moment when patience truly pays off, yielding a beautifully risen dough.
- Shape and Second Rise: Gently punch down the risen dough to release the air. On a lightly floured surface, roll the dough to about 1.5 cm thick. Use a 7-8 cm round cutter (or the rim of a glass) to cut out doughnut shapes, and a smaller cutter (or piping nozzle) for the centres. Gather and re-roll scraps once. Place the shaped doughnuts on baking trays lined with parchment paper, leaving space between them. Cover loosely and let them rise again for 30-45 minutes until they look noticeably puffy and lighter.
- Fry the Doughnuts: Heat the vegetable oil in a large, heavy-bottomed pan or deep fryer to 170-175°C. Carefully lower 2-3 doughnuts into the hot oil using a slotted spoon. Fry for 2-3 minutes per side until they turn a beautiful golden brown and puff up beautifully. They’ll smell sweet and inviting as they cook. Use the slotted spoon to remove them, draining any excess oil, and place them on a wire rack lined with kitchen paper. Repeat with the remaining doughnuts.
- Make the Chocolate Ganache and Finish: While the doughnuts cool slightly, prepare the ganache. Place the chopped dark chocolate in a heatproof bowl. In a small saucepan, gently heat the double cream until it just begins to simmer around the edges – do not boil. Pour the hot cream over the chocolate and let it sit for 2-3 minutes. Whisk gently until the chocolate is completely melted and the mixture is smooth, glossy, and smells intensely of chocolate. Dip each warm doughnut into the ganache, allowing the excess to drip off, then place back on the wire rack. If desired, sprinkle with icing sugar, sprinkles, or chopped nuts before the ganache sets. The ganache will start to firm up, giving a lovely shine.
Tips From My Kitchen
- Use a Thermometer for Frying: Maintaining the correct oil temperature (170-175°C) is absolutely crucial for perfectly cooked doughnuts. If the oil is too hot, the doughnuts will brown too quickly on the outside and remain raw inside. If it’s too cool, they’ll absorb too much oil, becoming greasy. A kitchen thermometer takes all the guesswork out of it, ensuring a consistently golden exterior and a fluffy interior.
- Don’t Overcrowd the Pan: When frying, resist the urge to put too many doughnuts in the pan at once. Overcrowding lowers the oil temperature significantly, leading to uneven cooking and greasy doughnuts. Fry in small batches, usually 2-3 at a time, to maintain the optimal oil temperature and allow each doughnut enough space to expand and brown beautifully.
- Make the Dough Ahead of Time: For an even speedier weeknight dinner, prepare the doughnut dough up to the first rise. After it has doubled in size, punch it down gently, cover the bowl tightly with cling film, and refrigerate overnight (up to 24 hours). The next day, simply take the dough out, let it come to room temperature for 30 minutes, then proceed with shaping, the second rise, and frying. This breaks up the effort wonderfully.
- Master the Ganache: For a flawlessly smooth ganache, ensure your chocolate is finely chopped before pouring over the hot cream. This allows it to melt evenly. If the ganache seems too thick, add a tiny splash more warm cream; if too thin, let it cool for a few minutes to thicken slightly. The right consistency should coat the back of a spoon thickly and flow smoothly over the doughnut, giving that lovely, glossy finish.
- Get Creative with Toppings (Make-Ahead Too!): While chocolate is divine, think about other toppings you might want to prepare in advance. A simple vanilla glaze, a dusting of cinnamon sugar, or even some crushed biscuits can be prepped. For example, you could crush some shortbread biscuits or chop various nuts earlier in the day and have them ready in small bowls for sprinkling onto the wet ganache. This adds variety and makes the dinner feel extra special without adding last-minute stress.
Equipment You’ll Need
- Large frying pan or skillet (or deep fryer)
- Sharp knife and cutting board (for chocolate)
- Mixing bowls (at least two)
- Wooden spoon or spatula
- Whisk
- Kitchen thermometer (optional, but highly recommended for frying)
- Doughnut cutter or round cutters (7-8 cm and small for centres)
- Slotted spoon or spider strainer
- Wire rack with kitchen paper underneath
- Parchment paper
- Small saucepan (for heating cream)
Delicious Variations to Try
- Spicy Version: For a subtle kick, finely grate about a quarter teaspoon of fresh ginger into your chocolate ganache as you’re whisking it. The warmth of the ginger complements the richness of the chocolate beautifully without overpowering it, adding an unexpected depth of flavour.
- Vegetarian/Vegan Option: To make these plant-based, substitute the milk with a plant-based alternative like almond or oat milk, and use a flax egg (1 tbsp ground flaxseed mixed with 3 tbsp water, rested for 5 minutes) instead of a chicken egg. Ensure your butter is replaced with a plant-based butter alternative, and choose a dark chocolate that is certified vegan. The texture remains wonderfully light and fluffy.
- Different Protein: While these doughnuts are a meal in themselves, if you’re looking to balance your dinner, consider serving them alongside some grilled chicken skewers or pan-fried halloumi. A sprinkle of Za’atar or a dash of sumac on the savoury element can provide a lovely contrast to the sweet doughnuts, creating a truly memorable and complete dinner.
What to Serve With Decadent Chocolate Covered Doughnuts for Breakfast
- A vibrant fruit salad for a fresh contrast.
- A small bowl of Greek yoghurt, perhaps with a drizzle of honey.
- A simple green salad with a light vinaigrette to balance the richness.
- A refreshing glass of freshly squeezed orange juice or a soothing herbal tea.
Frequently Asked Questions
Decadent Chocolate Covered Doughnuts for Breakfast
Ingredients
Method
-
Activate the Yeast: In a large mixing bowl, combine the warm milk, 1 teaspoon of caster sugar, and the active dry yeast. Stir gently and leave it for 5-10 minutes. You’ll know it’s ready when the mixture looks frothy and smells faintly yeasty – a sure sign the yeast is alive and working its magic.
-
Prepare the Dough: Add the remaining 50g caster sugar, egg, and melted butter to the yeast mixture. Whisk until well combined. Gradually add the strong white bread flour and salt, mixing with a wooden spoon until a shaggy dough forms. Turn the dough out onto a lightly floured surface and knead for 8-10 minutes until it feels smooth, elastic, and springs back slightly when poked. Form it into a ball.
-
First Rise: Lightly grease the mixing bowl with a little oil, place the dough ball inside, and turn it to coat. Cover the bowl with cling film or a clean tea towel and leave in a warm place for 1-1.5 hours, or until the dough has visibly doubled in size and feels light and airy. This is the moment when patience truly pays off, yielding a beautifully risen dough.
-
Shape and Second Rise: Gently punch down the risen dough to release the air. On a lightly floured surface, roll the dough to about 1.5 cm thick. Use a 7-8 cm round cutter (or the rim of a glass) to cut out doughnut shapes, and a smaller cutter (or piping nozzle) for the centres. Gather and re-roll scraps once. Place the shaped doughnuts on baking trays lined with parchment paper, leaving space between them. Cover loosely and let them rise again for 30-45 minutes until they look noticeably puffy and lighter.
-
Fry the Doughnuts: Heat the vegetable oil in a large, heavy-bottomed pan or deep fryer to 170-175°C. Carefully lower 2-3 doughnuts into the hot oil using a slotted spoon. Fry for 2-3 minutes per side until they turn a beautiful golden brown and puff up beautifully. They’ll smell sweet and inviting as they cook. Use the slotted spoon to remove them, draining any excess oil, and place them on a wire rack lined with kitchen paper. Repeat with the remaining doughnuts.
-
Make the Chocolate Ganache and Finish: While the doughnuts cool slightly, prepare the ganache. Place the chopped dark chocolate in a heatproof bowl. In a small saucepan, gently heat the double cream until it just begins to simmer around the edges – do not boil. Pour the hot cream over the chocolate and let it sit for 2-3 minutes. Whisk gently until the chocolate is completely melted and the mixture is smooth, glossy, and smells intensely of chocolate. Dip each warm doughnut into the ganache, allowing the excess to drip off, then place back on the wire rack. If desired, sprinkle with icing sugar, sprinkles, or chopped nuts before the ganache sets. The ganache will start to firm up, giving a lovely shine.
Notes
There you have it – a recipe that defies convention and brings genuine smiles to the dinner table. Decadent Chocolate Covered Doughnuts for Breakfast, reimagined as your secret weapon for those hectic weeknights. It’s a reminder that good food doesn’t always have to be traditional, and sometimes, the best meals are the ones that surprise and delight us. Give this a go, experiment with your own twists, and let me know in the comments below how this unconventional dinner went down in your home. I always love hearing your stories and seeing your creations!