Classic Homemade Vanilla Pudding
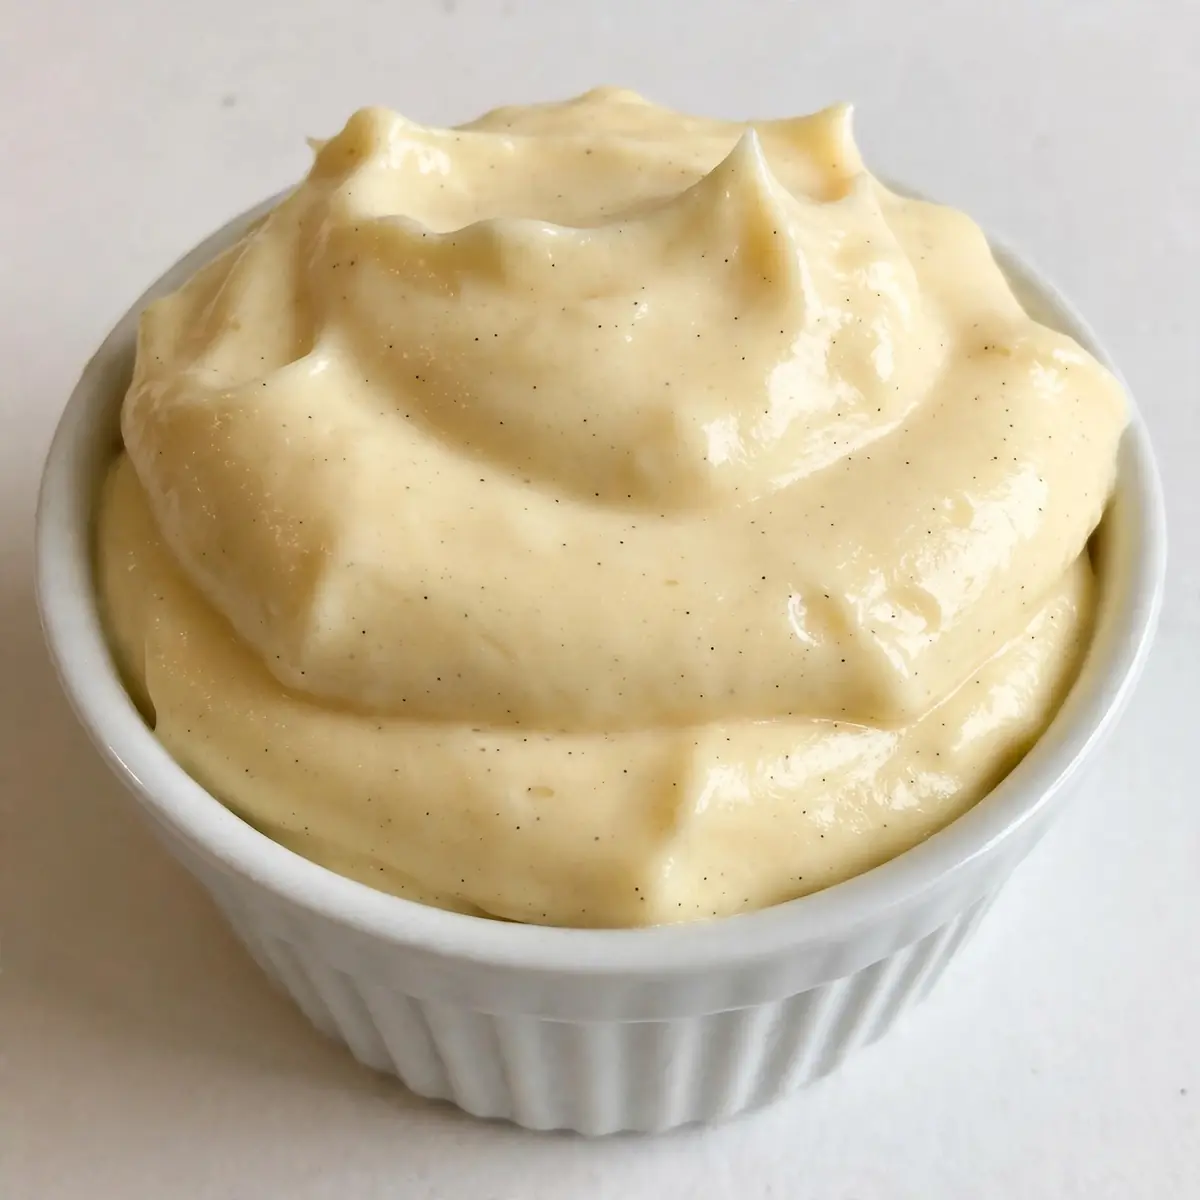
There are some weekends where the rain taps at the window, the house falls quiet after lunch, and the only thing that makes sense is standing at the stove with a wooden spoon in hand. This Classic Homemade Vanilla Pudding is my favourite way to spend a slow Saturday afternoon — a gentle ritual of watching milk warm, sugar dissolve, and the mixture thicken into something silky and deeply comforting.
Recipe Overview
- Prep Time: 10 minutes
- Cook Time: 15 minutes
- Total Time: 4 hours 25 minutes (including chilling)
- Servings: 6
- Difficulty: Easy
Why You’ll Love This Classic Homemade Vanilla Pudding
- Unbeatable texture: Store-bought pots can’t compete with the luscious, velvety mouthfeel you get from fresh egg yolks and real milk, thickened slowly on the stove.
- Pure vanilla flavour: Using a whole vanilla pod or quality extract means every spoonful carries that fragrant, floral sweetness that lingers on the tongue.
- A proper kitchen project: This recipe asks you to stir, watch, and wait — it’s a chance to slow down, listen to the radio, and enjoy the process of making something from scratch.
- Naturally crowd-friendly: I’ve been making this for over 6 years, and it never disappoints. It pleases adults and children alike, without any fussy ingredients.
- Endlessly adaptable: Once you master the base, you can dress it up with toppings, layer it in trifles, or serve it alongside your favourite biscuits or a Homemade Iced Caramel Latte.com/nutella-swirl-brownies/”>Nutella Swirl Brownies.
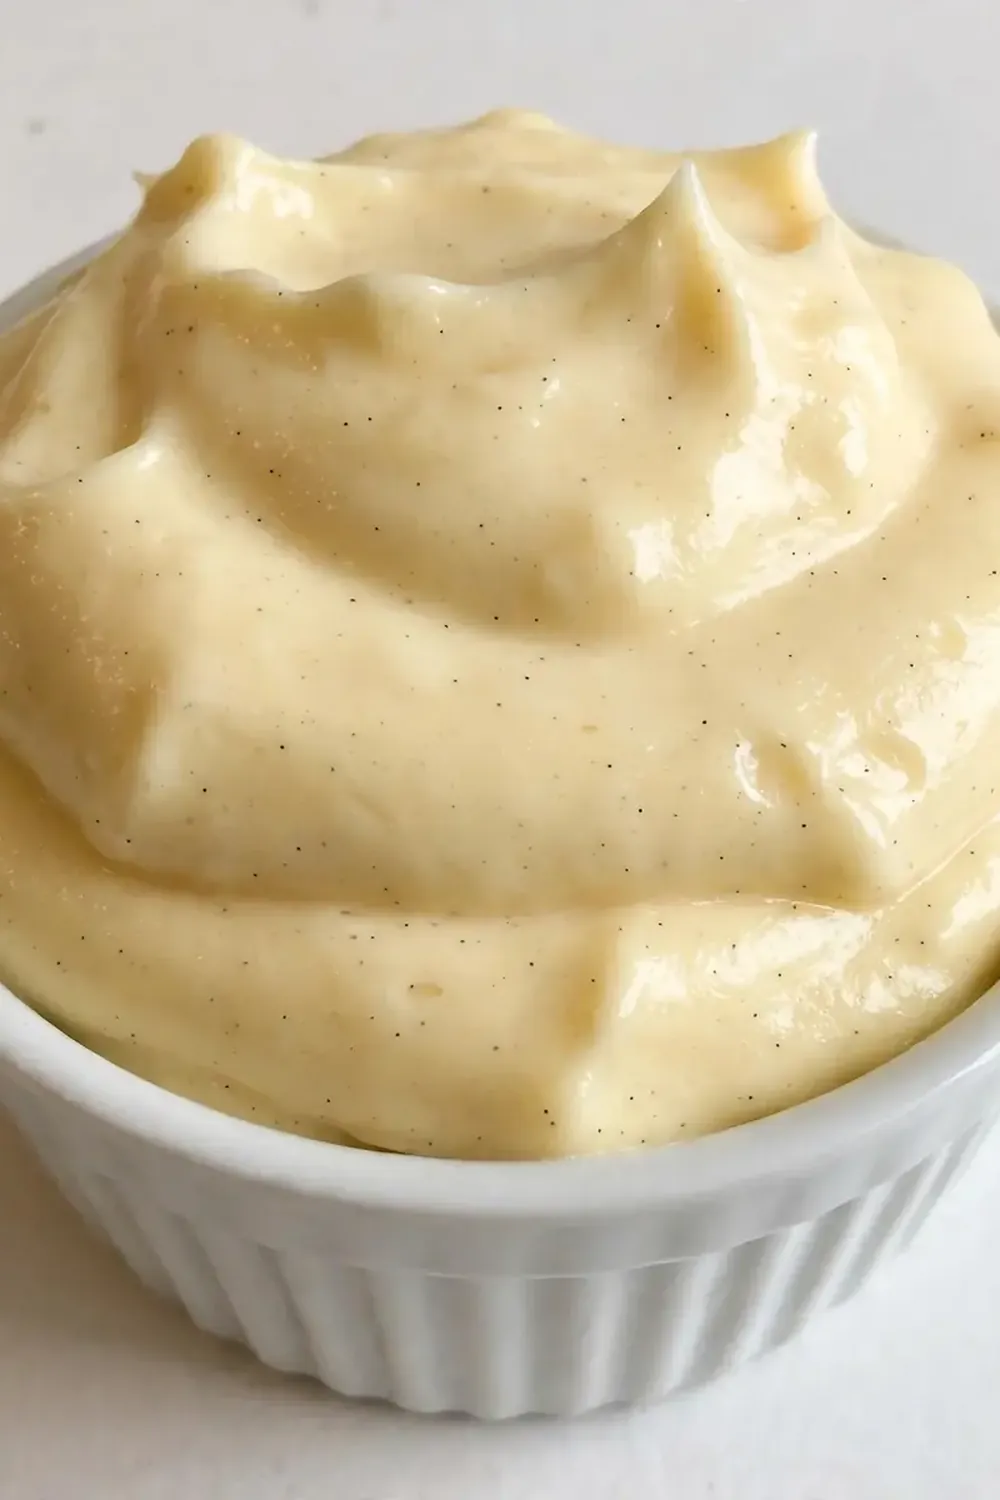
Ingredients You’ll Need
- 600ml whole milk (full-fat is essential for richness)
- 120g caster sugar
- 40g cornflour
- 4 large egg yolks
- 1 vanilla pod, split lengthways (or 2 teaspoons vanilla bean paste)
- 1 teaspoon vanilla extract (use a good-quality one)
- Pinch of sea salt
- 30g unsalted butter, cubed
- Optional: 200ml double cream, softly whipped, for serving
- Optional: Fresh strawberries or raspberries for garnish
Tip: For the silkiest result, take your eggs and milk out of the fridge 30 minutes before you begin. Cold ingredients can cause the cornflour to clump, giving you a lumpy pudding rather than a smooth one.
How to Make Classic Homemade Vanilla Pudding
- Prepare your base: In a medium, heavy-bottomed saucepan, whisk together the caster sugar, cornflour, and a pinch of salt. Feel the mixture between your fingers — it should be fine and powdery, with no lumps. Slowly pour in about 100ml of the cold milk, whisking constantly until you have a smooth, pale slurry.
- Add the remaining milk and vanilla: Pour in the rest of the milk in a steady stream, whisking all the while. Drop in the split vanilla pod (or stir in the vanilla bean paste). Set the pan over a medium heat. You’ll hear a gentle hiss as the pan warms up — that’s your cue to start paying attention.
- Temper the egg yolks: While the milk mixture heats, place the egg yolks in a medium bowl and whisk them until they’re pale and slightly thickened, about 30 seconds. Once the milk mixture is steaming but not bubbling (around 70°C if you’re using a thermometer), slowly ladle about 120ml of the hot milk into the yolks, whisking constantly. This step prevents the yolks from scrambling.
- Combine and thicken: Pour the tempered yolk mixture back into the saucepan, whisking steadily. Return the pan to medium heat and switch to a wooden spoon. Stir constantly, scraping the bottom and corners of the pan. After 3-4 minutes, you’ll feel the mixture start to resist your spoon — it will become noticeably thicker, and you’ll see lazy bubbles breaking the surface. The pudding should coat the back of your spoon thickly, and a finger drawn through it should leave a clean trail.
- Finish with butter: Once the pudding has thickened (about 5-6 minutes total cooking time after adding the eggs), remove the pan from the heat immediately. Fish out the vanilla pod — rinse it, dry it, and bury it in a jar of sugar for future use. Drop in the cubed butter and the teaspoon of vanilla extract. Stir until the butter has melted completely and the pudding looks glossy and smooth.
- Strain for silkiness: Set a fine-mesh sieve over a large heatproof bowl. Pour the hot pudding through the sieve, pressing gently with a spatula. This catches any tiny lumps or bits of cooked egg. The pudding that emerges should be absolutely smooth and shiny, with a fragrance that fills your kitchen.
- Chill with care: Press a piece of cling film directly onto the surface of the pudding — this prevents a skin from forming. Poke a few tiny holes in the film with a toothpick so steam can escape. Refrigerate for at least 4 hours, or overnight. The pudding will firm up beautifully, turning from a pourable custard into a spoonable dessert with a gentle wobble.
Tips From My Kitchen
- Use a heavy-bottomed pan: Thin pans create hot spots that can scorch your pudding before it’s thickened. A heavy saucepan distributes heat evenly, giving you gentle, consistent cooking. You’ll know your pan is right when the mixture heats evenly without a sudden burnt smell.
- Whisk, then stir: Start with a whisk to combine the dry ingredients and milk, but switch to a wooden spoon once the mixture begins to thicken. A whisk incorporates too much air, which can make the pudding foamy rather than velvety. The spoon lets you feel the texture change.
- Don’t rush the tempering: Pouring hot milk into the egg yolks slowly is non-negotiable. If you dump it in all at once, you’ll end up with sweet scrambled eggs. Go ladle by ladle, whisking constantly, until the bowl feels warm to the touch — that means the yolks are safely warmed up.
- Trust the visual cues: Your eyes and nose are better than a timer. Look for the moment when the surface begins to shimmer and thick bubbles appear, like lazy lava. The smell shifts from raw milk and sugar to a toasty, sweet vanilla aroma — that’s your signal to remove the pan from the heat.
- Chill thoroughly: Warm pudding is lovely, but properly chilled pudding has a completely different texture — firm, creamy, and sliceable. Resist the temptation to serve it after just an hour. Four hours minimum gives the cornflour time to fully set and the flavours to meld.
Common Mistakes to Avoid
- Overcrowding the pan: This recipe fits a medium saucepan perfectly. Using a pan that’s too small means the mixture is deep and slow to heat, leading to uneven thickening. A pan too large spreads the mixture too thin, causing it to cook too fast and potentially scorch. Stick to a 2-litre saucepan for best results.
- Wrong temperature: Medium heat is your friend. High heat will scorch the milk before the cornflour has a chance to activate, leaving you with a burnt-smelling pudding. If you see wisps of smoke or smell cooked milk, you’ve gone too hot. Lower the heat immediately and stir vigorously.
- Skipping the rest time: I know it’s hard to wait. But serving warm pudding straight from the pan gives you a thin, soupy texture that lacks structure. The chill time allows the cornflour to fully gelatinise and the butter to set, transforming it into the luscious, spoon-standable pudding you’re after.
Delicious Variations to Try
- Spiced Chai Version: Add 2 crushed cardamom pods, a cinnamon stick, and 3 black peppercorns to the milk as it heats. Remove them before tempering the eggs. The warm spices complement the vanilla beautifully and give the pudding a fragrant, festive edge.
- Vegan Option: Replace the whole milk with full-fat oat milk and the egg yolks with 3 tablespoons of cornflour (40g total) mixed with 2 tablespoons of coconut cream. Use coconut oil instead of butter. The result is slightly lighter but still creamy, with a subtle coconut undertone.
- Chocolate Version: Whisk 40g of good-quality cocoa powder into the sugar and cornflour mixture at the start. The pudding will turn a deep, dark brown and taste intensely chocolatey. Reduce the vanilla extract to 1 teaspoon so the chocolate remains the star.
What to Serve With Classic Homemade Vanilla Pudding
- A dollop of softly whipped double cream and a scattering of fresh raspberries for contrast
- Crumbled shortbread biscuits or amaretti for crunch against the silky pudding
- A drizzle of salted caramel sauce for a sweet-salty finish
- Alongside a warm slice of apple crumble or a square of Fudgy Chocolate Brownies For A Crowd Pleasing Dessert for a double-dessert treat
- Spooned into small glass jars and topped with crushed Strawberry Cheesecake Ritz Crackers For Parties for a playful, layered dessert
Frequently Asked Questions
Classic Homemade Vanilla Pudding
Ingredients
Method
-
Prepare your base: In a medium, heavy-bottomed saucepan, whisk together the caster sugar, cornflour, and a pinch of salt. Feel the mixture between your fingers — it should be fine and powdery, with no lumps. Slowly pour in about 100ml of the cold milk, whisking constantly until you have a smooth, pale slurry.
-
Add the remaining milk and vanilla: Pour in the rest of the milk in a steady stream, whisking all the while. Drop in the split vanilla pod (or stir in the vanilla bean paste). Set the pan over a medium heat. You’ll hear a gentle hiss as the pan warms up — that’s your cue to start paying attention.
-
Temper the egg yolks: While the milk mixture heats, place the egg yolks in a medium bowl and whisk them until they’re pale and slightly thickened, about 30 seconds. Once the milk mixture is steaming but not bubbling (around 70°C if you’re using a thermometer), slowly ladle about 120ml of the hot milk into the yolks, whisking constantly. This step prevents the yolks from scrambling.
-
Combine and thicken: Pour the tempered yolk mixture back into the saucepan, whisking steadily. Return the pan to medium heat and switch to a wooden spoon. Stir constantly, scraping the bottom and corners of the pan. After 3-4 minutes, you’ll feel the mixture start to resist your spoon — it will become noticeably thicker, and you’ll see lazy bubbles breaking the surface. The pudding should coat the back of your spoon thickly, and a finger drawn through it should leave a clean trail.
-
Finish with butter: Once the pudding has thickened (about 5-6 minutes total cooking time after adding the eggs), remove the pan from the heat immediately. Fish out the vanilla pod — rinse it, dry it, and bury it in a jar of sugar for future use. Drop in the cubed butter and the teaspoon of vanilla extract. Stir until the butter has melted completely and the pudding looks glossy and smooth.
-
Strain for silkiness: Set a fine-mesh sieve over a large heatproof bowl. Pour the hot pudding through the sieve, pressing gently with a spatula. This catches any tiny lumps or bits of cooked egg. The pudding that emerges should be absolutely smooth and shiny, with a fragrance that fills your kitchen.
-
Chill with care: Press a piece of cling film directly onto the surface of the pudding — this prevents a skin from forming. Poke a few tiny holes in the film with a toothpick so steam can escape. Refrigerate for at least 4 hours, or overnight. The pudding will firm up beautifully, turning from a pourable custard into a spoonable dessert with a gentle wobble.
Notes
There’s something quietly magical about turning a handful of basic ingredients into a dessert that feels this luxurious. The steam rising from the pan, the rhythmic stir of the spoon, the way the kitchen fills with that warm vanilla scent — it’s a small act of mindfulness that rewards you with something genuinely delicious. My kids absolutely devour this every time I make it, and I hope yours will too. If you give this Classic Homemade Vanilla Pudding a try, I’d love to hear how it turns out — drop a comment below and share your experience.