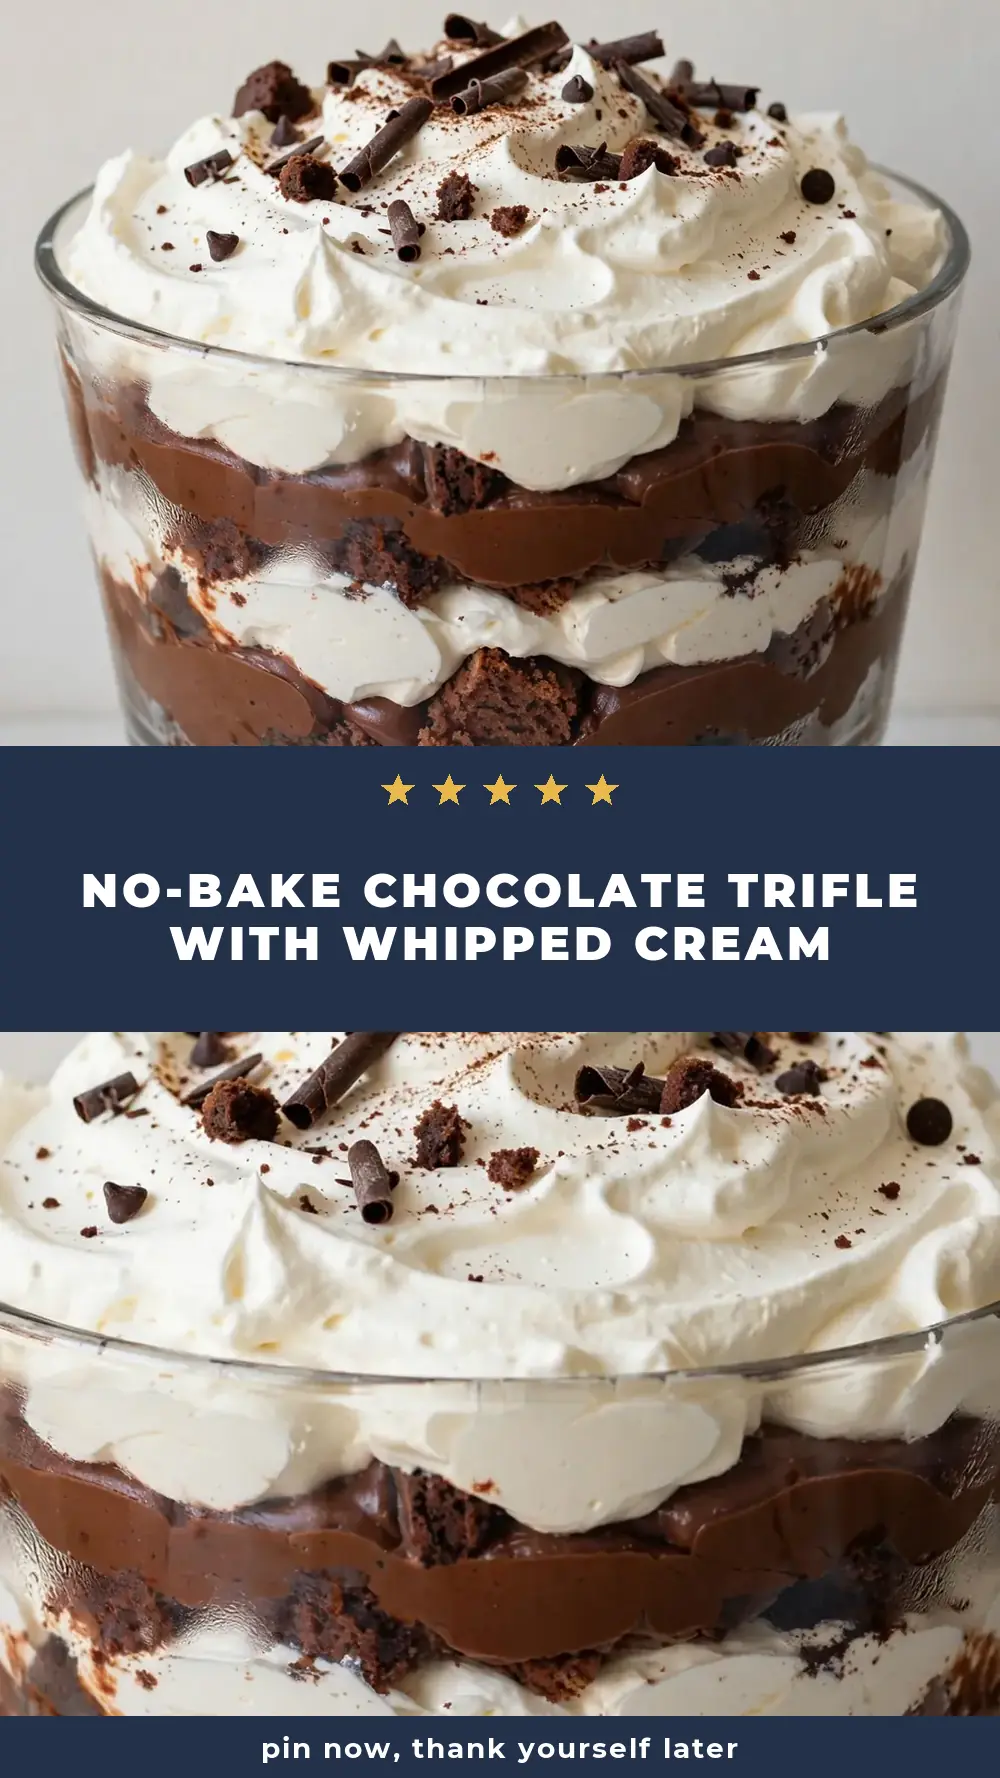
No-Bake Chocolate Trifle With Whipped Cream
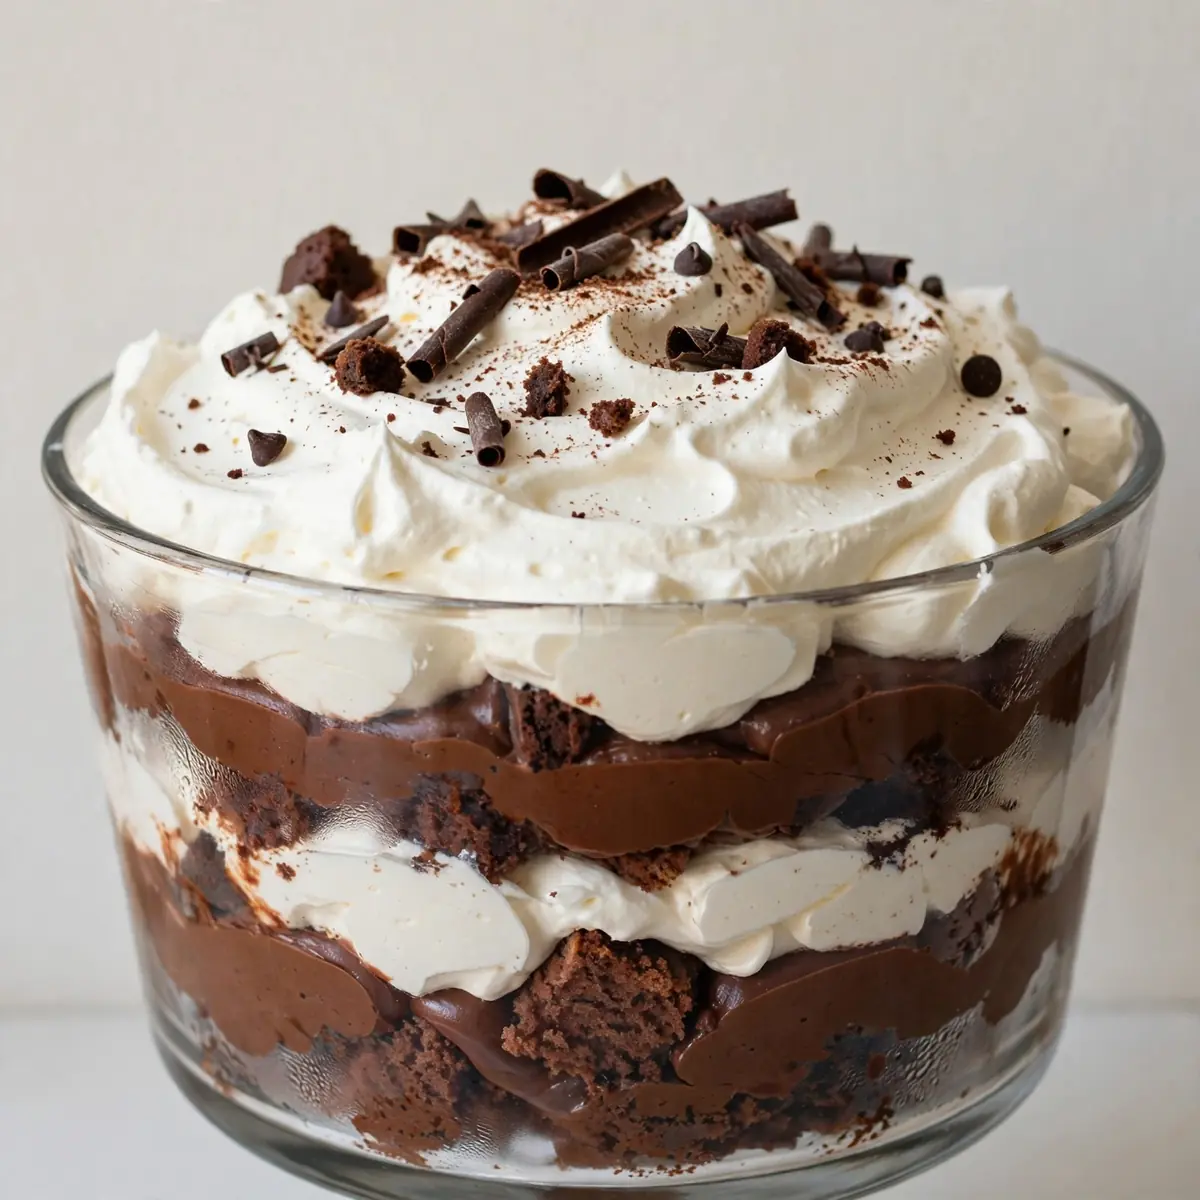
There are weekends for dashing about, and then there are weekends for sinking into the sofa, letting the rain patter against the window, and building something beautiful in the kitchen, one layer at a time. This No-Bake Chocolate Trifle with Whipped Cream is exactly that kind of project—a slow, deliberate act of comfort that fills your home with the deep, rich scent of melted chocolate and vanilla. Let’s get straight to it.
Recipe Overview
- Prep Time: 30 minutes
- Cook Time: 10 minutes (for the custard base)
- Total Time: 4 hours 40 minutes (includes 4 hours chilling)
- Servings: 10–12 generous portions
- Difficulty: Easy
Why You’ll Love This No-Bake Chocolate Trifle with Whipped Cream
- Pure sensory comfort: The scent of warm chocolate custard, the sight of glossy layers, the sound of a spoon cracking through the topping—this is edible hygge.
- No oven required: On a warm day or when you simply cannot face turning on the oven, this dessert comes together entirely on the hob and in the fridge.
- Make-ahead magic: It actually tastes better after a full night’s rest in the fridge, meaning you can prepare it the day before a gathering and relax.
- Totally crowd-friendly: My kids absolutely devour this every time I make it, and it disappears just as fast at adult dinner parties.
- Endlessly adaptable: Swap the biscuits, change the fruit, or add a splash of strong coffee to the cream—the base structure is a forgiving canvas.
Ingredients You’ll Need
- 600ml double cream
- 300g dark chocolate (70% cocoa), roughly chopped
- 4 large egg yolks
- 50g caster sugar
- 1 teaspoon vanilla bean paste or extract
- 300ml full-fat milk
- 2 tablespoons cornflour
- 200g digestive biscuits or rich tea biscuits
- 100g unsalted butter, melted
- 2 tablespoons cocoa powder, for dusting
- Fresh raspberries or strawberries, for garnish (optional but lovely)
Tip: Use a good-quality dark chocolate here—the cheaper bars often contain less cocoa butter and can seize when melted. A 70% bar gives a deep, complex flavour that plays beautifully against the sweet cream.
How to Make No-Bake Chocolate Trifle with Whipped Cream
- Make the biscuit base. Crush the digestive biscuits into fine crumbs—you want a texture like damp sand, with no large shards left. I pop them in a sealed bag and go at them with a rolling pin until I hear the satisfying crackle subside into silence. Stir in the melted butter until every crumb is coated and the mixture feels like wet sand when pressed between your fingers. Press this firmly into the base of a 9×13 inch baking dish, using the back of a spoon to compact it. The base should look even and dark, with no gaps. Pop it in the fridge to set while you make the custard.
- Whisk the egg yolks and sugar. In a medium bowl, whisk the egg yolks with the caster sugar until the mixture turns pale and thick, and when you lift the whisk, it leaves a ribbon-like trail on the surface for a second or two. This should take about 2 minutes of steady whisking.
- Prepare the custard base. In a saucepan, warm the milk and 300ml of the double cream over a medium heat. Do not let it boil—you are looking for small bubbles around the edge of the pan and a gentle steam rising. The smell will be warm and milky. Meanwhile, sprinkle the cornflour over the egg yolk mixture and whisk until smooth.
- Temper the eggs. Slowly pour the hot milk mixture into the egg yolk bowl, whisking constantly. I use a thin stream and keep whisking—this stops the eggs from scrambling. The mixture will look pale and thin at this point. Pour everything back into the saucepan.
- Cook the custard. Place the saucepan over a low heat and stir with a wooden spoon constantly. You are watching for the moment the mixture thickens enough to coat the back of the spoon—when you run your finger through it, the line should hold. This takes about 5–7 minutes. The texture will shift from watery to silky, and the colour will deepen slightly. Remove from the heat immediately.
- Add the chocolate. Tip the chopped dark chocolate into the hot custard and let it sit for 30 seconds. Then stir gently until it is fully melted and the custard turns a deep, glossy brown. The smell at this point is pure indulgence—rich, slightly bitter, utterly irresistible. Stir in the vanilla. Pour this chocolate custard over the chilled biscuit base, spreading it evenly. The surface should be smooth and shiny.
- Whip the topping. Pour the remaining 300ml of double cream into a chilled bowl. Whisk until soft peaks form—when you lift the whisk, the cream should hold a gentle peak that flops over slightly. Do not over-whip, or it will turn grainy. Spread the whipped cream over the cooled chocolate layer, creating soft swirls on the surface. Dust generously with cocoa powder.
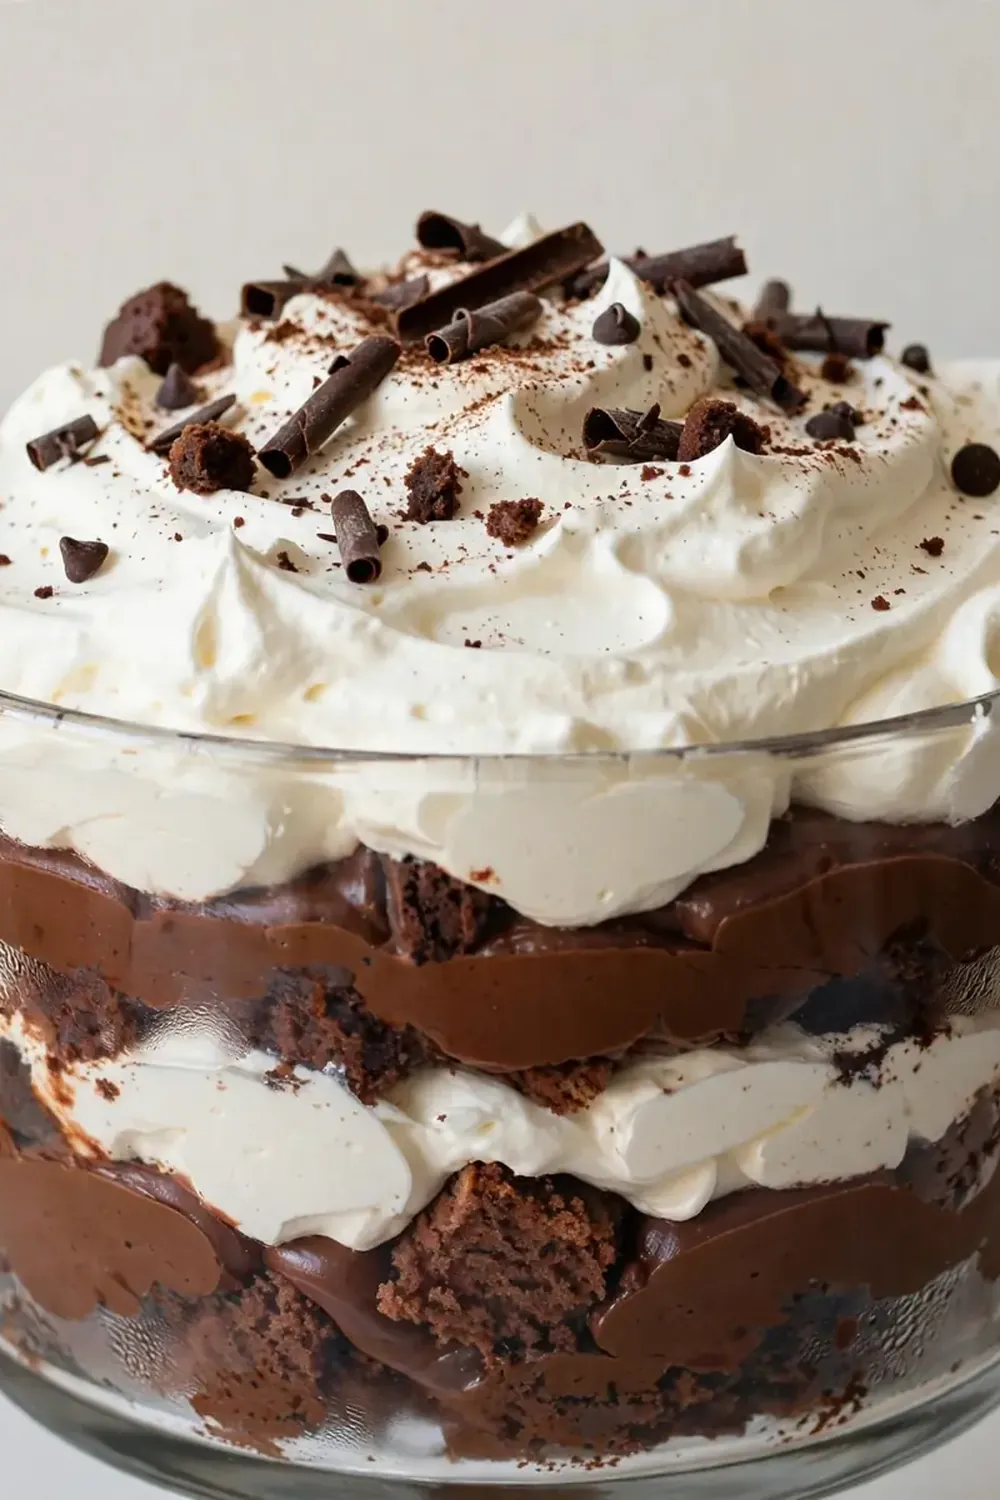
- Chill and set. Cover the dish with aluminium foil and refrigerate for at least 4 hours, but overnight is far better. The texture firms up beautifully, and the flavours meld into one cohesive, creamy whole. When ready, the trifle should slice cleanly, with distinct layers visible.
Tips From My Kitchen
- Chill your bowl and whisk for the cream: Cream whips best when everything is cold. I pop my metal bowl and whisk attachments in the freezer for 10 minutes before starting. The cream will aerate faster and hold its shape longer—no weeping cream on your beautiful dessert.
- Don’t rush the custard cooking: Low and slow is the rule here. If you crank up the heat, the egg yolks can scramble, leaving you with a grainy, lumpy custard. Stir constantly and feel the texture change from thin to thick—it should feel like a heavy liquid that clings to the spoon.
- Use a glass dish for layering: A glass trifle dish or Pyrex baking dish lets you see the beautiful layers you have created. It also makes it easier to check that the biscuit base is even and the custard has set properly before adding the cream.
- Let the custard cool slightly before adding the cream: If the chocolate custard is still warm when you spread the whipped cream on top, the cream will melt and sink. Wait until the custard is just warm to the touch—about 20 minutes at room temperature—before adding the topping.
- Make your own chocolate curls for garnish: For a professional touch, run a vegetable peeler along the edge of a chocolate bar at room temperature. The curls will tumble onto the cream, adding a lovely crunchy texture and visual appeal. I do this just before serving so they stay crisp.
Equipment You’ll Need
- 9×13 inch baking dish or large trifle dish
- Aluminium foil
- Mixing bowls (metal for cream, glass for custard)
- Sharp knife
- Wooden spoon
- Whisk or electric hand mixer
- Saucepan
- Rolling pin (for crushing biscuits)
Common Mistakes to Avoid
- Overcrowding the pan: If you press the biscuit base too thickly, it becomes heavy and difficult to scoop. Aim for a layer about 1cm thick—enough to hold the custard without dominating the dessert. Press it evenly, not too tightly.
- Wrong temperature: When making custard, the milk should be hot but not boiling—aim for 80°C, just below a simmer. If the milk bubbles fiercely, it can curdle the eggs. Use a kitchen thermometer if you have one, or watch for those small, lazy bubbles around the edge.
- Skipping the rest time: This trifle needs at least 4 hours in the fridge to set properly. If you rush it, the layers will slide into each other, and the custard will be runny. Overnight is ideal—the flavours deepen, and the texture becomes luxurious and sliceable.
What to Serve With No-Bake Chocolate Trifle with Whipped Cream
- A strong cup of filter coffee or an espresso—the bitterness cuts through the sweetness.
- A handful of fresh berries on the side, particularly raspberries, which add a tart pop.
- A small glass of cold milk for the little ones, who will inevitably ask for seconds.
Still hungry for ideas? You might also love Easy No Bake Chocolate Pie, Easy No Bake Oreo Dessert from our sister kitchens.
Frequently Asked Questions
No-Bake Chocolate Trifle with Whipped Cream
Ingredients
Method
-
Make the biscuit base. Crush the digestive biscuits into fine crumbs—you want a texture like damp sand, with no large shards left. I pop them in a sealed bag and go at them with a rolling pin until I hear the satisfying crackle subside into silence. Stir in the melted butter until every crumb is coated and the mixture feels like wet sand when pressed between your fingers. Press this firmly into the base of a 9×13 inch baking dish, using the back of a spoon to compact it. The base should look even and dark, with no gaps. Pop it in the fridge to set while you make the custard.
-
Whisk the egg yolks and sugar. In a medium bowl, whisk the egg yolks with the caster sugar until the mixture turns pale and thick, and when you lift the whisk, it leaves a ribbon-like trail on the surface for a second or two. This should take about 2 minutes of steady whisking.
-
Prepare the custard base. In a saucepan, warm the milk and 300ml of the double cream over a medium heat. Do not let it boil—you are looking for small bubbles around the edge of the pan and a gentle steam rising. The smell will be warm and milky. Meanwhile, sprinkle the cornflour over the egg yolk mixture and whisk until smooth.
-
Temper the eggs. Slowly pour the hot milk mixture into the egg yolk bowl, whisking constantly. I use a thin stream and keep whisking—this stops the eggs from scrambling. The mixture will look pale and thin at this point. Pour everything back into the saucepan.
-
Cook the custard. Place the saucepan over a low heat and stir with a wooden spoon constantly. You are watching for the moment the mixture thickens enough to coat the back of the spoon—when you run your finger through it, the line should hold. This takes about 5–7 minutes. The texture will shift from watery to silky, and the colour will deepen slightly. Remove from the heat immediately.
-
Add the chocolate. Tip the chopped dark chocolate into the hot custard and let it sit for 30 seconds. Then stir gently until it is fully melted and the custard turns a deep, glossy brown. The smell at this point is pure indulgence—rich, slightly bitter, utterly irresistible. Stir in the vanilla. Pour this chocolate custard over the chilled biscuit base, spreading it evenly. The surface should be smooth and shiny.
-
Whip the topping. Pour the remaining 300ml of double cream into a chilled bowl. Whisk until soft peaks form—when you lift the whisk, the cream should hold a gentle peak that flops over slightly. Do not over-whip, or it will turn grainy. Spread the whipped cream over the cooled chocolate layer, creating soft swirls on the surface. Dust generously with cocoa powder.
-
Chill and set. Cover the dish with aluminium foil and refrigerate for at least 4 hours, but overnight is far better. The texture firms up beautifully, and the flavours meld into one cohesive, creamy whole. When ready, the trifle should slice cleanly, with distinct layers visible.
Notes
I used to struggle with this dish until I discovered the technique of letting the custard cool completely before adding the cream—it was a game-changer for the layers. If you have ever felt intimidated by layered desserts, this one will win you over. There is something deeply satisfying about building it slowly, watching each layer come together, and then presenting it at the table. I would love to hear how yours turns out—drop a comment below and tell me which variation you tried. And if you are looking for other no-fuss treats, you might enjoy these Easy Coconut Truffles or this Creamy No Bake Strawberry Cheesecake For Two for smaller gatherings. Happy cooking, and savour every spoonful.