Peanut Butter Chocolate Protein Smoothie
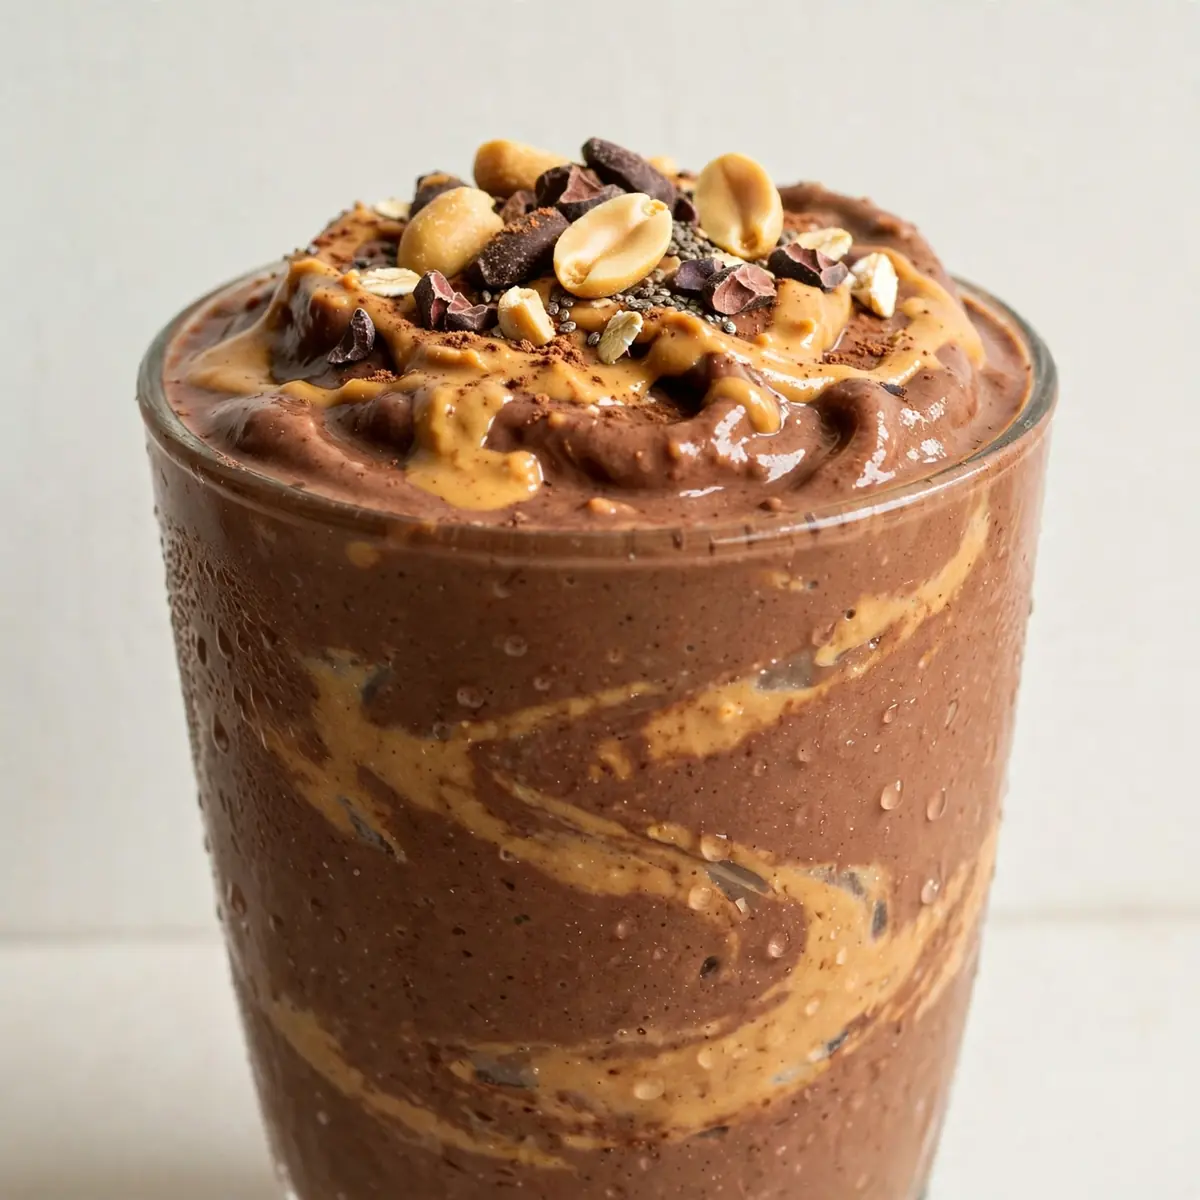
There are some afternoons that simply call for a quiet, deliberate act of self-care, and for me, that often begins with the whir of a blender and the deep, comforting scent of cocoa meeting roasted peanuts. This Peanut Butter Chocolate Protein Smoothie isn’t a frantic, grab-and-go affair; it’s a project for a slow Saturday, a ritual where the sound of the ice cracking and the sight of a perfectly swirled glass are the true rewards. I’ve been making this for over 8 years, and it never disappoints, transforming a handful of humble ingredients into a moment of pure, velvety bliss.
Recipe Overview
- Preparation Time: 5 minutes
- Cook Time: 0 minutes
- Total Time: 5 minutes
- Servings: 1 generous glass
- Difficulty: Very Easy
Why You’ll Love This Peanut Butter Chocolate Protein Smoothie
- A Proper Indulgence: This isn’t a watery, flavourless shake. The combination of rich cocoa and creamy peanut butter creates a dessert-like experience that feels genuinely decadent, similar to enjoying a No-Bake Chocolate Trifle With Whipped Cream, Soft Strawberry Shortcake Cookies, or perhaps an Easy Lemon Meringue Pie .com/no-bake-chocolate-trifle-with-whipped-cream/”>No-Bake Chocolate Trifle With Whipped Cream .com/easy-lemon-meringue-pie/”>Easy Lemon Meringue Pie.com/no-bake-chocolate-trifle-with-whipped-cream/”>No-Bake Chocolate Trifle With Whipped Cream.
- Lasting Satisfaction: Thanks to the protein and healthy fats, this smoothie keeps hunger at bay for hours. It’s the perfect post-lunch treat or a substantial afternoon pick-me-up that won’t leave you reaching for a biscuit an hour later.
- Minimal Effort, Maximum Reward: With just a handful of ingredients and a single blender, you can create something that tastes like it came from a fancy café. The clean-up is as quick as the blending itself.
- Endlessly Adaptable: Whether you prefer a dairy-free version, a touch of spice, or an extra boost of greens, this base recipe welcomes your personal touch without complaint.
- A Sensory Ritual: The act of measuring, pouring, and watching the ingredients swirl together is deeply calming. It’s a small, mindful pause in a busy day.
Ingredients You’ll Need
- 250 ml (1 cup) milk of your choice (whole milk for creaminess, oat milk for a neutral sweetness)
- 1 large, ripe banana (frozen for a thicker, frostier texture)
- 2 tablespoons (30g) smooth peanut butter (use a natural kind with no added sugar or oil)
- 1 scoop (about 30g) chocolate protein powder (whey or plant-based)
- 1 tablespoon (10g) unsweetened cocoa powder
- 1 tablespoon (15ml) maple syrup or runny honey (optional, depending on the sweetness of your banana and protein powder)
- ½ teaspoon vanilla extract
- Pinch of sea salt (this is key to deepening the chocolate flavour)
- Handful of ice cubes (about 4-5)
Tip: For the most luxurious texture, freeze your banana the night before. Simply peel it, chop it into chunks, and store it in a freezer bag. This eliminates the need for as much ice and results in a smoother, silkier smoothie.
How to Make Peanut Butter Chocolate Protein Smoothie
- Prepare your base: Pour the milk into your blender first. This helps the blades move freely and prevents the powder from sticking to the bottom. You’ll hear a soft splash as it settles.
- Add the flavour: Break the frozen banana into a few pieces and drop them in. Spoon in the peanut butter, watching it slump into the milk. Add the chocolate protein powder and the cocoa powder – you’ll see a cloud of deep brown dust settle on top of the banana.
- Sweeten and season: Drizzle in the maple syrup or honey if using, add the vanilla extract, and finish with that pinch of sea salt. The salt looks insignificant but it will make a world of difference to the final taste.
- Add the chill: Tumble in the ice cubes. Listen for the satisfying clatter against the glass pitcher.
- Blend until silken: Start the blender on a low speed, gradually increasing to high. You’ll hear the sound change from a loud, chunky rattle to a smooth, steady hum. Let it run for a full 45–60 seconds. The mixture should look thick, glossy, and completely uniform in colour, with no flecks of powder visible.
- Check the consistency: Stop the blender and remove the lid. The aroma of roasted peanuts and rich chocolate will hit you. Look at the smoothie; it should be slowly moving, like a thick milkshake. If it’s too thick, add a splash more milk and pulse briefly. If too thin, add another ice cube and blend again.
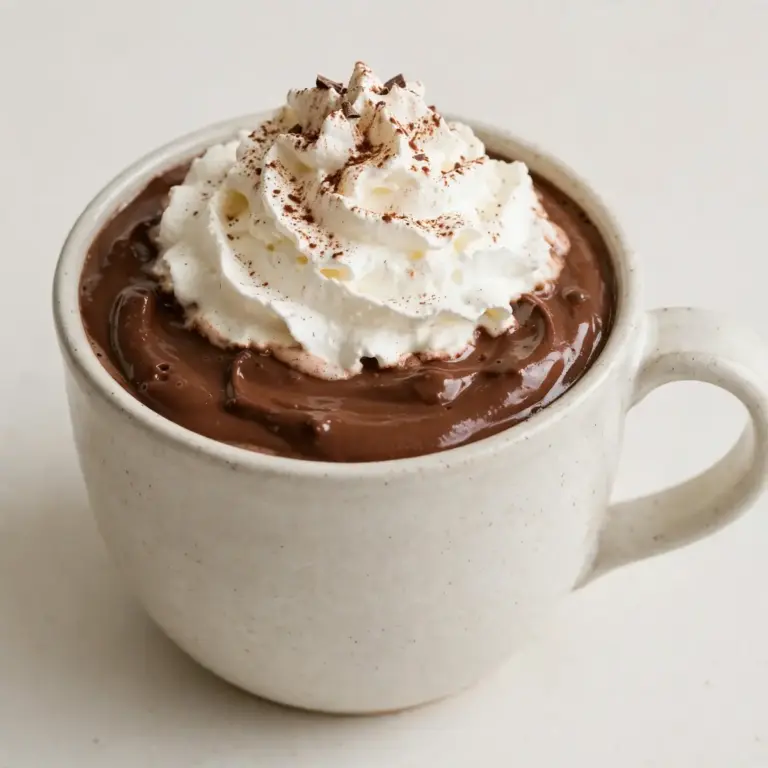
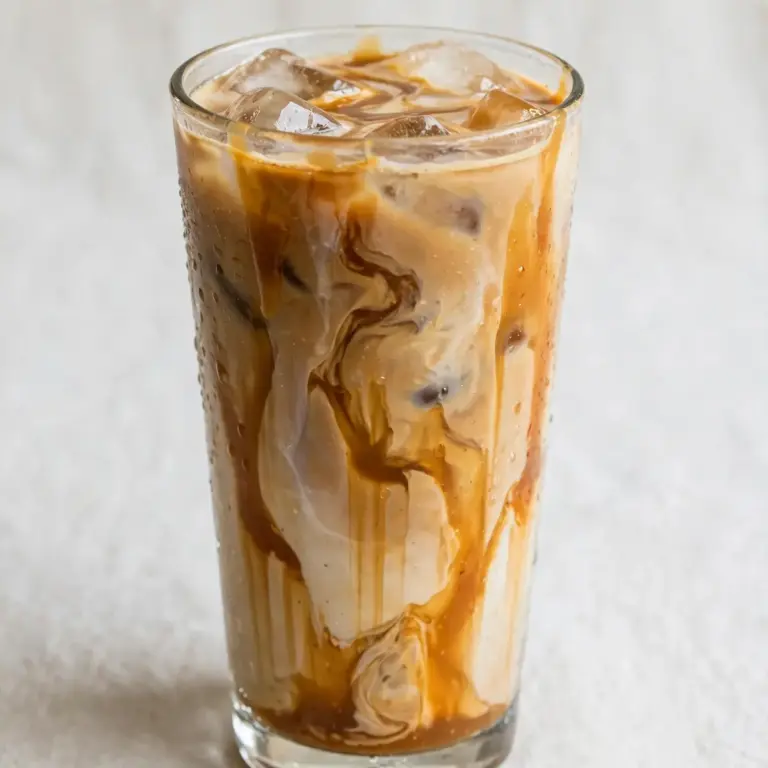
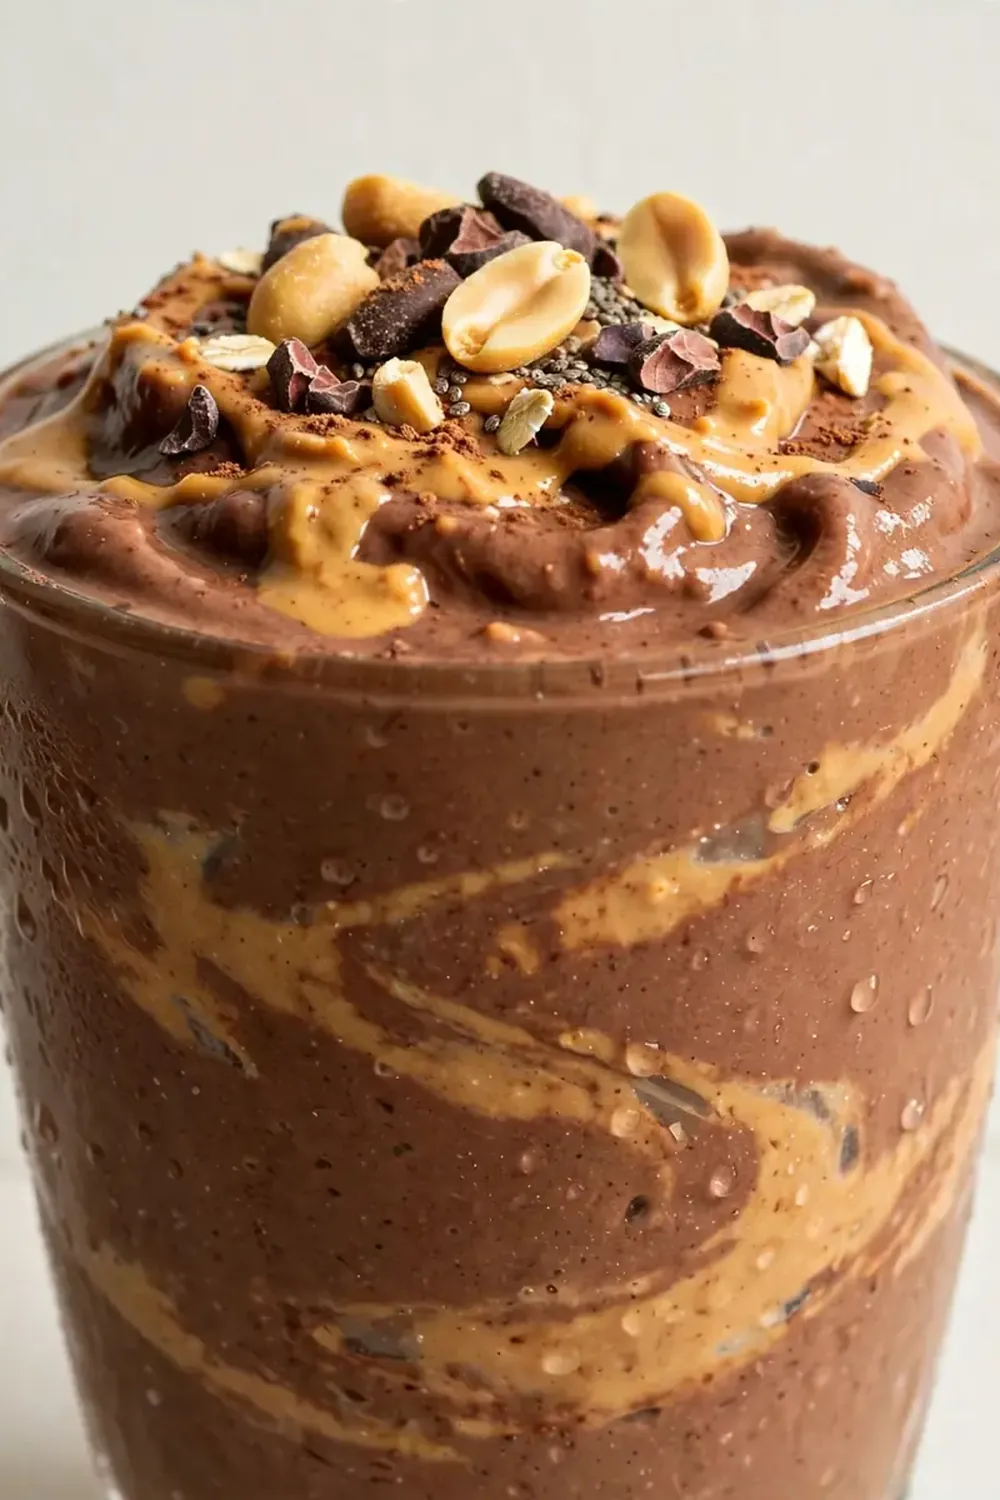
- Serve and savour: Pour the smoothie into a tall glass. You’ll see it settle with a gentle ripple. Take a moment to appreciate the deep, dark colour before taking your first sip. The texture should be luxuriously creamy, coating your tongue with every mouthful.
Tips From My Kitchen
- Use a ripe banana: A banana that is heavily speckled with brown spots is ideal. It’s at its sweetest and most fragrant, which means you can use less added sweetener. A green banana will result in a starchy, less sweet smoothie with a thinner texture.
- Don’t skip the salt: A pinch of sea salt isn’t just for seasoning; it’s a flavour enhancer. It suppresses bitterness in the cocoa and protein powder, and it brightens the sweetness of the banana and peanut butter, making the whole drink taste more complex and rounded.
- Blend in stages: If your blender isn’t the most powerful, don’t just whack it on full speed. Start low to get the larger pieces moving, then increase the speed. This protects your machine’s motor and ensures a smoother result without any hidden chunks of frozen banana.
- Taste before you pour: Once you’ve finished blending, take a small spoonful. This is your chance to adjust. A little more peanut butter for saltiness? An extra drizzle of honey for sweetness? It’s far easier to fix it in the blender than in the glass.
- Chill your glass: For an extra touch of indulgence, pop your serving glass in the freezer for 10 minutes before you start. The cold glass will help keep your smoothie frosty for longer, especially on a warm afternoon.
Equipment You’ll Need
- A sturdy blender (a high-speed model is best, but any blender will work)
- A sharp knife and cutting board (for prepping the banana)
- Measuring spoons and cups
- A tall serving glass
Common Mistakes to Avoid
- Overloading the blender: Adding too many ingredients at once can cause the blender to struggle, resulting in an uneven texture and a motor that smells hot. Always add the liquid first and work in batches if you’re doubling the recipe.
- Using a not-so-ripe banana: As mentioned, a green or just-yellow banana lacks the natural sweetness and creamy texture needed. The smoothie will taste flat and can have a chalky mouthfeel. The banana must be ripe.
- Skipping the resting step: While you don’t need to rest the smoothie itself, you should let the blender come to a complete stop before opening the lid. This prevents a spray of smoothie from shooting out and creates a safer, less messy experience.
What to Serve With Peanut Butter Chocolate Protein Smoothie
This smoothie is a complete meal in itself, but it pairs beautifully with a few simple accompaniments. A small handful of roasted almonds or walnuts adds a lovely crunch. For a more substantial snack, try it alongside a slice of wholemeal toast spread with a little more peanut butter and sliced banana. It also makes a fantastic partner to a quiet hour with a good book, where the drink is the main event.
Still hungry for ideas? You might also love Peanut Butter Banana Smoothie Recipe Drink, Creamy 5 Ingredient Protein Smoothie Recipe from our sister kitchens.
Frequently Asked Questions
Peanut Butter Chocolate Protein Smoothie
Ingredients
Method
-
Prepare your base: Pour the milk into your blender first. This helps the blades move freely and prevents the powder from sticking to the bottom. You’ll hear a soft splash as it settles.
-
Add the flavour: Break the frozen banana into a few pieces and drop them in. Spoon in the peanut butter, watching it slump into the milk. Add the chocolate protein powder and the cocoa powder – you’ll see a cloud of deep brown dust settle on top of the banana.
-
Sweeten and season: Drizzle in the maple syrup or honey if using, add the vanilla extract, and finish with that pinch of sea salt. The salt looks insignificant but it will make a world of difference to the final taste.
-
Add the chill: Tumble in the ice cubes. Listen for the satisfying clatter against the glass pitcher.
-
Blend until silken: Start the blender on a low speed, gradually increasing to high. You’ll hear the sound change from a loud, chunky rattle to a smooth, steady hum. Let it run for a full 45–60 seconds. The mixture should look thick, glossy, and completely uniform in colour, with no flecks of powder visible.
-
Check the consistency: Stop the blender and remove the lid. The aroma of roasted peanuts and rich chocolate will hit you. Look at the smoothie; it should be slowly moving, like a thick milkshake. If it’s too thick, add a splash more milk and pulse briefly. If too thin, add another ice cube and blend again.
-
Serve and savour: Pour the smoothie into a tall glass. You’ll see it settle with a gentle ripple. Take a moment to appreciate the deep, dark colour before taking your first sip. The texture should be luxuriously creamy, coating your tongue with every mouthful.
Notes
I do hope you set aside a quiet moment to make this for yourself. Let the sound of the blender and the smell of chocolate fill your kitchen, and take that first, slow sip. If you give it a try, I’d love to hear how you got on in the comments below.