
Easy Coconut Truffles Tutorial With 3 Ingredients
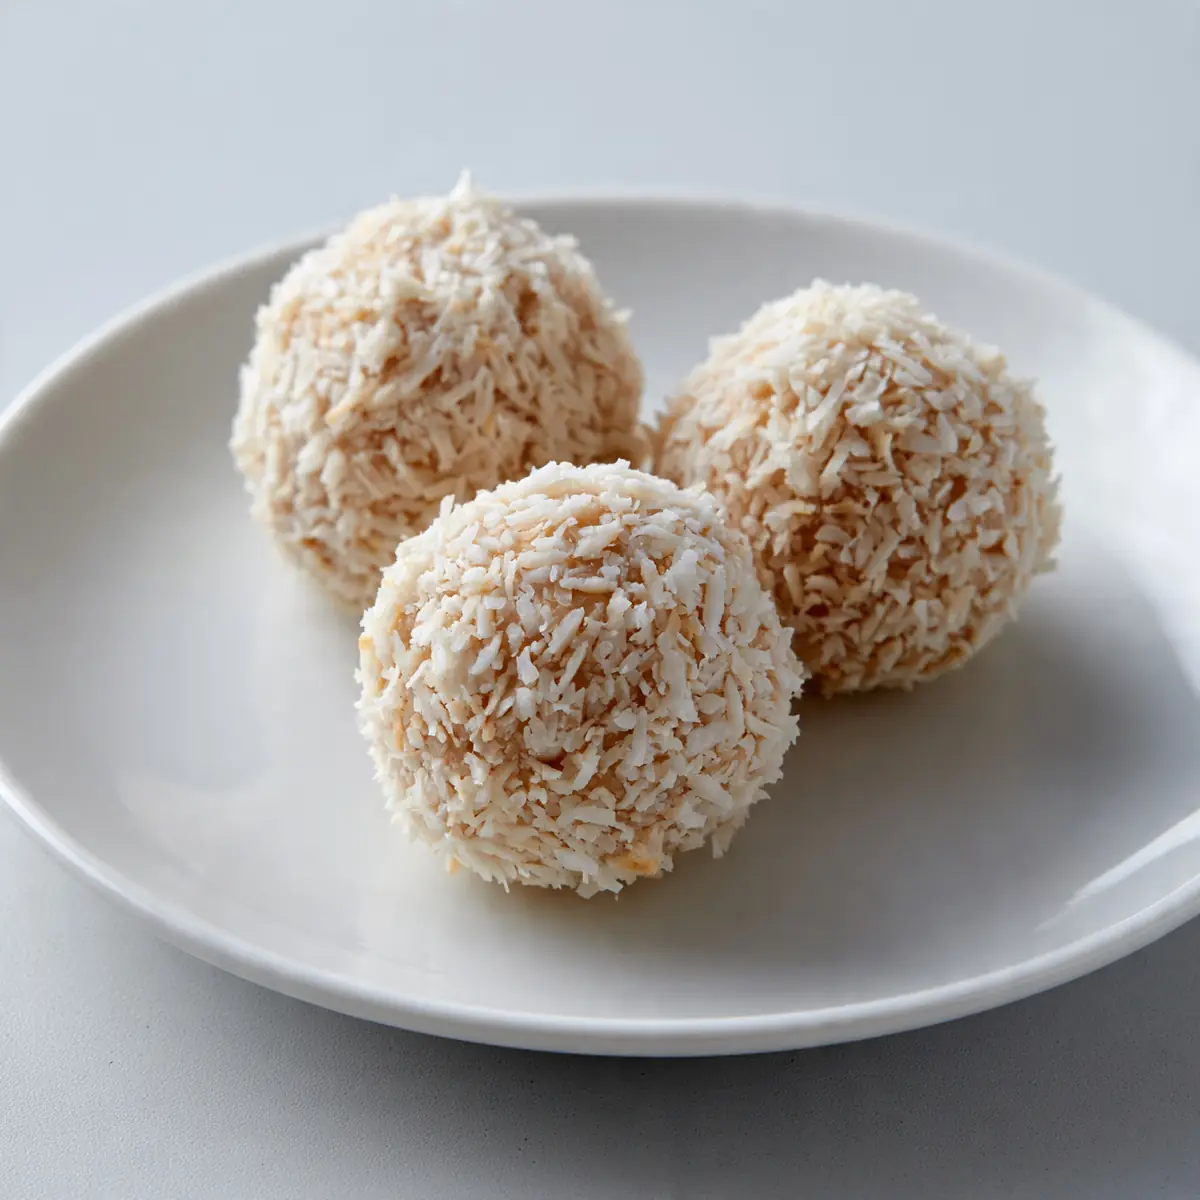
As a busy mum and a home cook who adores whipping up deliciousness without the fuss, I truly understand the challenge of getting a wholesome, satisfying meal on the table, especially mid-week. But what about dessert? That’s where these delightful coconut truffles come into their own, offering a touch of sweet bliss without adding another chore to your already packed schedule.
There are evenings when, after the main course is cleared and the last bit of homework is checked, a quiet craving for something sweet descends. For years, I’d either resort to shop-bought biscuits or feel a pang of guilt for not having a homemade treat ready. Then, I discovered the magic of these incredibly simple coconut truffles. They’re not just a recipe; they’re a revelation for any family navigating the hustle and bustle of modern life, proving that a little indulgence doesn’t have to mean a lot of effort.
What makes this tutorial truly unique is how seamlessly these truffles fit into the rhythm of a busy family week. We’re talking about a dessert that requires barely any active time, minimal washing up, and can be prepped well in advance. Imagine the delight on your children’s faces when a little bowl of these appears after a long school day, or the quiet satisfaction you feel knowing you’ve created something lovely with just a few moments of spare time. It’s about bringing joy back to the kitchen, even on the most demanding of days.
Recipe Overview
- Prep Time: 15 minutes
- Chill Time: 1 hour (minimum)
- Total Time: 1 hour 15 minutes
- Servings: Approximately 12-15 truffles
- Difficulty: Very straightforward
Why You’ll Love This Easy Coconut Truffles Tutorial with 3 Ingredients
- Unbeatable Speed: From cupboard to fridge in under 15 minutes – truly a blink-and-you-miss-it preparation.
- Minimal Cleanup: With just one bowl and a spoon, washing up is a breeze, leaving you more time for family.
- Fantastic Make-Ahead Option: Prepare these during a quiet moment in the morning or the weekend, and they’re ready for weeknight enjoyment.
- Kid-Friendly Fun: The rolling process is a brilliant activity for little hands, turning dessert prep into a shared family moment.
- Naturally Sweet & Satisfying: A delightful treat that curbs those sweet cravings without feeling overly heavy, making it an ideal end to any family meal.
Ingredients You’ll Need
- 300g sweetened condensed milk (full fat works best for richness)
- 250g desiccated coconut, plus extra for rolling
- 1 teaspoon vanilla extract (good quality makes a difference)
- Pinch of fine sea salt (optional, but it really enhances the flavour)
- Zest of 1 small orange or lemon (optional, for a citrusy lift)
- 25g unsweetened cocoa powder (optional, for a chocolate coating)
- 25g melted dark chocolate (optional, for drizzling)
- A few drops of food colouring (optional, for festive truffles)
- Mini paper cases (optional, for presentation)
Tip: While the core recipe uses just three ingredients, don’t shy away from those optional extras! A little vanilla extract truly elevates the aroma, and a pinch of salt balances the sweetness beautifully. For those who want to explore more desserts, these truffles are a brilliant starting point.
How to Make Easy Coconut Truffles Tutorial with 3 Ingredients
- Combine the Core Ingredients: In a medium-sized mixing bowl, pour in the entire can of sweetened condensed milk. Add the 250g of desiccated coconut and the vanilla extract. If you’re including the optional pinch of salt or citrus zest, now is the time to add it.
- Mix Until Well Combined: Using a sturdy spoon or a spatula, mix all the ingredients thoroughly. You’re looking for a mixture that pulls away from the sides of the bowl and holds together, forming a thick, slightly sticky dough-like consistency. It shouldn’t be too wet or too dry – just sticky enough to form balls.
- Chill the Mixture: Cover the bowl with cling film and place it in the refrigerator for at least 30 minutes. This chilling period is crucial as it firms up the mixture, making it much easier to handle and roll. When you check on it, the mixture should feel noticeably firmer to the touch and less tacky.
- Prepare Your Rolling Station: While the mixture chills, get your rolling station ready. Pour some extra desiccated coconut onto a shallow plate. If you’re using cocoa powder for coating, place that on another plate. You might also want to line a baking tray with baking parchment to place the finished truffles on.
- Roll the Truffles: Once chilled, take small portions of the mixture, about the size of a walnut. Roll each portion between your palms to form a smooth, round ball. The mixture should feel pliable and hold its shape well. If it’s too sticky, lightly dampen your hands. As you roll, you’ll notice the lovely sweet coconut aroma filling the air.
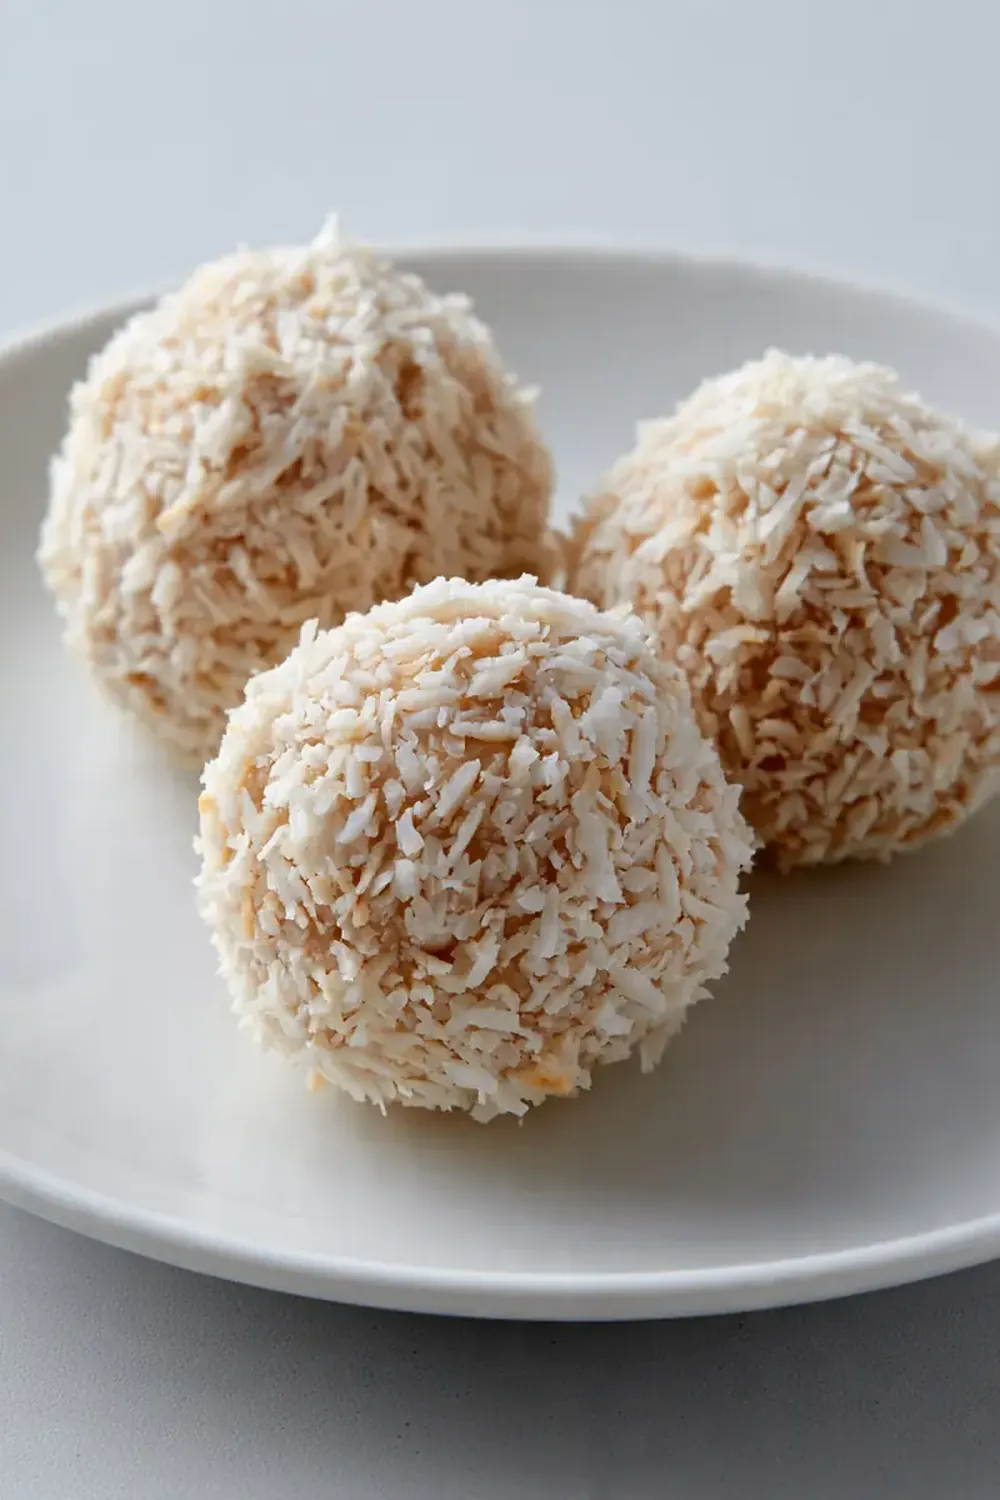
- Coat the Truffles: Immediately after rolling each truffle, gently roll it in the extra desiccated coconut, ensuring it’s fully coated. If you’re using cocoa powder, roll some in that instead for a different flavour profile. Press lightly so the coating adheres well.
- Final Chill: Place the coated truffles on your prepared baking tray. Once all the mixture is rolled and coated, return the tray to the refrigerator for at least another 30 minutes (or ideally, an hour) to allow the truffles to firm up completely. When ready, they should feel firm and hold their shape beautifully.
- Serve and Enjoy: Once thoroughly chilled, your easy coconut truffles are ready to be devoured! Arrange them in mini paper cases for an elegant touch, or simply pile them onto a serving plate. They make a delightful, light sweet treat after any meal.
Tips From My Kitchen
- Chill the Mixture Adequately: This is perhaps the most important tip. Don’t rush the initial chilling phase. The condensed milk and coconut need time to bond and firm up. If the mixture is too warm or soft, it will be incredibly sticky and frustrating to roll, leading to misshapen truffles and very messy hands. Aim for at least 30 minutes, or even an hour, especially on a warm day. The mixture should feel firm and scoopable.
- Moisten Your Hands for Rolling: Even with adequate chilling, the mixture can still be a bit sticky. Before you start rolling, lightly dampen your hands with water. This creates a barrier that prevents the mixture from sticking to your palms, making the rolling process much smoother and resulting in perfectly round truffles. Re-moisten as needed.
- Portioning for Uniformity: For truffles that are all roughly the same size, use a small ice cream scoop, a melon baller, or even a measuring spoon (like a teaspoon or tablespoon) to portion out the mixture. This ensures consistent cooking (though these don’t cook, consistency in size is still visually appealing) and prevents some truffles from being significantly larger or smaller than others.
- Experiment with Coatings: While desiccated coconut is the classic choice, don’t limit yourself! Try rolling some truffles in finely chopped nuts (like pistachios or almonds), unsweetened cocoa powder for a chocolatey bite, or even a mix of sprinkles for a fun, colourful variation that kids adore. Just ensure the coating is fine enough to adhere easily.
- Storage is Key for Freshness: These truffles keep wonderfully, which is brilliant for make-ahead convenience. Store them in an airtight container in the refrigerator for up to a week. Keeping them chilled prevents them from becoming too soft and maintains their texture. You can even freeze them for up to a month – just thaw in the fridge before serving.
Common Mistakes to Avoid
- Not Chilling Enough: The most common pitfall! If your mixture is too warm and soft, it will be impossible to roll neatly. You’ll end up with a sticky mess rather than perfectly formed truffles. Always ensure you chill the mixture for at least 30 minutes, or longer if your kitchen is warm.
- Using Too Much Condensed Milk: While it’s one of only three ingredients, the ratio matters. If you accidentally add too much condensed milk relative to the coconut, the mixture will be too wet and won’t firm up properly, even with chilling. Stick to the specified amount for the right consistency.
- Skipping the Vanilla Extract (or other flavourings): While optional, vanilla extract adds a lovely depth of flavour and aroma that truly elevates these simple truffles. Without it, they can taste a little one-dimensional. Don’t underestimate the power of a quality extract to enhance the overall experience.
Delicious Variations to Try
- Citrus Zest Burst: For a refreshing twist, add the finely grated zest of one orange or lemon to the mixture along with the vanilla extract. The bright, zesty notes beautifully complement the sweetness of the coconut. I find this variation particularly lovely when serving them after a slightly heavier meal.
- Chocolate Lovers’ Dream: Melt 50g of dark chocolate (dairy-free if preferred) and dip half or all of the chilled truffles into it, letting the excess drip off before placing them on parchment paper to set in the fridge. For an extra touch, drizzle with white chocolate or sprinkle with some mini chocolate chips before the chocolate sets. This is a brilliant way to incorporate more chocolatey goodness.
- Nutty Crunch: Before rolling the truffles in coconut, roll them lightly in finely chopped toasted nuts like almonds, pistachios, or hazelnuts. This adds a wonderful textural contrast and a deeper flavour profile. Ensure the nuts are very finely chopped so they adhere well to the truffle mixture.
What to Serve With Easy Coconut Truffles Tutorial with 3 Ingredients
- A calming cup of herbal tea
- A small espresso for an after-dinner pick-me-up
- Fresh fruit platter, offering a refreshing contrast
- Alongside other mini desserts for a sweet spread
- With a glass of chilled milk for the younger family members
Frequently Asked Questions
Easy Coconut Truffles Tutorial with 3 Ingredients
Ingredients
Method
- Combine the Core Ingredients: In a medium-sized mixing bowl, pour in the entire can of sweetened condensed milk. Add the 250g of desiccated coconut and the vanilla extract. If you're including the optional pinch of salt or citrus zest, now is the time to add it.
- Mix Until Well Combined: Using a sturdy spoon or a spatula, mix all the ingredients thoroughly. You’re looking for a mixture that pulls away from the sides of the bowl and holds together, forming a thick, slightly sticky dough-like consistency. It shouldn't be too wet or too dry – just sticky enough to form balls.
- Chill the Mixture: Cover the bowl with cling film and place it in the refrigerator for at least 30 minutes. This chilling period is crucial as it firms up the mixture, making it much easier to handle and roll. When you check on it, the mixture should feel noticeably firmer to the touch and less tacky.
- Prepare Your Rolling Station: While the mixture chills, get your rolling station ready. Pour some extra desiccated coconut onto a shallow plate. If you're using cocoa powder for coating, place that on another plate. You might also want to line a baking tray with baking parchment to place the finished truffles on.
- Roll the Truffles: Once chilled, take small portions of the mixture, about the size of a walnut. Roll each portion between your palms to form a smooth, round ball. The mixture should feel pliable and hold its shape well. If it's too sticky, lightly dampen your hands. As you roll, you'll notice the lovely sweet coconut aroma filling the air.
- Coat the Truffles: Immediately after rolling each truffle, gently roll it in the extra desiccated coconut, ensuring it’s fully coated. If you're using cocoa powder, roll some in that instead for a different flavour profile. Press lightly so the coating adheres well.
- Final Chill: Place the coated truffles on your prepared baking tray. Once all the mixture is rolled and coated, return the tray to the refrigerator for at least another 30 minutes (or ideally, an hour) to allow the truffles to firm up completely. When ready, they should feel firm and hold their shape beautifully.
- Serve and Enjoy: Once thoroughly chilled, your easy coconut truffles are ready to be devoured! Arrange them in mini paper cases for an elegant touch, or simply pile them onto a serving plate. They make a delightful, light sweet treat after any meal.
Notes
And there you have it – a truly effortless way to bring a little bit of sweetness into your busy weeknight routine. These easy coconut truffles aren’t just a recipe; they’re a testament to how simple, wholesome ingredients can create something truly special, even when time is of the essence. I make this at least once a week, and my kids absolutely devour this every time I make it, often asking if they can help with the rolling – which, of course, they can! I hope this tutorial inspires you to carve out those precious few minutes to create something delightful for your family, proving that homemade treats are always within reach. Please do share your experiences and any clever variations you discover in the comments below; I always love hearing from you!






