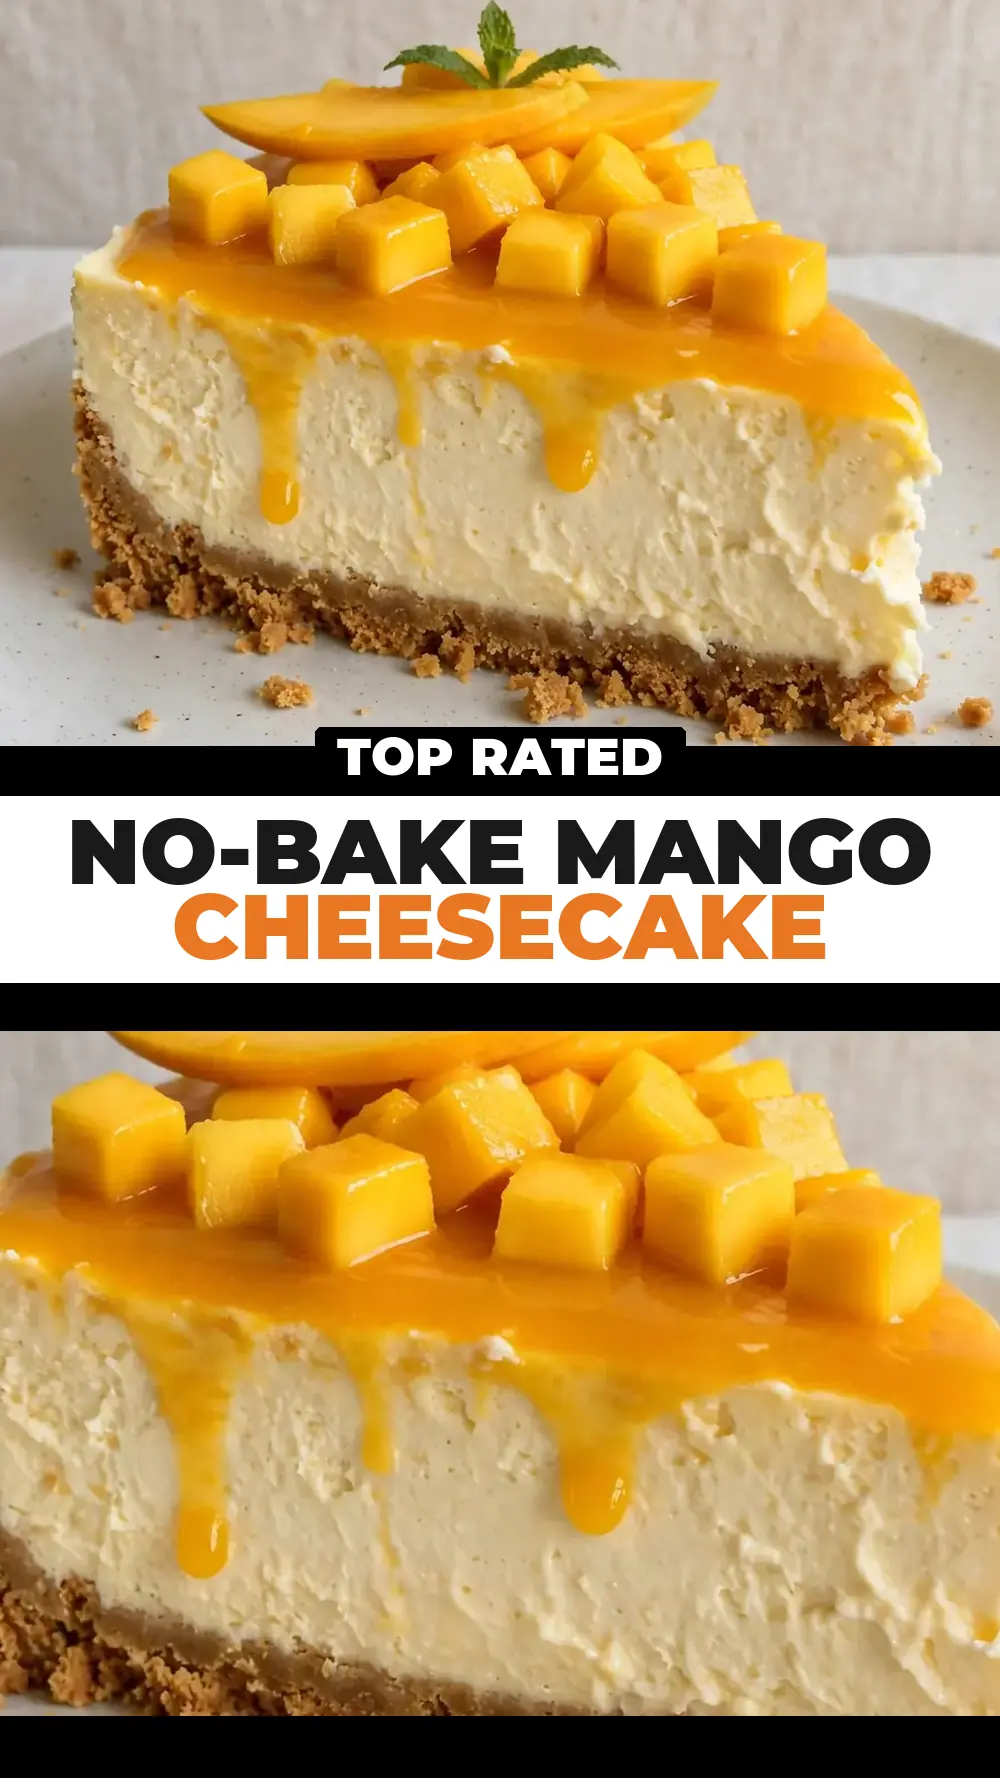
No-Bake Mango Cheesecake
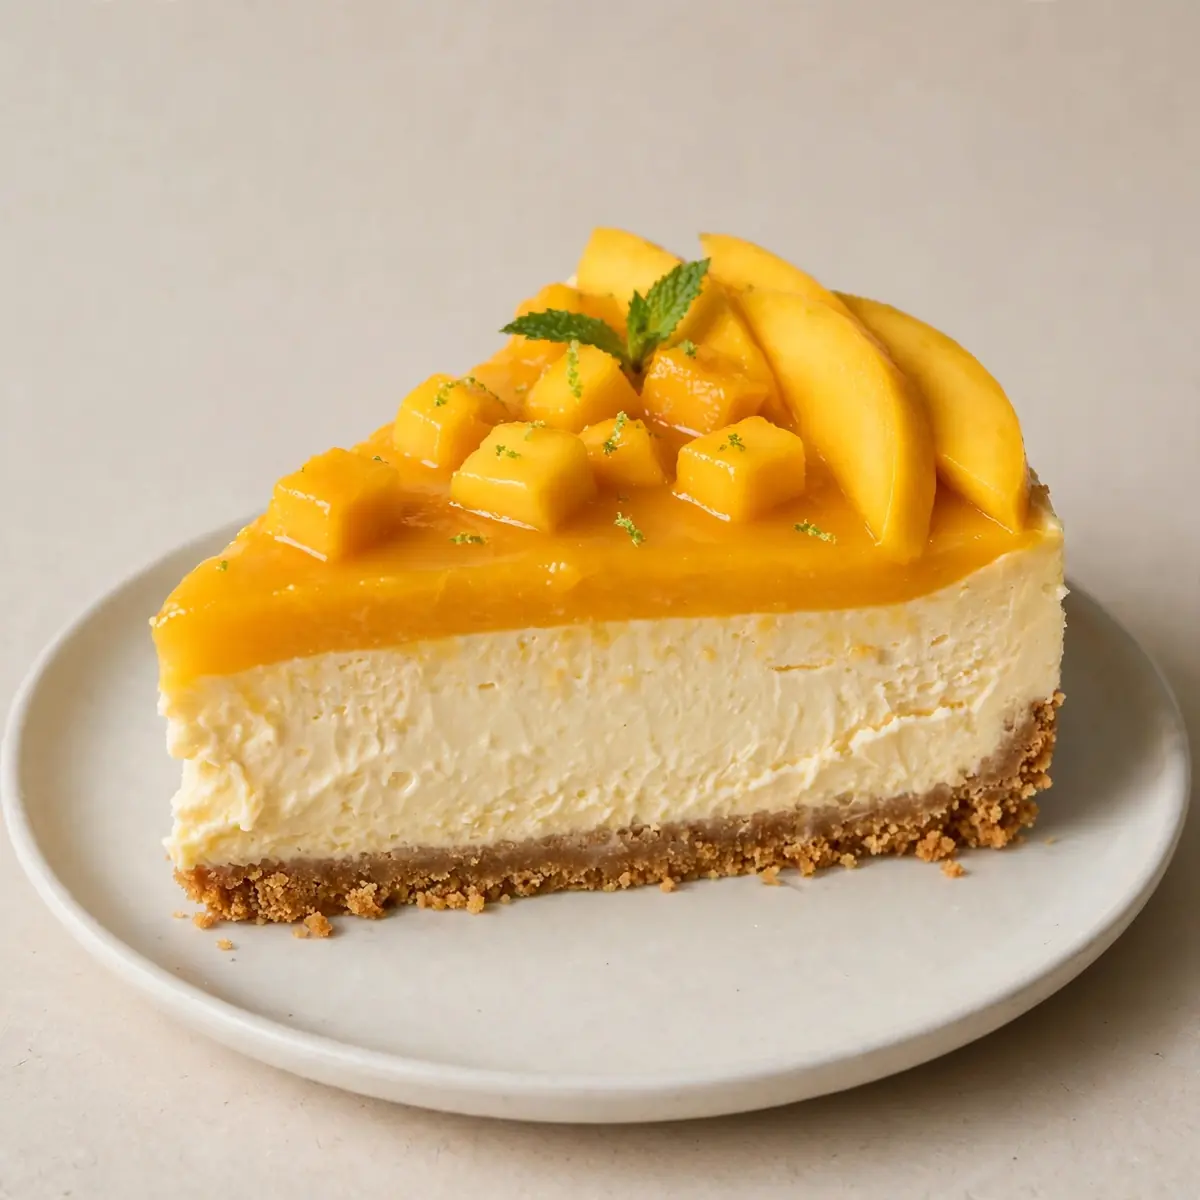
There’s a particular stillness that settles over my kitchen on a Saturday afternoon, the kind where the only sounds are the gentle hum of the fridge and the soft thud of a ripe mango being set down on the chopping board. This is my time to slow down, to let the sticky-sweet aroma of Alphonso mangoes fill the air, and to create something that feels like a proper hug in dessert form. This No-Bake Mango Cheesecake isn’t just a recipe; it’s my weekly ritual, a cosy weekend comfort-food project that transforms a handful of simple ingredients into a silky, golden masterpiece.
Recipe Overview
- Prep Time: 25 minutes
- Chill Time: 4 hours (minimum) to 8 hours (overnight)
- Total Time: 4 hours 25 minutes
- Servings: 8-10 slices
- Difficulty: Easy (no oven required)
Why You’ll Love This No-Bake Mango Cheesecake
- It’s a sensory journey: From the moment you crush the biscuits to the final swirl of mango puree, every step engages your senses. The crackle of the biscuit base, the velvety smoothness of the filling, and the bright, floral scent of fresh mangoes make this a truly meditative bake.
- No oven, no fuss: This is the ultimate project for a lazy weekend. There’s no need to worry about water baths or cracked tops; the fridge does all the hard work, delivering a perfectly set, creamy cheesecake every time.
- Perfect for make-ahead entertaining: I often make this on a Friday evening, and by Saturday lunch, it’s ready to impress. Friends always ask me for this recipe after trying it at dinner parties, and they’re always surprised it didn’t require a single degree of heat, just like an Homemade Iced Caramel Latte , an Iced Matcha Green Tea Latte , my Soft Banana Oat Cookies or a Classic Pecan Pie , or a Lemon Cheesecake With Blueberry Topping , or Lemon Bars With Shortbread Crust, or a Sparkling Chcom/sparkling-cherry-limeade/”>Sparkling Cherry Limeade , or a Homemade Hotcom/homemade-hot-chocolate-rich-creamy-2/”>Homemade Hot Chocolate (Rich & Creamy), or a Cranberry Orcom/cranberry-orange-muffins/”>Cranberry Orange Muffins, or a No-Bake Bluecom/homemade-iced-caramel-latte/”>Homemade Iced Caramel Latte, an Iced Matcha Green Tea Latte , my Soft Banana Oat Cookies or a Classic Pecan Pie , or a Lemon Cheesecake With Blueberry Topping , or a No-Bake Blueberry Cheesecake Bars , or a Watecom/watermelon-mint-cooler/”>Watermelon Mint Coolercom/easy-chia-seed-pudding-3-flavors/”>Easy Chia Seed Pudding (3 Flavors).com/soft-lemon-crinkle-cookies/”>Soft Lemon Crinkle Cookies.com/chocolate-peanut-butter-muffins/”>Chocolate Peanut Butter Muffinscom/no-bake-blueberry-cheesecake-bars/”>No-Bake Blueberry Cheesecake Bars, or a No-Bake Peanut Butter Chocolate Fudge , or a Double Chocolate Chip Muffinscom/classic-pecan-pie/”>Classic Pecan Pie, or a Lemon Cheesecake With Blueberry Topping , or a No-Bake Peanut Butter Chocolate Fudge , or a Clcom/lemon-cheesecake-with-blueberry-topping/”>Lemon Cheesecake With Blueberry Topping, or a No-Bake Peanut Butter Chocolate Fudge , or a Classic Banana Chocolate Chip Muffins, or a Saltecom/salted-caramel-cheesecake/”>Salted Caramel Cheesecake.com/classic-chocolate-cream-pie/”>Classic Chocolate Cream Pie, or a No-Bake Peanut Butter Chocolate Fudge , or a Classic Banana Chocolate Chip Muffins, or a Biscoff Caramel Bars, or an Easy Pumpkincom/no-bake-peanut-butter-chocolate-fudge/”>No-Bake Peanut Butter Chocolate Fudge, or a Classic Banana Chocolate Chip Muffins, or a Biscoff Caramel Bars, or an Easy Pumpkin Spice Cake, or a Brown Sugar Oat Milk Iced Lcom/iced-matcha-green-tea-latte/”>Iced Matcha Green Tea Latte, my Soft Banana Oat Cookies or a Classic Banana Chocolate Chip Muffins, or a Biscoff Caramel Bars, or an Easy Pumpkin Spice Cake, or a Brown Sugar Oat Milk Iced Latte , or Thick And Chewy Snicker, or an Easy Strawberry Pie.com/brown-sugar-oat-milk-iced-latte/”>Brown Sugar Oat Milk Iced Latte, or Thick And Chewy Snickerdoodle Bars, or Easy Chocolate Pudding.com/easy-chocolate-pudding-from-scratch/”>Easy Chocolate Pudding From Scratch.com/thick-and-chewy-snickerdoodle-bars/”>Thick And Chewy Snickerdoodle Bars.com/easy-pumpkin-spice-cake/”>Easy Pumpkin Spice Cake.com/classic-banana-chocolate-chip-muffins/”>Classic Banana Chocolate Chip Muffins .com/homcom/biscoff-caramel-bars/”>Biscoff Caramel Bars.com/classic-banana-chocolate-chip-muffins/”>Classic Banana Chocolate Chip Muffins.com/homemade-caramel-macchiato/”>Homemade Caramel Macchiato.com/acai-berry-smoothie-bowl/”>Acai Berry Smoothie Bowl.com/soft-banana-oat-cookies/”>Soft Banana Oat Cookies .com/cinnamon-sugar-donut-muffins/”>Cinnamon Sugar Donut Muffins .com/no-bake-lemon-cheesecake-with-graham-cracker-crust/”>No-Bake Lemcom/moist-banana-cake-with-brown-butter-frosting/”>Moist Banana Cake With Brown Butter Frosting.com/cinnamon-sugar-donut-muffins/”>Cinnamon Sugar Donut Muffins.com/no-bake-lemon-cheesecake-with-graham-cracker-crust/”>No-Bake Lemon Cheesecake With Graham Cracker Crust.
- Naturally vibrant and beautiful: The colour of a ripe mango is pure sunshine. This cheesecake doesn’t need artificial colouring; the fruit provides a stunning, natural golden hue that looks spectacular on any table.
- A blank canvas for creativity: While this version is a classic, you can easily adapt it. Try a swirl of passion fruit through the top, or add a layer of coconut to the base for a tropical twist.
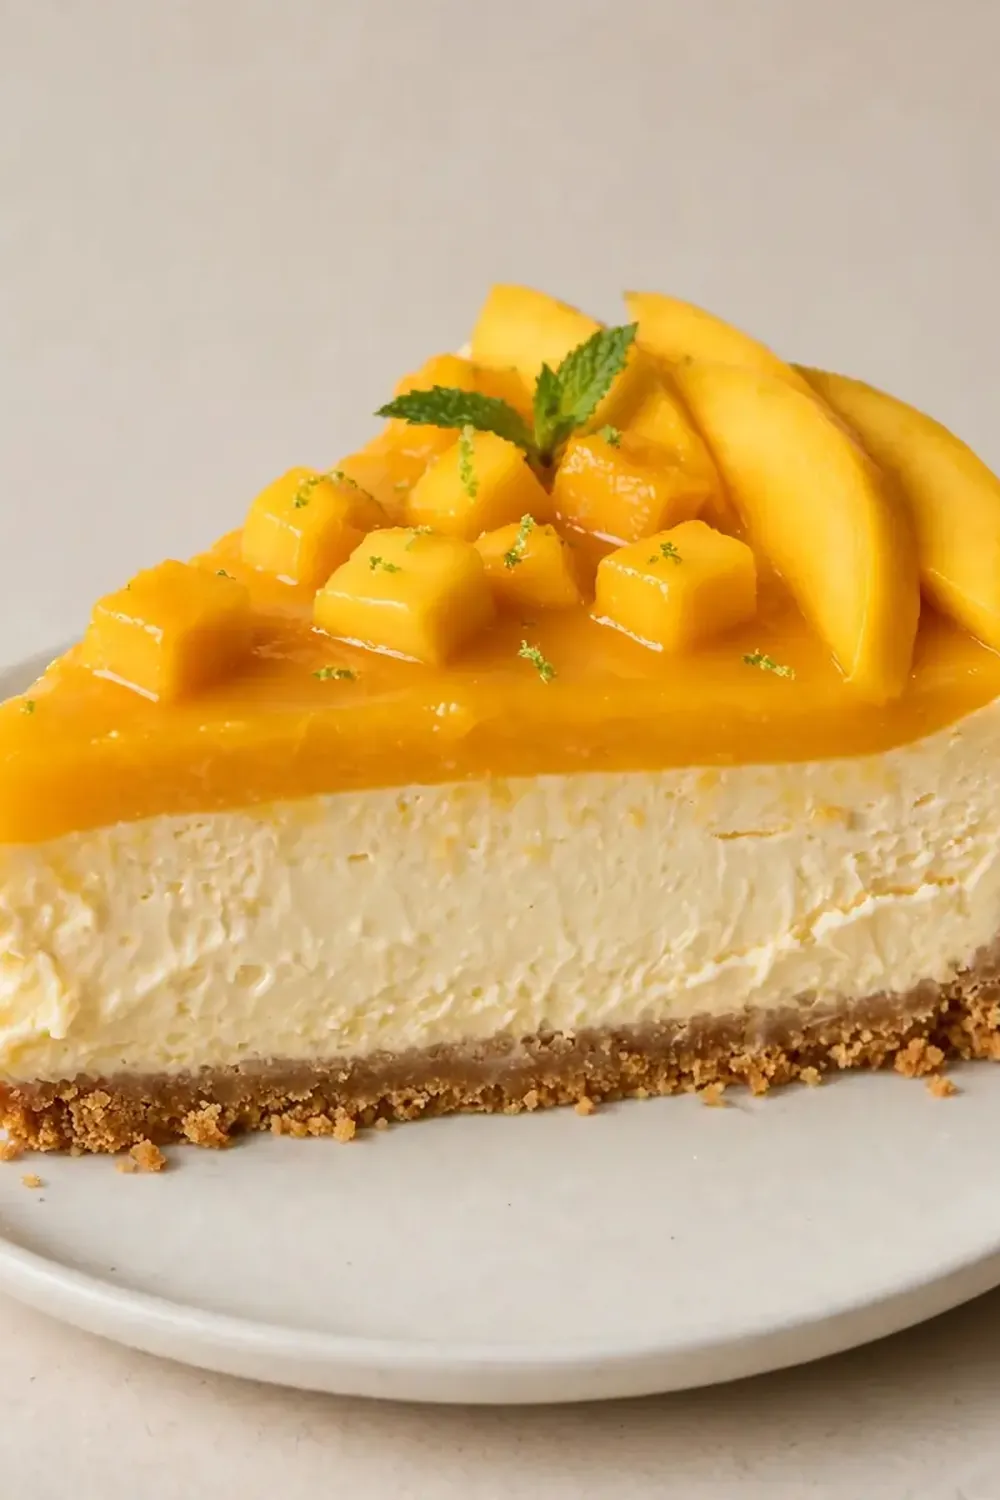
Ingredients You’ll Need
- 250g digestive biscuits (or any plain tea biscuit)
- 100g unsalted butter, melted
- 500g full-fat cream cheese, softened to room temperature
- 100g caster sugar
- 1 teaspoon vanilla extract
- 300ml double cream (heavy cream)
- 400g ripe mango puree (from about 3-4 large mangoes, plus extra for the topping)
- Juice of 1 medium lemon
- 2 tablespoons powdered gelatine (or 5 gelatine leaves)
- 3 tablespoons cold water (for blooming the gelatine)
Tip: The quality of your mangoes is paramount here. I always look for Alphonso or Kent mangoes when they’re in season. They’re intensely sweet and have a creamy, non-fibrous flesh that purees to a velvety smooth consistency. If fresh mangoes aren’t available, a good quality canned mango pulp is a perfectly acceptable substitute, just ensure it’s unsweetened so you can control the sugar level.
How to Make No-Bake Mango Cheesecake
- Prepare the base: Place the digestive biscuits in a sealed plastic bag and crush them with a rolling pin until they resemble fine, sandy crumbs. You should hear a satisfying crunch as the biscuits break down. Alternatively, pulse them in a food processor. Tip the crumbs into a bowl, pour over the melted butter, and stir until every grain is coated and the mixture smells deeply of toasted butter and biscuit. Press this mixture firmly into the base of a 20cm springform tin, using the bottom of a glass to create an even, compact layer. The sound of the mixture compacting is a sign of a sturdy base.
- Bloom the gelatine: In a small bowl, sprinkle the powdered gelatine over the 3 tablespoons of cold water. Do not stir. Let it sit for 5-10 minutes. You’ll see it turn into a firm, wobbling, translucent “sponge”. This process is key for a smooth, lump-free set.
- Create the mango heart: In a small saucepan, gently warm the mango puree over a low heat. Do not let it boil; you just want it to be warm to the touch. The aroma will become intensely fruity and sweet. Once warm, remove from the heat and add the bloomed gelatine. Whisk constantly until the gelatine has completely dissolved into the puree. The mixture should look glossy and perfectly smooth, with no flecks of gelatine remaining.
- Whip the cream cheese base: In a large mixing bowl, beat the softened cream cheese, caster sugar, and vanilla extract together until it is utterly smooth and fluffy. You want to see it lighten in colour and texture, becoming airy and without a single lump. This should take about 2-3 minutes with an electric mixer. The sound of the beaters will change from a heavy thud to a light, silky whisper.
- Fold the cream: In a separate, clean bowl, whip the double cream until it forms soft peaks. When you lift the whisk, the cream should hold its shape for a moment before gently flopping over. Be careful not to overwhip it into butter. Gently fold the whipped cream into the cream cheese mixture using a spatula, using a figure-of-eight motion until just combined. The mixture should be thick, pale, and cloud-like.
- Combine and pour: Pour the mango-gelatine mixture into the cream mixture. Fold gently but thoroughly until the colour is a uniform, pale apricot. The texture should be thick, glossy, and incredibly inviting. Pour this filling over the chilled biscuit base, smoothing the top with an offset spatula. Tap the tin gently on the counter to release any air bubbles.
- The final swirl: Drop small spoonfuls of the reserved mango puree onto the top of the cheesecake. Use a skewer or the tip of a knife to swirl them into beautiful, marbled patterns. This is where you can be truly artistic. Place the cheesecake in the refrigerator for a minimum of 4 hours, but overnight is far better for a clean, perfect slice.
Tips From My Kitchen
- Temperature is everything: Your cream cheese must be at room temperature. If it’s cold from the fridge, it won’t blend smoothly and you’ll end up with a lumpy, grainy filling. Take it out of the fridge at least 30 minutes before you start. Similarly, ensure your double cream is well-chilled; cold cream whips up much better and holds its shape for longer.
- Don’t rush the gelatine: The process of blooming gelatine in cold water is non-negotiable. If you add dry gelatine powder directly to a warm liquid, it will clump into rubbery balls. The bloom ensures it dissolves evenly, giving you that signature silky, melt-in-the-mouth texture. When you melt it into the warm puree, the mixture should feel smooth when you rub a little between your fingers.
- Patience is a virtue (for the set): I make this at least once a week – it’s become a family favourite. The hardest part is waiting! A 4-hour set is the absolute minimum for a wobbly, soft slice. For a clean, sharp cut that looks like it came from a patisserie, you need to wait 8 hours or, better yet, overnight. The flavours also meld and deepen, creating a more harmonious taste.
- The perfect slice: To get those gorgeous, clean slices, use a large, sharp knife. Run it under hot water, dry it quickly with a tea towel, then make one smooth cut. Wipe the blade clean and reheat it between each cut. This prevents the filling from dragging or sticking.
- Make it your own with other desserts: If you love the creamy, no-bake style, you might also enjoy the simplicity of these No Bake Keto Cheesecake Bites Sugar Free 2 for a different flavour profile. For a lighter, fruitier option, the Fluffy 3 Ingredient Lemon Cupcakes Recipe 2 share that same bright, zesty energy.
Common Mistakes to Avoid
- Overcrowding the pan: This isn’t about a pan on the stove, but overfilling your springform tin. Leave at least 1cm of space at the top. As the cheesecake sets, it can sometimes expand slightly, and you want room for a generous swirl or a final layer of fruit topping without it spilling over the edges when you remove the collar.
- Wrong temperature: The biggest enemy of a no-bake cheesecake is a warm kitchen. If your room is very warm, the cream will struggle to whip properly and the filling will be too soft to set firmly. If it’s a hot day, chill your bowl and beaters for the cream in the freezer for 10 minutes before whipping.
- Skipping the rest time: I know it’s tempting to sneak a slice after a few hours, but this is where texture is built. A rushed cheesecake will be soupy and won’t hold its shape. The resting time in the fridge allows the gelatine network to fully stabilise, transforming a liquid filling into a dense, creamy, sliceable dessert. Trust the process.
What to Serve With No-Bake Mango Cheesecake
- A drizzle of fresh passion fruit pulp for a sharp, tangy contrast to the sweetness of the mango.
- A dollop of lightly sweetened whipped cream and a scattering of toasted coconut flakes for extra texture.
- Fresh raspberries or blueberries, which offer a beautiful colour pop and a hint of acidity.
- A simple shortbread biscuit on the side for an extra crunch.
- For a festive gathering, this cheesecake pairs wonderfully with the ideas in our guide to Festive Christmas Dessert Recipes For Your Guests, adding a tropical touch to a winter table.
Still hungry for ideas? You might also love Velvety Mango Cheesecake, Suggest Some Easy No Bake Oreo Desserts from our sister kitchens.
Frequently Asked Questions
No-Bake Mango Cheesecake
Ingredients
Method
-
Prepare the base: Place the digestive biscuits in a sealed plastic bag and crush them with a rolling pin until they resemble fine, sandy crumbs. You should hear a satisfying crunch as the biscuits break down. Alternatively, pulse them in a food processor. Tip the crumbs into a bowl, pour over the melted butter, and stir until every grain is coated and the mixture smells deeply of toasted butter and biscuit. Press this mixture firmly into the base of a 20cm springform tin, using the bottom of a glass to create an even, compact layer. The sound of the mixture compacting is a sign of a sturdy base.
-
Bloom the gelatine: In a small bowl, sprinkle the powdered gelatine over the 3 tablespoons of cold water. Do not stir. Let it sit for 5-10 minutes. You’ll see it turn into a firm, wobbling, translucent “sponge”. This process is key for a smooth, lump-free set.
-
Create the mango heart: In a small saucepan, gently warm the mango puree over a low heat. Do not let it boil; you just want it to be warm to the touch. The aroma will become intensely fruity and sweet. Once warm, remove from the heat and add the bloomed gelatine. Whisk constantly until the gelatine has completely dissolved into the puree. The mixture should look glossy and perfectly smooth, with no flecks of gelatine remaining.
-
Whip the cream cheese base: In a large mixing bowl, beat the softened cream cheese, caster sugar, and vanilla extract together until it is utterly smooth and fluffy. You want to see it lighten in colour and texture, becoming airy and without a single lump. This should take about 2-3 minutes with an electric mixer. The sound of the beaters will change from a heavy thud to a light, silky whisper.
-
Fold the cream: In a separate, clean bowl, whip the double cream until it forms soft peaks. When you lift the whisk, the cream should hold its shape for a moment before gently flopping over. Be careful not to overwhip it into butter. Gently fold the whipped cream into the cream cheese mixture using a spatula, using a figure-of-eight motion until just combined. The mixture should be thick, pale, and cloud-like.
-
Combine and pour: Pour the mango-gelatine mixture into the cream mixture. Fold gently but thoroughly until the colour is a uniform, pale apricot. The texture should be thick, glossy, and incredibly inviting. Pour this filling over the chilled biscuit base, smoothing the top with an offset spatula. Tap the tin gently on the counter to release any air bubbles.
-
The final swirl: Drop small spoonfuls of the reserved mango puree onto the top of the cheesecake. Use a skewer or the tip of a knife to swirl them into beautiful, marbled patterns. This is where you can be truly artistic. Place the cheesecake in the refrigerator for a minimum of 4 hours, but overnight is far better for a clean, perfect slice.
Notes
I hope this recipe becomes as cherished in your kitchen as it is in mine. There’s something truly special about taking an hour on a quiet weekend to create a dessert that looks and tastes like a work of art, all while filling your home with the sweet, sun-drenched aroma of mangoes. I’d love to hear how you get on with your own No-Bake Mango Cheesecake. Did you add a personal twist? How did the textures turn out? Please share your stories and questions in the comments below — your kitchen adventures always inspire me.