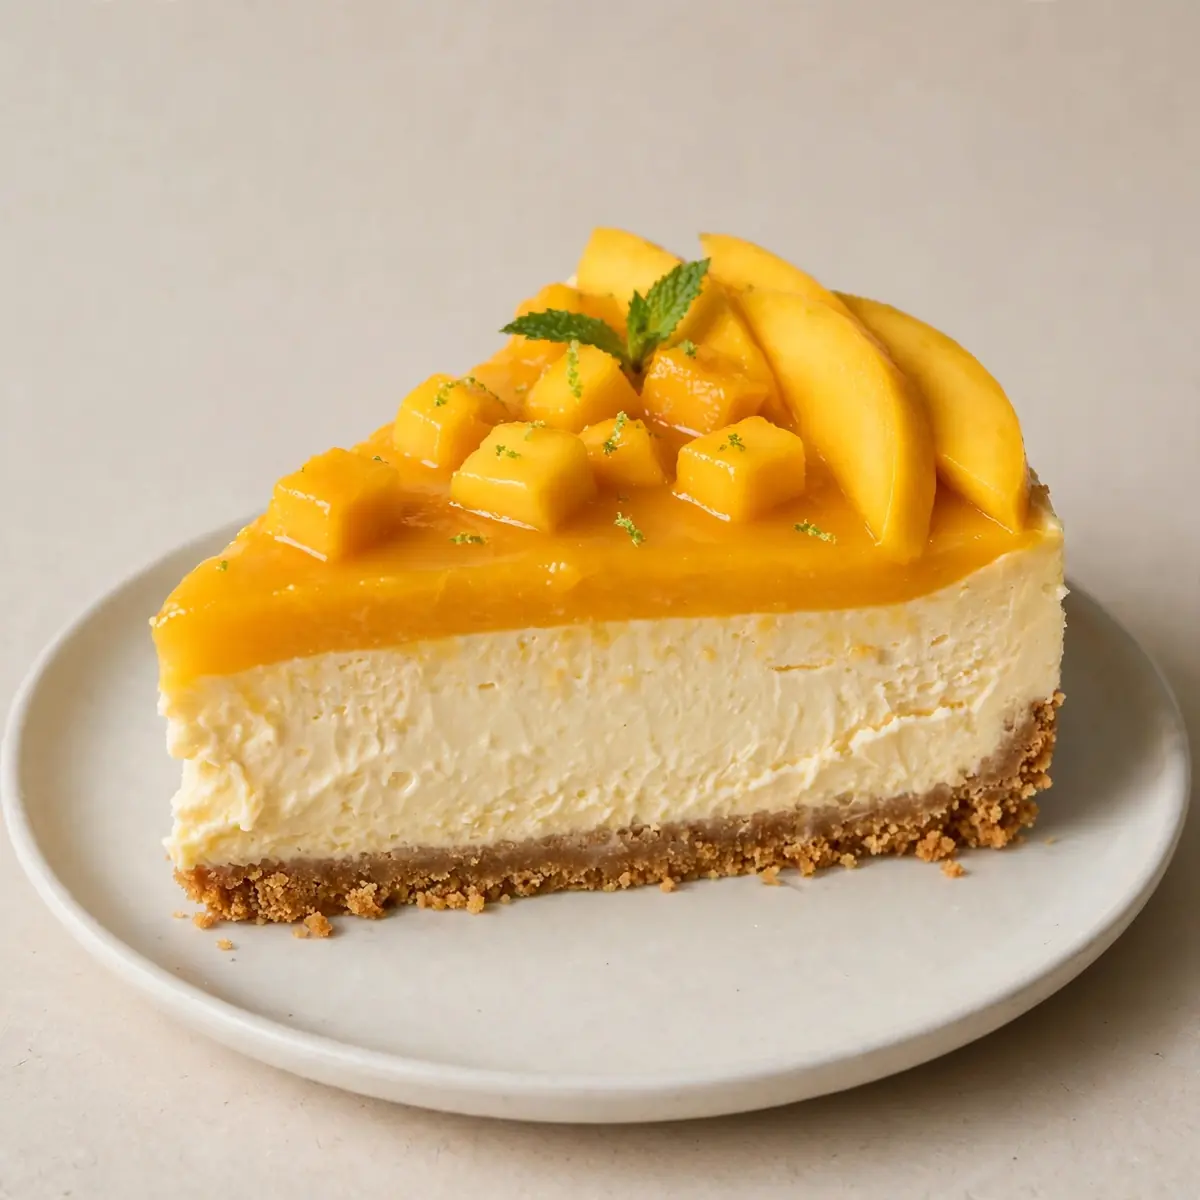
Ingredients
Method
- Prepare the base: Place the digestive biscuits in a sealed plastic bag and crush them with a rolling pin until they resemble fine, sandy crumbs. You should hear a satisfying crunch as the biscuits break down. Alternatively, pulse them in a food processor. Tip the crumbs into a bowl, pour over the melted butter, and stir until every grain is coated and the mixture smells deeply of toasted butter and biscuit. Press this mixture firmly into the base of a 20cm springform tin, using the bottom of a glass to create an even, compact layer. The sound of the mixture compacting is a sign of a sturdy base.
- Bloom the gelatine: In a small bowl, sprinkle the powdered gelatine over the 3 tablespoons of cold water. Do not stir. Let it sit for 5-10 minutes. You’ll see it turn into a firm, wobbling, translucent “sponge”. This process is key for a smooth, lump-free set.
- Create the mango heart: In a small saucepan, gently warm the mango puree over a low heat. Do not let it boil; you just want it to be warm to the touch. The aroma will become intensely fruity and sweet. Once warm, remove from the heat and add the bloomed gelatine. Whisk constantly until the gelatine has completely dissolved into the puree. The mixture should look glossy and perfectly smooth, with no flecks of gelatine remaining.
- Whip the cream cheese base: In a large mixing bowl, beat the softened cream cheese, caster sugar, and vanilla extract together until it is utterly smooth and fluffy. You want to see it lighten in colour and texture, becoming airy and without a single lump. This should take about 2-3 minutes with an electric mixer. The sound of the beaters will change from a heavy thud to a light, silky whisper.
- Fold the cream: In a separate, clean bowl, whip the double cream until it forms soft peaks. When you lift the whisk, the cream should hold its shape for a moment before gently flopping over. Be careful not to overwhip it into butter. Gently fold the whipped cream into the cream cheese mixture using a spatula, using a figure-of-eight motion until just combined. The mixture should be thick, pale, and cloud-like.
- Combine and pour: Pour the mango-gelatine mixture into the cream mixture. Fold gently but thoroughly until the colour is a uniform, pale apricot. The texture should be thick, glossy, and incredibly inviting. Pour this filling over the chilled biscuit base, smoothing the top with an offset spatula. Tap the tin gently on the counter to release any air bubbles.
- The final swirl: Drop small spoonfuls of the reserved mango puree onto the top of the cheesecake. Use a skewer or the tip of a knife to swirl them into beautiful, marbled patterns. This is where you can be truly artistic. Place the cheesecake in the refrigerator for a minimum of 4 hours, but overnight is far better for a clean, perfect slice.
Notes
The cheesecake needs at least 4 hours to set in the refrigerator, but overnight is recommended for clean slices. Use ripe mangoes for the best flavor.