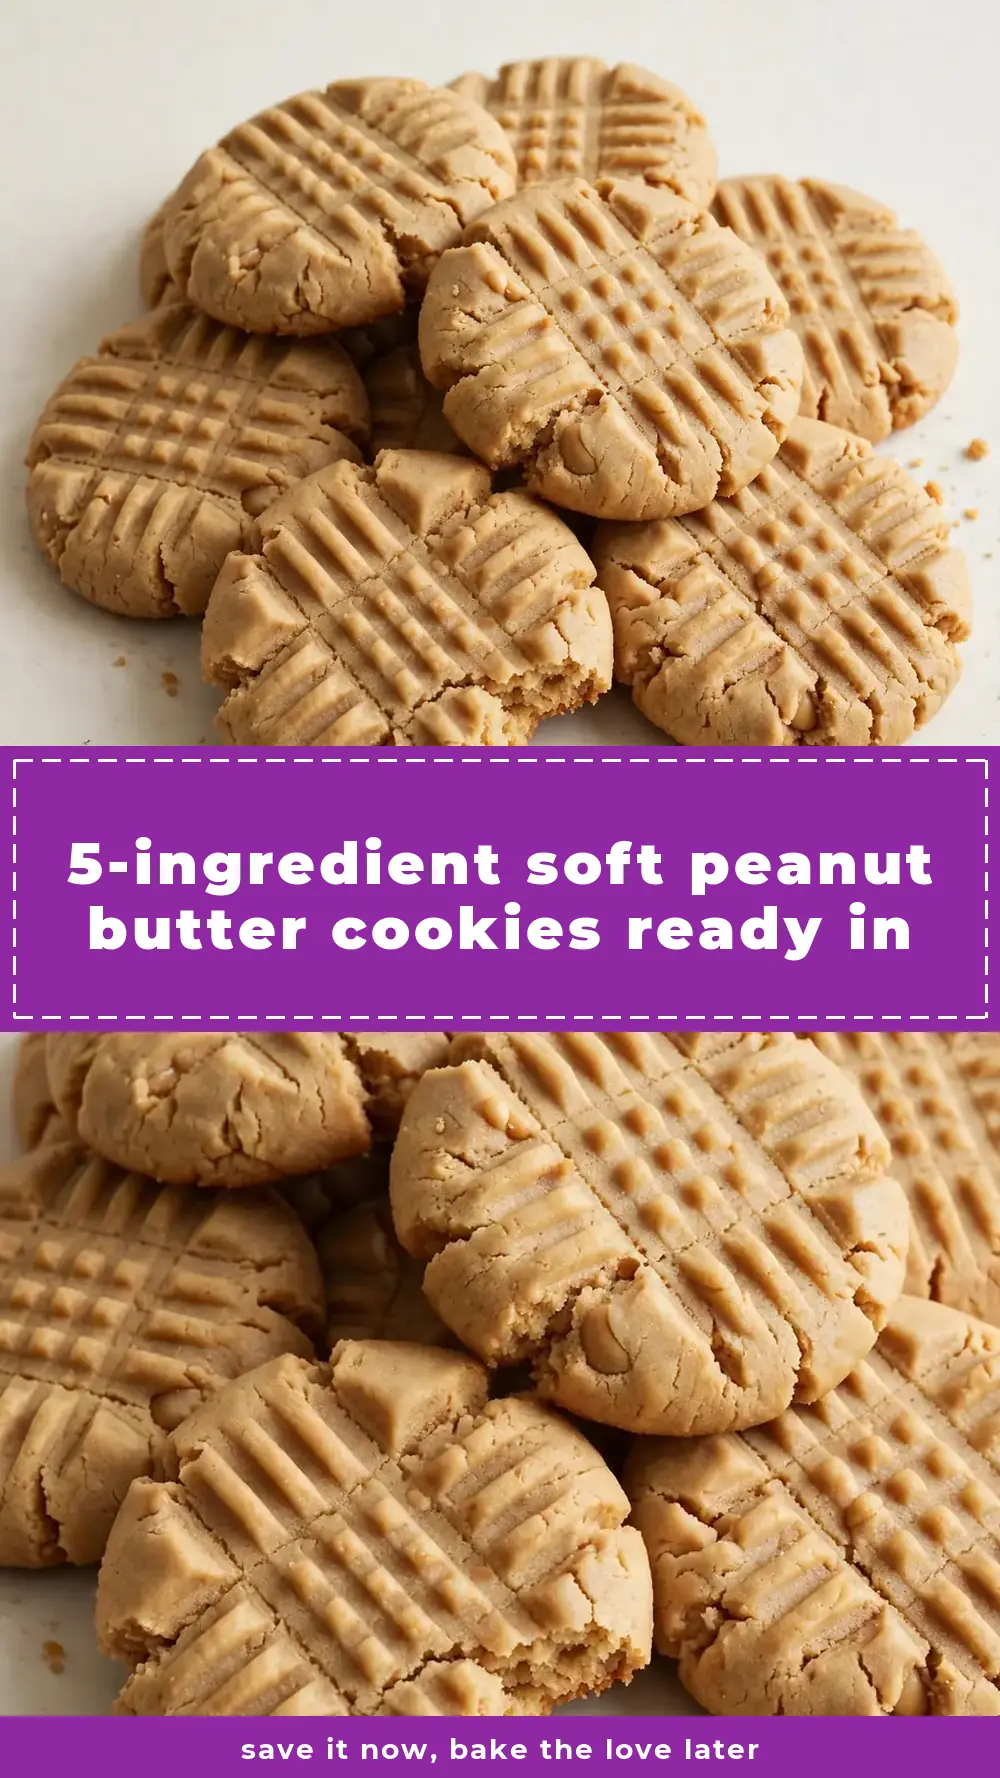
5-Ingredient Soft Peanut Butter Cookies Ready in 15
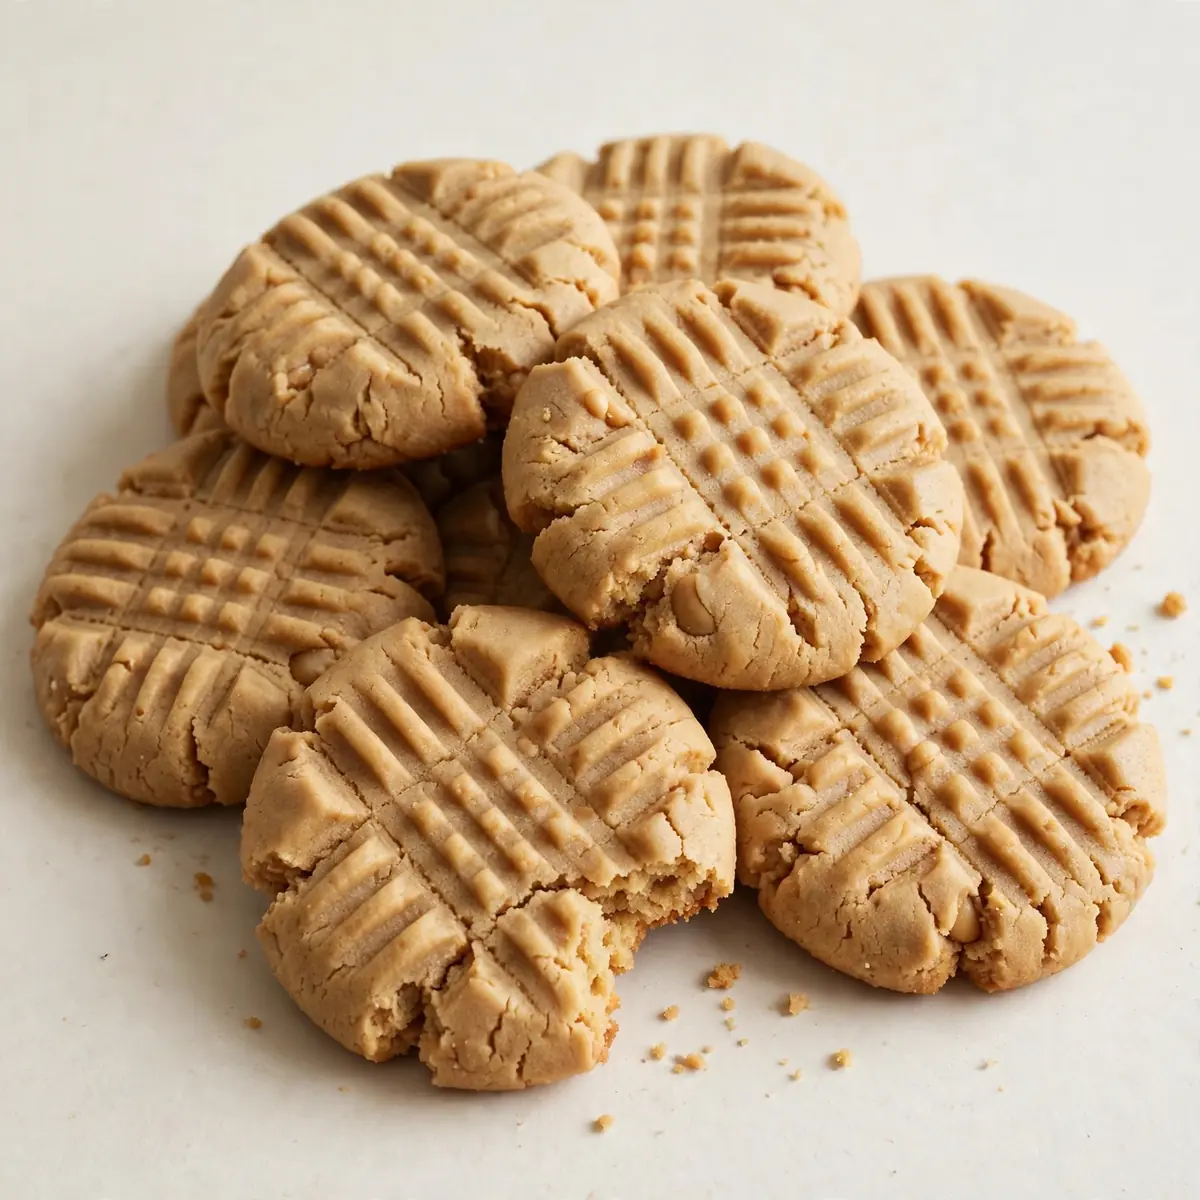
When the kids are hungry, the clock is ticking, and you need a sweet fix that won’t dirty every bowl in the kitchen, these Soft Peanut Butter Cookies come to the rescue. I stumbled upon this combination by accident, and it’s been a hit ever since for turning a frantic weekday into a calm, delicious evening.
Recipe Overview
- Prep Time: 10 minutes
- Cook Time: 10 minutes
- Total Time: 20 minutes
- Servings: 18 cookies
- Difficulty: Easy
Why You’ll Love This Soft Peanut Butter Cookies
- Speed you can count on: From mixing bowl to cooling rack in under 25 minutes — no waiting for butter to soften or dough to chill.
- One-bowl cleanup: Everything comes together in a single mixing bowl, so you’re not scrubbing a mountain of dishes after dinner.
- Soft, tender centres every time: The secret ratio of ingredients ensures a melt-in-your-mouth texture that stays soft for days.
- Pantry-friendly ingredients: No need for specialty items; you likely have everything on hand already.
- Make-ahead magic: The dough freezes beautifully, meaning you can prep once and bake fresh cookies whenever the craving hits.
Ingredients You’ll Need
- 225g smooth peanut butter (not the natural, oily kind — use a standard spread for best texture)
- 100g unsalted butter, softened to room temperature
- 150g light brown sugar, packed
- 1 large egg, at room temperature
- 1 tsp vanilla extract
- 150g plain flour
- ½ tsp bicarbonate of soda
- ¼ tsp salt (omit if your peanut butter is salted)
- Optional: 100g milk chocolate chips or chopped roasted peanuts for texture
Tip: For the softest results, ensure your butter and egg are truly at room temperature. Cold ingredients will make the dough stiff and the cookies denser.
How to Make Soft Peanut Butter Cookies
- Preheat and prepare your tray. Set your oven to 180°C (fan-assisted) or 200°C conventional. Line two baking sheets with parchment paper — this guarantees no sticking and makes cleanup even faster.
- Cream the butter, peanut butter, and sugar. In a large mixing bowl, beat the softened butter, peanut butter, and brown sugar together with a wooden spoon or electric mixer until the mixture looks pale, fluffy, and noticeably lighter in colour — about 2 minutes. You’ll smell the sweet peanut aroma rising up.
- Add the wet ingredients. Crack in the egg and pour in the vanilla extract. Stir until the mixture is glossy, smooth, and fully combined. The batter should feel thick and slightly sticky when you lift the spoon.
- Fold in the dry ingredients. Sift the plain flour, bicarbonate of soda, and salt over the wet mixture. Fold gently with a spatula until just combined — stop as soon as you no longer see streaks of white flour. Overmixing will make the cookies tough.
- Shape the dough balls. Using a tablespoon or a small cookie scoop, portion out rounded balls of dough, about 35g each. Roll them between your palms until smooth — the dough will feel slightly greasy but should hold its shape easily.
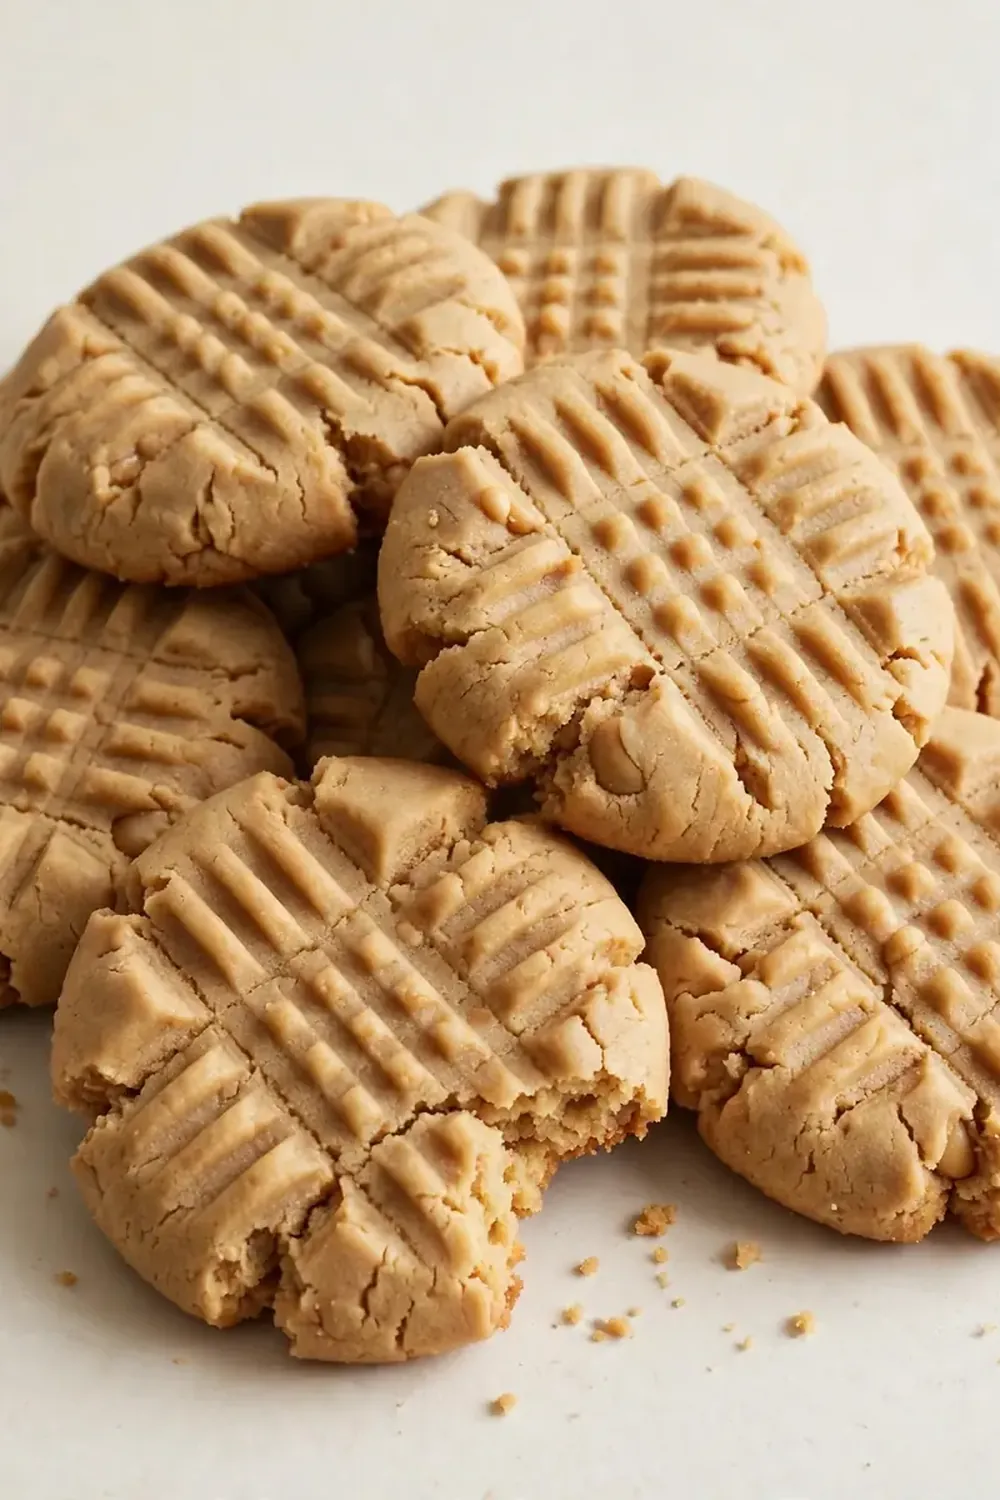
- Create the classic criss-cross pattern (optional). Place the dough balls on the prepared trays, spacing them about 5cm apart. Dip a fork in cold water, then press down gently on each ball to flatten it slightly and create the iconic criss-cross marks. The edges will crack a little — that’s exactly what you want.
- Bake until just set. Slide the trays into the oven and bake for 9–11 minutes. The cookies will look puffed, lightly golden around the edges, and still soft and slightly underdone in the centre. They should smell deeply of toasted peanuts and brown sugar.
- Cool on the tray. Let the cookies rest on the baking sheet for 5 minutes — they will continue to set as they cool. The centres will sink slightly, becoming tender and fudgy. Transfer to a wire rack to cool completely, or serve warm for maximum softness.
Tips From My Kitchen
- Don’t skip the fork marks. Pressing the dough not only gives the cookies their signature look but also helps them bake evenly. Without flattening, the centres may stay too doughy while the edges burn. The cold water on the fork stops the dough from sticking and gives clean lines.
- Pull them out when they look underdone. I used to struggle with this dish until I discovered this technique: take the cookies out of the oven when the edges are set but the centres still look slightly puffy and pale. They’ll finish cooking on the hot tray, resulting in that irresistible soft bite.
- Measure your peanut butter by weight if possible. Scooping peanut butter from a jar can be wildly inconsistent. Using a kitchen scale ensures the right fat-to-flour ratio, which is the key to soft cookies that don’t spread into thin crisps.
- Chill the dough for thicker cookies (optional). If you have an extra 20 minutes, pop the shaped dough balls in the fridge before baking. Cold dough spreads less in the oven, giving you taller, thicker cookies with an even softer centre.
- Make a double batch and freeze half. Roll the extra dough into balls, place them on a tray in the freezer until solid (about 30 minutes), then transfer to a freezer bag. You can bake them straight from frozen — just add 2 minutes to the baking time. This is a lifesaver for busy weeknights.
Delicious Variations to Try
- Spicy Version: Add ½ teaspoon of ground cinnamon and a pinch of cayenne pepper to the dry ingredients. The warmth of the spice complements the rich peanut butter beautifully, giving a subtle heat that lingers.
- Vegan Option: Substitute the butter with a good-quality vegan block margarine and replace the egg with a flax egg (1 tablespoon ground flaxseed mixed with 3 tablespoons water, left to sit for 5 minutes until gel-like). The cookies will be slightly less tender but still wonderfully soft.
- Different Protein: Swap half the peanut butter for almond or cashew butter for a different nutty flavour. Keep in mind that natural nut butters may require an extra tablespoon of flour to prevent excessive spreading.
What to Serve With Soft Peanut Butter Cookies
- A tall glass of cold milk — the classic pairing that cuts through the richness.
- A scoop of vanilla ice cream sandwiched between two cookies for an impromptu ice cream sandwich.
- A drizzle of melted dark chocolate and a sprinkle of flaky sea salt for a more indulgent dessert.
- Fresh berries, such as raspberries or sliced strawberries, to add a tart contrast.
- A warm mug of tea or coffee, especially if you’re enjoying these as an evening treat.
Still hungry for ideas? You might also love Soft Chewy Brown Butter Chocolate Chip Cookies, Soft Strawberry Shortcake Cookies from our sister kitchens.
Frequently Asked Questions
Soft Peanut Butter Cookies
Ingredients
Method
-
Preheat and prepare your tray. Set your oven to 180°C (fan-assisted) or 200°C conventional. Line two baking sheets with parchment paper — this guarantees no sticking and makes cleanup even faster.
-
Cream the butter, peanut butter, and sugar. In a large mixing bowl, beat the softened butter, peanut butter, and brown sugar together with a wooden spoon or electric mixer until the mixture looks pale, fluffy, and noticeably lighter in colour — about 2 minutes. You’ll smell the sweet peanut aroma rising up.
-
Add the wet ingredients. Crack in the egg and pour in the vanilla extract. Stir until the mixture is glossy, smooth, and fully combined. The batter should feel thick and slightly sticky when you lift the spoon.
-
Fold in the dry ingredients. Sift the plain flour, bicarbonate of soda, and salt over the wet mixture. Fold gently with a spatula until just combined — stop as soon as you no longer see streaks of white flour. Overmixing will make the cookies tough.
-
Shape the dough balls. Using a tablespoon or a small cookie scoop, portion out rounded balls of dough, about 35g each. Roll them between your palms until smooth — the dough will feel slightly greasy but should hold its shape easily.
-
Create the classic criss-cross pattern (optional). Place the dough balls on the prepared trays, spacing them about 5cm apart. Dip a fork in cold water, then press down gently on each ball to flatten it slightly and create the iconic criss-cross marks. The edges will crack a little — that’s exactly what you want.
-
Bake until just set. Slide the trays into the oven and bake for 9–11 minutes. The cookies will look puffed, lightly golden around the edges, and still soft and slightly underdone in the centre. They should smell deeply of toasted peanuts and brown sugar.
-
Cool on the tray. Let the cookies rest on the baking sheet for 5 minutes — they will continue to set as they cool. The centres will sink slightly, becoming tender and fudgy. Transfer to a wire rack to cool completely, or serve warm for maximum softness.
Notes
If you give these Soft Peanut Butter Cookies a try, I’d love to hear how they turned out for your family. Drop a comment below and let me know if you added any twists of your own, or if this quick recipe saved your evening chaos like it does mine. And if you’re after more speedy dessert ideas, you might also enjoy these Satisfying High Volume Low Calorie Desserts or these Easy Coconut Truffles for another no-fuss treat.