Easy Weeknight Banana Cream Pie
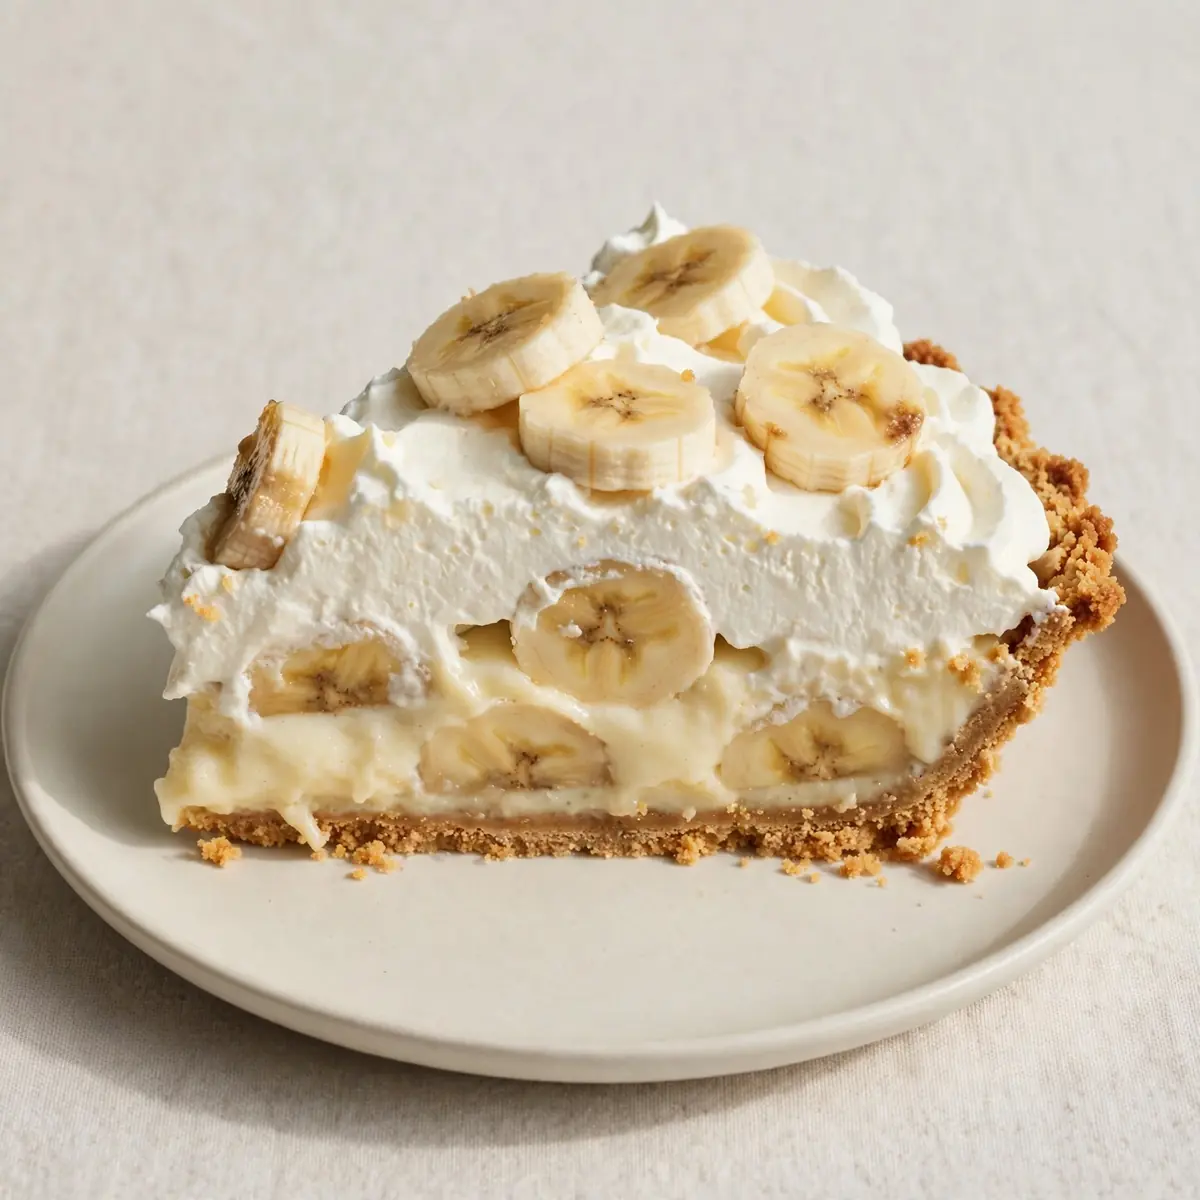
I remember the exact Tuesday night it happened: homework spread across the kitchen table, the dog whining for a walk, and a sudden, desperate need for something sweet that didn’t require a trip to the shops. Standing in my kitchen, staring at a bunch of perfectly ripe bananas, I realised that a classic Banana Cream Pie didn’t have to be a weekend project. It could be a clever, quick weeknight rescue mission, and I’ve been perfecting that process ever since.
Recipe Overview
- Prep Time: 15 minutes
- Cook Time: 25 minutes (plus 1 hour chilling)
- Total Time: 1 hour 40 minutes
- Servings: 8 generous slices
- Difficulty: Easy
Why You’ll Love This Banana Cream Pie
- Weeknight-Realistic Timing: The entire dessert is ready in under two hours, and most of that is hands-off chilling time while you sort out packed lunches.
- Minimal Dish Duty: You’ll dirty one saucepan, one bowl, and a whisk. No rolling pins, no food processor, no mountain of washing up, just like with Quick M&M Party Cookies Weeknight Dinner Trick.com/quick-weeknight-southern-pecan-pie-bars/”>Quick Weeknight Southern Pecan Pie Bars.
- Make-Ahead Magic: The pastry shell can be baked two days in advance, and the filling holds perfectly in the fridge for a full day. Assemble just before serving.
- Uses Pantry Staples: You likely already have milk, butter, sugar, and eggs. The only special purchase is a packet of biscuits for the base.
- No-Bake Filling Option: If you’re truly short on time, you can skip the stovetop custard and use a swift, no-cook pudding mix trick (I’ll explain below).
Ingredients You’ll Need
- 250g digestive biscuits (or Hobnobs for a richer base)
- 100g unsalted butter, melted
- 500ml whole milk
- 100g caster sugar
- 50g plain flour
- 30g cornflour
- 4 large egg yolks
- 1 tsp vanilla extract
- 3 large, very ripe bananas (the blacker the spots, the sweeter the pie)
- 300ml double cream, very cold
- 2 tbsp icing sugar
- 1 tbsp lemon juice (to stop the bananas browning)
- Grated nutmeg or dark chocolate shavings, for garnish
Tip: For the creamiest texture, use full-fat milk and double cream. Semi-skimmed will work, but the filling won’t be as luxuriously thick. After testing this recipe five times, I finally got it just right, and the fat content is the main difference.
How to Make Banana Cream Pie
- Blitz the biscuit base: Tip the digestive biscuits into a sealed freezer bag and crush them with a rolling pin until they resemble fine, golden sand with no large chunks. Alternatively, pulse them in a food processor. Tip the crumbs into a bowl, pour over the melted butter, and stir with a fork until every crumb feels damp and clumps together when pressed.
- Press and bake: Tip the buttery crumbs into a 23cm loose-bottomed tart tin. Press them firmly and evenly across the base and up the sides using the flat bottom of a glass. You want a compact, ridged shell. Bake at 180°C (160°C fan) for 12 minutes. The smell should be toasty and nutty, and the edges should look slightly darker and feel set to the touch. Set aside to cool completely.
- Whisk the custard base: In a medium saucepan, whisk together the caster sugar, plain flour, cornflour, and a pinch of salt. In a separate bowl, whisk the egg yolks with the whole milk and vanilla until smooth. Pour the wet mixture into the dry ingredients in the pan, whisking constantly to avoid any lumps. The mixture will look pale and thin at this point.
- Cook the custard: Place the saucepan over a medium heat and whisk continuously. Do not walk away. After 3-4 minutes, you’ll feel the mixture begin to thicken against the whisk. Keep going until it bubbles gently and turns into a thick, glossy custard that coats the back of a spoon. When you drag a finger through the custard on the spoon, the line should hold. Remove from the heat immediately.
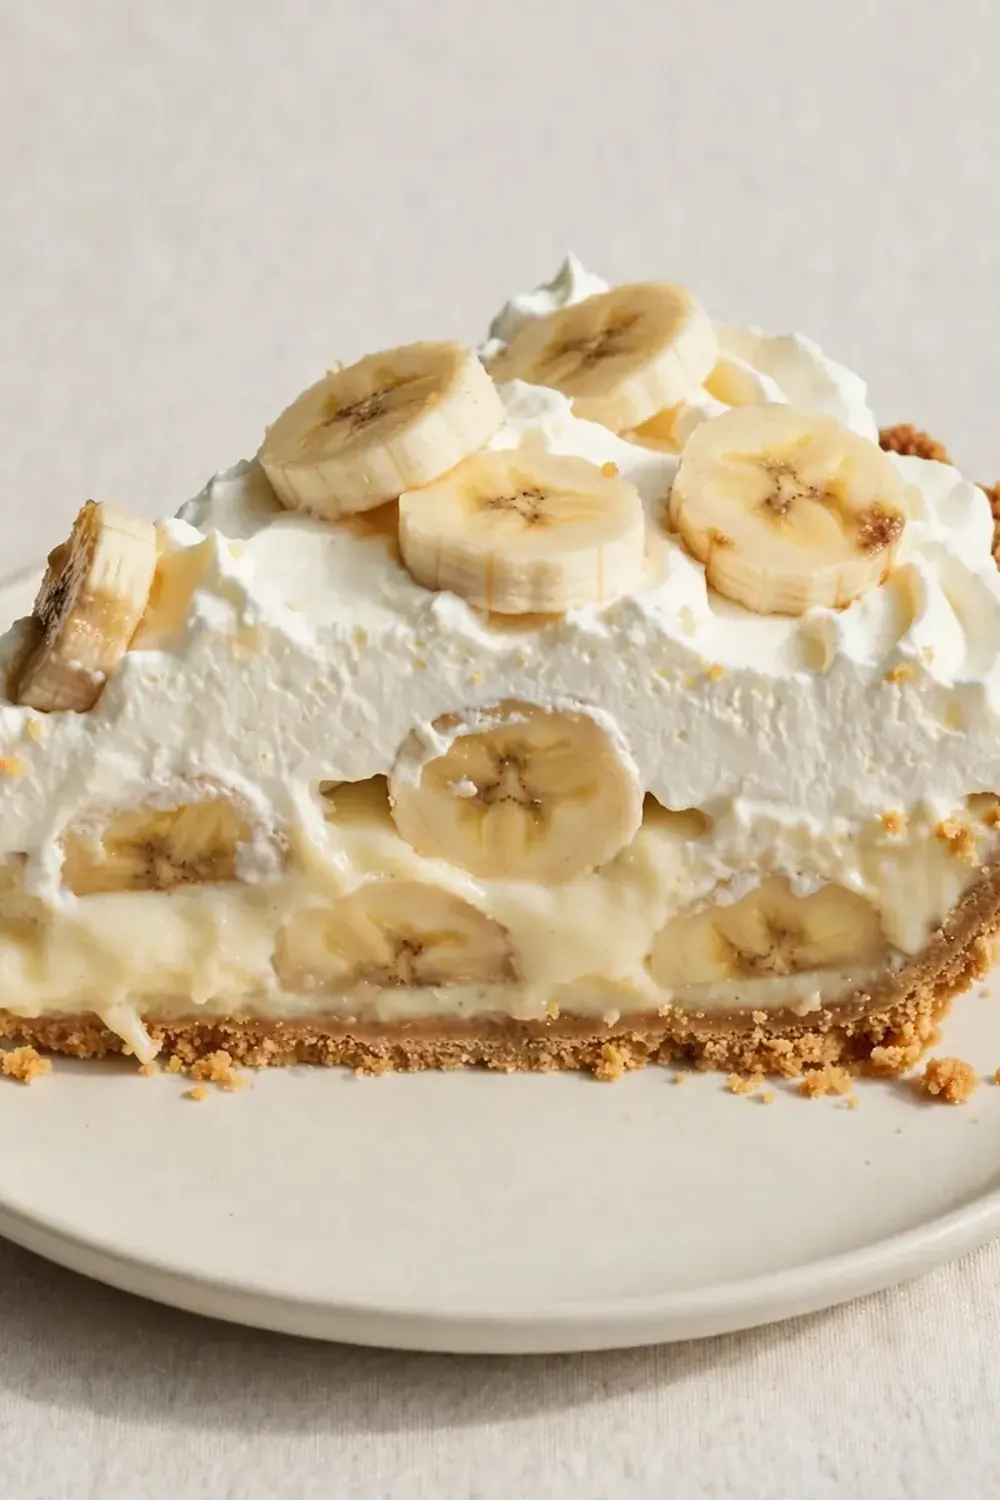
- Slice and layer the bananas: Peel the bananas and slice them into 1cm-thick rounds. Toss them gently in the lemon juice to prevent them turning brown. Spread half the warm custard into the cooled biscuit base, then arrange a single layer of banana slices over the custard. Spoon the remaining custard on top and smooth the surface with a spatula.
- Whip the cream topping: Pour the very cold double cream and icing sugar into a chilled bowl. Whisk with an electric mixer on medium speed until soft peaks form. When you lift the whisk, the cream should hold a gentle, drooping peak without collapsing. Spread or pipe the cream over the custard layer, reaching right to the edges to seal it.
- Chill and set: Place the pie in the fridge for at least 1 hour, uncovered initially so the top firms up. After an hour, cover loosely with foil if leaving longer. The filling needs this time to become sliceable; if you cut too early, it will slide everywhere. Just before serving, grate a little nutmeg over the top or sprinkle with chocolate shavings.
Tips From My Kitchen
- Use very ripe bananas for flavour, firm ones for structure: The bananas in the filling should be spotty and soft for maximum sweetness, but the ones you slice for layering should be just ripe but still firm. Soft, mushy bananas will turn to mush in the pie. I use one overripe banana mashed into the custard for flavour, and two firmer bananas for the slices.
- Chill your bowl and cream for perfect whipped cream: Double cream whips best when everything is cold. Pop your mixing bowl and whisk attachments in the freezer for 10 minutes before starting. I used to struggle with this dish until I discovered this technique — warm cream simply won’t hold its shape, and you’ll end up with a runny topping.
- Don’t skip the lemon juice on the bananas: It sounds like a tiny detail, but it’s essential. Bananas oxidise quickly, and without the lemon juice, your pretty white cream will be sitting on a brown, unappetising layer within two hours. A tablespoon of juice won’t make the pie sour, but it will keep everything looking fresh.
- Make the custard a day ahead to save even more time: Cook the custard, press a piece of cling film directly onto its surface (to stop a skin forming), and refrigerate. The next day, give it a good whisk to loosen it, then layer as usual. This also means the custard is fully cold, which helps the pie set faster.
- Blind-bake the biscuit base for 12 minutes, no exceptions: Even though it’s a no-roll crust, baking it for that short time transforms it from a crumbly mess into a firm, sliceable base that won’t disintegrate under the custard. The butter melts and re-solidifies, binding the crumbs into a solid shell.
Equipment You’ll Need
- 23cm loose-bottomed tart tin (essential for neat slices)
- Medium saucepan (preferably non-stick for easy custard stirring)
- Balloon whisk
- Electric hand mixer or stand mixer
- Rolling pin (for crushing biscuits, or a food processor)
- Mixing bowls (one large, one medium)
- Sharp knife and chopping board
Common Mistakes to Avoid
- Overcrowding the pan with custard: If your saucepan is too small, the custard will cook unevenly and may scorch on the bottom while remaining thin on top. Use a pan that lets the mixture spread out in a shallow layer. A medium, wide saucepan is ideal. Stir constantly and scrape the bottom corners.
- Wrong temperature for the custard: Heating the custard too fast on a high heat will scramble the eggs, leaving you with lumpy, savoury-tasting curds. Keep the heat at medium and be patient. The mixture should just barely bubble; if it’s spitting and spluttering, you’ve gone too high. Pull it off the heat the second it thickens.
- Skipping the rest time: I know you’re hungry, but this pie absolutely needs the full hour in the fridge. If you slice it after 20 minutes, the custard will ooze out like a pudding, and the biscuit base will crumble. The rest time allows the starches in the custard to set and the cream to stabilise. A properly rested pie cuts cleanly and holds its shape on the plate.
What to Serve With Banana Cream Pie
- A strong, freshly brewed cup of black coffee to balance the sweetness
- A dollop of Greek yoghurt on the side if you want a tangy contrast
- A handful of fresh berries — raspberries or strawberries cut through the cream beautifully
Still hungry for ideas? You might also love Classic Boston Cream Pie Recipe For Dessert, Classic Chocolate Cream Pie from our sister kitchens.
Frequently Asked Questions
Banana Cream Pie
Ingredients
Method
-
Blitz the biscuit base: Tip the digestive biscuits into a sealed freezer bag and crush them with a rolling pin until they resemble fine, golden sand with no large chunks. Alternatively, pulse them in a food processor. Tip the crumbs into a bowl, pour over the melted butter, and stir with a fork until every crumb feels damp and clumps together when pressed.
-
Press and bake: Tip the buttery crumbs into a 23cm loose-bottomed tart tin. Press them firmly and evenly across the base and up the sides using the flat bottom of a glass. You want a compact, ridged shell. Bake at 180°C (160°C fan) for 12 minutes. The smell should be toasty and nutty, and the edges should look slightly darker and feel set to the touch. Set aside to cool completely.
-
Whisk the custard base: In a medium saucepan, whisk together the caster sugar, plain flour, cornflour, and a pinch of salt. In a separate bowl, whisk the egg yolks with the whole milk and vanilla until smooth. Pour the wet mixture into the dry ingredients in the pan, whisking constantly to avoid any lumps. The mixture will look pale and thin at this point.
-
Cook the custard: Place the saucepan over a medium heat and whisk continuously. Do not walk away. After 3-4 minutes, you’ll feel the mixture begin to thicken against the whisk. Keep going until it bubbles gently and turns into a thick, glossy custard that coats the back of a spoon. When you drag a finger through the custard on the spoon, the line should hold. Remove from the heat immediately.
-
Slice and layer the bananas: Peel the bananas and slice them into 1cm-thick rounds. Toss them gently in the lemon juice to prevent them turning brown. Spread half the warm custard into the cooled biscuit base, then arrange a single layer of banana slices over the custard. Spoon the remaining custard on top and smooth the surface with a spatula.
-
Whip the cream topping: Pour the very cold double cream and icing sugar into a chilled bowl. Whisk with an electric mixer on medium speed until soft peaks form. When you lift the whisk, the cream should hold a gentle, drooping peak without collapsing. Spread or pipe the cream over the custard layer, reaching right to the edges to seal it.
-
Chill and set: Place the pie in the fridge for at least 1 hour, uncovered initially so the top firms up. After an hour, cover loosely with foil if leaving longer. The filling needs this time to become sliceable; if you cut too early, it will slide everywhere. Just before serving, grate a little nutmeg over the top or sprinkle with chocolate shavings.
Notes
That Tuesday night pie turned into a regular thing in my house. Now, when the evening feels chaotic and the biscuit tin is empty, I know I can pull this Banana Cream Pie together without breaking a sweat or dirtying every dish I own. It’s not about being a show-off baker; it’s about getting something genuinely lovely on the table with minimal fuss. If you give it a go, I’d love to hear how it worked for your family — drop a comment below and let me know your favourite shortcut or variation.