Greek Yogurt Brownies For A Light Sweet
Life with a busy family often means sacrificing delicious homemade treats for convenience. But what if I told you there’s a way to whip up a genuinely delightful, lighter sweet that fits right into your hectic weeknight routine? These Greek Yogurt Brownies for a Light Sweet are exactly that – a speedy, satisfying finish to any dinner, leaving more time for family and less for washing up.
Recipe Overview
- Prep Time: 15 minutes
- Cook Time: 25-30 minutes
- Total Time: 40-45 minutes
- Servings: 12-16 brownies
- Difficulty: Beginner-Friendly
Why You’ll Love This Greek Yogurt Brownies for a Light Sweet
- Effortless Weeknight Indulgence: These brownies come together in a flash, making them the ideal fuss-free treat after a busy day. No complex steps, just straightforward baking for a satisfying reward.
- Lighter Take on a Classic: By incorporating Greek yoghurt, we achieve a wonderfully moist texture and a subtle tang that balances the richness of the chocolate, making them feel less heavy than traditional versions, such as Fudgy Chocolate Brownies For A Crowd-Pleasing.
- Minimal Washing Up: With just one bowl and a baking tray, your kitchen stays tidy, freeing you up to enjoy your evening without a mountain of pots and pans.
- Make-Ahead Marvel: These brownies are just as lovely the next day, meaning you can bake them when you have a spare moment and enjoy them throughout the week.
- Family-Approved Goodness: Even the pickiest eaters in my household adore these; the chocolatey goodness is universally appealing, and they’re so much better than anything shop-bought.
Ingredients You’ll Need
- 150g unsalted butter, melted
- 200g caster sugar
- 2 large eggs, at room temperature
- 1 teaspoon vanilla extract
- 120g plain flour
- 50g unsweetened cocoa powder
- ½ teaspoon baking powder
- ¼ teaspoon salt
- 150g full-fat Greek yoghurt
- 100g dark chocolate chips (minimum 70% cocoa solids)
Tip: Using good quality cocoa powder and dark chocolate chips makes a significant difference to the depth of chocolate flavour in your brownies. Don’t skimp on these!
How to Make Greek Yogurt Brownies for a Light Sweet
- Prepare Your Baking Arena: Preheat your oven to 175°C (160°C fan/Gas Mark 3). Line a 20x20cm (8×8 inch) square baking tray with parchment paper, leaving an overhang on two sides to easily lift the brownies out later. This small step saves so much cleanup!
- Melt and Mix the Base: In a large mixing bowl, combine the melted butter and caster sugar. Whisk them together until the mixture is smooth and slightly glossy. You’ll notice a faint sweet aroma filling the air.
- Introduce Wet Ingredients: Add the eggs, one at a time, whisking well after each addition until fully incorporated. Stir in the vanilla extract. The mixture should become lighter in colour and thicker, resembling a creamy custard.
- Combine Dry Ingredients: In a separate bowl, whisk together the plain flour, cocoa powder, baking powder, and salt. Make sure there are no lumps of cocoa powder; it should be a uniform, deep brown colour.
- Fold in the Yoghurt and Dry Mix: Gently fold half of the dry ingredients into the wet mixture until just combined. Then, add the Greek yoghurt and mix until smooth. Finally, fold in the remaining dry ingredients until barely any flour streaks remain. Be careful not to overmix; overmixing can lead to tough brownies. The batter will be thick and rich, a beautiful dark brown. Stir in the dark chocolate chips.
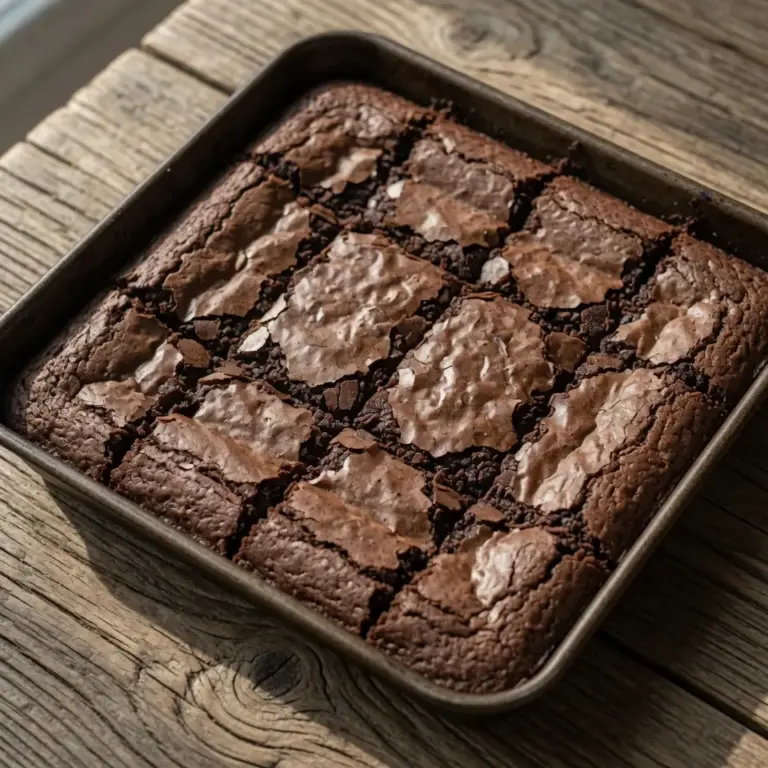
- Bake to Perfection: Pour the batter into your prepared baking tray, spreading it evenly with a spatula. Place the tray in the preheated oven and bake for 25-30 minutes. You’ll know they’re done when the edges look set and a skewer inserted into the centre comes out with moist crumbs, but not wet batter. The kitchen will smell wonderfully of rich chocolate.
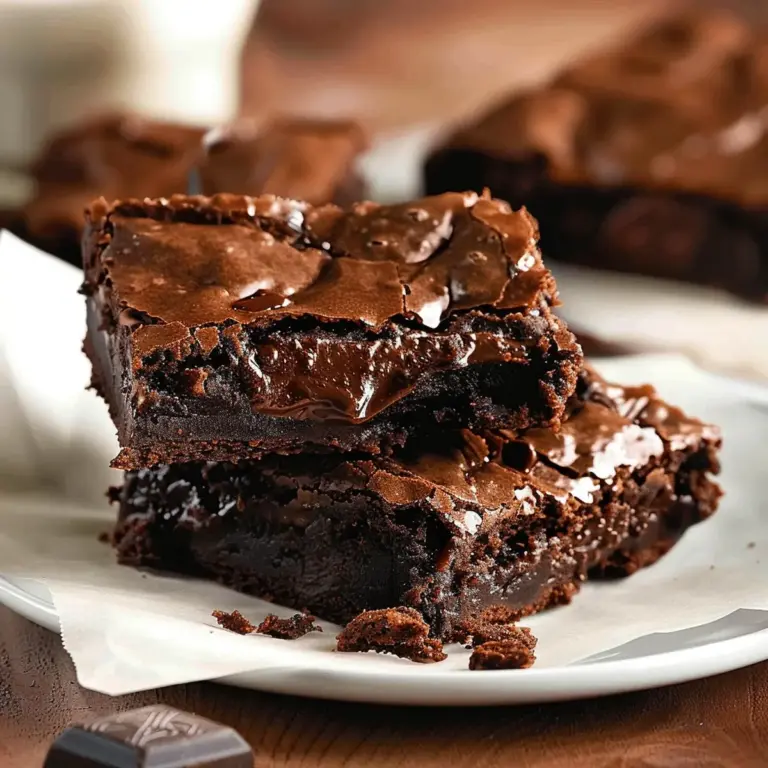
- Cool and Slice: Let the brownies cool completely in the tray on a wire rack before lifting them out using the parchment paper overhang. This is crucial for fudgy brownies! Once completely cool, which might take an hour or two, slice them into squares. The texture should be dense and fudgy, with a slight chewiness.
Tips From My Kitchen
- Embrace Room Temperature Eggs and Yoghurt: This might seem like a minor detail, but it genuinely makes a difference. When eggs and Greek yoghurt are at room temperature, they emulsify much more effectively with the melted butter and sugar, creating a smoother, more homogenous batter. This leads to a more consistent texture in your final brownie, avoiding any dense pockets or crumbly bits. It’s about achieving that uniform, fudgy goodness throughout.
- Don’t Overmix the Batter: Once you add the flour and cocoa powder, mix only until no streaks of dry ingredients are visible. Overmixing develops the gluten in the flour, which can lead to a tougher, cake-like brownie rather than the desirable fudgy texture we’re aiming for. The goal is a tender, melt-in-your-mouth experience, so a light hand is key here.
- Invest in Quality Ingredients: As I often say, good food starts with good ingredients. While these brownies are a lighter sweet, using a good quality cocoa powder and proper dark chocolate chips (70% cocoa solids or higher) will elevate the flavour profile significantly. Cheap cocoa can taste chalky or flat, whereas a premium one will deliver a rich, deep chocolate flavour that truly shines through. It’s worth the small splurge for a superior result.
- The Patience of Cooling is a Virtue: I know it’s tempting to dive straight into a warm brownie, but resisting the urge and allowing them to cool completely in the tin is vital for that signature fudgy texture. As brownies cool, they continue to set and firm up. Cutting them too soon can result in a gooey mess that crumbles rather than holds its shape. For the neatest slices and the best texture, an hour or two on a wire rack is non-negotiable.
- Make-Ahead Magic: These brownies are wonderful for busy households because they keep so well. Bake a batch on a Sunday evening, and you’ll have a delightful, light sweet ready for after dinner throughout the week. Store them in an airtight container at room temperature for up to 3-4 days. They actually taste even better the next day once the flavours have had a chance to meld. This was inspired by a dish I had at a little restaurant in Greece, where simple, flavourful sweets were always available, ready to be enjoyed whenever the craving struck.
- Experiment with Chocolate Chips: While dark chocolate chips provide a lovely depth, feel free to try a mix of dark and milk chocolate, or even white chocolate chips for a different flavour profile. Just ensure the total quantity remains the same to maintain the batter’s consistency. This is a brilliant way to customise them to your family’s preferences.
Equipment You’ll Need
- Stand mixer or hand mixer (optional, a whisk and bowl work fine too!)
- Baking tray (20x20cm or 8×8 inch square)
- Parchment paper
- Wire cooling rack
- Large mixing bowl
- Whisk or spatula
Common Mistakes to Avoid
- Overmixing the Batter: As mentioned, overmixing develops gluten, leading to a chewy, cake-like brownie. To avoid this, mix the dry ingredients into the wet only until just combined – stop as soon as you no longer see streaks of flour, even if it looks a little lumpy.
- Wrong Temperature: Baking at too high a temperature can lead to dry, burnt edges and an undercooked middle, while too low a temperature can result in a dense, uncooked brownie. Always preheat your oven properly and consider using an oven thermometer to ensure accuracy, as oven temperatures can vary.
- Skipping the Rest Time: Cutting warm brownies is a common error. The brownies are still setting as they cool, and cutting them prematurely will result in a crumbly, messy texture. Allowing them to cool completely on a wire rack ensures they firm up, creating that desired fudgy, dense consistency and allowing for clean, neat slices.
Delicious Variations to Try
- Spicy Version: For a subtle kick, add ½ teaspoon of finely ground chilli powder or a pinch of cayenne pepper to your dry ingredients. The heat isn’t overpowering but adds a wonderful warmth that complements the chocolate beautifully.
- Vegetarian/Vegan Option: To make these brownies vegan, substitute the butter with a plant-based butter alternative and the eggs with flax eggs (1 tablespoon ground flaxseed mixed with 3 tablespoons water per egg, let sit for 5 minutes). Use a plant-based Greek-style yoghurt and ensure your chocolate chips are dairy-free.
- Different Protein: While these are already a lighter sweet, if you wanted to add a different textural element, you could gently fold in a handful of chopped walnuts or pecans along with the chocolate chips. This adds a lovely crunch and a nutty flavour that pairs well with the rich chocolate.
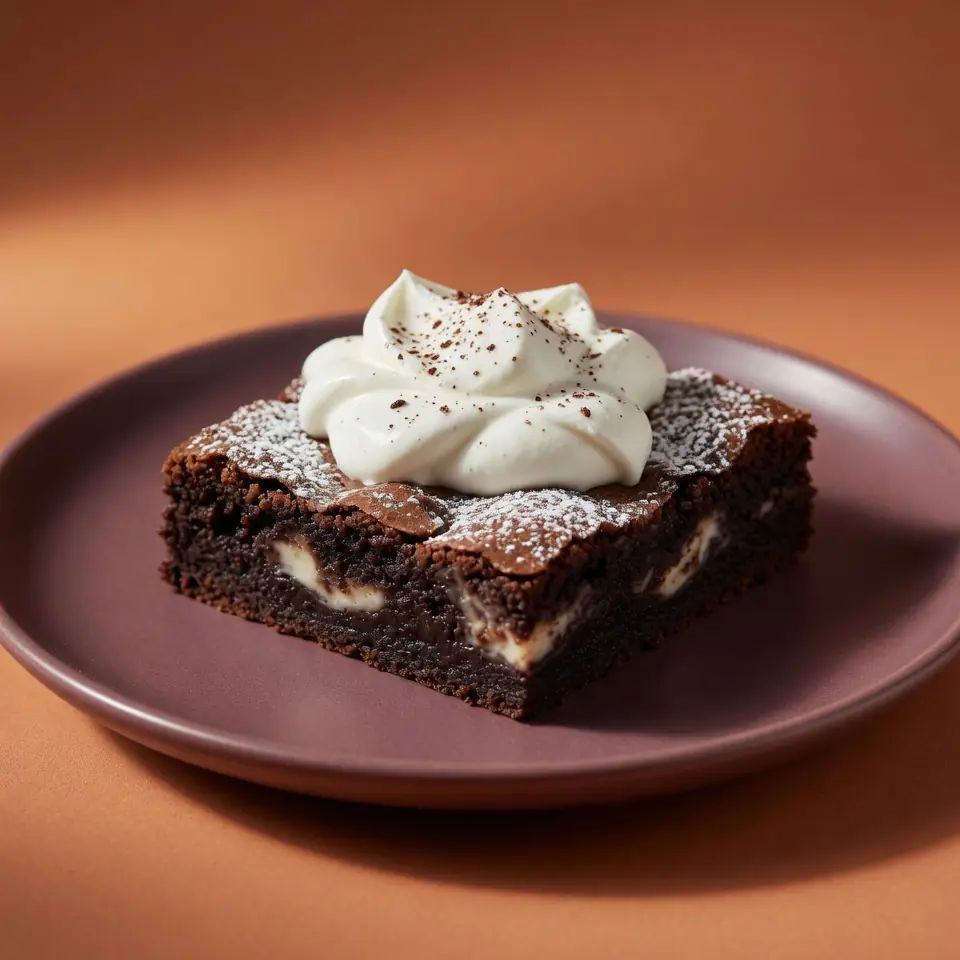
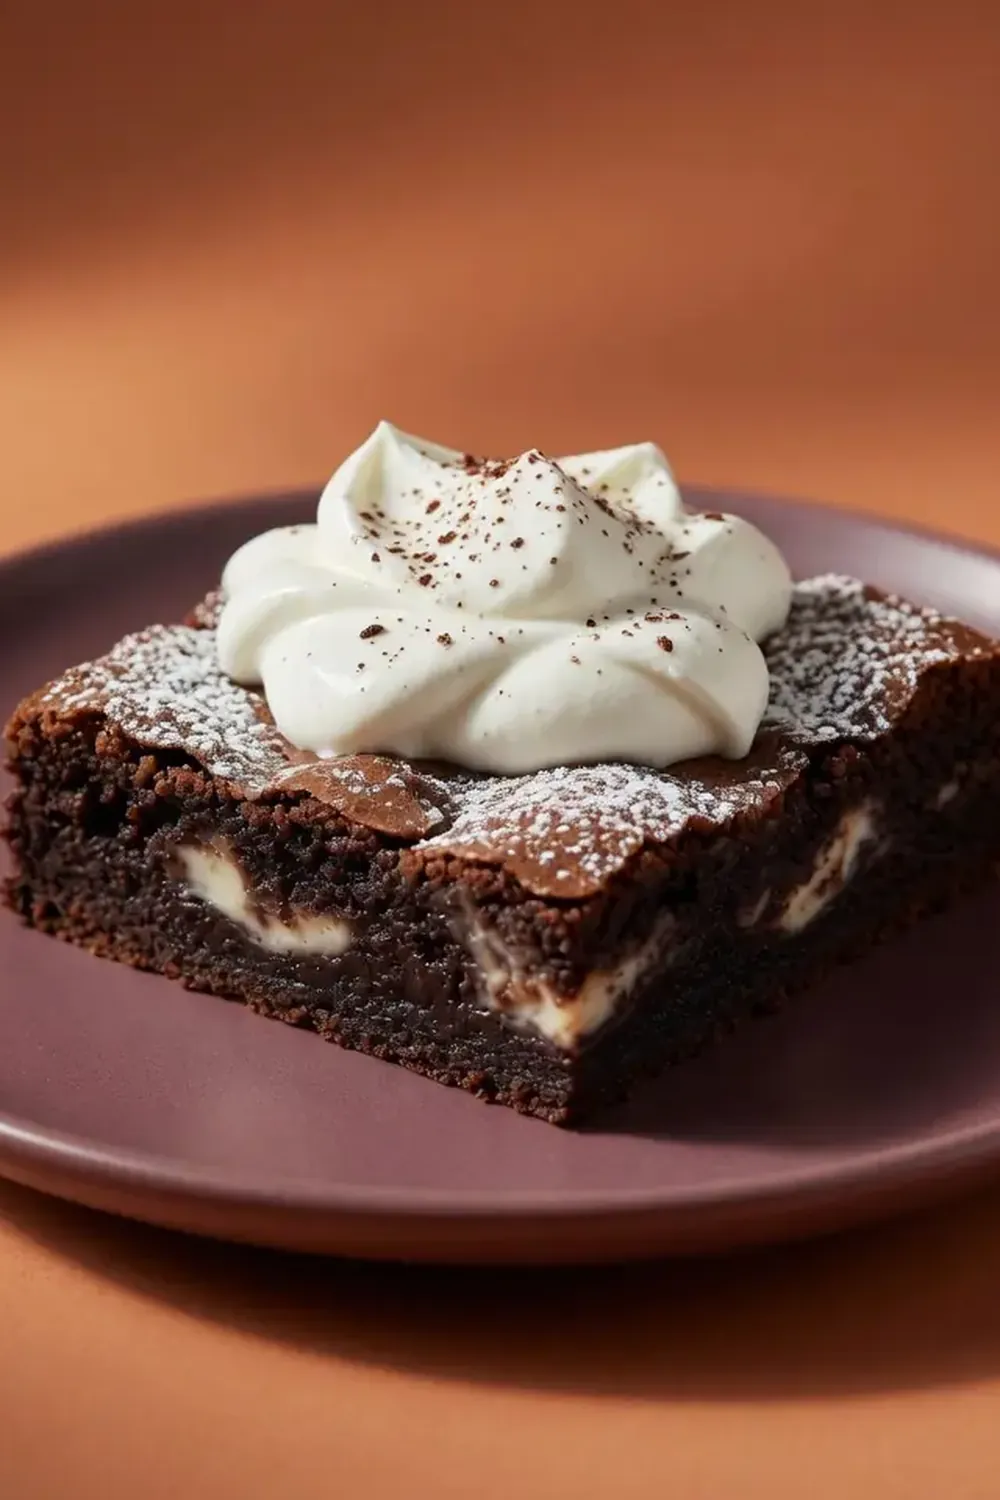
What to Serve With Greek Yogurt Brownies for a Light Sweet
- A dollop of extra Greek yoghurt or crème fraîche
- A sprinkle of fresh berries, such as raspberries or strawberries
- A light dusting of cocoa powder
- A small glass of cold milk
Frequently Asked Questions
Greek Yogurt Brownies for a Light Sweet
Ingredients
Method
-
Prepare Your Baking Arena: Preheat your oven to 175°C (160°C fan/Gas Mark 3). Line a 20x20cm (8×8 inch) square baking tray with parchment paper, leaving an overhang on two sides to easily lift the brownies out later. This small step saves so much cleanup!
-
Melt and Mix the Base: In a large mixing bowl, combine the melted butter and caster sugar. Whisk them together until the mixture is smooth and slightly glossy. You’ll notice a faint sweet aroma filling the air.
-
Introduce Wet Ingredients: Add the eggs, one at a time, whisking well after each addition until fully incorporated. Stir in the vanilla extract. The mixture should become lighter in colour and thicker, resembling a creamy custard.
-
Combine Dry Ingredients: In a separate bowl, whisk together the plain flour, cocoa powder, baking powder, and salt. Make sure there are no lumps of cocoa powder; it should be a uniform, deep brown colour.
-
Fold in the Yoghurt and Dry Mix: Gently fold half of the dry ingredients into the wet mixture until just combined. Then, add the Greek yoghurt and mix until smooth. Finally, fold in the remaining dry ingredients until barely any flour streaks remain. Be careful not to overmix; overmixing can lead to tough brownies. The batter will be thick and rich, a beautiful dark brown. Stir in the dark chocolate chips.
-
Bake to Perfection: Pour the batter into your prepared baking tray, spreading it evenly with a spatula. Place the tray in the preheated oven and bake for 25-30 minutes. You’ll know they’re done when the edges look set and a skewer inserted into the centre comes out with moist crumbs, but not wet batter. The kitchen will smell wonderfully of rich chocolate.
-
Cool and Slice: Let the brownies cool completely in the tray on a wire rack before lifting them out using the parchment paper overhang. This is crucial for fudgy brownies! Once completely cool, which might take an hour or two, slice them into squares. The texture should be dense and fudgy, with a slight chewiness.
Notes
There you have it – a recipe that not only delivers on flavour and texture but also respects your precious time. These Greek Yogurt Brownies for a Light Sweet have become a firm favourite in my home; I make this at least once a week – it’s become a family favourite! They’re the perfect way to bring a little bit of joy to a busy weeknight, without the usual fuss. I truly believe that even on the most hectic evenings, there’s always room for a little homemade goodness. Do give them a try and let me know what you think in the comments below!