Fudgy Chocolate Brownies For A Crowd-Pleasing
After a hectic day of school runs, work deadlines, and the general whirlwind that is family life, the last thing anyone wants is a complicated dessert demanding hours in the kitchen. We all crave that moment of calm, a sweet treat to gather around, but often the thought of extra faff puts us off. That’s precisely why these fudgy chocolate brownies for a crowd-pleasing have become a cherished fixture in my own home, offering a delectable end to any weeknight without adding to the evening’s stress.
I remember countless evenings, staring into the fridge, wishing for something more exciting than fruit but lacking the energy for anything elaborate. My youngest, Leo, once declared he was ‘starving’ for something chocolatey, and that’s when I realised the need for a truly effortless, yet deeply satisfying, Dessert option. This particular brownie recipe emerged from that very need for speed and simplicity, ensuring that even on the most chaotic Tuesdays, a warm, gooey square of chocolatey bliss, or perhaps a lighter option like Greek Yogurt Brownies For A Light Sweet, is within reach.
What I adore most about this recipe isn’t just the sheer decadence of the brownies themselves, but how seamlessly they fit into a busy family schedule. They’re designed for minimal fuss, quick preparation, and frankly, maximum enjoyment. Forget elaborate ingredients or tricky techniques; this is about delivering pure, unadulterated chocolate joy with the kind of efficiency that makes you feel like a culinary wizard, even when you’re utterly knackered.
Recipe Overview
- Prep Time: 15 minutes
- Cook Time: 25-30 minutes
- Total Time: 40-45 minutes
- Servings: 12-16 squares
- Difficulty: Easy
Why You’ll Love This Fudgy Chocolate Brownies for a Crowd-Pleasing
- Speedy Solution: From mixing bowl to oven in under 20 minutes, these brownies are the ideal swift dessert for any busy weeknight.
- Minimal Washing Up: A true blessing after a long day, this recipe keeps the dirty dishes to a minimum, often requiring just one bowl for mixing.
- Make-Ahead Magic: Prepare them hours or even a day in advance, making them a fantastic option for planned treats or unexpected guests.
- Universally Adored: With their rich chocolate flavour and irresistible fudgy texture, these brownies are a guaranteed favourite with all ages, from toddlers to grandparents.
- Utterly Indulgent: Despite their simplicity, each square delivers a deep, satisfying chocolate hit that feels truly luxurious, providing that much-needed moment of sweet escape.
Ingredients You’ll Need
- 200g unsalted butter, cubed
- 200g dark chocolate (70% cocoa solids recommended), roughly chopped
- 300g caster sugar
- 4 large free-range eggs
- 100g plain flour
- 50g unsweetened cocoa powder
- ½ teaspoon fine sea salt
- 1 teaspoon vanilla extract
- Optional: 100g chocolate chips (milk or dark)
- Optional: 50g chopped walnuts or pecans (ensure no shell fragments)
Tip: Using good quality dark chocolate makes a noticeable difference to the depth of flavour. Don’t skimp here; it’s the star of the show!
How to Make Fudgy Chocolate Brownies for a Crowd-Pleasing
- Prepare Your Tin: Preheat your oven to 180°C (160°C fan/Gas Mark 4). Grease and line a 20cm x 30cm baking tray with parchment paper, leaving an overhang on the sides to easily lift the brownies out later.
- Melt the Chocolate and Butter: In a large, heatproof bowl set over a pan of simmering water (bain-marie), combine the cubed butter and chopped dark chocolate. Stir occasionally until the mixture is smooth, glossy, and smells deeply chocolatey. Remove from the heat and let it cool slightly for a few minutes.
- Combine Wet Ingredients: In a separate large bowl, whisk together the caster sugar and eggs until pale, thick, and slightly foamy – this might take about 2-3 minutes with a hand mixer, and the mixture will lighten in colour. Stir in the vanilla extract until just combined.
- Fold in Chocolate Mixture: Pour the slightly cooled chocolate and butter mixture into the egg and sugar mixture. Gently fold with a spatula until just combined and streak-free; the batter will turn a rich, uniform dark brown and have a thick, luxurious sheen. Be careful not to overmix.
- Add Dry Ingredients: Sift the plain flour, cocoa powder, and salt directly over the chocolate mixture. Gently fold until just combined. Stop as soon as you see no more dry streaks of flour; overmixing develops gluten and can lead to cakey, rather than fudgy, brownies. If using, fold in chocolate chips or chopped nuts now. The batter will be thick and shiny.
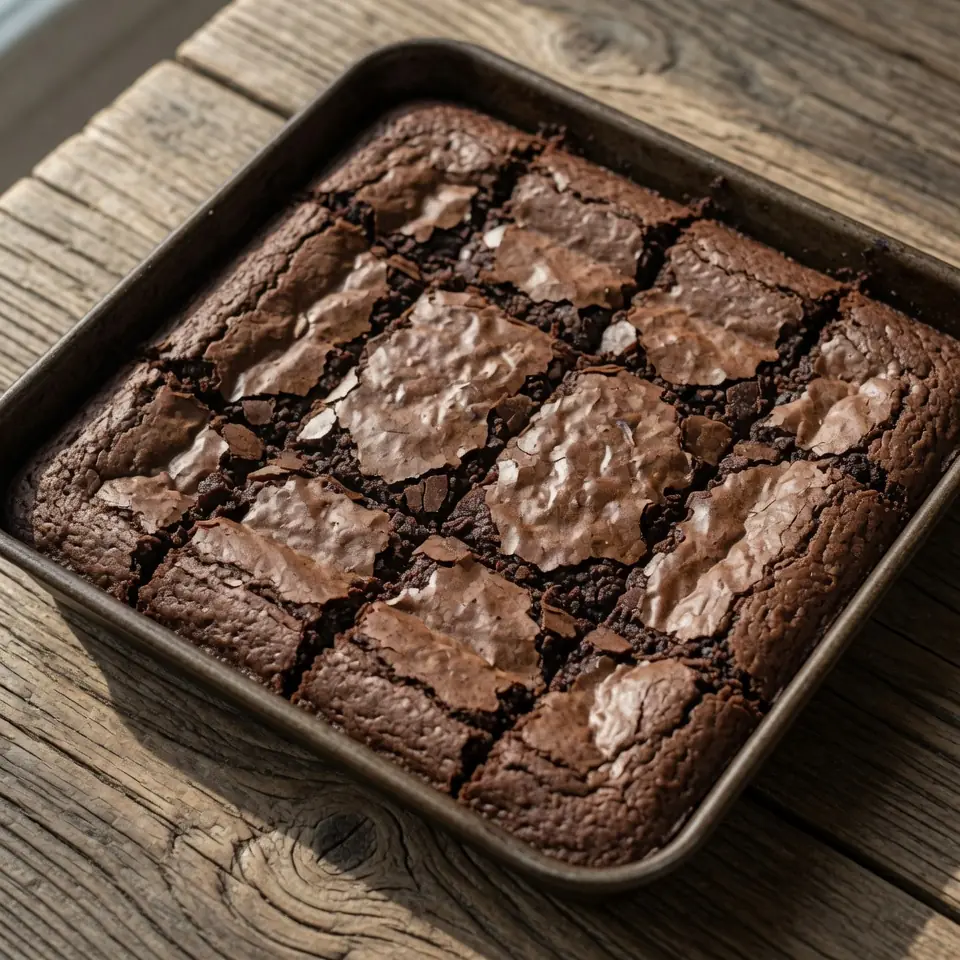
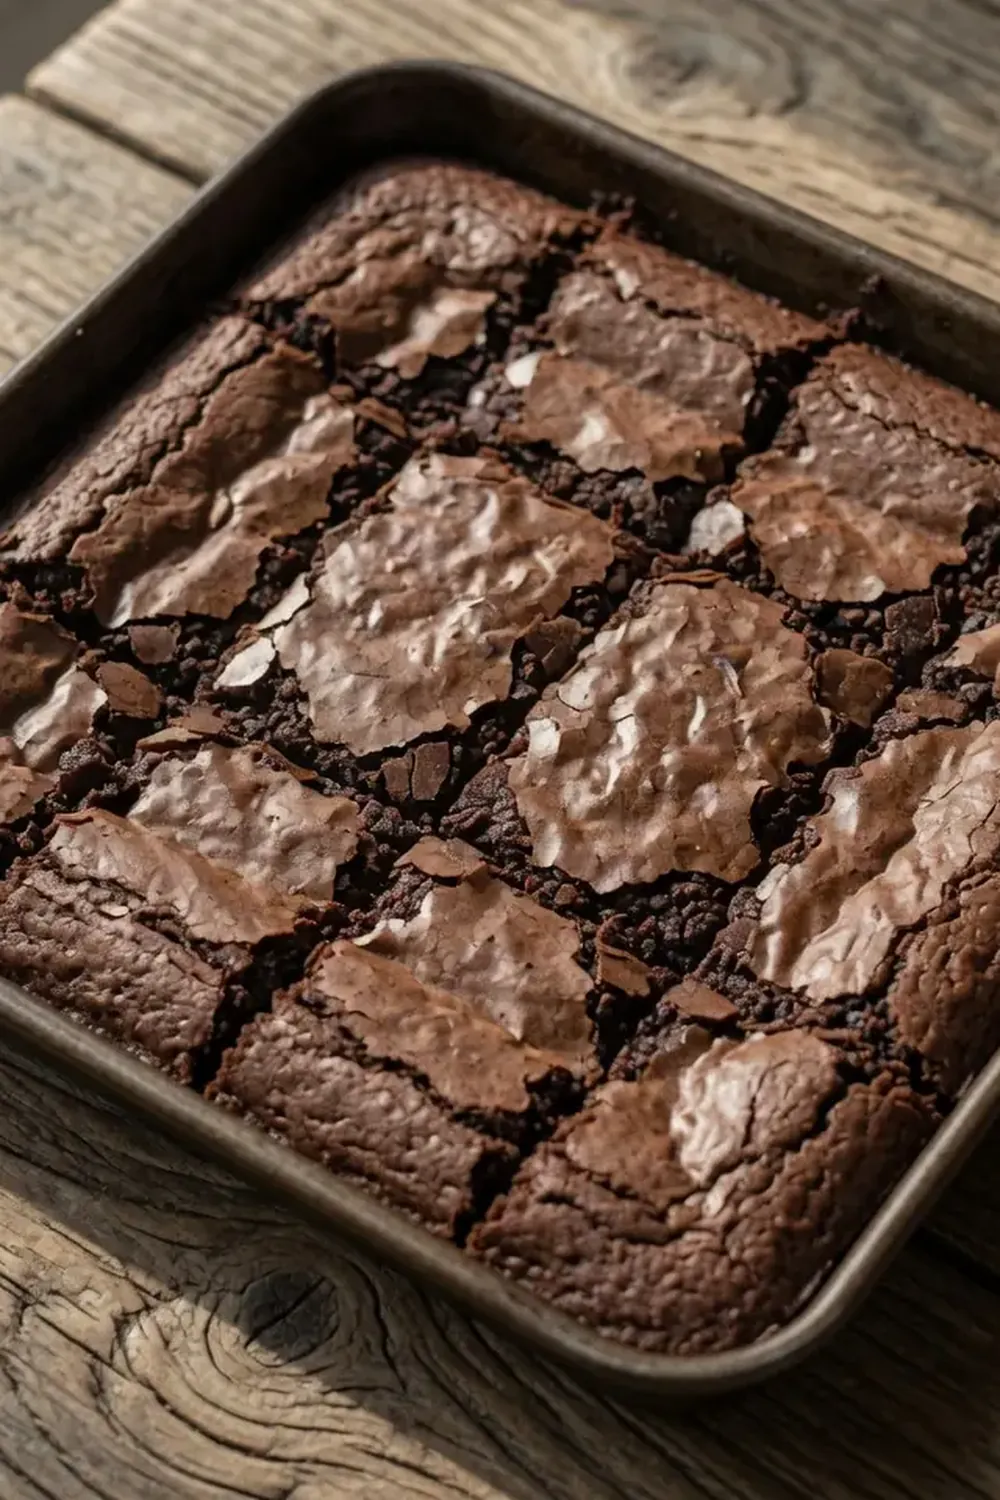
- Bake to Perfection: Pour the batter into your prepared baking tray, spreading it evenly to the corners. Bake for 25-30 minutes. You’re looking for a top that’s set and slightly cracked around the edges, but the centre should still have a slight wobble when gently shaken. A skewer inserted into the centre should come out with moist crumbs attached, not wet batter. The smell filling your kitchen will be intensely chocolatey.
- Cool Completely: Remove the tray from the oven and place it on a wire cooling rack. Allow the brownies to cool completely in the tin – this is crucial for that signature fudgy texture and clean cuts. The brownies will firm up considerably as they cool. Once cool, use the parchment paper overhang to lift them out, then slice into squares.
Tips From My Kitchen
- Don’t Overmix the Batter: When adding the dry ingredients, mix just until no streaks of flour remain. Overmixing develops the gluten in the flour, which can lead to a more cake-like, airy texture rather than the dense, fudgy brownie we’re aiming for. The goal is a rich, chewy crumb, and gentle folding is key to achieving it.
- Embrace the Cooling Time: I used to struggle with this dish until I discovered this technique – allowing the brownies to cool completely in the tin is perhaps the most critical step for achieving true fudginess. As they cool, the fats and sugars solidify, setting the structure and creating that dense, chewy, almost caramel-like texture. Cutting them warm will result in a crumbly mess, so patience truly is a virtue here.
- Warm Ingredients for Better Emulsification: Ensure your eggs are at room temperature. This allows them to incorporate more evenly with the other ingredients, creating a smoother, more stable emulsion with the melted chocolate and butter. A well-emulsified batter bakes more uniformly and contributes to a better texture.
- Use a Trusty Baking Tin: A good quality, heavy-bottomed metal baking tin (20cm x 30cm is ideal) ensures even heat distribution, preventing burnt edges and an undercooked middle. If your tin is darker or lighter, adjust your baking time slightly; darker tins conduct heat more intensely.
- The Skewer Test is Your Friend: For fudgy brownies, you want a skewer inserted into the centre to come out with moist crumbs attached, not completely clean. A completely clean skewer indicates over-baking, which leads to dry, cakey brownies. Trust the wobble and the moist crumb, and remember they continue to cook slightly as they cool.
- Prep Ahead for True Weeknight Zen: These brownies are absolutely brilliant for making ahead. Bake them on a Sunday afternoon, let them cool completely, then store them in an airtight container. My husband, who’s usually picky, asked for seconds even after they’d been made the day before! They’ll stay wonderfully fudgy for 3-4 days, meaning you have a delightful dessert ready to go for those busy weeknights.
Equipment You’ll Need
- Stand mixer or hand mixer (optional, but helpful for whisking eggs)
- 20cm x 30cm baking tray
- Parchment paper
- Wire cooling rack
- Large heatproof bowl (for bain-marie)
- Large mixing bowl
- Spatula or wooden spoon
- Sieve
Common Mistakes to Avoid
- Overcrowding the pan: While not typically an issue with brownies baked in a single layer, ensuring you use the specified 20cm x 30cm tin is crucial. A smaller tin will result in much thicker brownies that take longer to cook and might be raw in the middle, while a larger tin will yield thin, potentially dry brownies. Stick to the recommended size for even baking.
- Wrong temperature: Baking at too high a temperature can cause the edges to cook too quickly and become dry, while the centre remains raw. Too low, and they won’t develop that lovely crinkly top or set properly. Stick to 180°C (160°C fan/Gas Mark 4) for optimal results, ensuring your oven is fully preheated before the brownies go in.
- Skipping the rest time: This is a common pitfall! Cutting warm brownies is a recipe for disaster; they will fall apart, be messy, and won’t have that dense, chewy texture. Resting allows the internal structure to set and the flavours to meld, giving you perfectly fudgy, neat squares. Patience is key for that satisfying bite.
Delicious Variations to Try
- Spicy Version: For a subtle kick, add ½ teaspoon of finely ground chilli powder or a pinch of cayenne pepper to the dry ingredients. The heat isn’t overpowering but adds an intriguing warmth that complements the rich chocolate beautifully.
- Vegetarian/Vegan Option: To make these plant-based, substitute the butter with a good quality vegan block butter and the eggs with a flax ‘egg’ (1 tablespoon ground flaxseed mixed with 3 tablespoons water per egg, let sit for 5 minutes). Ensure your chocolate is dairy-free.
- Different Protein: While brownies aren’t typically a ‘protein’ dish, you could stir in a scoop of unflavoured or chocolate-flavoured plant-based protein powder (ensure it’s suitable for baking) with the dry ingredients. This will add a protein boost, but you might need a splash more milk (dairy or plant-based) to maintain the batter’s consistency.
What to Serve With Fudgy Chocolate Brownies for a Crowd-Pleasing
- A scoop of vanilla bean ice cream
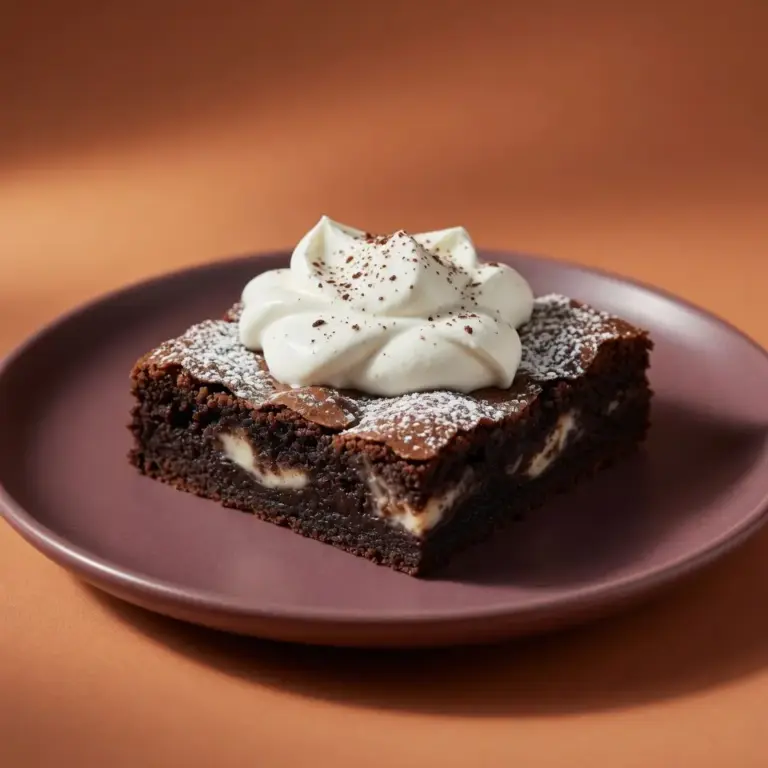
- A dollop of freshly whipped cream
- A sprinkle of sea salt flakes
- A drizzle of warm caramel sauce
- A simple glass of cold milk
Frequently Asked Questions
Fudgy Chocolate Brownies for a Crowd-Pleasing
Ingredients
Method
-
Prepare Your Tin: Preheat your oven to 180°C (160°C fan/Gas Mark 4). Grease and line a 20cm x 30cm baking tray with parchment paper, leaving an overhang on the sides to easily lift the brownies out later.
-
Melt the Chocolate and Butter: In a large, heatproof bowl set over a pan of simmering water (bain-marie), combine the cubed butter and chopped dark chocolate. Stir occasionally until the mixture is smooth, glossy, and smells deeply chocolatey. Remove from the heat and let it cool slightly for a few minutes.
-
Combine Wet Ingredients: In a separate large bowl, whisk together the caster sugar and eggs until pale, thick, and slightly foamy – this might take about 2-3 minutes with a hand mixer, and the mixture will lighten in colour. Stir in the vanilla extract until just combined.
-
Fold in Chocolate Mixture: Pour the slightly cooled chocolate and butter mixture into the egg and sugar mixture. Gently fold with a spatula until just combined and streak-free; the batter will turn a rich, uniform dark brown and have a thick, luxurious sheen. Be careful not to overmix.
-
Add Dry Ingredients: Sift the plain flour, cocoa powder, and salt directly over the chocolate mixture. Gently fold until just combined. Stop as soon as you see no more dry streaks of flour; overmixing develops gluten and can lead to cakey, rather than fudgy, brownies. If using, fold in chocolate chips or chopped nuts now. The batter will be thick and shiny.
-
Bake to Perfection: Pour the batter into your prepared baking tray, spreading it evenly to the corners. Bake for 25-30 minutes. You’re looking for a top that’s set and slightly cracked around the edges, but the centre should still have a slight wobble when gently shaken. A skewer inserted into the centre should come out with moist crumbs attached, not wet batter. The smell filling your kitchen will be intensely chocolatey.
-
Cool Completely: Remove the tray from the oven and place it on a wire cooling rack. Allow the brownies to cool completely in the tin – this is crucial for that signature fudgy texture and clean cuts. The brownies will firm up considerably as they cool. Once cool, use the parchment paper overhang to lift them out, then slice into squares.
Notes
There you have it – my tried-and-tested recipe for fudgy chocolate brownies that genuinely deliver on speed, minimal fuss, and an undeniable deliciousness. These aren’t just a dessert; they’re a little slice of calm in the chaos of the week, a reason to gather around and share a moment of sweet joy. I hope they bring as much happiness to your family table as they do to mine. Do let me know in the comments below if you try them, and what variations you come up with!
For more delightful treats and all recipes designed for the busy home cook, feel free to explore Positivevibezplz.Com. We’re always sharing tips to make life a little tastier and a lot less stressful.