Dessert
After a long day of work, school runs, and general household chaos, the thought of whipping up a delicious dessert often feels like an impossible dream. We all want to end our evening meals on a sweet note, but finding the time and energy for anything elaborate is a challenge many of us face. That’s precisely why I’m so excited to share my Speedy Chocolate Fudge Pudding recipe with you today.
I remember one particularly manic Tuesday evening when my children, after an unusually quiet dinner, suddenly erupted with a collective demand for “something sweet!” My energy reserves were at rock bottom, and the fridge offered little inspiration beyond a few eggs and some cocoa. In that moment of desperation, this recipe was born out of a desire to create something deeply satisfying, incredibly comforting, and above all, ridiculously quick to prepare. It’s been a lifesaver ever since, proving that a truly special dessert, whether it’s a quick pudding, something like Fudgy Chocolate Brownies For A Crowd-Pleasing, or Greek Yogurt Brownies For A Light Sweet, doesn’t require hours in the kitchen.com/greek-yogurt-brownies-for-a-light-sweet/”>Greek Yogurt Brownies For A Light Sweet, doesn’t require hours in the kitchen.
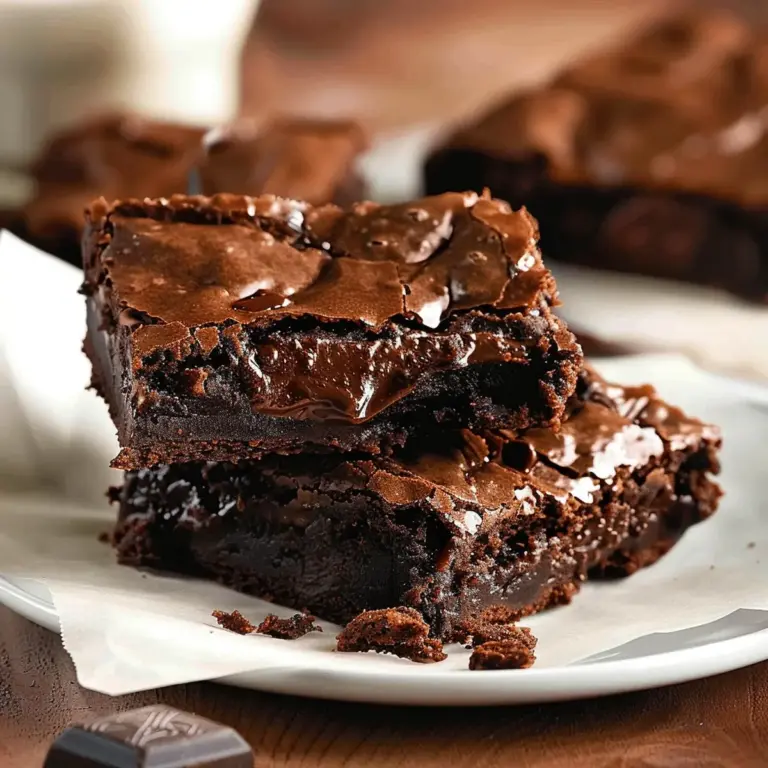
This Speedy Chocolate Fudge Pudding isn’t just about speed; it’s about delivering a rich, molten chocolate experience that feels indulgent without the fuss. It’s the kind of dessert that bakes while you’re clearing the dinner table, emerging from the oven warm, gooey, and ready to be devoured. It perfectly embodies the ethos of a busy weeknight kitchen: minimal effort, maximum reward, and a happy family gathered around the table for that final, sweet flourish.
Recipe Overview
- Prep Time: 15 minutes
- Cook Time: 25-30 minutes
- Total Time: 40-45 minutes
- Servings: 6-8
- Difficulty: Easy
Why You’ll Love This Dessert
- It’s incredibly quick to prepare, perfect for busy weeknights when time is precious.
- The ingredients are simple pantry staples, meaning you likely have most of them already.
- It delivers a rich, decadent chocolate flavour that truly satisfies any sweet craving.
- Minimal washing-up is required, as much of the mixing happens in one bowl.
- It’s a truly comforting dessert that brings a smile to everyone’s face after a long day.
Ingredients You’ll Need
- 150g plain flour
- 50g cocoa powder, unsweetened
- 180g caster sugar
- 1 ½ teaspoons baking powder
- ¼ teaspoon fine salt
- 240ml milk (dairy or plant-based)
- 80ml vegetable oil (or any neutral oil)
- 1 teaspoon vanilla extract
- 1 large egg
- 100g dark chocolate chips or chopped dark chocolate
- 200g light brown sugar
- 2 tablespoons cocoa powder, unsweetened (for topping)
- 360ml hot water
Tip: For an extra rich flavour, opt for a good quality cocoa powder. It really makes a difference to the depth of the chocolate in the pudding.
How to Make Dessert
- Preheat Oven & Prepare Dish: Preheat your oven to 180°C (160°C fan/Gas Mark 4). Lightly grease a 20x20cm (or similar sized) ovenproof dish. You want to ensure the pudding doesn’t stick, so a quick wipe with a little oil or butter is key.
- Combine Dry Ingredients: In a large mixing bowl, whisk together the plain flour, 50g cocoa powder, caster sugar, baking powder, and salt. Give it a good whisk until the mixture is uniform and there are no visible lumps of baking powder; this ensures even rising and texture.
- Combine Wet Ingredients: In a separate smaller bowl, whisk together the milk, vegetable oil, vanilla extract, and the egg. Whisk until everything is smoothly combined and the mixture looks pale yellow and slightly frothy.
- Combine Wet and Dry: Pour the wet ingredients into the dry ingredients. Mix with a wooden spoon or spatula until just combined. Be careful not to overmix; a few small lumps are perfectly fine and will disappear during baking. Fold in the chocolate chips. The batter will be thick and glossy, with the chocolate chips distributed throughout.
- Prepare the Topping: Pour the batter into your prepared ovenproof dish, spreading it evenly. In a small bowl, combine the light brown sugar and the remaining 2 tablespoons of cocoa powder. Sprinkle this mixture evenly over the top of the batter. It will look like a dark, sugary dust sitting on top of the chocolate batter.
- Add Hot Water: Carefully pour the 360ml of hot water over the brown sugar and cocoa layer. Do not stir! The water will sit on top, creating a thin, dark liquid layer. This is the magic step that creates the delicious fudge sauce underneath the cake as it bakes.
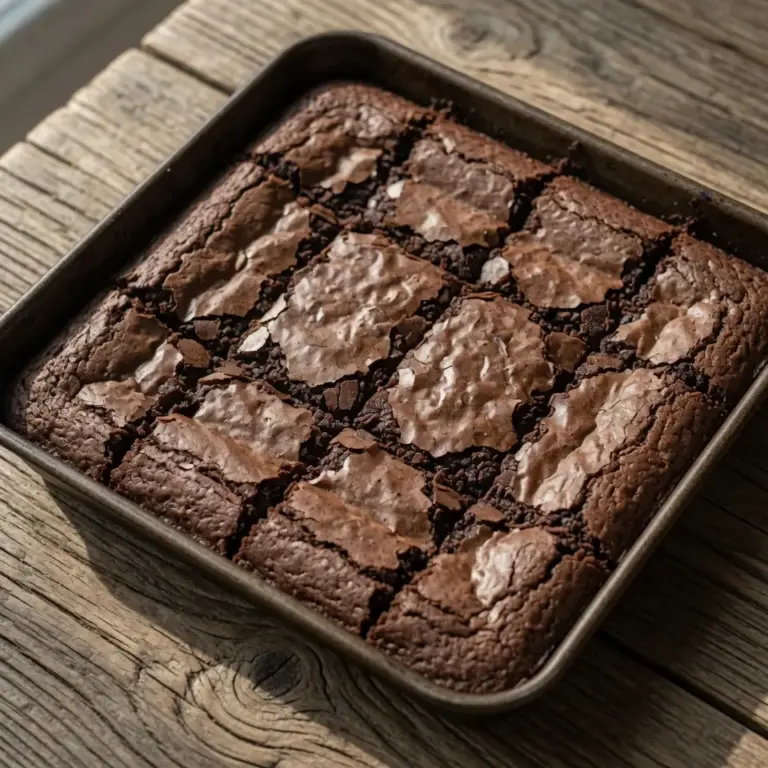
- Bake: Place the dish in the preheated oven and bake for 25-30 minutes. You’ll know it’s ready when the top cake layer is set and springs back slightly when gently touched, and the edges are bubbling with a rich, dark sauce. The kitchen will be filled with a wonderful, deep chocolate aroma.
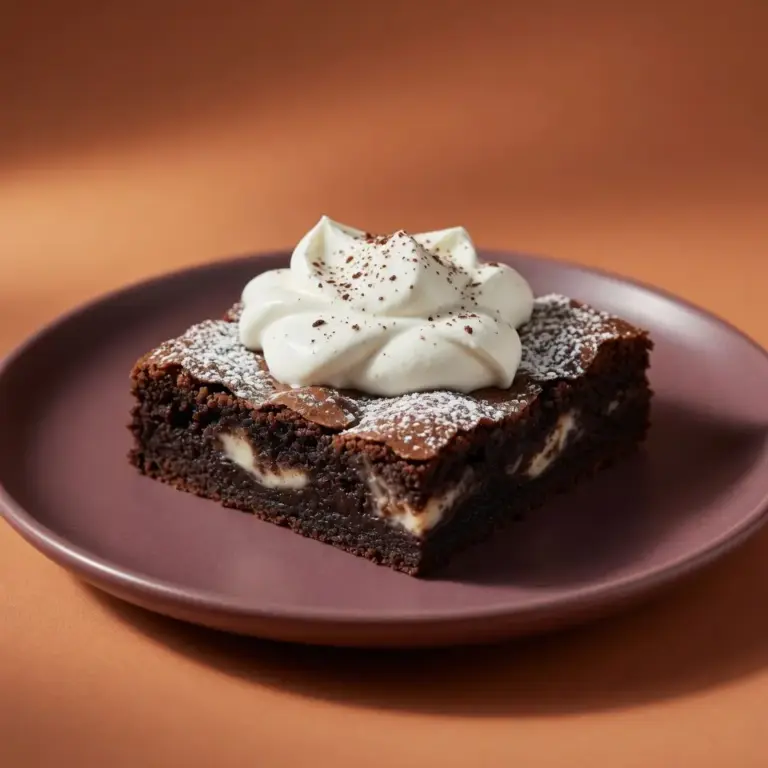
- Serve: Carefully remove the pudding from the oven. The sauce underneath will be incredibly hot and molten. Serve immediately with a dollop of clotted cream or a scoop of vanilla ice cream. The contrast between the warm, fudgy cake and the cool topping is simply divine.
Tips From My Kitchen
- Don’t Overmix the Batter: When combining the wet and dry ingredients, mix just until no streaks of flour remain. Overmixing develops the gluten in the flour, which can lead to a tough, dense pudding instead of the wonderfully light and tender cake layer we’re aiming for. The goal is a light, fluffy cake topping with that rich sauce underneath.
- Use Good Quality Cocoa: The cocoa powder is a star ingredient here, so invest in a good quality unsweetened variety. A higher quality cocoa will provide a deeper, more complex chocolate flavour that elevates the entire dessert. It’s worth the slight extra cost for that truly luxurious taste.
- Ensure Water is Hot, Not Boiling: When adding the water, ensure it’s hot from the kettle, but not furiously boiling. Water that’s too hot can sometimes ‘shock’ the mixture or cause the sugar to dissolve too quickly and unevenly. Hot water is essential for creating that molten sauce, but a gentle heat is best.
- Don’t Stir the Topping Layer: This is crucial! Pouring the hot water directly over the sugar and cocoa topping without stirring is what allows the magic to happen. As it bakes, the water, sugar, and cocoa will sink through the cake batter, creating that incredible, self-saucing fudge layer at the bottom. Stirring would simply combine it into the cake, losing the distinct layers.
- Make Ahead Tip: You can prepare the dry ingredients and store them in an airtight container for a few days. On the day you want to bake, simply add the wet ingredients, the topping mixture, and the hot water. This shaves off valuable minutes when you’re in a rush. This is my go-to recipe when I need something quick but impressive.
- Serving Temperature Matters: This pudding is truly at its best served warm, straight from the oven. The sauce is molten and gooey, and the cake layer is soft and tender. If you have leftovers, gently reheat individual portions in the microwave for 30-60 seconds until warmed through and the sauce is liquid again.
Equipment You’ll Need
- Large mixing bowl
- Sharp knife and cutting board (if chopping chocolate)
- Smaller mixing bowl
- Wooden spoon or spatula
- Whisk
- 20x20cm (approx.) ovenproof baking dish
- Kettle for hot water
Common Mistakes to Avoid
- Overmixing the batter: As mentioned in the tips, overmixing develops gluten, leading to a tough, chewy cake rather than a tender one. Mix until just combined.
- Incorrect Oven Temperature: An oven that’s too hot will cook the cake too quickly on the outside, potentially leaving the inside raw, or burning the topping. An oven that’s too cool might not activate the baking powder effectively or create the self-saucing effect properly. Always preheat your oven fully and consider using an oven thermometer for accuracy.
- Skipping the hot water step or stirring it in: The hot water is absolutely essential for creating the molten fudge sauce. If you forget it, you’ll just have a cake. If you stir it into the batter, you won’t get the distinct self-saucing layer, but rather a very wet cake. Trust the process and pour it gently over the top without stirring.
Delicious Variations to Try
- Orange Zest Version: Add the zest of one orange to the wet ingredients for a lovely citrusy twist that pairs wonderfully with chocolate. The bright orange notes cut through the richness beautifully.
- Coffee Infusion: For a more sophisticated flavour, dissolve 1-2 teaspoons of instant coffee granules in the hot water before pouring it over the topping. This deepens the chocolate flavour and adds a subtle coffee kick.
- Mint Chocolate Option: A few drops of food-grade peppermint extract (start with ¼ teaspoon and add more if desired) can be added to the wet ingredients for a refreshing mint chocolate pudding.
What to Serve With Dessert
- A generous scoop of vanilla bean ice cream
- A dollop of clotted cream or whipped double cream
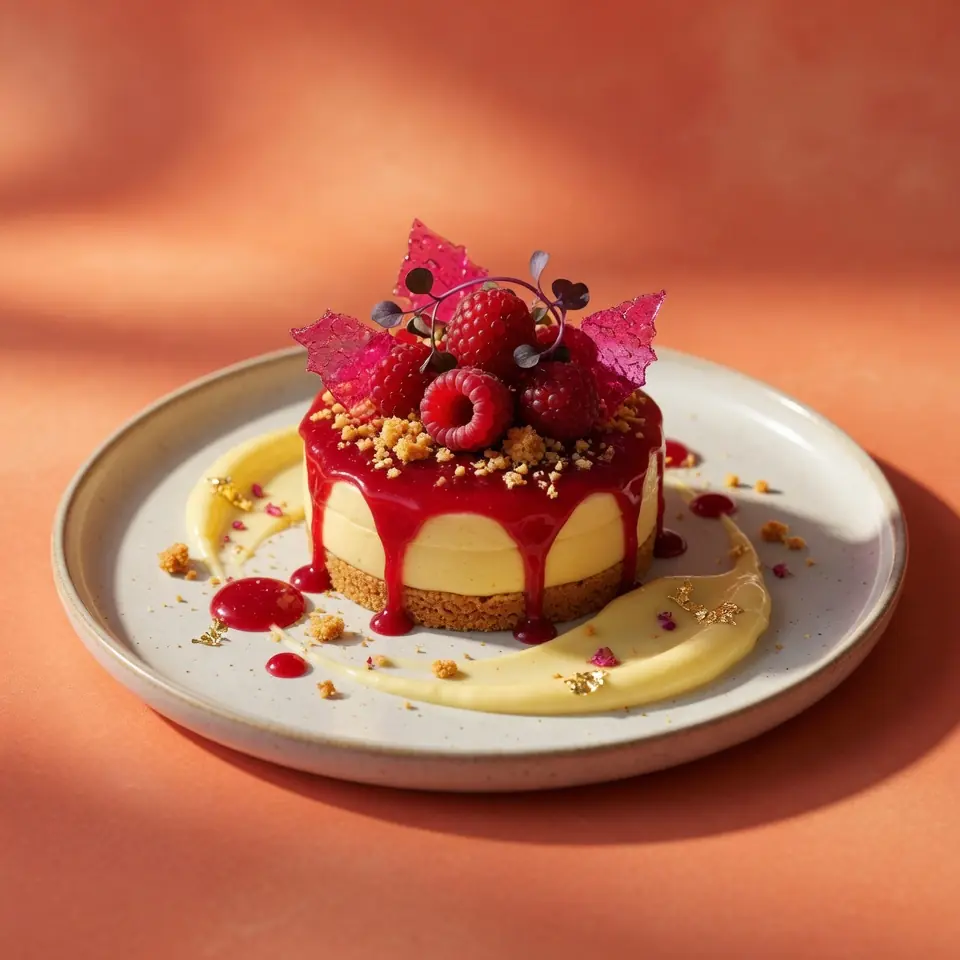
- Fresh raspberries or strawberries for a fruity contrast
- A light dusting of icing sugar
Frequently Asked Questions
Dessert
Ingredients
Method
-
Preheat Oven & Prepare Dish: Preheat your oven to 180°C (160°C fan/Gas Mark 4). Lightly grease a 20x20cm (or similar sized) ovenproof dish. You want to ensure the pudding doesn’t stick, so a quick wipe with a little oil or butter is key.
-
Combine Dry Ingredients: In a large mixing bowl, whisk together the plain flour, 50g cocoa powder, caster sugar, baking powder, and salt. Give it a good whisk until the mixture is uniform and there are no visible lumps of baking powder; this ensures even rising and texture.
-
Combine Wet Ingredients: In a separate smaller bowl, whisk together the milk, vegetable oil, vanilla extract, and the egg. Whisk until everything is smoothly combined and the mixture looks pale yellow and slightly frothy.
-
Combine Wet and Dry: Pour the wet ingredients into the dry ingredients. Mix with a wooden spoon or spatula until just combined. Be careful not to overmix; a few small lumps are perfectly fine and will disappear during baking. Fold in the chocolate chips. The batter will be thick and glossy, with the chocolate chips distributed throughout.
-
Prepare the Topping: Pour the batter into your prepared ovenproof dish, spreading it evenly. In a small bowl, combine the light brown sugar and the remaining 2 tablespoons of cocoa powder. Sprinkle this mixture evenly over the top of the batter. It will look like a dark, sugary dust sitting on top of the chocolate batter.
-
Add Hot Water: Carefully pour the 360ml of hot water over the brown sugar and cocoa layer. Do not stir! The water will sit on top, creating a thin, dark liquid layer. This is the magic step that creates the delicious fudge sauce underneath the cake as it bakes.
-
Bake: Place the dish in the preheated oven and bake for 25-30 minutes. You’ll know it’s ready when the top cake layer is set and springs back slightly when gently touched, and the edges are bubbling with a rich, dark sauce. The kitchen will be filled with a wonderful, deep chocolate aroma.
-
Serve: Carefully remove the pudding from the oven. The sauce underneath will be incredibly hot and molten. Serve immediately with a dollop of clotted cream or a scoop of vanilla ice cream. The contrast between the warm, fudgy cake and the cool topping is simply divine.
Notes
And there you have it – my tried and tested Speedy Chocolate Fudge Pudding, a truly indulgent treat that doesn’t demand hours in the kitchen. I’ve been making this for over 2 years, and it never disappoints, especially after a particularly hectic day. It’s proof that even on the busiest of weeknights, a little bit of chocolate magic is always within reach. Give it a go, and I promise you’ll be adding it to your all-time favourite recipes. Do let me know in the comments below if you try it and what you think!