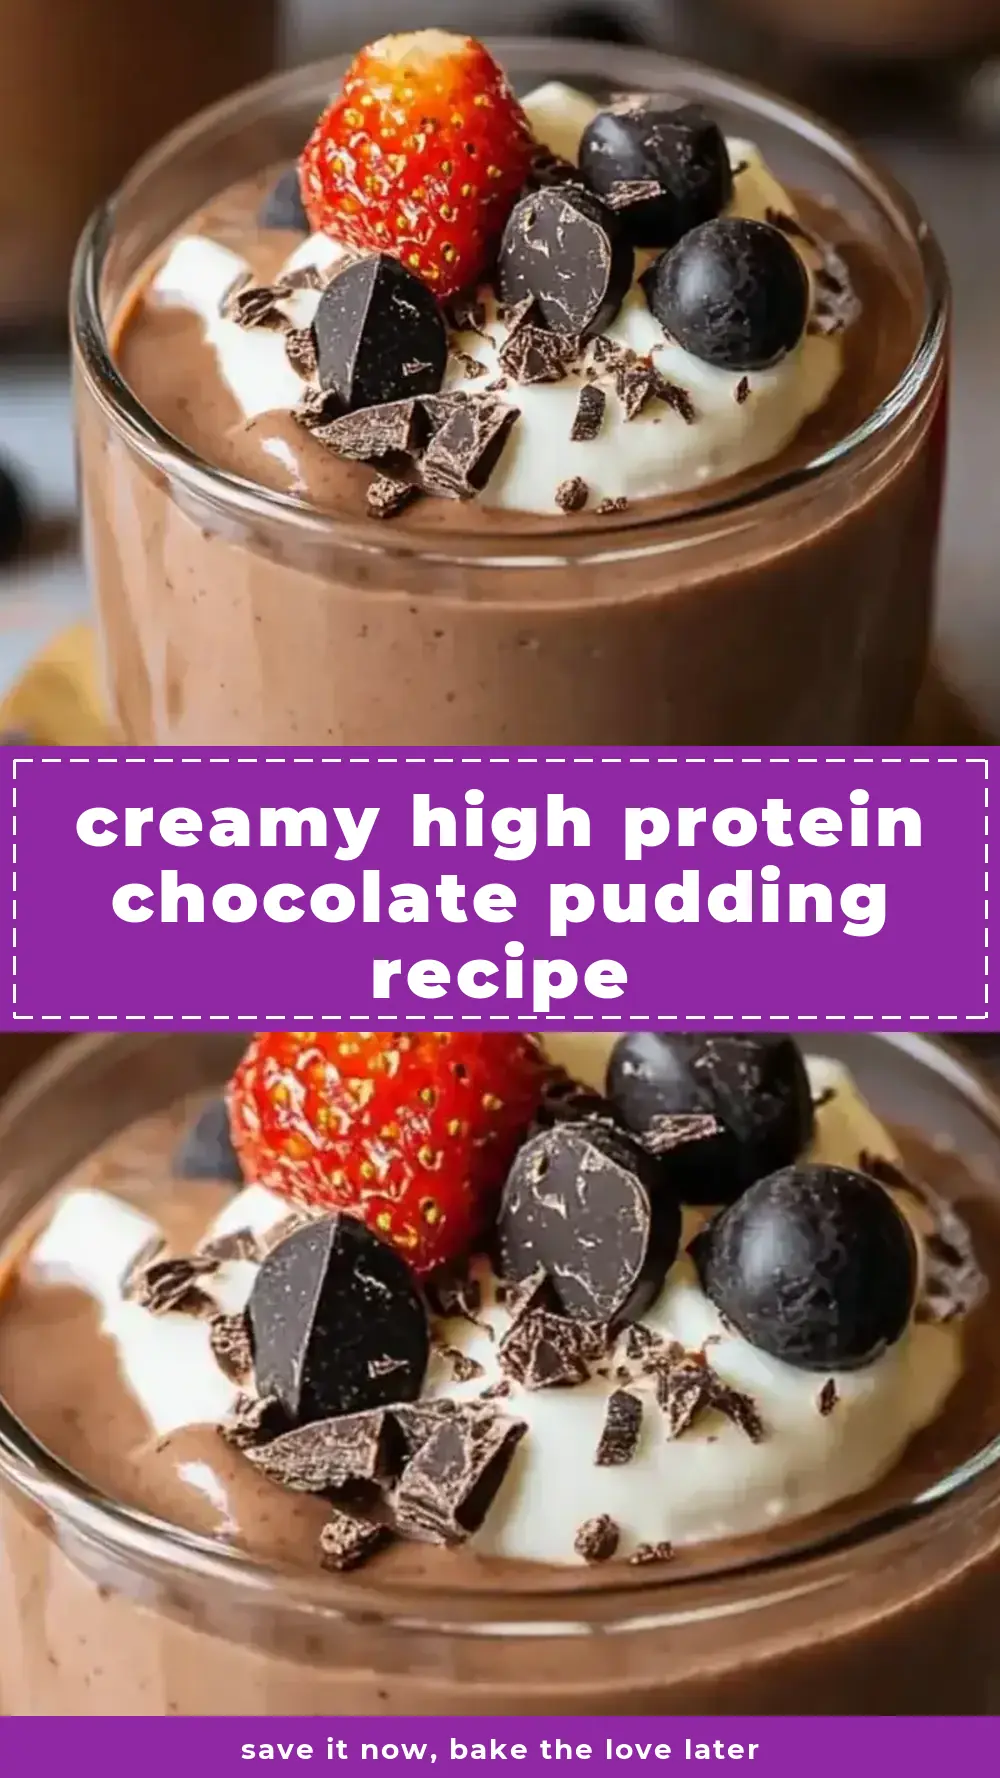
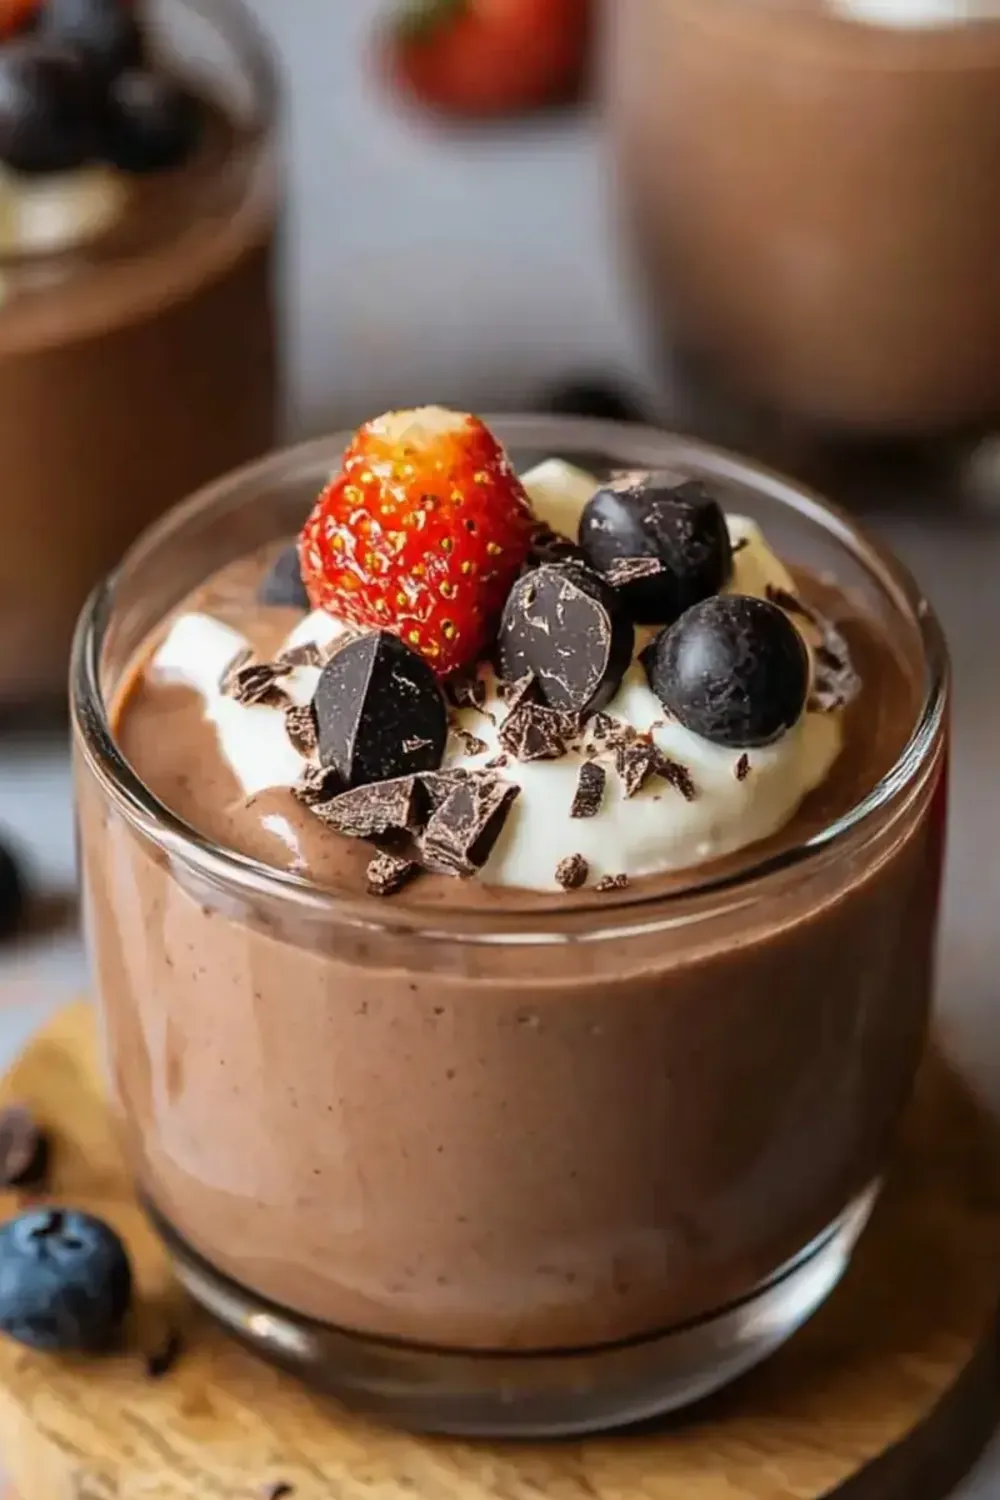
Creamy High Protein Chocolate Pudding Recipe
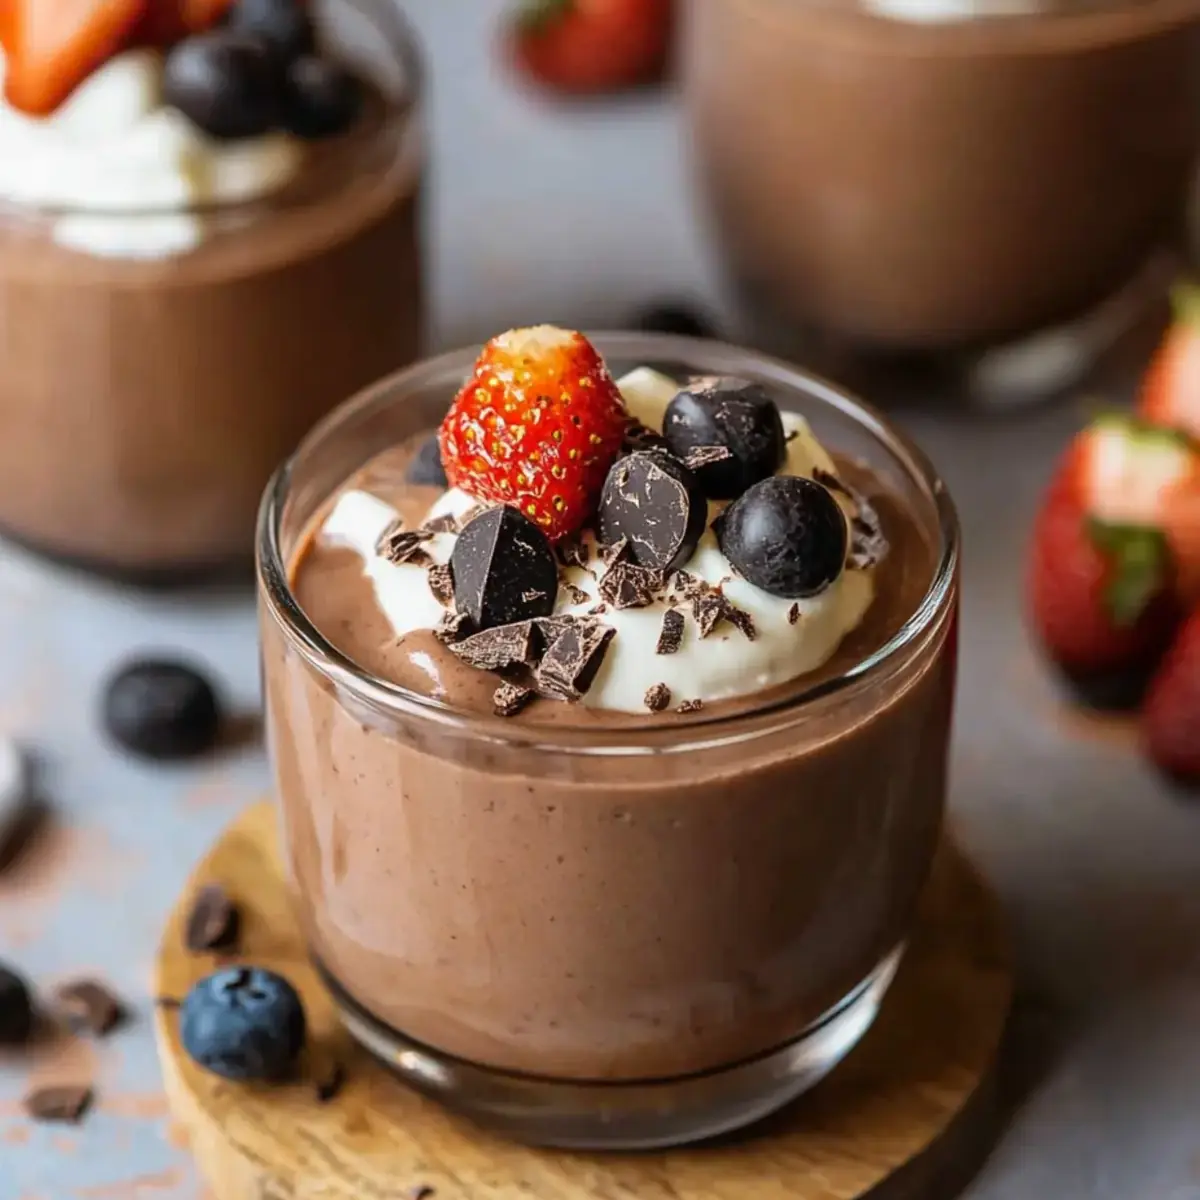
It’s 5:45 PM on a Wednesday, and the “what’s for dinner?” chorus has already started. You’ve got 20 minutes, a fridge that looks suspiciously empty, and three people who need feeding now. That’s exactly why I created this creamy high protein chocolate pudding recipe. After testing this recipe five times to get the texture just right, I’ve landed on a dessert that doubles as a proper meal prep win—ready in ten minutes, made in one bowl, and packed with enough protein to keep everyone satisfied until breakfast.
Recipe Overview
- Prep time: 5 minutes
- Cook time: 5 minutes (stovetop) or 0 minutes (no-cook method)
- Total time: 10 minutes
- Servings: 4 generous portions
- Difficulty: Easy
Why You’ll Love This Creamy High Protein Chocolate Pudding Recipe
- One-bowl cleanup: Everything comes together in a single saucepan or microwave-safe bowl, meaning fewer dishes and more time for yourself.
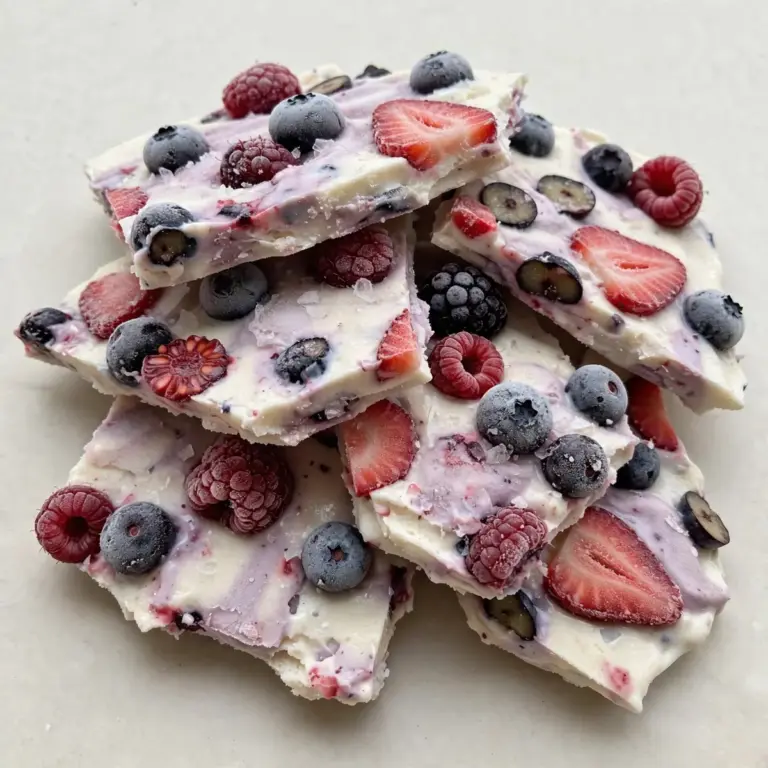
- Make-ahead magic: This pudding sets beautifully overnight, so you can prep it Sunday night and have dessert ready for four nights straight, or perhaps a comforting Warm Low Calorie Apple Crumble For A Cozy Dessert or a Spiced Pumpkin Pie Cheesecake Roll Recipe .com/warm-low-calorie-apple-crumble-for-a-cozy-dessert/”>Warm Low Calorie Apple Crumble For A Cozy Dessert , or even some Chewy Chocolate Caramel Cookies For Holiday Trays or Soft Greek Yogurt Cookies For Sweet Baking .com/spiced-pumpkin-pie-cheesecake-roll-recipe/”>Spiced Pumpkin Pie Cheesecake Roll Recipe .com/warm-low-calorie-apple-crumble-for-a-cozy-dessert/”>Warm Low Calorie Apple Crumble For A Cozy Dessert .com/warm-low-calorie-apple-crumble-for-a-cozy-dessert/”>Warm Low Calorie Apple Crumble For A Cozy Dessert , or even some Soft Greek Yogurt Cookies For Sweet Baking.com/spiced-pumpkin-pie-cheesecake-roll-recipe/”>Spiced Pumpkin Pie Cheesecake Roll Recipe.com/warm-low-calorie-apple-crumble-for-a-cozy-dessert/”>Warm Low Calorie Apple Crumble For A Cozy Dessert.
- No fancy equipment: No blender, no food processor, no standing over a double boiler—just a whisk and a stovetop.
- Customisable protein: Use whey, casein, or plant-based protein powder depending on what you have in the cupboard. The texture adjusts easily.
- Kid-approved: My kids absolutely devour this every time I make it, and they have no idea it’s packed with protein and fibre.
Ingredients You’ll Need
- 500 ml semi-skimmed milk (or oat milk for a dairy-free version)
- 60 g unsweetened cocoa powder
- 50 g vanilla or chocolate protein powder (whey or plant-based)
- 40 g cornflour (cornstarch)
- 50 g light brown sugar or coconut sugar
- 1 tsp vanilla extract
- Pinch of sea salt
- 1 tbsp unsalted butter (optional, for extra richness)
- 100 g dark chocolate (70% cocoa), chopped finely
Tip: For the smoothest pudding, sift the cocoa powder and cornflour together before whisking. This prevents lumps from forming and saves you from having to strain the pudding later.
How to Make Creamy High Protein Chocolate Pudding Recipe
- Whisk the dry ingredients together: In a medium saucepan, sift the cocoa powder, cornflour, sugar, and salt. Whisk them together until the mixture looks uniform and no streaks of cocoa remain. You should see a fine, dark brown powder that smells deeply chocolatey.
- Add a splash of milk to make a paste: Pour in about 60 ml of the milk and whisk vigorously until you have a smooth, thick paste. It should feel slightly gritty from the sugar but completely lump-free. This step prevents clumps when you add the rest of the liquid.
- Pour in the remaining milk slowly: Add the rest of the milk in a steady stream while whisking constantly. The mixture will look thin and milky, like a chocolate drink. Keep whisking until it’s fully combined and you see no dry bits stuck to the sides of the pan.
- Cook over medium heat, stirring constantly: Place the saucepan over medium heat and switch to a wooden spoon or silicone spatula. Stir in a figure-eight motion, scraping the bottom and corners. After about 3 minutes, you’ll feel the mixture start to thicken—it will feel heavier on the spoon and tiny bubbles will appear at the edges.
- Watch for the first big bubble: When the pudding releases one or two large, slow bubbles that break the surface with a soft “pop,” remove the pan from the heat immediately. The texture should be thick enough to coat the back of a spoon thickly, like a custard. If you draw a line through it with your finger, the line should hold without running.
- Stir in the chocolate and vanilla: Add the chopped dark chocolate and vanilla extract while the pudding is still hot. Stir gently until the chocolate has melted completely. The mixture will become glossy and smell intensely rich. If using butter, stir it in now until it melts and the pudding looks silky.
- Whisk in the protein powder off the heat: Let the pudding cool for 1 minute, then add the protein powder. Whisk vigorously to incorporate it fully. The mixture might seize slightly at first—keep whisking until it becomes smooth again. It will look slightly thicker than before and have a faint sweet aroma from the protein.
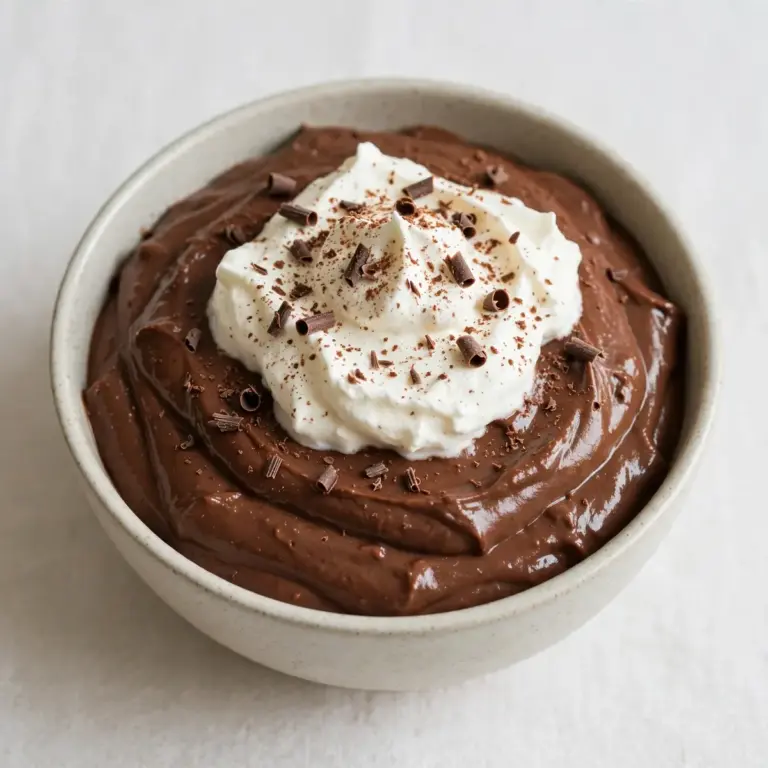
- Portion and chill: Divide the pudding evenly into four ramekins or small bowls. Press a piece of cling film directly onto the surface of each pudding to prevent a skin from forming. Refrigerate for at least 2 hours, or overnight. The pudding will firm up to a spoonable, velvety consistency.
Tips From My Kitchen
- Use a heavy-bottomed saucepan: Thin pans heat unevenly and can scorch the milk before the cornflour has a chance to thicken. A heavy-bottomed pan distributes heat gently, giving you a smooth, lump-free pudding every time.
- Don’t walk away while it’s cooking: Cornflour-thickened puddings go from perfectly thick to burnt in about 30 seconds. Stay at the stove, keep stirring, and listen for that first bubble—that’s your cue to pull it off the heat immediately.
- Let the pudding cool before adding protein powder: If you add protein powder while the pudding is still boiling, the heat can denature the protein too quickly, creating a grainy texture. A 60-second rest allows the temperature to drop just enough for a silky finish.
- Make it dairy-free without sacrificing creaminess: Use full-fat oat milk or tinned coconut milk (not light). The fat content mimics whole milk’s richness, and the coconut flavour actually pairs beautifully with dark chocolate.
- Double the batch for meal prep: This recipe scales perfectly. Make a double batch on Sunday, portion it into individual containers, and you’ve got dessert—or a quick post-dinner snack—ready for the entire week. It keeps well for up to 5 days in the fridge.
- Adjust sweetness to your protein powder: Some protein powders are already sweetened. If yours contains stevia or monk fruit, reduce the sugar by half. Taste the pudding before adding the protein powder, and adjust accordingly.
Common Mistakes to Avoid
- Overcrowding the pan: Using a saucepan that’s too small prevents the mixture from heating evenly. The pudding will cook in patches, leaving some areas thin and others lumpy. Use a pan at least 2 litres in capacity so the mixture has room to move as you stir.
- Wrong temperature: High heat makes the milk scorch and the cornflour clump. Keep the flame at medium. If you see steam rising before the mixture thickens, turn the heat down slightly—you want a gentle simmer, not a vigorous boil.
- Skipping the rest time: Pudding needs at least 2 hours in the fridge to set properly. If you serve it warm, it will be runny and loose. The resting time allows the cornflour molecules to fully hydrate and form the gel structure that gives pudding its signature spoonable texture.
- Adding protein powder too early: Stirring protein powder into a boiling-hot mixture causes it to seize into tiny, gritty clumps. Always let the pudding rest for a full minute after removing it from the heat before adding your protein source.
- Not sifting the cocoa powder: Cocoa powder loves to form stubborn lumps. Sifting it with the cornflour and sugar breaks up those clumps before they ever hit the liquid, saving you from having to whisk furiously later.
Delicious Variations to Try
- Spicy Version: Add ½ teaspoon of ground cinnamon and a pinch of cayenne pepper along with the cocoa powder. The warmth of the spice cuts through the richness and gives the pudding a subtle kick that adults will appreciate.
- Vegan Option: Use oat milk or unsweetened almond milk, replace the butter with coconut oil, and choose a pea-based protein powder. The texture will be slightly less thick but still creamy and satisfying.
- Different Protein: Try unflavoured collagen peptides for a neutral taste that won’t compete with the chocolate. You can also use chocolate casein protein powder—it creates an even thicker, mousse-like texture that’s almost indulgent enough to pass for a restaurant dessert.
What to Serve With Creamy High Protein Chocolate Pudding Recipe
- A dollop of Greek yoghurt and a sprinkle of flaky sea salt for a sweet-salty contrast
- Fresh raspberries or sliced strawberries for a burst of acidity
- A handful of toasted almonds or hazelnuts for crunch
- A drizzle of warm peanut butter or tahini for extra protein and richness
- Alongside a cup of hot coffee or a glass of oat milk—this also pairs beautifully with some of my Decadent Chocolate Covered Doughnuts For Breakfast for a full chocolate-themed evening
Frequently Asked Questions
Creamy High Protein Chocolate Pudding Recipe
Ingredients
Method
-
Whisk the dry ingredients together: In a medium saucepan, sift the cocoa powder, cornflour, sugar, and salt. Whisk them together until the mixture looks uniform and no streaks of cocoa remain. You should see a fine, dark brown powder that smells deeply chocolatey.
-
Add a splash of milk to make a paste: Pour in about 60 ml of the milk and whisk vigorously until you have a smooth, thick paste. It should feel slightly gritty from the sugar but completely lump-free. This step prevents clumps when you add the rest of the liquid.
-
Pour in the remaining milk slowly: Add the rest of the milk in a steady stream while whisking constantly. The mixture will look thin and milky, like a chocolate drink. Keep whisking until it’s fully combined and you see no dry bits stuck to the sides of the pan.
-
Cook over medium heat, stirring constantly: Place the saucepan over medium heat and switch to a wooden spoon or silicone spatula. Stir in a figure-eight motion, scraping the bottom and corners. After about 3 minutes, you’ll feel the mixture start to thicken—it will feel heavier on the spoon and tiny bubbles will appear at the edges.
-
Watch for the first big bubble: When the pudding releases one or two large, slow bubbles that break the surface with a soft “pop,” remove the pan from the heat immediately. The texture should be thick enough to coat the back of a spoon thickly, like a custard. If you draw a line through it with your finger, the line should hold without running.
-
Stir in the chocolate and vanilla: Add the chopped dark chocolate and vanilla extract while the pudding is still hot. Stir gently until the chocolate has melted completely. The mixture will become glossy and smell intensely rich. If using butter, stir it in now until it melts and the pudding looks silky.
-
Whisk in the protein powder off the heat: Let the pudding cool for 1 minute, then add the protein powder. Whisk vigorously to incorporate it fully. The mixture might seize slightly at first—keep whisking until it becomes smooth again. It will look slightly thicker than before and have a faint sweet aroma from the protein.
-
Portion and chill: Divide the pudding evenly into four ramekins or small bowls. Press a piece of cling film directly onto the surface of each pudding to prevent a skin from forming. Refrigerate for at least 2 hours, or overnight. The pudding will firm up to a spoonable, velvety consistency.
Notes
I hope this creamy high protein chocolate pudding recipe becomes a staple in your weeknight dinner rotation as much as it has in mine. It’s the kind of dessert that feels like a treat but works like a meal prep hero. If you give it a try, I’d love to hear how it turned out for you—drop a comment below and let me know which variation you went for. And if you’re looking for more quick dessert ideas, check out my Last Minute Thanksgiving Desserts For Holiday Joy for inspiration that saves you time without sacrificing flavour.