30-Min New York Cheesecake Prep for Busy Weeknights
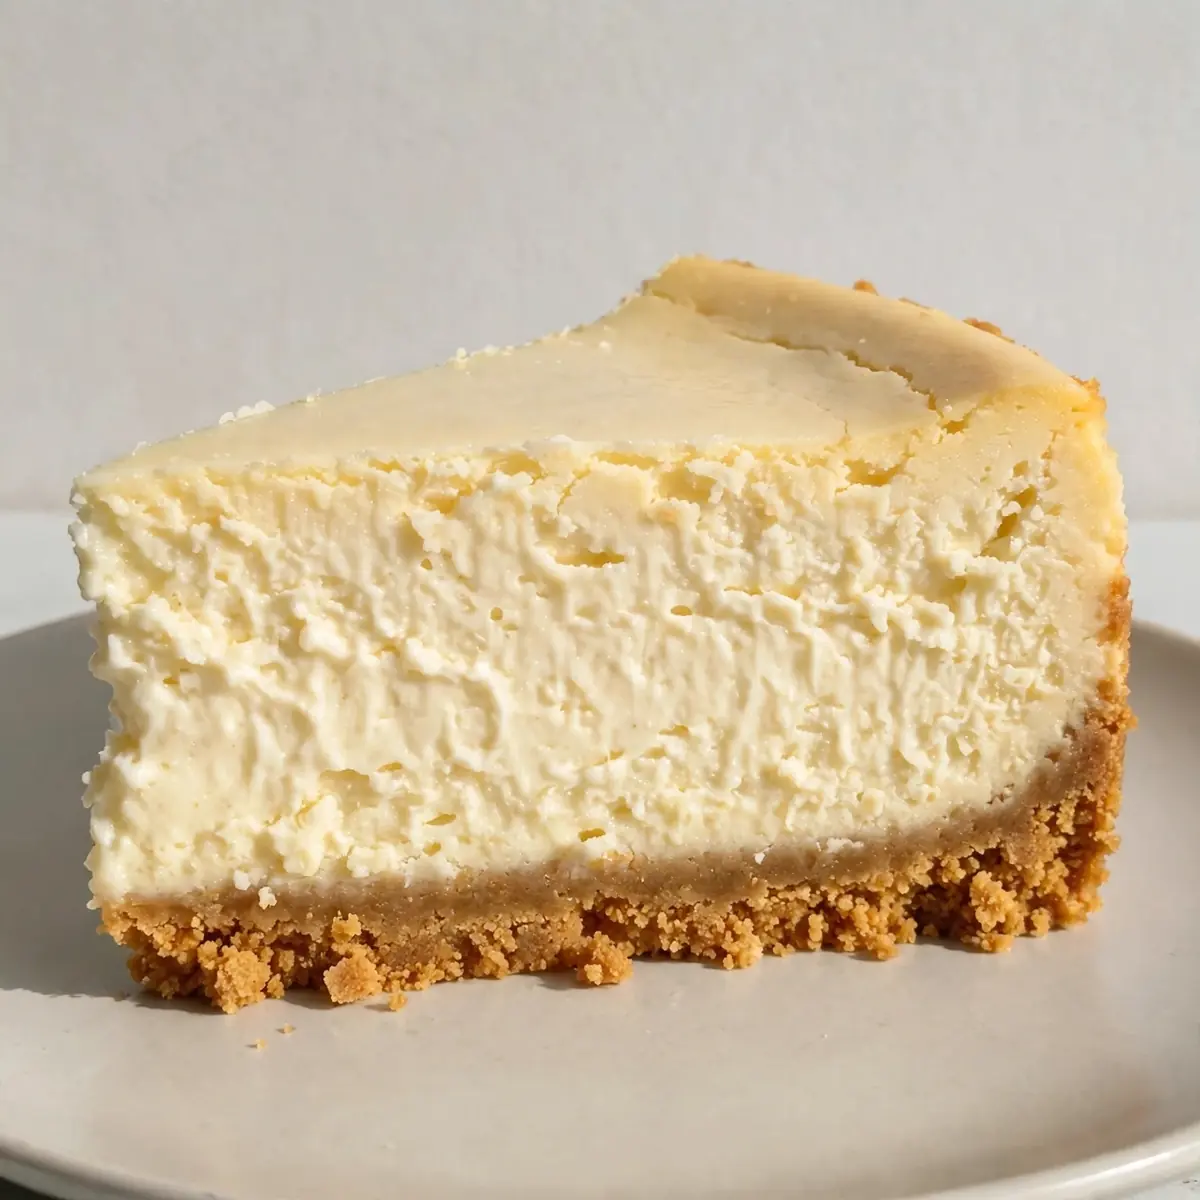
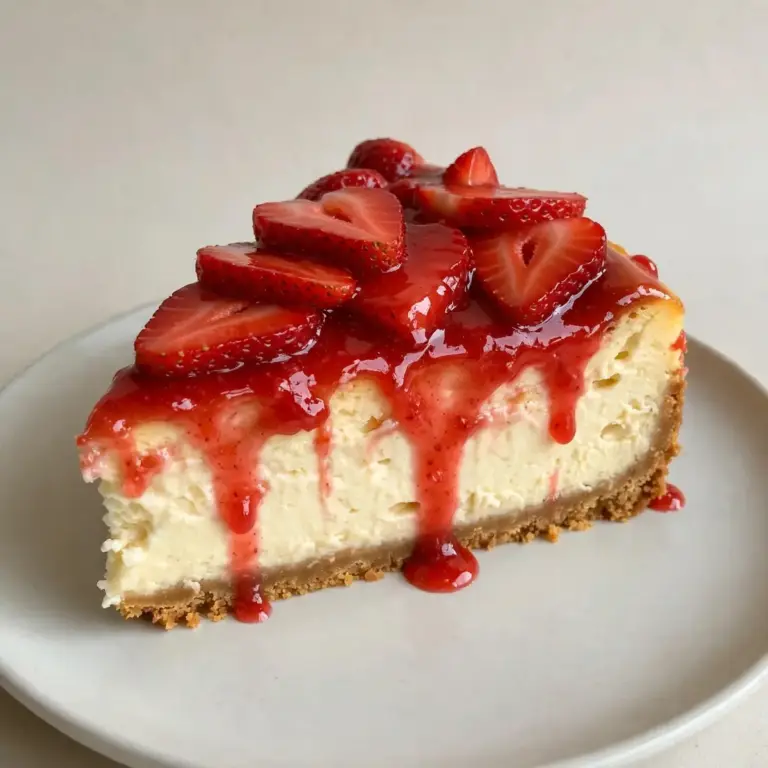
I remember the first time I told my family we were having cheesecake for dinner on a Tuesday. They looked at me like I’d lost my mind. But when you’re juggling school runs, work deadlines, and football practice, sometimes you need a win that feels like a celebration but comes together with the speed of a weeknight pasta. This Classic New York Style Cheesecake with an all-butter graham crust is that win—it’s a make-ahead marvel that lets you serve dessert as the main event, with minimal mess and maximum satisfaction.
Recipe Overview
- Prep time: 20 minutes
- Cook time: 55 minutes (plus 1 hour in the oven with the door off, then cooling)
- Total time: 4 hours 15 minutes (mostly hands-off chilling)
- Servings: 12 generous slices
- Difficulty: Medium — but you’ve got this
Why You’ll Love This Classic New York Style Cheesecake (All-Butter Graham Crust)
- It’s a weeknight miracle: You can prep the whole thing in under 20 minutes, pop it in the oven while you help with homework, and let it cool overnight. Tomorrow’s dinner dessert is already sorted.
- One bowl, one pan: I used to dread the washing-up mountain that came with baking. This recipe keeps things tight—just a mixing bowl, a springform tin, and a baking tray. Minimal cleanup means more time on the sofa.
- Kids absolutely devour it: My children, who usually pick at dinner, will clear their plates when they know this cheesecake is coming. It’s the ultimate bribe for eating vegetables, and I’m not ashamed to use it.
- That all-butter crust changes everything: A graham crust made with butter isn’t just a base—it’s a buttery, toasty foundation that holds its own against the rich, tangy filling. It doesn’t get soggy, and it gives you that perfect snap when you cut through it.
- Make-ahead champion: This cheesecake tastes better the next day. Bake it on Sunday night, let it set in the fridge, and you’ve got a stress-free dessert ready for Monday’s dinner or Tuesday’s lunchbox treat.
Ingredients You’ll Need
- 200g digestive biscuits (or graham crackers, crushed finely)
- 100g unsalted butter, melted
- 30g caster sugar (for the crust)
- 900g full-fat cream cheese, at room temperature
- 200g caster sugar (for the filling)
- 1 tablespoon plain flour
- 1 teaspoon vanilla extract
- Finely grated zest of 1 lemon
- 4 large eggs, at room temperature
- 2 large egg yolks, at room temperature
- 240ml double cream
Tip: Room-temperature ingredients are non-negotiable here. Cold cream cheese will leave you with a lumpy filling that bakes unevenly. I take everything out of the fridge an hour before I start—it makes a world of difference to that silky-smooth texture.
How to Make Classic New York Style Cheesecake (All-Butter Graham Crust)
- Preheat your oven to 160°C (140°C fan). Wrap the outside of a 23cm springform tin with two layers of foil. You’ll see the foil crinkle slightly as you press it around the base—this is your waterproof layer for the water bath.
- Make the crust: In a medium bowl, mix the crushed biscuits, 30g sugar, and melted butter until the mixture looks like wet sand and holds together when you pinch it. Press this firmly into the base of the tin. I use the bottom of a glass to get it even—you’ll hear a satisfying crunch as it compacts. Bake for 10 minutes, then set aside to cool. The crust will smell deeply toasty and will feel firm to the touch.
- Start the filling: In a large bowl, beat the cream cheese with an electric mixer on low speed until it’s smooth and looks like thick, glossy yoghurt—no lumps visible. Add the 200g sugar and flour, then beat until just combined. You’ll see the mixture lighten slightly in colour.
- Add the flavourings: Mix in the vanilla and lemon zest. The zest will release its oils, and you’ll catch a bright, citrusy scent that lifts the richness.
- Add the eggs one at a time: Beat each egg and yolk in on low speed until you see the yellow disappear into the pale cream mixture. Scrape down the sides after each addition. The batter should look thick, smooth, and glossy—like softly whipped cream.
- Fold in the double cream: Pour the cream in slowly, folding gently with a spatula. You’re looking for a uniform, velvety texture with no streaks. The batter will feel heavy and luxurious in the bowl.
- Assemble and bake: Pour the filling over the cooled crust. Place the springform tin into a large baking tray, then pour boiling water into the tray until it reaches halfway up the sides of the tin. Carefully transfer to the oven and bake for 50–55 minutes. The edges will look set and puffed slightly, but the centre will wobble like a jelly when you gently shake the tin. That wobble is your cue—it will set as it cools.
- Cool in the oven: Turn the oven off, crack the door open, and leave the cheesecake inside for 1 hour. You’ll feel the heat gradually release as the cheesecake settles. After that, remove it from the water bath, run a knife around the edge, and let it cool completely on a wire rack. The top will look smooth and pale gold.
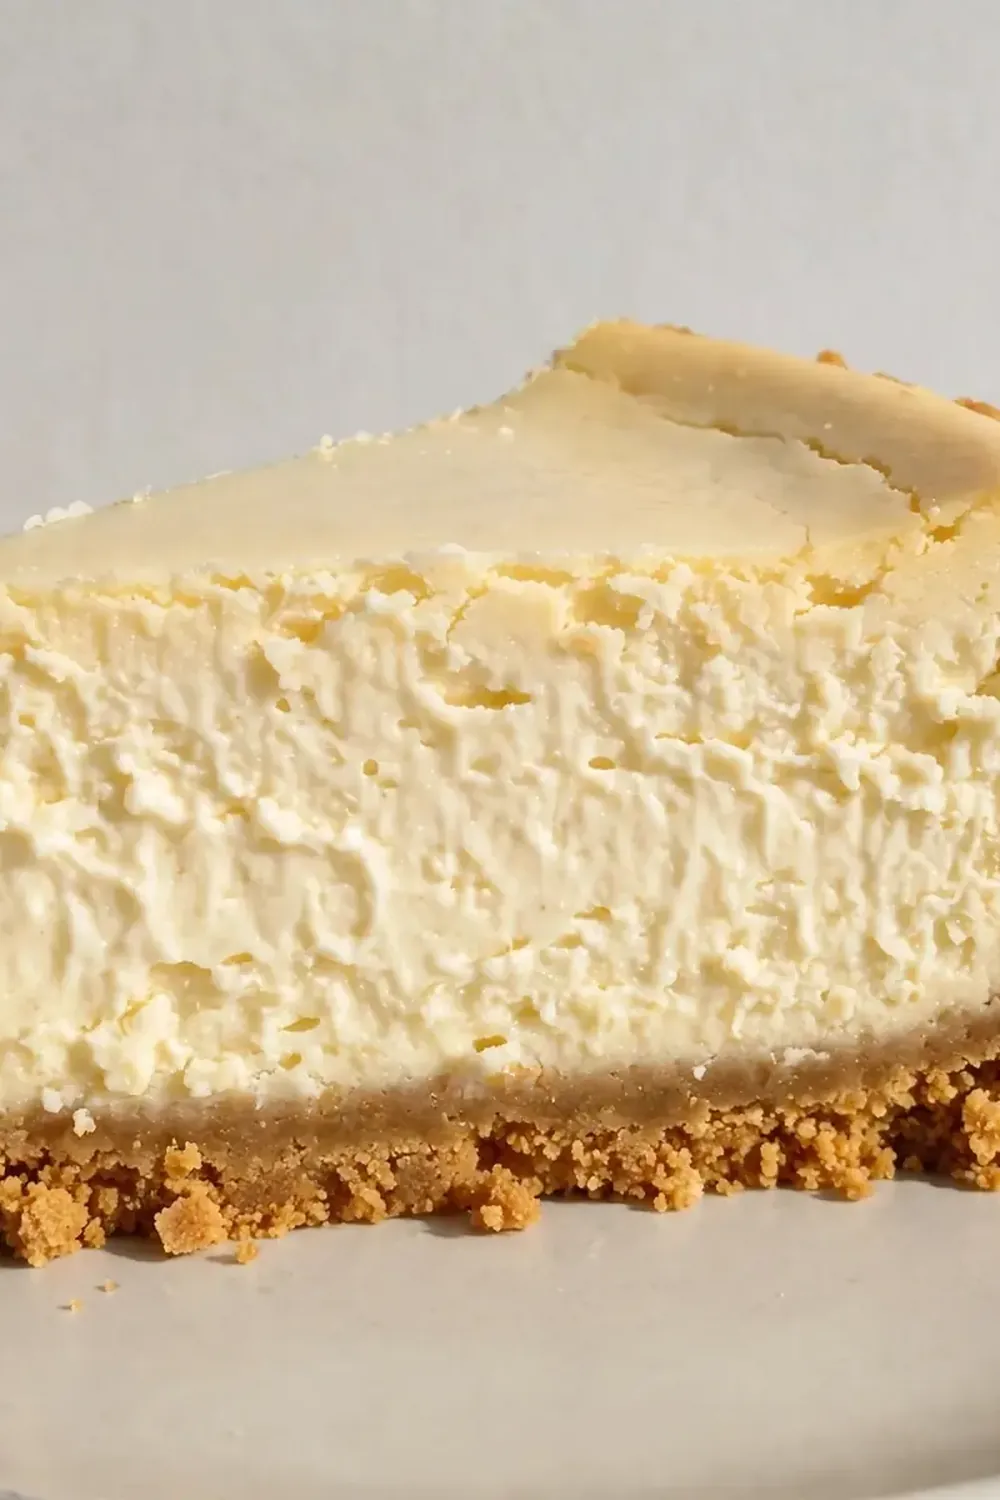
- Chill overnight: Cover the tin with cling film and refrigerate for at least 6 hours, ideally overnight. When you press the top, it should feel firm but give slightly. The texture will be dense, creamy, and sliceable.
Tips From My Kitchen
- Don’t overbeat the eggs: I used to whip the filling enthusiastically until I discovered that too much air creates cracks. Beat just until each egg is incorporated—you want a dense, velvety batter, not a fluffy one. The visual cue is when the mixture looks smooth and glossy without any visible egg streaks.
- Water bath is your friend: Yes, it’s a faff wrapping foil around the tin, but it’s the secret to that crack-free top. The steam keeps the oven moist and the cheesecake bakes gently. If you skip it, you’ll end up with a dry, cracked surface. Trust me, I learned this the hard way.
- Let it rest in the oven: That hour with the door off is crucial. It prevents the sudden temperature drop that causes sinking and cracking. The cheesecake will continue to set gently, and you’ll see the surface smooth out as it cools.
- Use full-fat everything: Low-fat cream cheese or single cream will leave you with a watery, sad cheesecake. The fat is what gives that iconic New York density and richness. Your family will thank you for it.
- Slice with a hot knife: For clean, Instagram-worthy slices, run your knife under hot water, dry it quickly, and cut. The heat glides through the cold cheesecake without dragging. Wipe the blade clean between each cut for perfect edges.
- Make it ahead for busy nights: This cheesecake is a weeknight hero. Bake it on Sunday, let it chill, and you’ve got dessert ready for Monday, Tuesday, or Wednesday. It actually improves after a day in the fridge—the flavours meld together beautifully.
Equipment You’ll Need
- Stand mixer or hand mixer
- 23cm springform tin
- Large baking tray (for the water bath)
- Aluminium foil (for wrapping the tin)
- Parchment paper
- Wire cooling rack
- Mixing bowls (one large, one medium)
- Spatula and whisk
Common Mistakes to Avoid
- Overcrowding the pan: If you use a tin smaller than 23cm, the filling will be too deep and won’t bake evenly. The centre will stay raw while the edges burn. Stick to the recommended size for a consistent, even bake.
- Wrong temperature: Baking at too high a temperature will cause the cheesecake to puff up and crack. Keep the oven at 160°C (140°C fan) and use an oven thermometer if yours runs hot. The gentle heat is what gives you that silky texture.
- Skipping the rest time: I know it’s tempting to dig in while it’s still warm, but cheesecake needs time to set. Cutting too early will give you a soupy mess. Patience is the only way to that dense, sliceable perfection.
What to Serve With Classic New York Style Cheesecake (All-Butter Graham Crust)
- A spoonful of Creamy Strawberry Dessert Cups For Entertaining on top adds a fresh, fruity contrast
- Fresh berries—raspberries or sliced strawberries cut through the richness beautifully
- A dollop of lightly whipped double cream with a hint of vanilla
- A drizzle of warm chocolate sauce for the chocoholics in your family
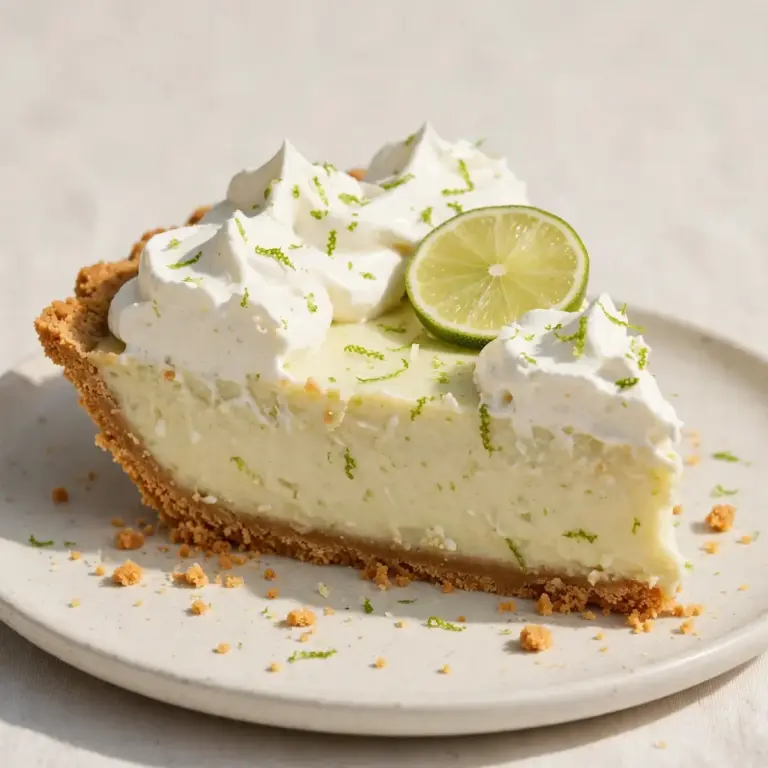
- For a lighter option, try a side of Zesty No Bake Key Lime Cheesecake Jars 2 for a tangy twist
Still hungry for ideas? You might also love Classic New York Baked Cheesecake, New York Style Pizza Dough from our sister kitchens.
Frequently Asked Questions
Classic New York Style Cheesecake (All-Butter Graham Crust)
Ingredients
Method
- Preheat your oven to 160°C (140°C fan). Wrap the outside of a 23cm springform tin with two layers of foil. You’ll see the foil crinkle slightly as you press it around the base—this is your waterproof layer for the water bath.
- Make the crust: In a medium bowl, mix the crushed biscuits, 30g sugar, and melted butter until the mixture looks like wet sand and holds together when you pinch it. Press this firmly into the base of the tin. I use the bottom of a glass to get it even—you’ll hear a satisfying crunch as it compacts. Bake for 10 minutes, then set aside to cool. The crust will smell deeply toasty and will feel firm to the touch.
- Start the filling: In a large bowl, beat the cream cheese with an electric mixer on low speed until it’s smooth and looks like thick, glossy yoghurt—no lumps visible. Add the 200g sugar and flour, then beat until just combined. You’ll see the mixture lighten slightly in colour.
- Add the flavourings: Mix in the vanilla and lemon zest. The zest will release its oils, and you’ll catch a bright, citrusy scent that lifts the richness.
- Add the eggs one at a time: Beat each egg and yolk in on low speed until you see the yellow disappear into the pale cream mixture. Scrape down the sides after each addition. The batter should look thick, smooth, and glossy—like softly whipped cream.
- Fold in the double cream: Pour the cream in slowly, folding gently with a spatula. You’re looking for a uniform, velvety texture with no streaks. The batter will feel heavy and luxurious in the bowl.
- Assemble and bake: Pour the filling over the cooled crust. Place the springform tin into a large baking tray, then pour boiling water into the tray until it reaches halfway up the sides of the tin. Carefully transfer to the oven and bake for 50–55 minutes. The edges will look set and puffed slightly, but the centre will wobble like a jelly when you gently shake the tin. That wobble is your cue—it will set as it cools.
- Cool in the oven: Turn the oven off, crack the door open, and leave the cheesecake inside for 1 hour. You’ll feel the heat gradually release as the cheesecake settles. After that, remove it from the water bath, run a knife around the edge, and let it cool completely on a wire rack. The top will look smooth and pale gold.
- Chill overnight: Cover the tin with cling film and refrigerate for at least 6 hours, ideally overnight. When you press the top, it should feel firm but give slightly. The texture will be dense, creamy, and sliceable.
Notes
I’d love to hear how this cheesecake works into your weeknight routine. Drop a comment below and tell me if your family demanded it again the next night—mine certainly did. And if you’re looking for another quick dessert to keep in your back pocket, check out the Creamy High Protein Cheesecake Jars No Bake 2 for a speedy, no-oven option. Happy baking!