
Weeknight Quick Angel Food Cake: 10-Minute Prep
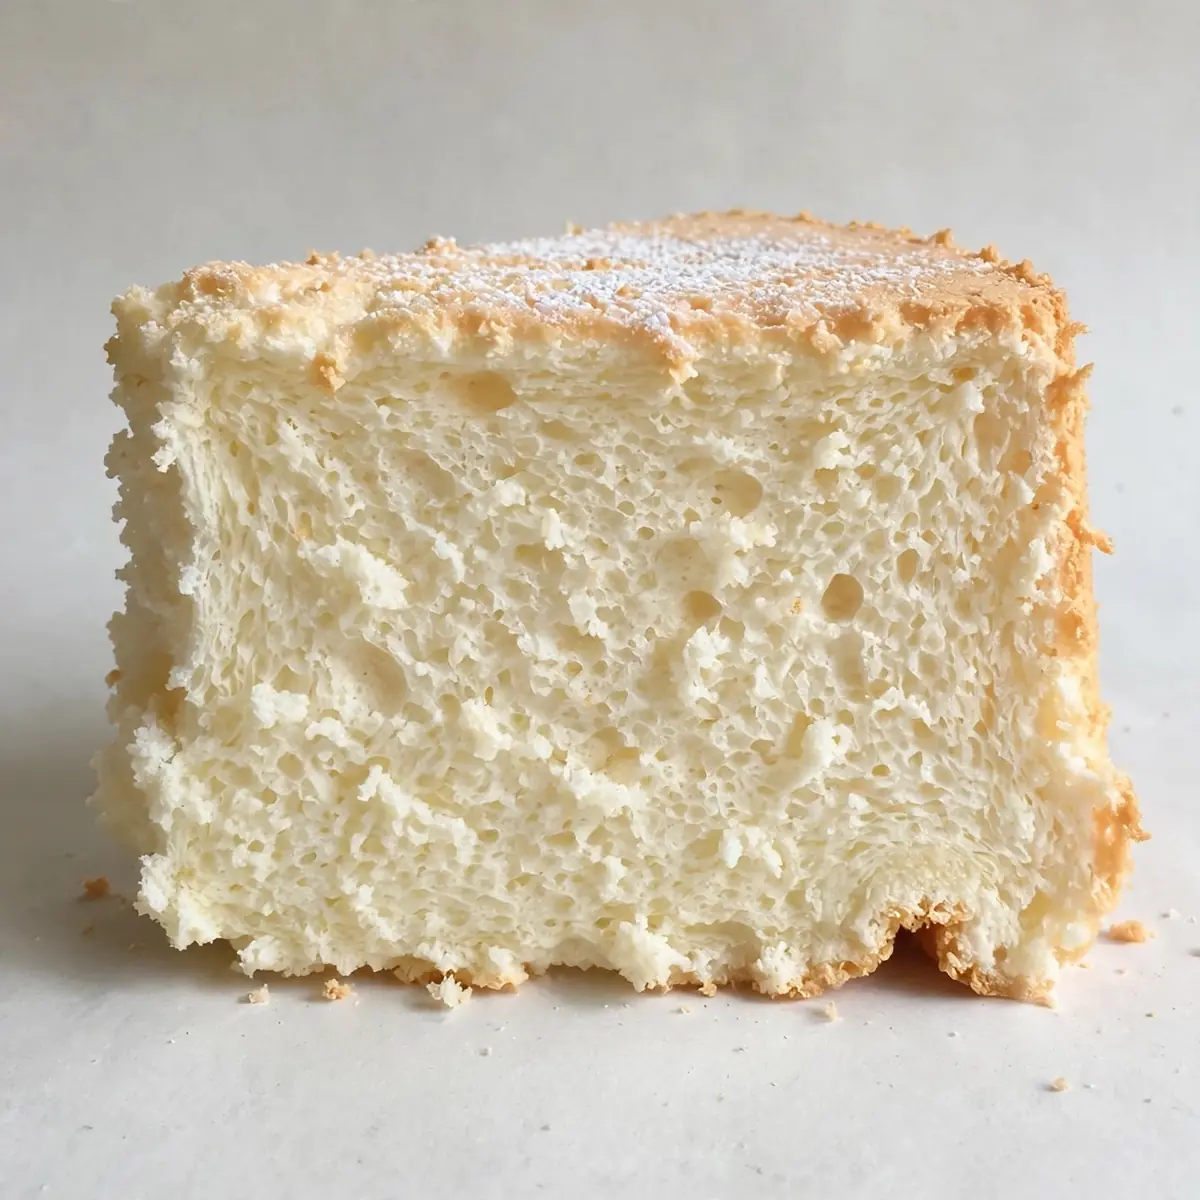
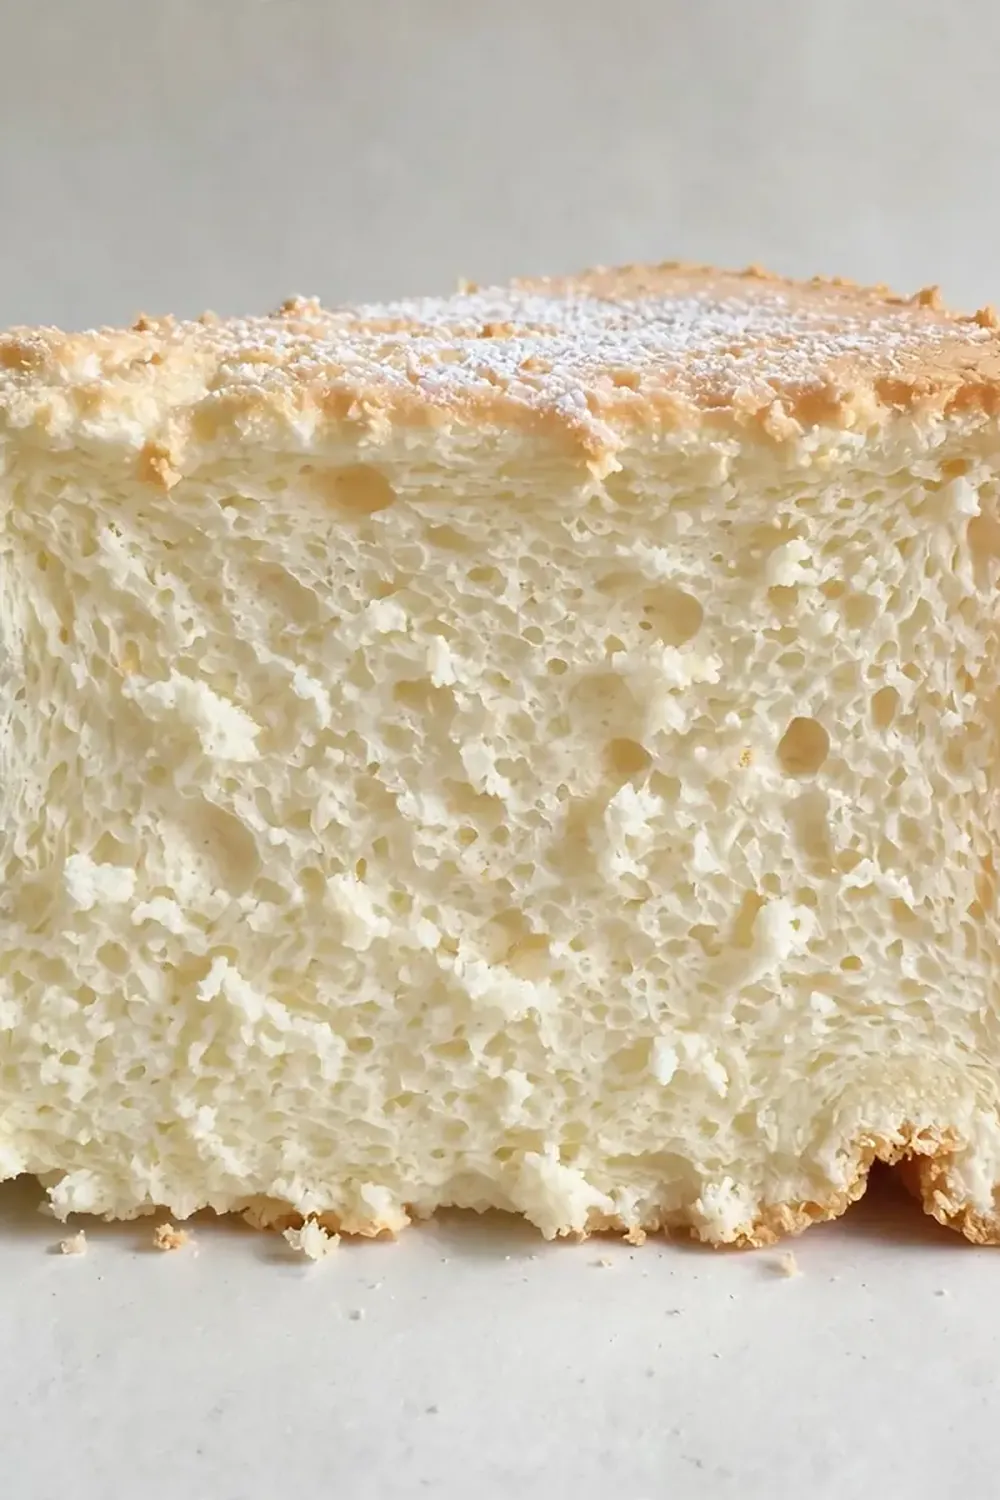
When you’re staring at the clock at 5:30 PM wondering how to get a proper dessert on the table without another sink full of dishes, this light and airy angel food cake is the answer I turn to every time. I’ve been making this for over 6 years, and it never disappoints when we need something sweet that feels special but doesn’t demand an hour of cleanup afterward.
Recipe Overview
- Prep time: 15 minutes
- Cook time: 35 minutes
- Total time: 50 minutes (plus cooling)
- Servings: 12 slices
- Difficulty: Medium – requires clean equipment and careful folding
Why You’ll Love This Light and Airy Angel Food Cake
- One-bowl mixing keeps cleanup minimal: You mix everything in a single large bowl, so there’s no mountain of dishes waiting after dinner.
- Ready in under an hour from start to finish: With only 15 minutes of hands-on time, you can whip this up while the kids finish homework or set the table.
- No fancy equipment required: A hand mixer works just as well as a stand mixer, so you don’t need to dig out bulky appliances.
- Make-ahead friendly for busy weeks: Bake it the night before, store it properly, and you’ve got dessert sorted for two or three nights running.
- Naturally low in fat and calories: This cake relies on egg whites and air rather than butter or oil, so it feels light on the stomach after a hearty weeknight meal.
Ingredients You’ll Need
- 12 large egg whites (about 420g), at room temperature
- 1 teaspoon cream of tartar (3g)
- ¼ teaspoon fine sea salt
- 200g caster sugar, divided into two portions
- 1 teaspoon vanilla extract (5ml)
- ½ teaspoon almond extract (2.5ml) – optional but lovely
- 120g plain flour, sifted
- 60g cornflour, sifted
- Zest of 1 lemon (optional, for brightness)
- Fresh berries and lightly whipped cream for serving (optional)
Tip: Separate your eggs while they’re cold from the fridge – the yolks stay firmer and are less likely to break. Then let the whites sit on the counter for 20 minutes to come to room temperature before you start; they’ll whip up to a greater volume that way.
How to Make Light and Airy Angel Food Cake
- Preheat your oven to 175°C (350°F). Position a rack in the lower third of the oven. Do not grease your tube pan – the cake needs to climb the ungreased sides to reach its full height. You’ll see the batter start to cling to the pan as it bakes, which is exactly what we want.
- In a large, impeccably clean bowl, beat the egg whites on medium speed until they become frothy and look like a sea of tiny bubbles – this takes about 1 minute. Sprinkle in the cream of tartar and salt, then continue beating. The mixture will turn from translucent to white and start to hold soft peaks that flop over when you lift the whisk.
- Gradually add half the caster sugar (100g), about a tablespoon at a time, with the mixer running on medium-high. You should hear the sound change from a sloshing rhythm to a smoother, thicker whir. Keep beating until the meringue holds stiff, glossy peaks – when you lift the whisk, the peak should stand straight up without drooping, and the surface looks shiny like satin.
- In a separate small bowl, whisk together the remaining 100g caster sugar, the plain flour, and the cornflour. Sift this mixture directly over the meringue in three additions, folding gently with a large rubber spatula after each addition. You’re aiming for a uniform colour – no white streaks of flour should remain. The batter will deflate slightly, but it should still look billowy and feel light, like a cloud you can scoop.
- Stir in the vanilla extract, almond extract if using, and lemon zest. Fold just until you can smell the aromas – about 5 to 6 gentle strokes. Overmixing at this stage will make the batter dense, and you’ll hear a slapping sound instead of a soft rustle as you fold.
- Spoon the batter into an ungreased 25cm tube pan, spreading it evenly with the spatula. Run a thin knife through the batter to pop any large air pockets – you’ll hear a faint popping sound as they burst. Bake for 32 to 38 minutes. The cake is done when the top springs back firmly when touched, the surface is a deep golden brown, and the kitchen smells like toasted vanilla and almonds.
- Immediately invert the pan onto a wire cooling rack or bottle neck. Let the cake cool completely upside down – this prevents it from collapsing. You’ll notice the cake pulling away from the sides of the pan as it cools, creating a small gap. This takes about 1.5 to 2 hours. Once fully cool, run a thin knife around the edges and the centre tube to release the cake.
Tips From My Kitchen
- Use room-temperature eggs every time: Cold egg whites take longer to whip and never reach the same volume as warm ones. Pull your eggs out of the fridge 30 minutes before you start, or place the whole eggs (still in their shells) in a bowl of warm tap water for 5 minutes to speed things up.
- Never let a speck of yolk get into the whites: Fat is the enemy of egg white foam. Separate each egg over a small bowl first, then add the white to your main bowl one at a time. If a yolk breaks, you’ve only ruined one egg instead of the whole dozen. I used to struggle with this dish until I discovered this technique, and it saved countless batches.
- Sift your dry ingredients twice for the lightest texture: Flour and cornflour can clump together, and those clumps will weigh down your delicate meringue. Sifting aerates the mixture and ensures it folds in evenly without deflating the batter. You’ll see the flour dust settle like a soft snowfall over the meringue – that’s the texture you want.
- Slice with a serrated knife using a sawing motion: A straight blade will compress the airy crumb and leave you with a squashed slice. Use a long serrated knife and gently saw back and forth, letting the teeth do the work. You’ll hear a soft tearing sound rather than a squish – that’s how you know you’re preserving the structure.
- Wrap and store at room temperature for up to 3 days: Angel food cake dries out quickly in the fridge. Once cooled, wrap it tightly in cling film and keep it on the counter. If you’re prepping for a busy week, slice the whole cake first, then wrap individual slices – the kids can grab one straight from the counter after dinner.
Equipment You’ll Need
- Stand mixer or hand mixer with whisk attachments
- Large mixing bowl (glass or metal – avoid plastic, which can retain grease)
- 25cm ungreased tube pan (angel food cake pan)
- Fine-mesh sieve for sifting
- Large rubber spatula
- Wire cooling rack
- Thin, flexible knife for releasing the cake
Delicious Variations to Try
- Spiced Citrus Version: Add 1 teaspoon of ground cardamom and the zest of one orange to the flour mixture. The warm spice pairs beautifully with the light crumb, and the orange zest gives a bright pop of flavour that cuts through the sweetness.
- Vegan Option: Replace the egg whites with 360ml aquafaba (the liquid from a can of chickpeas). Whip it with the cream of tartar and sugar exactly as you would egg whites – it takes about 10 minutes to reach stiff peaks. Use a gluten-free flour blend in place of the plain flour for a completely plant-based cake.
- Different Protein Addition: For a slightly more substantial dessert, fold in 50g of finely chopped pistachios or toasted almonds along with the flour. The nuts add a subtle crunch and a savoury note that contrasts with the airy sweetness.
What to Serve With Light and Airy Angel Food Cake
- A handful of fresh raspberries or sliced strawberries – the tartness balances the sweetness
- A dollop of lightly sweetened whipped cream (use double cream whipped to soft peaks)
- A drizzle of passionfruit pulp or a simple berry coulis made by simmering frozen berries with a spoonful of honey
- A cup of strong black tea or a cold glass of milk for the kids
- Leftover slices make a fantastic base for a quick trifle – layer with custard and fruit for an effortless dessert the next night
Frequently Asked Questions
Light and Airy Angel Food Cake
Ingredients
Method
- Preheat your oven to 175°C (350°F). Position a rack in the lower third of the oven. Do not grease your tube pan – the cake needs to climb the ungreased sides to reach its full height. You'll see the batter start to cling to the pan as it bakes, which is exactly what we want.
- In a large, impeccably clean bowl, beat the egg whites on medium speed until they become frothy and look like a sea of tiny bubbles – this takes about 1 minute. Sprinkle in the cream of tartar and salt, then continue beating. The mixture will turn from translucent to white and start to hold soft peaks that flop over when you lift the whisk.
- Gradually add half the caster sugar (100g), about a tablespoon at a time, with the mixer running on medium-high. You should hear the sound change from a sloshing rhythm to a smoother, thicker whir. Keep beating until the meringue holds stiff, glossy peaks – when you lift the whisk, the peak should stand straight up without drooping, and the surface looks shiny like satin.
- In a separate small bowl, whisk together the remaining 100g caster sugar, the plain flour, and the cornflour. Sift this mixture directly over the meringue in three additions, folding gently with a large rubber spatula after each addition. You're aiming for a uniform colour – no white streaks of flour should remain. The batter will deflate slightly, but it should still look billowy and feel light, like a cloud you can scoop.
- Stir in the vanilla extract, almond extract if using, and lemon zest. Fold just until you can smell the aromas – about 5 to 6 gentle strokes. Overmixing at this stage will make the batter dense, and you'll hear a slapping sound instead of a soft rustle as you fold.
- Spoon the batter into an ungreased 25cm tube pan, spreading it evenly with the spatula. Run a thin knife through the batter to pop any large air pockets – you'll hear a faint popping sound as they burst. Bake for 32 to 38 minutes. The cake is done when the top springs back firmly when touched, the surface is a deep golden brown, and the kitchen smells like toasted vanilla and almonds.
- Immediately invert the pan onto a wire cooling rack or bottle neck. Let the cake cool completely upside down – this prevents it from collapsing. You'll notice the cake pulling away from the sides of the pan as it cools, creating a small gap. This takes about 1.5 to 2 hours. Once fully cool, run a thin knife around the edges and the centre tube to release the cake.
Notes
I hope this recipe becomes your weeknight secret weapon as much as it has become mine. There’s something deeply satisfying about pulling a towering, golden cake from the oven with almost no mess left behind – and watching everyone reach for seconds without a single complaint. If you give this a try, I’d love to hear how it worked for your family. Drop a comment below and let me know if you added any twists of your own. For more sweet ideas that fit into busy schedules, you might also enjoy browsing our Satisfying High Volume Low Calorie Desserts or these Soft Sugar Free Cinnamon Rolls With Creamy Icing for another make-ahead treat.






