
Quick Weeknight Strawberry Glazed Cheesecake
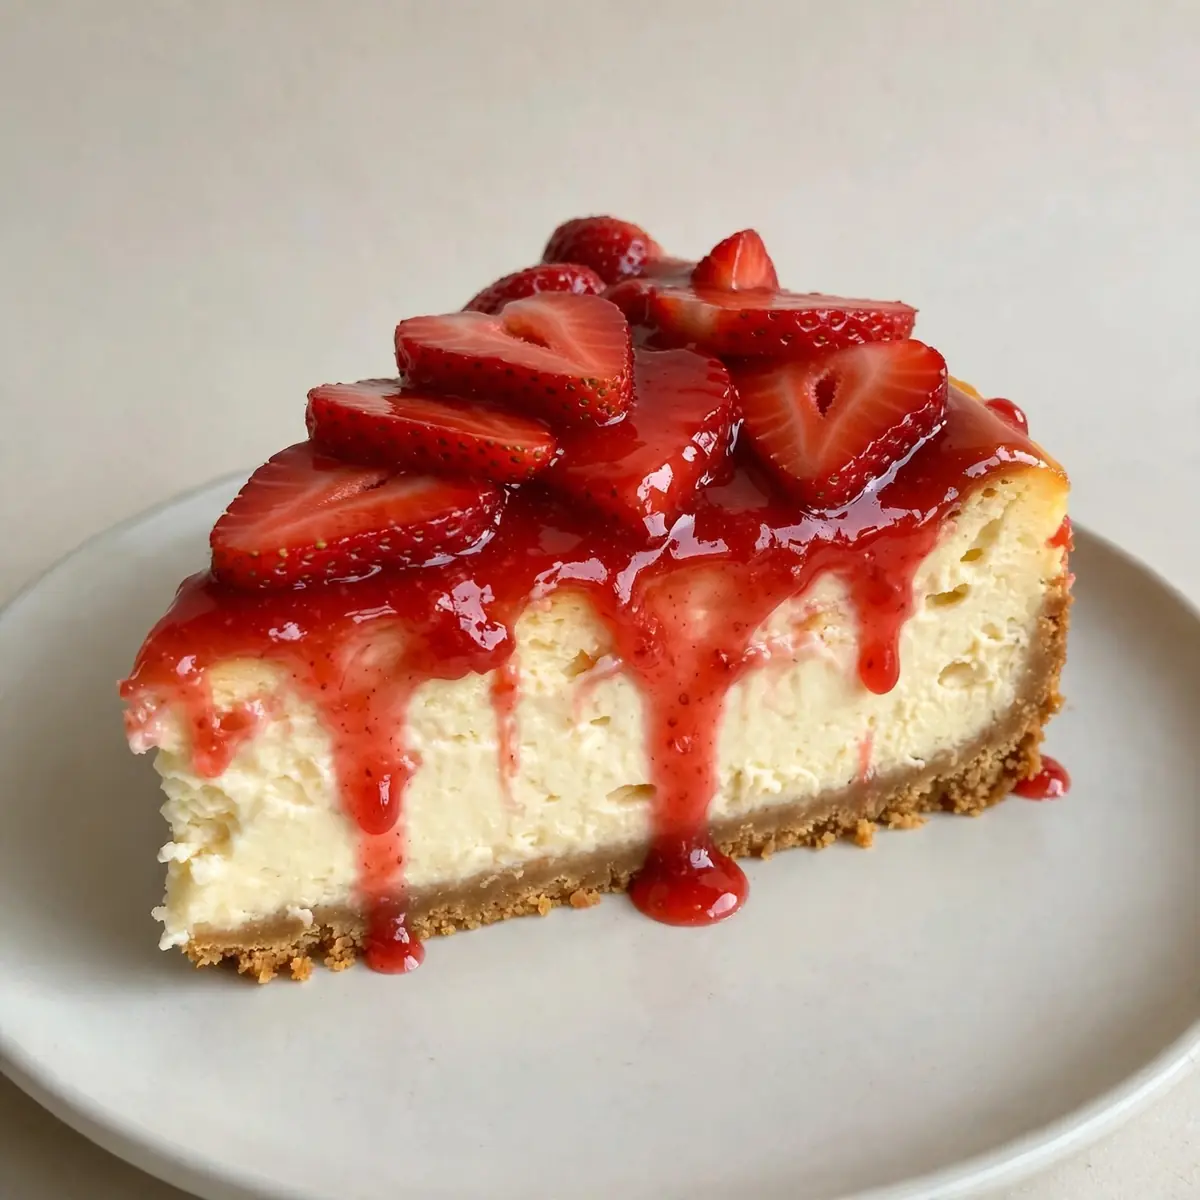
We all know the midweek chaos: homework, activities, and that looming question of what to put on the table for pudding. This Strawberry Glazed Cheesecake is my secret weapon for turning a frantic Tuesday night into something that feels special, without the marathon baking session. It’s a recipe built for speed, minimal washing up, and making ahead, so you can actually sit down and enjoy the evening.
Recipe Overview
- Prep Time: 20 minutes
- Cook Time: 45 minutes
- Total Time: 1 hour 5 minutes (plus 4 hours chilling)
- Servings: 8 generous slices
- Difficulty: Easy
Why You’ll Love This Strawberry Glazed Cheesecake
- Ready in under an hour: From mixing bowl to oven in 20 minutes, then it’s hands-off while it bakes. I make this at least once a week – it’s become a family favourite.
- One-bowl filling: You mix the filling in a single bowl, which means less scrubbing and more time for yourself.
- Make-ahead magic: This cheesecake actually tastes better after a night in the fridge, making it ideal for prepping on a Sunday for busy Monday.
- No water bath required: We skip the fussy bain-marie, which cuts down on prep time and prevents any soggy-bottom disasters.
- Pantry-friendly glaze: The strawberry topping comes together with frozen fruit and a few cupboard staples, so you don’t need a special trip to the shops.
Ingredients You’ll Need
- 200g digestive biscuits
- 80g unsalted butter, melted
- 600g full-fat cream cheese, softened
- 150g caster sugar
- 3 large eggs, at room temperature
- 1 tsp vanilla extract
- 200ml double cream
- 1 tbsp plain flour
- 300g frozen strawberries
- 100g granulated sugar
- 1 tbsp lemon juice
- 1 tsp cornflour mixed with 2 tbsp water (slurry)
Tip: For the smoothest filling, make sure your cream cheese and eggs are at room temperature. Cold ingredients can leave you with a lumpy batter that bakes unevenly.
How to Make Strawberry Glazed Cheesecake
- Prepare the base: Preheat your oven to 160°C (140°C fan). Crush the digestive biscuits inside a sealed zip-lock bag using a rolling pin until they resemble fine, sandy breadcrumbs. Pour the crumbs into a bowl and stir in the melted butter until every grain is coated and the mixture smells richly buttery.
- Press and bake: Tip the buttery crumbs into a 20cm springform tin lined with parchment. Press them firmly and evenly across the bottom using the back of a spoon, creating a compact, level layer. Bake for 10 minutes until the base is fragrant and lightly golden at the edges. Set aside to cool while you make the filling.
- Whip the filling: In a large mixing bowl, beat the softened cream cheese with the caster sugar using an electric mixer on medium speed until it’s silky smooth with no lumps—about 2 minutes. You’ll see the mixture become glossy and pale. Add the eggs one at a time, beating gently after each until just combined. Stir in the vanilla extract, double cream, and plain flour until the batter is thick, velvety, and uniform in colour.
- Assemble and bake: Pour the filling over the cooled base and smooth the top with a spatula. Tap the tin gently on the counter to release any air bubbles. Bake for 40-45 minutes, until the edges are set and the centre still has a slight wobble—like a soft jelly. The surface should be pale golden and feel firm to a light touch.
- Cool slowly: Turn off the oven and leave the cheesecake inside with the door slightly ajar for 30 minutes. This gentle cooling prevents cracks. Then transfer to a wire rack to cool completely at room temperature. The cheesecake will shrink slightly from the sides of the tin, and the top will feel smooth and set.
- Make the strawberry glaze: While the cheesecake cools, combine the frozen strawberries, granulated sugar, and lemon juice in a small saucepan over medium heat. Stir occasionally until the berries break down and the mixture is bubbling and deep red—about 8 minutes. Stir in the cornflour slurry and cook for 1 more minute until the glaze thickens to a pourable consistency and coats the back of a spoon.
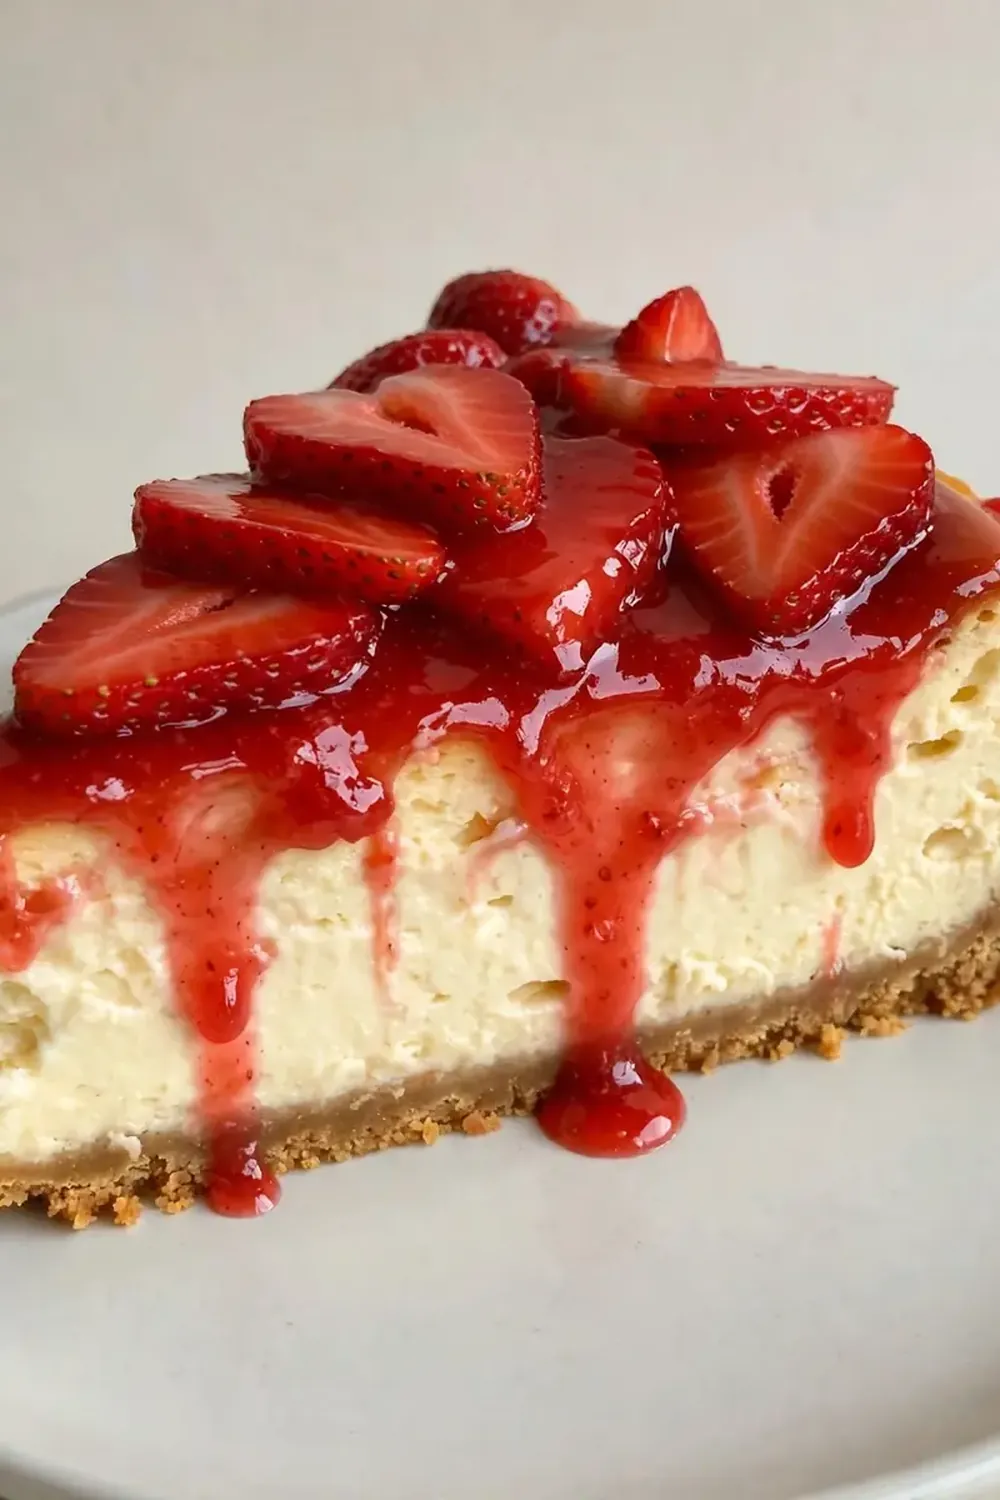
- Chill and serve: Pour the warm glaze over the cooled cheesecake, spreading it evenly to the edges. Refrigerate for at least 4 hours, or overnight, until the cheesecake is completely firm and the glaze is set into a glossy, jewel-like layer. Slice with a warm, dry knife for clean cuts.
Tips From My Kitchen
- Use a springform tin: This is non-negotiable for easy removal. Line the bottom with parchment and lightly grease the sides. When you release the clasp, the cheesecake lifts away cleanly without sticking.
- Don’t overmix the filling: Once you add the eggs, beat only until combined. Overmixing incorporates too much air, which causes the cheesecake to puff up and then crack as it cools. I stumbled upon this combination by accident, and it’s been a hit ever since.
- Patience with cooling: The step of leaving the cheesecake in the turned-off oven is crucial. It prevents the sudden temperature change that creates surface cracks. If you skip this, you risk a split top.
- Make it ahead: This cheesecake actually improves after 24 hours in the fridge. The flavours meld, the texture becomes denser and creamier, and the glaze firms up perfectly. Ideal for busy weeknights when you want to prepare dessert the night before.
- Strain the glaze for clarity: If you prefer a smooth, seedless glaze, press the cooked strawberry mixture through a fine-mesh sieve before adding the cornflour slurry. You’ll lose a little volume but gain a restaurant-quality finish.
- Slice with a hot knife: Dip your knife in hot water and wipe it dry between each cut. This glides through the glaze without dragging or tearing, giving you picture-perfect slices every time.
Equipment You’ll Need
- Stand mixer or hand mixer
- 20cm springform cake tin
- Parchment paper
- Wire cooling rack
- Small saucepan for the glaze
- Rolling pin (or a sturdy bottle)
- Fine-mesh sieve (optional, for smooth glaze)
Delicious Variations to Try
- Spicy Version: Add ½ teaspoon of ground ginger and a pinch of cayenne pepper to the biscuit base. The warmth of the spices contrasts beautifully with the cool, creamy filling and sweet strawberry glaze.
- Vegetarian/Vegan Option: Use a plant-based cream cheese and coconut cream instead of double cream. For the base, swap the butter for coconut oil. The texture will be slightly less firm but equally delicious. Use a flax egg (1 tbsp ground flaxseed mixed with 3 tbsp water) for each egg.
- Different Protein: Swap the digestive biscuits for a gluten-free oat-based biscuit or a nut crust made from ground almonds and a touch of maple syrup. This adds a subtle nutty flavour and works well for gluten-sensitive families.
What to Serve With Strawberry Glazed Cheesecake
- A dollop of lightly whipped double cream, barely sweetened
- Fresh mint leaves for a pop of colour and freshness
- A handful of fresh strawberries, halved, on the side
- A short, strong black coffee to balance the sweetness
- For a full dessert spread, try pairing it with our Bakery Style Strawberry Cream Cheese Muffins for a strawberry-themed treat
Still hungry for ideas? You might also love Strawberry Cheesecake Cup Recipe, Strawberry Cheesecake Cinnabon Rolls Recipe from our sister kitchens.
Frequently Asked Questions
Strawberry Glazed Cheesecake
Ingredients
Method
- Prepare the base: Preheat your oven to 160°C (140°C fan). Crush the digestive biscuits inside a sealed zip-lock bag using a rolling pin until they resemble fine, sandy breadcrumbs. Pour the crumbs into a bowl and stir in the melted butter until every grain is coated and the mixture smells richly buttery.
- Press and bake: Tip the buttery crumbs into a 20cm springform tin lined with parchment. Press them firmly and evenly across the bottom using the back of a spoon, creating a compact, level layer. Bake for 10 minutes until the base is fragrant and lightly golden at the edges. Set aside to cool while you make the filling.
- Whip the filling: In a large mixing bowl, beat the softened cream cheese with the caster sugar using an electric mixer on medium speed until it's silky smooth with no lumps—about 2 minutes. You'll see the mixture become glossy and pale. Add the eggs one at a time, beating gently after each until just combined. Stir in the vanilla extract, double cream, and plain flour until the batter is thick, velvety, and uniform in colour.
- Assemble and bake: Pour the filling over the cooled base and smooth the top with a spatula. Tap the tin gently on the counter to release any air bubbles. Bake for 40-45 minutes, until the edges are set and the centre still has a slight wobble—like a soft jelly. The surface should be pale golden and feel firm to a light touch.
- Cool slowly: Turn off the oven and leave the cheesecake inside with the door slightly ajar for 30 minutes. This gentle cooling prevents cracks. Then transfer to a wire rack to cool completely at room temperature. The cheesecake will shrink slightly from the sides of the tin, and the top will feel smooth and set.
- Make the strawberry glaze: While the cheesecake cools, combine the frozen strawberries, granulated sugar, and lemon juice in a small saucepan over medium heat. Stir occasionally until the berries break down and the mixture is bubbling and deep red—about 8 minutes. Stir in the cornflour slurry and cook for 1 more minute until the glaze thickens to a pourable consistency and coats the back of a spoon.
- Chill and serve: Pour the warm glaze over the cooled cheesecake, spreading it evenly to the edges. Refrigerate for at least 4 hours, or overnight, until the cheesecake is completely firm and the glaze is set into a glossy, jewel-like layer. Slice with a warm, dry knife for clean cuts.
Notes
I hope this Strawberry Glazed Cheesecake becomes your go-to for those nights when you want something impressive without the fuss. It’s saved my sanity more times than I can count, and I love hearing how it fits into other busy kitchens. If you give it a try, drop a comment below and let me know how it went—your tweaks and stories always inspire me. And if you’re looking for another quick dessert, our Creamy Strawberry Dessert Cups For Entertaining are just as speedy and satisfying.






