
5-Minute Prep Key Lime Pie for Busy Weeknights
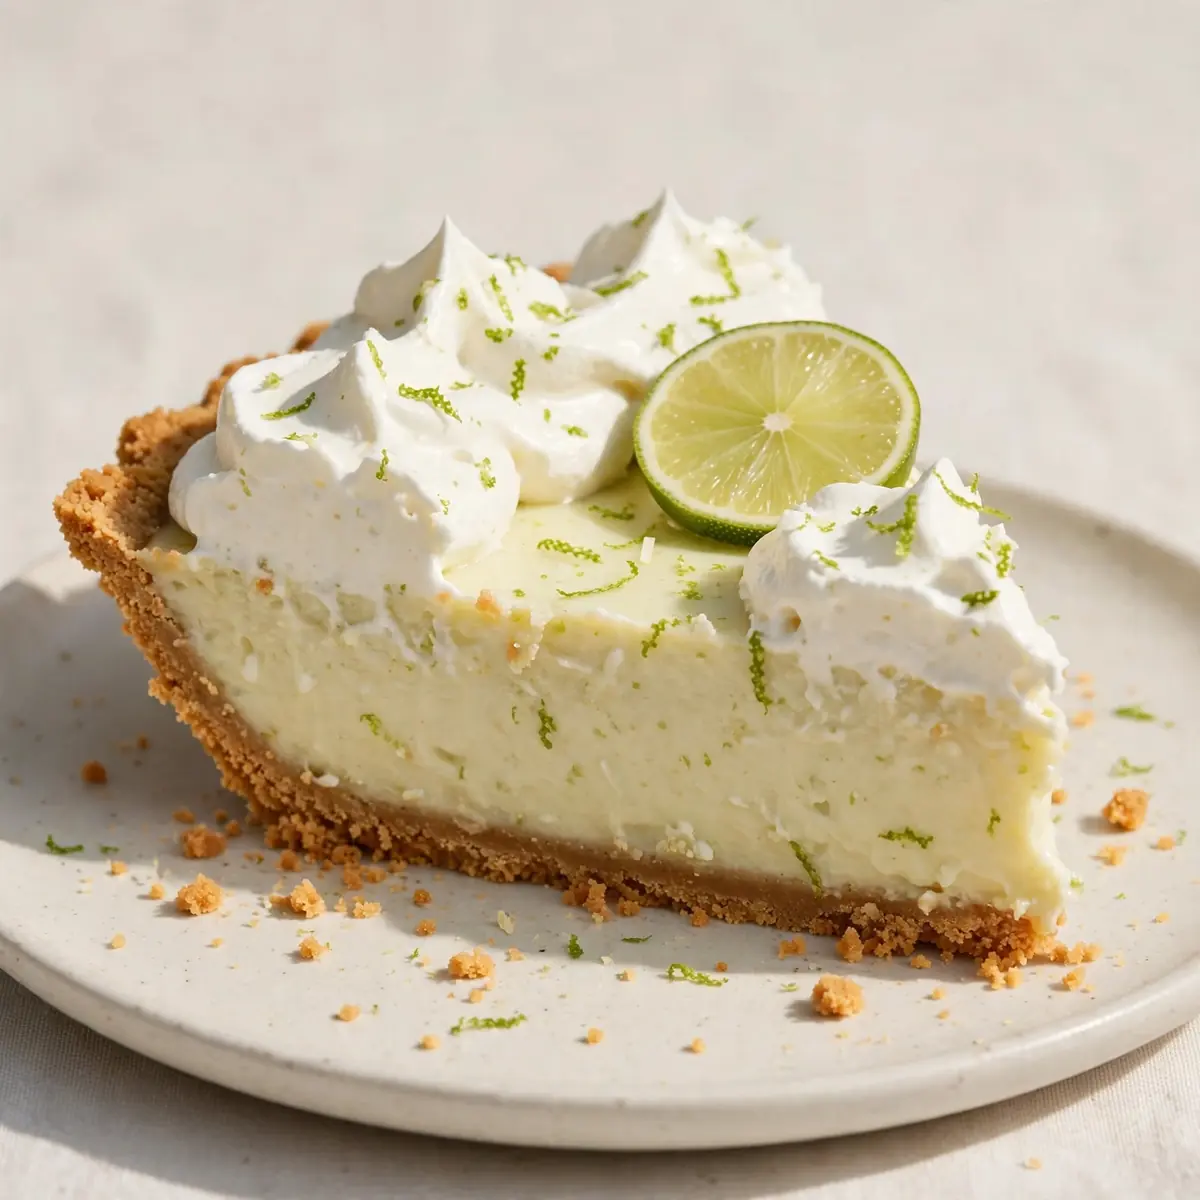
When weeknights turn into a blur of homework, packed lunches, and tired eyes, the last thing I want is a dessert that demands hours of my time and a sink full of dishes. This Authentic Key Lime Pie was born from that exact scenario, and it’s become our go-to for a tangy, creamy finish to a quick dinner that feels far more indulgent than its prep time suggests.
Recipe Overview
- Prep Time: 15 minutes
- Cook Time: 10 minutes (for the crust)
- Chill Time: 2 hours (or overnight)
- Total Time: 2 hours 25 minutes
- Servings: 8 generous slices
- Difficulty: Easy
Why You’ll Love This Authentic Key Lime Pie
- Truly Quick Assembly: You can have the filling mixed and the crust pressed in under twenty minutes. It’s faster than queuing for takeaway.
- Minimal Washing Up: This recipe uses one bowl for the filling and a pie dish. No mixer attachments, no extra pans, just a whisk and a spatula.
- Make-Ahead Magic: This pie actually improves overnight. You can prepare it the day before a busy evening and simply slice it straight from the fridge.
- Reliable Consistency: The filling sets firm but stays silky on the tongue. Every slice holds its shape, making it ideal for serving to hungry family members.
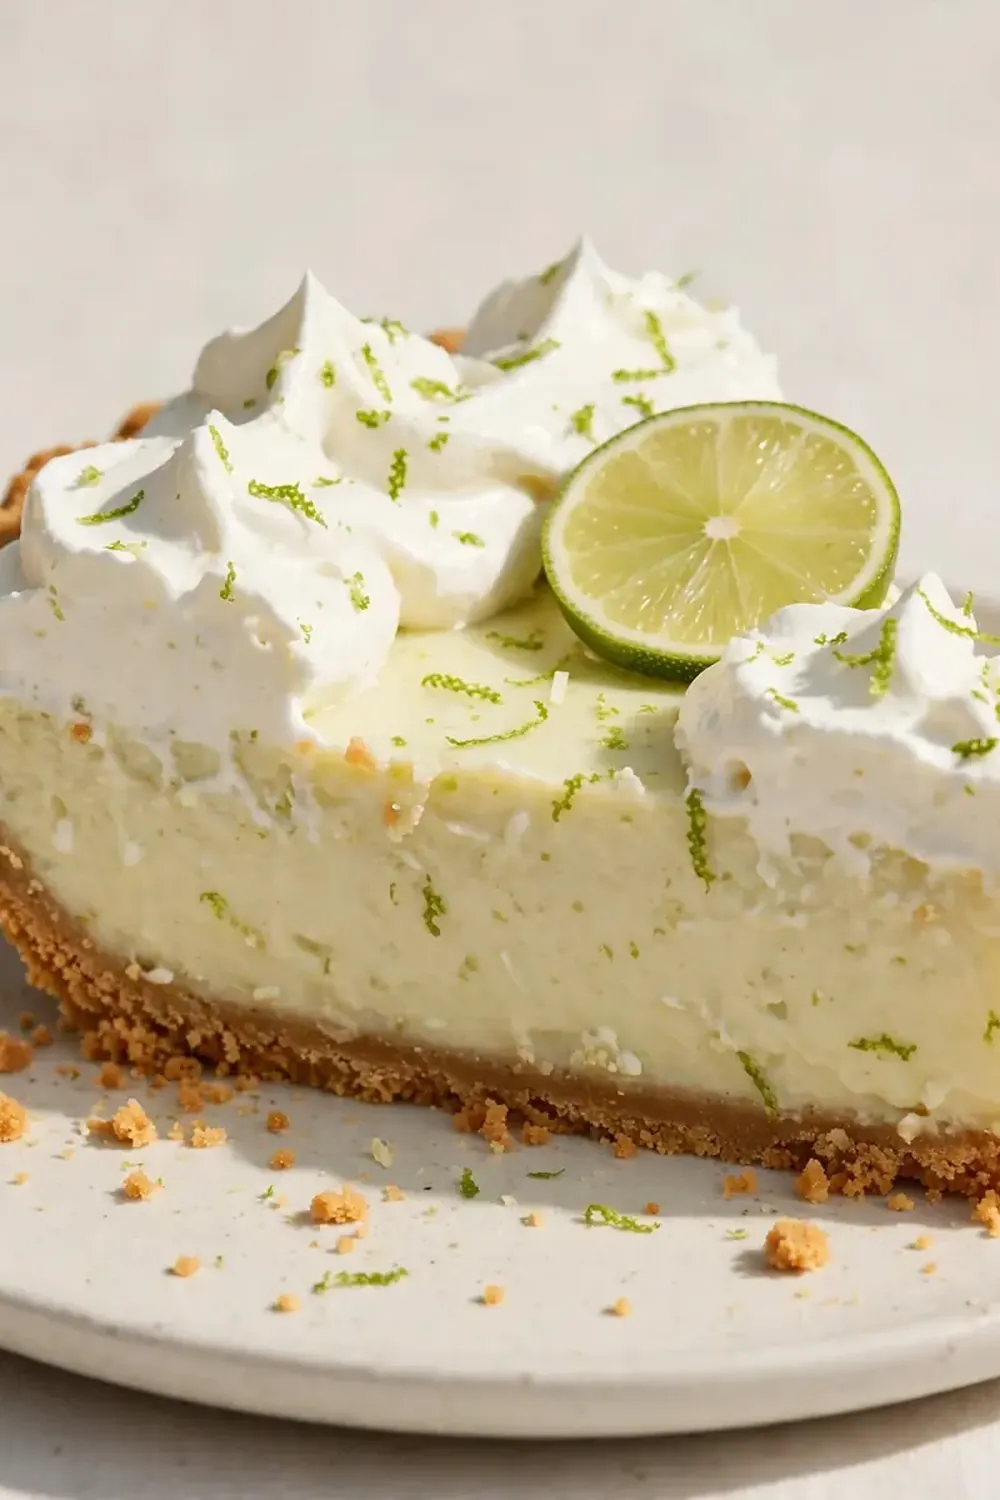
- Authentic Tang: Using real Key lime juice gives that unmistakable sharpness that balances the sweet condensed milk perfectly. It’s not just a dessert; it’s a moment of sunshine on a plate.
Ingredients You’ll Need
- 200g digestive biscuits (or graham crackers)
- 85g unsalted butter, melted
- 1 tablespoon caster sugar
- 400g can sweetened condensed milk
- 4 large egg yolks
- 120ml Key lime juice (freshly squeezed if possible, or bottled)
- 1 tablespoon finely grated Key lime zest (plus extra for garnish)
- 300ml double cream, well chilled
- 1 tablespoon icing sugar
- ½ teaspoon vanilla extract
Tip: If you cannot find fresh Key limes, the bottled Key lime juice works brilliantly for this recipe. The flavour is still wonderfully authentic and it saves you a good ten minutes of juicing.
How to Make Authentic Key Lime Pie
- Prepare the crust. Place the digestive biscuits in a sealed plastic bag and crush them with a rolling pin until they resemble fine, sandy crumbs. You want a uniform texture with no large chunks. Tip the crumbs into a bowl and stir in the melted butter and caster sugar until the mixture feels like damp sand that clumps when pressed between your fingers.
- Press and bake. Tip the crumb mixture into a 23cm pie dish. Use the flat bottom of a glass or a measuring cup to press it firmly and evenly across the base and up the sides. The crust should feel compact and smooth under your fingers. Bake at 160°C (fan) for 10 minutes, until the fragrance of toasted biscuit fills your kitchen and the edges are just beginning to deepen in colour. Set aside to cool completely.
- Whisk the filling. In a large bowl, whisk the egg yolks until they are thick and pale, a process that takes about two minutes. The colour will shift from bright yellow to a soft, buttery lemon. Pour in the sweetened condensed milk and whisk until the mixture is smooth and glossy, with a texture like thick custard.
- Add the lime. Slowly pour in the Key lime juice while whisking constantly. You will see the mixture begin to thicken almost immediately as the acid reacts with the condensed milk. The aroma is sharp and fragrant. Fold in the grated lime zest until it is evenly distributed, then pour the filling into the cooled crust.
- Bake the pie. Place the pie in the oven at 160°C (fan) for 12 to 15 minutes. You are looking for the edges to be set and slightly puffed, while the centre should still have a slight wobble when you gently shake the dish. The surface will look matte, not wet. Remove from the oven and let it cool to room temperature on a wire rack.
- Chill thoroughly. Once the pie is at room temperature, cover it loosely with cling film and refrigerate for at least 2 hours, but preferably 4 hours or overnight. The filling will become firm and sliceable, with a clean, cool texture. The wait is essential for the authentic texture.
- Whip the topping. Just before serving, pour the chilled double cream into a bowl with the icing sugar and vanilla extract. Whisk by hand or with an electric mixer until soft peaks form. The cream should hold its shape but still look luscious and pillowy. Spread or pipe the cream over the chilled pie, then garnish with extra lime zest.
Tips From My Kitchen
- Speed Up the Chill with a Metal Pie Dish: Using a metal or aluminium pie dish instead of ceramic conducts cold much faster. Your pie will set in about 90 minutes instead of two hours, which is a lifesaver when you’re racing the clock on a school night.
- Roll Your Biscuit Crumbs for Less Mess: Instead of dirtying a food processor, place the biscuits in a freezer bag and use a rolling pin. The kids can even help with this step, and you avoid washing a machine bowl. The crumbs stay contained, meaning less wipe-down of your counters.
- Blind Bake the Crust for a Sturdier Base: After pressing the crust, prick the base a few times with a fork and bake it for the full 10 minutes. This prevents the butter from making the crust soggy and ensures a crisp, crumbly base that holds up to the creamy filling. My husband, who’s usually picky, asked for seconds the first time I did this.
- Strain Your Lime Juice for a Silky Filling: Even bottled Key lime juice can have a little pulp. Pour it through a fine-mesh sieve before adding it to the condensed milk. This removes any bitter bits of pith and guarantees a flawlessly smooth, velvety filling every time.
- Make the Crust in Advance and Freeze It: I stumbled upon this combination by accident, and it’s been a hit ever since. You can press the crust into the dish, bake it, and then freeze it for up to a month. When you’re ready to make the pie, simply pour the filling into the frozen crust and bake as directed. It shaves another ten minutes off your active prep.
- Use Room Temperature Eggs for a Better Emulsion: Cold egg yolks from the fridge can cause the condensed milk to seize or become grainy. Let your eggs sit on the counter for 20 minutes before you start. The yolks will whisk up much fluffier, and the final filling will be more cohesive.
Equipment You’ll Need
- 23cm pie dish (metal recommended for faster chilling)
- Rolling pin and freezer bag (for crushing biscuits)
- Large mixing bowl
- Balloon whisk or electric hand mixer
- Fine-mesh sieve
- Wire cooling rack
- Measuring jug and spoons
Delicious Variations to Try
- Spicy Key Lime Pie: Add a pinch of cayenne pepper and a quarter teaspoon of ground ginger to the biscuit crust. The gentle warmth from the spices plays beautifully against the cold, sharp lime filling, giving each bite a surprising little kick.
- Vegan Key Lime Pie: Use a plant-based biscuit (check for vegan certification) and replace the butter with melted coconut oil. For the filling, swap the condensed milk and eggs for a can of full-fat coconut cream blended with 100g of cashew butter, 80ml of maple syrup, and 120ml of lime juice. The texture is remarkably similar, and the coconut flavour complements the lime.
- Different Protein or Base: Instead of a biscuit crust, try a base made from finely ground toasted almonds and a little melted butter. It adds a nutty richness that is lovely with the citrus, and it also makes the pie naturally gluten-free. Just press and bake as you would the biscuit version.
What to Serve With Authentic Key Lime Pie
- A dollop of extra whipped cream and a sprinkle of toasted coconut flakes for added texture.
- Fresh berries, such as raspberries or sliced strawberries, which cut through the richness with their own tartness.
- A simple cup of strong black tea or a minty iced tea to balance the sweetness.
Still hungry for ideas? You might also love Classic Key Lime Pie, No Bake Key Lime Pie Squares from our sister kitchens.
Frequently Asked Questions
Authentic Key Lime Pie
Ingredients
Method
- Prepare the crust. Place the digestive biscuits in a sealed plastic bag and crush them with a rolling pin until they resemble fine, sandy crumbs. You want a uniform texture with no large chunks. Tip the crumbs into a bowl and stir in the melted butter and caster sugar until the mixture feels like damp sand that clumps when pressed between your fingers.
- Press and bake. Tip the crumb mixture into a 23cm pie dish. Use the flat bottom of a glass or a measuring cup to press it firmly and evenly across the base and up the sides. The crust should feel compact and smooth under your fingers. Bake at 160°C (fan) for 10 minutes, until the fragrance of toasted biscuit fills your kitchen and the edges are just beginning to deepen in colour. Set aside to cool completely.
- Whisk the filling. In a large bowl, whisk the egg yolks until they are thick and pale, a process that takes about two minutes. The colour will shift from bright yellow to a soft, buttery lemon. Pour in the sweetened condensed milk and whisk until the mixture is smooth and glossy, with a texture like thick custard.
- Add the lime. Slowly pour in the Key lime juice while whisking constantly. You will see the mixture begin to thicken almost immediately as the acid reacts with the condensed milk. The aroma is sharp and fragrant. Fold in the grated lime zest until it is evenly distributed, then pour the filling into the cooled crust.
- Bake the pie. Place the pie in the oven at 160°C (fan) for 12 to 15 minutes. You are looking for the edges to be set and slightly puffed, while the centre should still have a slight wobble when you gently shake the dish. The surface will look matte, not wet. Remove from the oven and let it cool to room temperature on a wire rack.
- Chill thoroughly. Once the pie is at room temperature, cover it loosely with cling film and refrigerate for at least 2 hours, but preferably 4 hours or overnight. The filling will become firm and sliceable, with a clean, cool texture. The wait is essential for the authentic texture.
- Whip the topping. Just before serving, pour the chilled double cream into a bowl with the icing sugar and vanilla extract. Whisk by hand or with an electric mixer until soft peaks form. The cream should hold its shape but still look luscious and pillowy. Spread or pipe the cream over the chilled pie, then garnish with extra lime zest.
Notes
I hope this Authentic Key Lime Pie becomes as beloved in your weeknight dinner rotation as it has in mine. If you give it a try, I would love to hear how it turned out for your family. Share your thoughts or any tweaks you made in the comments below — happy baking!






