
Quick Weeknight Classic Chocolate Chip Cookies
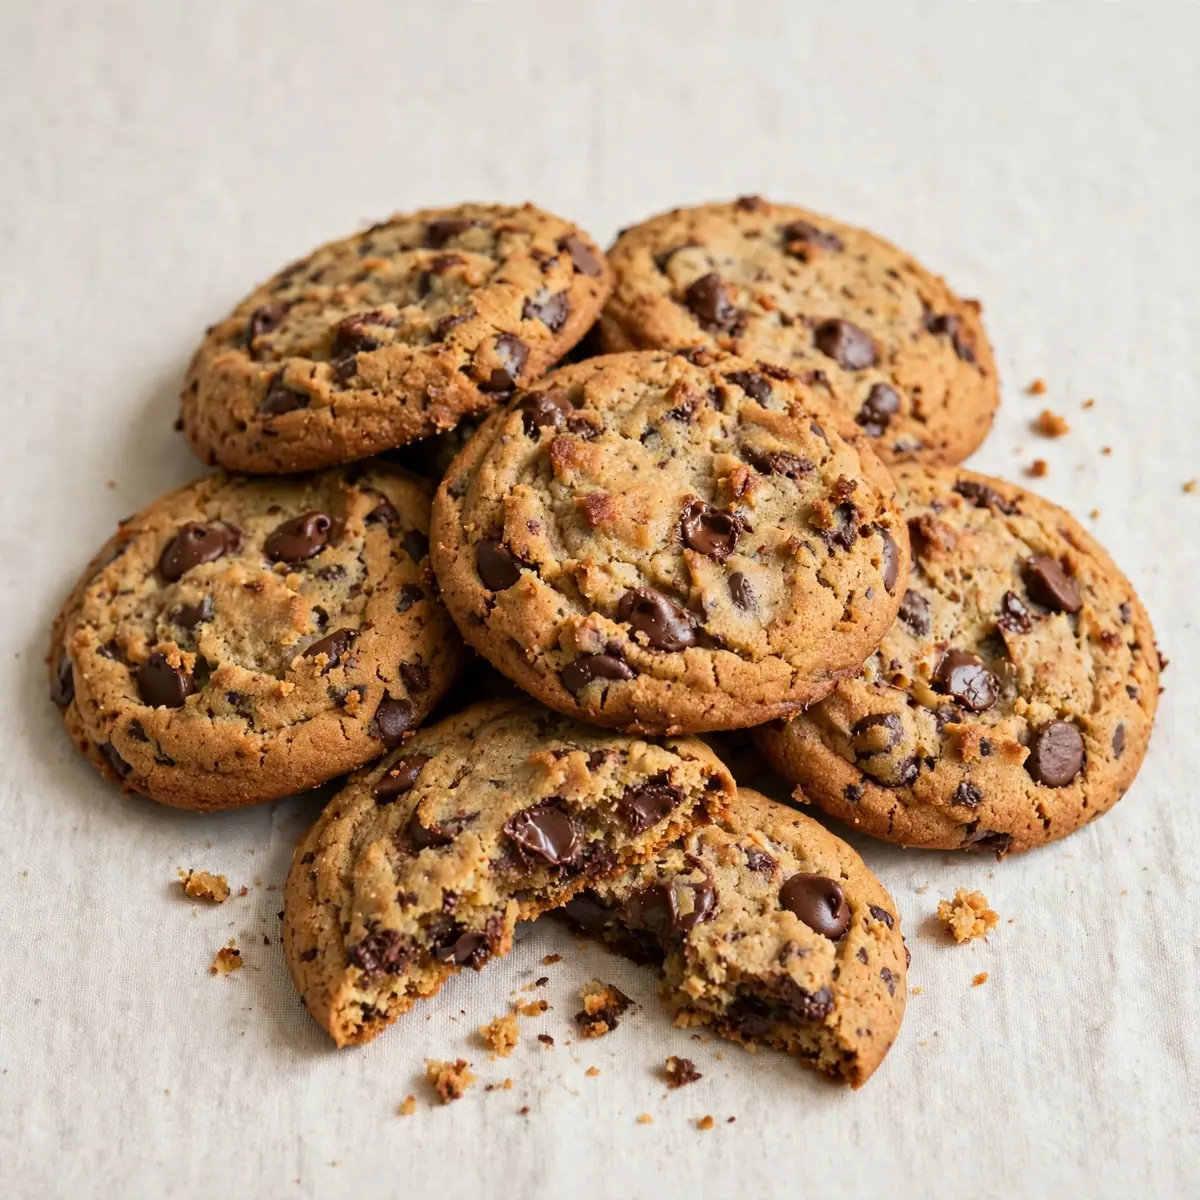
After a long day of school runs, homework battles, and after-school clubs, the last thing I want is a kitchen disaster. These Classic Chocolate Chip Cookies come together in under 20 minutes from start to finish, with just one bowl and a wooden spoon. I stumbled upon this combination by accident, and it’s been a hit ever since.
Recipe Overview
- Prep time: 10 minutes
- Cook time: 8–10 minutes
- Total time: 18–20 minutes
- Servings: 24 cookies
- Difficulty: Beginner-friendly
Why You’ll Love This Classic Chocolate Chip Cookies
- One bowl, no fuss: Everything mixes in a single bowl, so you spend less time washing up and more time enjoying the evening.
- No chilling required: These cookies go straight from bowl to oven, saving you at least an hour of fridge time.
- Freezer-friendly dough: Make a double batch, scoop the dough onto a tray, freeze solid, then pop the balls into a freezer bag. Bake straight from frozen whenever a craving hits.
- Soft centres, crisp edges: The texture is just right — golden on the outside, chewy in the middle — thanks to the precise ratio of butter to sugar.
- Pantry staples only: You probably have all the ingredients already. No niche items, no special trips to the supermarket.
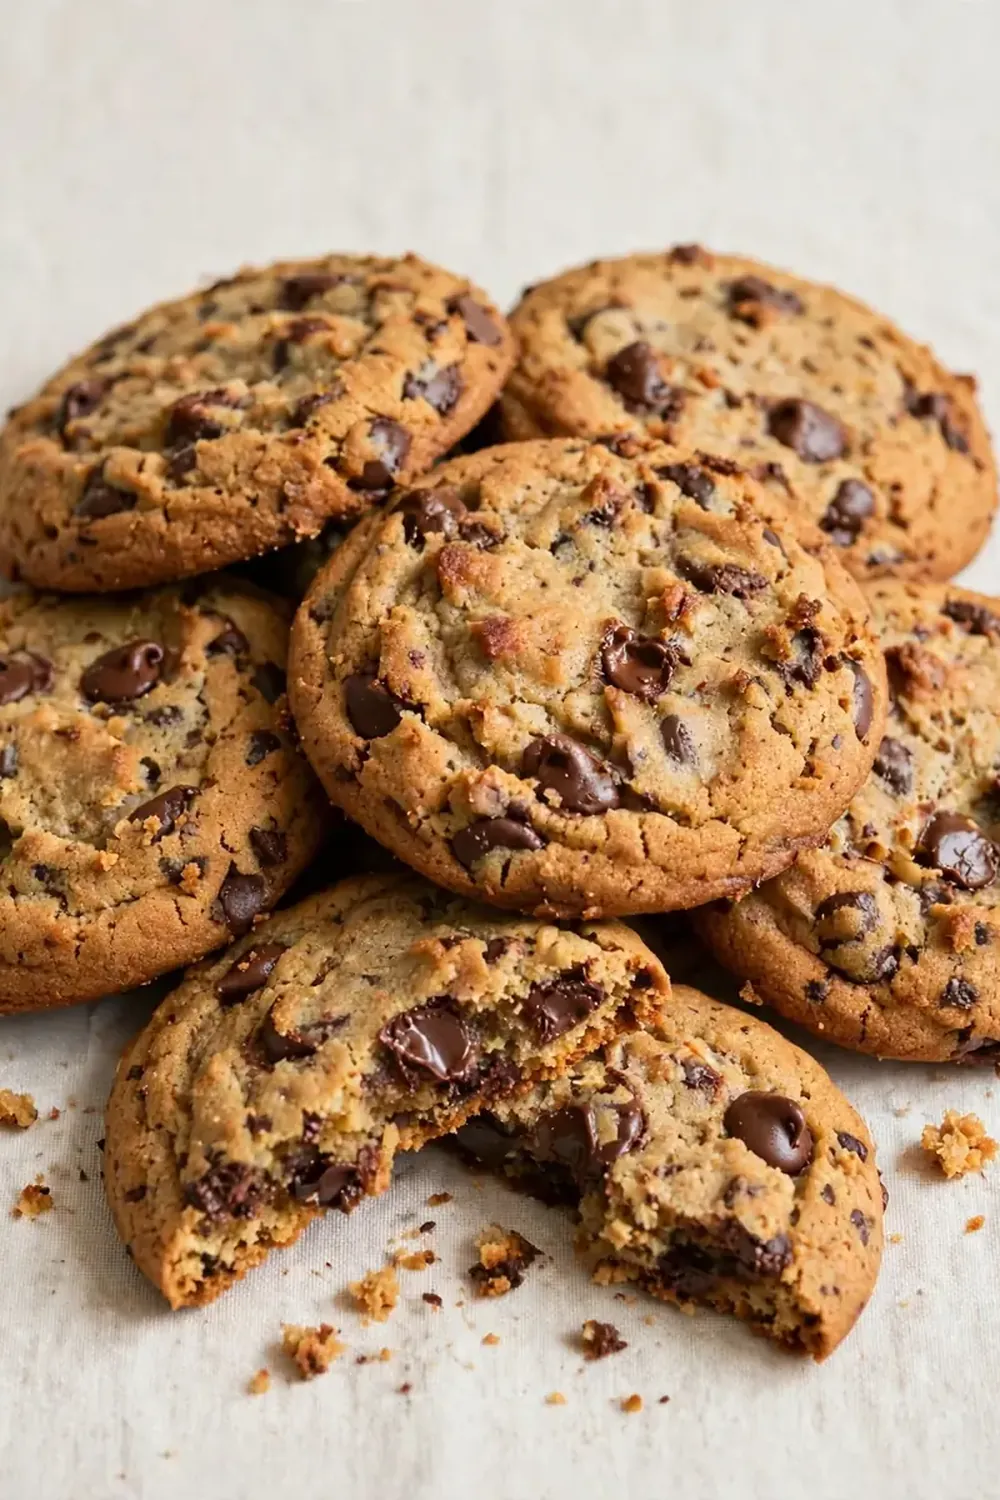
Ingredients You’ll Need
- 150g unsalted butter, softened to room temperature
- 100g caster sugar
- 100g light brown sugar, packed
- 1 large egg, at room temperature
- 1 teaspoon vanilla extract
- 250g plain flour (all-purpose flour)
- ½ teaspoon bicarbonate of soda
- ½ teaspoon fine sea salt
- 200g dark chocolate chips or chopped dark chocolate (at least 50% cocoa solids)
Tip: For the softest cookies, take your butter and egg out of the fridge 30 minutes before you start. Cold butter doesn’t cream properly, and a cold egg can make the mixture seize.
How to Make Classic Chocolate Chip Cookies
- Preheat your oven to 180°C (160°C fan) and line two baking trays with parchment paper. The paper should feel taut and smooth against the tray — no wrinkles, or your cookies will spread unevenly.
- In a large bowl, beat the softened butter with both sugars until the mixture looks pale and fluffy. You’ll see the colour lighten from yellow to a soft cream, and the texture becomes airy and light. This takes about 2 minutes with an electric mixer or 3 minutes by hand.
- Crack in the egg and add the vanilla extract, then beat again until fully combined. The mixture should look glossy and smooth, with no streaks of egg visible. You’ll smell the vanilla as soon as it hits the butter.
- In a separate small bowl, whisk together the flour, bicarbonate of soda, and salt. This ensures the raising agent is evenly distributed — if you skip this, you might get a cookie that’s puffy in one spot and flat in another. The flour mixture should feel light and powdery when you stir it.
- Add the dry ingredients to the wet mixture in two additions, stirring gently with a wooden spoon or spatula until just combined. Stop as soon as you no longer see white streaks of flour. The dough should be soft and slightly sticky, but not wet. If it feels greasy, you’ve overmixed.
- Fold in the chocolate chips until they’re evenly scattered through the dough. You should see chocolate in every spoonful. The dough will now look speckled and feel studded with chocolate pieces.
- Scoop tablespoon-sized balls of dough (about 25g each) onto the prepared baking trays, leaving at least 5cm between each one. They should be roughly round, but don’t worry about perfection — the oven will sort them out. You’ll have about 12 cookies per tray.
- Bake for 8–10 minutes, or until the edges are golden brown and the centres still look slightly pale and soft. The kitchen should smell warm and sweet, like caramel and vanilla. The tops will be set but will feel soft to a light touch. Don’t wait for the centres to turn brown — they’ll continue cooking as they cool.
- Remove from the oven and let the cookies rest on the tray for 5 minutes. During this time, they’ll firm up and the chocolate will set slightly. You’ll see the edges become crisp and the middles settle into a chewy texture.
- Transfer to a wire cooling rack to cool completely, or serve warm if you can’t wait. The cookies should lift cleanly off the parchment paper without sticking. If they crumble, they needed a minute more on the tray.
Tips From My Kitchen
- Use a cookie scoop for even sizes: A small ice cream scoop or a melon baller gives you identical dough balls, which means they all bake at the same rate. No more burnt edges on tiny cookies and raw middles on giant ones.
- Press a few extra chocolate chips on top before baking: This makes the cookies look bakery-worthy, with chocolate visible on the surface rather than hidden inside. My kids absolutely devour this every time I make it, and the extra chips on top make them feel special.
- Underbake by 1 minute for chewier cookies: If you like a soft, gooey centre, pull the tray out when the edges are just golden but the centre still looks slightly underdone. The residual heat from the tray finishes the cooking without drying them out.
- Make them ahead for busy weeks: Scoop the dough into balls, freeze them on a tray for an hour, then transfer to a zip-lock bag. When you need cookies in a hurry, just add 2 minutes to the baking time and bake straight from frozen.
- Switch up the chocolate: Milk chocolate chips make sweeter cookies, while dark chocolate gives a deeper, more grown-up flavour. You can also use a mix of white and dark chocolate chips for a marbled effect.
- Let the butter soften naturally: Don’t microwave it to speed things up. Melted butter changes the cookie’s texture, making them spread too thin and turn greasy. Soft butter should give slightly when you press it with your finger, but still hold its shape.
Equipment You’ll Need
- Stand mixer or hand mixer
- Baking tray
- Parchment paper
- Wire cooling rack
- Large mixing bowl
- Small whisk
- Cookie scoop or tablespoon
Common Mistakes to Avoid
- Overcrowding the pan: If you place the dough balls too close together, they’ll spread into one giant cookie rather than individual rounds. Leave at least 5cm between each ball so they have room to expand. If you’re short on trays, bake in batches rather than squashing them all on one.
- Wrong temperature: An oven that’s too hot will brown the edges before the centres are cooked, leaving you with burnt-tasting cookies that are still raw inside. An oven that’s too cool will make them spread into flat, greasy puddles. Use an oven thermometer if yours runs hot or cold.
- Skipping the rest time: Those 5 minutes on the hot tray after baking are crucial. If you try to move the cookies too soon, they’ll fall apart because the structure hasn’t set yet. Let them rest until they’re firm enough to lift with a spatula without bending.
What to Serve With Classic Chocolate Chip Cookies
- A cold glass of milk — the classic pairing that never gets old
- A scoop of vanilla ice cream for an impromptu ice cream sandwich
- Fresh strawberries or sliced banana for a fruity contrast
- A warm mug of hot chocolate on cooler evenings
- A drizzle of melted dark chocolate over the top for extra indulgence
Still hungry for ideas? You might also love Winter Wonderland Chocolate Chip Cookies Baking, Gooey Flourless Chocolate Fudge Cookies Gluten Free from our sister kitchens.
Frequently Asked Questions
Classic Chocolate Chip Cookies
Ingredients
Method
- Preheat your oven to 180°C (160°C fan) and line two baking trays with parchment paper. The paper should feel taut and smooth against the tray — no wrinkles, or your cookies will spread unevenly.
- In a large bowl, beat the softened butter with both sugars until the mixture looks pale and fluffy. You'll see the colour lighten from yellow to a soft cream, and the texture becomes airy and light. This takes about 2 minutes with an electric mixer or 3 minutes by hand.
- Crack in the egg and add the vanilla extract, then beat again until fully combined. The mixture should look glossy and smooth, with no streaks of egg visible. You'll smell the vanilla as soon as it hits the butter.
- In a separate small bowl, whisk together the flour, bicarbonate of soda, and salt. This ensures the raising agent is evenly distributed — if you skip this, you might get a cookie that's puffy in one spot and flat in another. The flour mixture should feel light and powdery when you stir it.
- Add the dry ingredients to the wet mixture in two additions, stirring gently with a wooden spoon or spatula until just combined. Stop as soon as you no longer see white streaks of flour. The dough should be soft and slightly sticky, but not wet. If it feels greasy, you've overmixed.
- Fold in the chocolate chips until they're evenly scattered through the dough. You should see chocolate in every spoonful. The dough will now look speckled and feel studded with chocolate pieces.
- Scoop tablespoon-sized balls of dough (about 25g each) onto the prepared baking trays, leaving at least 5cm between each one. They should be roughly round, but don't worry about perfection — the oven will sort them out. You'll have about 12 cookies per tray.
- Bake for 8–10 minutes, or until the edges are golden brown and the centres still look slightly pale and soft. The kitchen should smell warm and sweet, like caramel and vanilla. The tops will be set but will feel soft to a light touch. Don't wait for the centres to turn brown — they'll continue cooking as they cool.
- Remove from the oven and let the cookies rest on the tray for 5 minutes. During this time, they'll firm up and the chocolate will set slightly. You'll see the edges become crisp and the middles settle into a chewy texture.
- Transfer to a wire cooling rack to cool completely, or serve warm if you can't wait. The cookies should lift cleanly off the parchment paper without sticking. If they crumble, they needed a minute more on the tray.
Notes
I hope these Classic Chocolate Chip Cookies become a regular in your weeknight rotation, just as they have in mine. If you give them a try, I’d love to hear how they turned out — drop a comment below and let me know if your family loved them as much as mine does. And if you’re after more sweet treats that don’t demand hours in the kitchen, have a look at our Pumpkin Breakfast Cookies Tutorial Step By Step or these Holiday Christmas Tree Cookies For Festive Parties for when you have a little more time on your hands. Happy baking!






