
5-Minute Chocolate Dirt Cups for Busy Weeknights
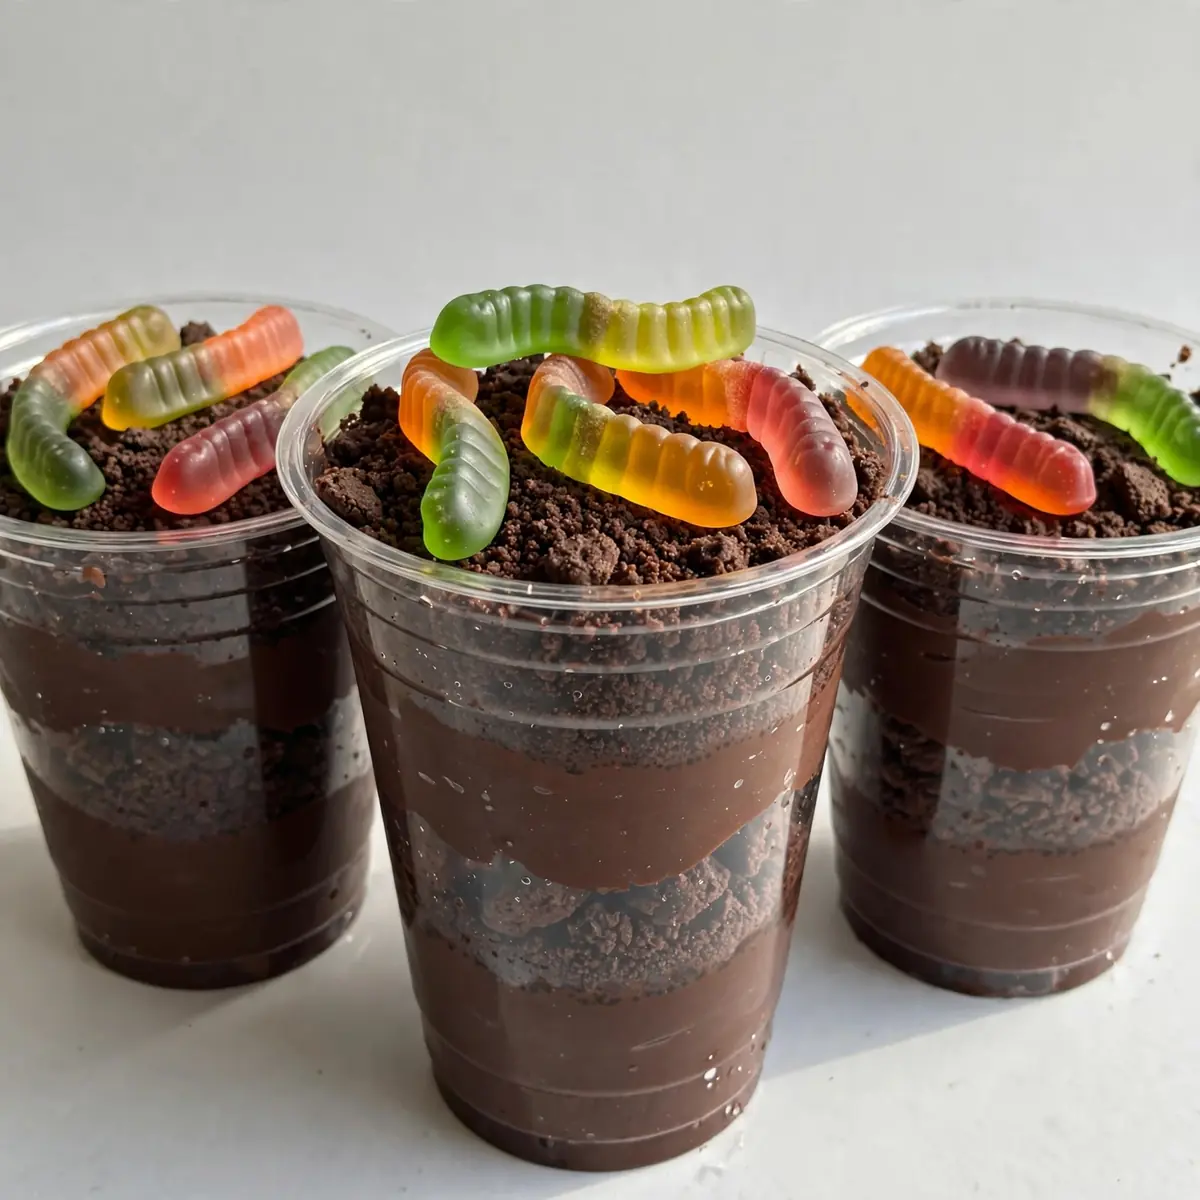
After a long day of school runs, work deadlines, and after-school clubs, the last thing I want is a complicated dessert that leaves my kitchen looking like a bomb site. That is why I created these Chocolate Dirt Cups using pork-free gummy worms—a dessert that comes together in less time than it takes to argue about bath time. Friends always ask me for this recipe after trying it at dinner parties, but the truth is, it’s my secret weapon for turning a manic Tuesday into something that feels like a treat.
Recipe Overview
- Prep Time: 15 minutes
- Cook Time: 5 minutes (for the pudding base)
- Total Time: 20 minutes (plus 1 hour chilling)
- Servings: 6 individual cups
- Difficulty: Beginner-friendly
Why You’ll Love This Chocolate Dirt Cups (Using Pork-Free Gummy Worms)
- Ready in 20 minutes flat: From fridge to table in the time it takes to order takeaway. This is my go-to recipe when I need something quick but impressive, and it never fails.
- Minimal washing up: One bowl, one whisk, and a handful of cups. No baking trays, no mixer attachments—just a quick rinse and you are done.
- Make-ahead magic: Assemble these the night before, and they sit happily in the fridge until you need them. The pudding actually improves as it sets, making this perfect for meal-prepping desserts.
- Kid-friendly and halal: Using pork-free gummy worms means everyone at the table can dig in without worry. No need to check labels or explain substitutions—just pure, silly fun.
- Endlessly customisable: Swap the chocolate for white chocolate, add a swirl of caramel, or layer in fresh berries. This base recipe is a springboard for your own creativity.
Ingredients You’ll Need
- 500 ml whole milk
- 100 g caster sugar
- 40 g cornflour
- 30 g unsalted butter
- 1 tsp vanilla extract
- 200 g dark chocolate (70% cocoa), finely chopped
- 200 ml double cream
- 200 g chocolate sandwich biscuits (such as Oreo-style, halal-certified)
- 1 packet pork-free gummy worms (check the label for halal certification)
- 6 small clear plastic or glass cups (about 200 ml capacity each)
- Pinch of sea salt
Tip: For the smoothest pudding, use full-fat milk and real butter. Low-fat versions can make the texture grainy and less luxurious. Chop your chocolate finely so it melts evenly into the hot milk without clumping.
How to Make Chocolate Dirt Cups (Using Pork-Free Gummy Worms)
- Make the chocolate pudding base: In a medium saucepan, whisk together the milk, sugar, and cornflour until the cornflour has completely dissolved and the mixture looks pale and smooth, with no white flecks remaining. Place the pan over medium heat and stir constantly with a wooden spoon. After about 4 minutes, you will feel the mixture start to thicken—it will coat the back of the spoon and leave a clear trail when you drag your finger through it.
- Add the chocolate and butter: Remove the pan from the heat immediately. Add the chopped dark chocolate, butter, vanilla extract, and a pinch of sea salt. Stir gently in one direction until the chocolate has fully melted and the pudding is glossy, dark, and smells richly of cocoa. The texture should be thick enough to hold a ribbon on the surface for a few seconds.
- Cool the pudding quickly: Pour the hot pudding into a wide, shallow bowl to speed up cooling. Press a piece of cling film directly onto the surface of the pudding—this stops a skin from forming. Let it sit at room temperature for 10 minutes, then transfer to the fridge for 20 minutes. The pudding should be cool to the touch but still slightly warm at the centre.
- Whip the cream: In a clean bowl, pour the double cream and whisk with an electric hand mixer on medium speed until soft peaks form. You are looking for cream that holds its shape when you lift the beaters but still looks soft and pillowy—not stiff and buttery. This takes about 2 minutes.
- Crush the biscuits: Place the chocolate sandwich biscuits in a zip-top bag and seal it tightly. Use a rolling pin to crush them into fine crumbs that resemble garden soil. You want a mix of fine dust and a few slightly larger bits for texture—think coarse sand rather than powder. Set aside.
- Layer the cups: Spoon a generous tablespoon of crushed biscuit into the bottom of each cup. Gently fold the cooled chocolate pudding into the whipped cream using a spatula—use a figure-eight motion until no white streaks remain. Divide this chocolate cream mixture evenly among the cups, filling each about three-quarters full. The surface should look smooth and even.
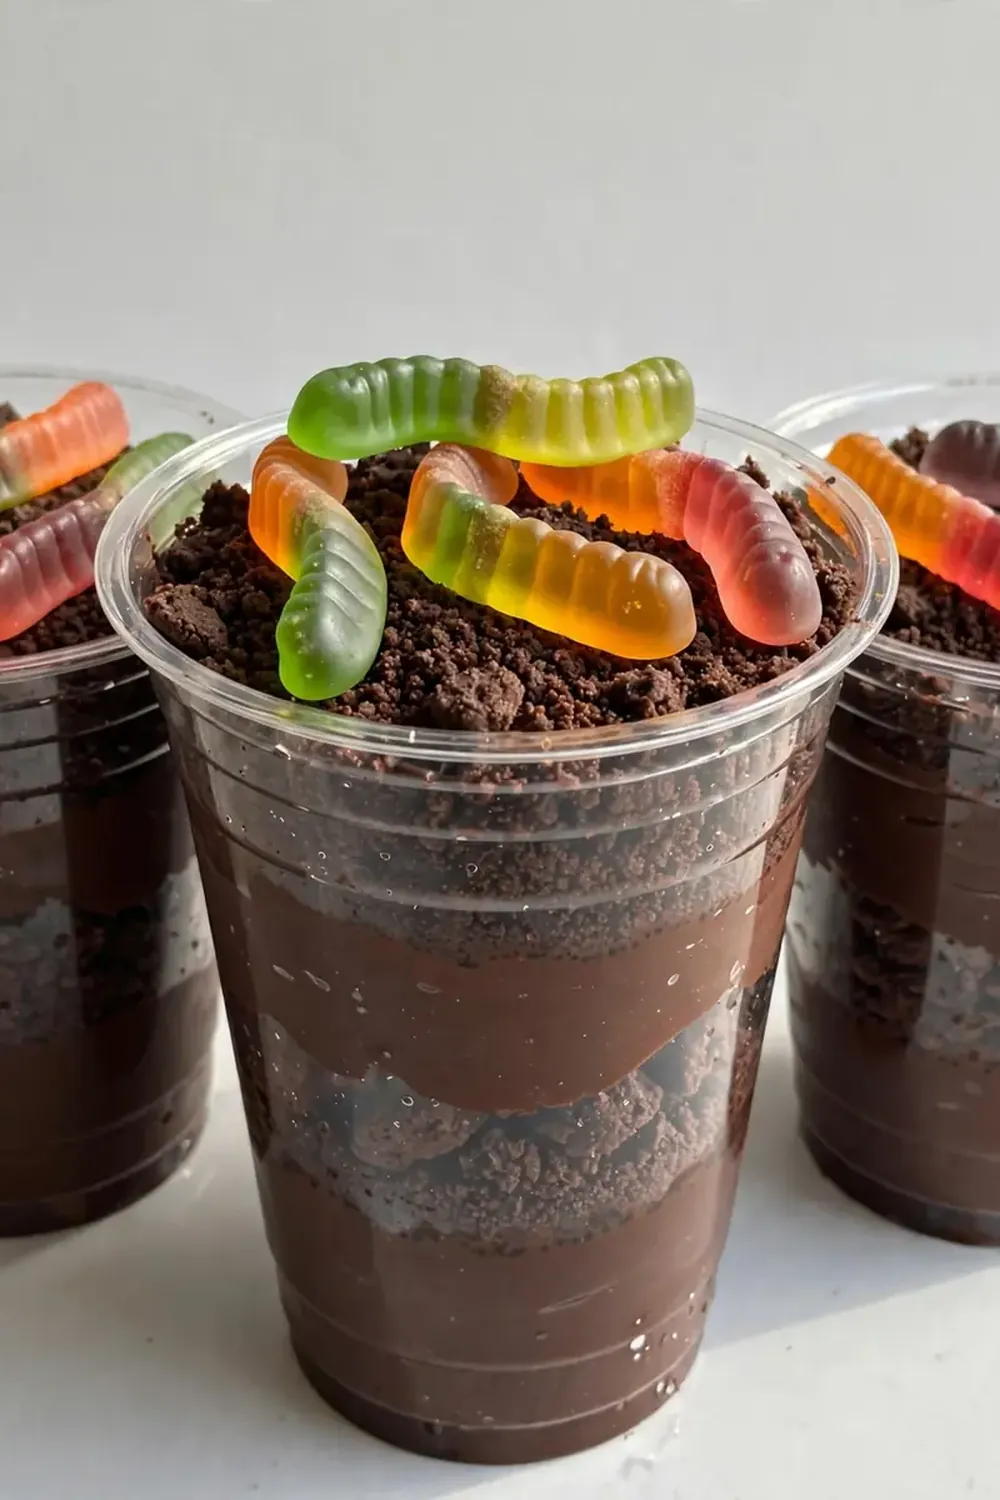
- Top with dirt and worms: Sprinkle the remaining crushed biscuits over the top of each cup to create a thick, dark layer that completely hides the pudding underneath. Press a few pork-free gummy worms into the centre so they appear to be crawling out of the dirt. For the best effect, leave one worm half-buried and another poking out at an angle.
- Chill and serve: Place the cups in the fridge for at least 1 hour before serving. The pudding will set further and the biscuits will soften slightly, creating a texture that feels like real earth. When you pull a cup out, the surface should be firm to the touch and the worms should stay in place.
Tips From My Kitchen
- Chill your bowl and beaters: Pop the bowl and beaters in the fridge for 15 minutes before whipping the cream. Cold equipment helps the cream whip faster and hold its shape longer—especially useful on warm days when the kitchen feels steamy.
- Use a food processor for the biscuits: If you have one, pulse the biscuits in a food processor instead of using a rolling pin. This gives you a much more consistent crumb and takes about 30 seconds. Just be careful not to overdo it—you want texture, not dust.
- Make the pudding a day ahead: The chocolate pudding base can be cooked, cooled, and stored in the fridge for up to 48 hours. When you are ready to assemble, simply let it sit at room temperature for 15 minutes, then fold in the whipped cream. This is a lifesaver on party mornings.
- Layer in a glass for visual effect: Using clear cups lets everyone see the layers of biscuit, creamy pudding, and gummy worms. It turns an ordinary dessert into something that looks like a mini terrarium—kids absolutely love seeing the worms peek through the sides.
- Check your gummy worms carefully: Not all gummy sweets are pork-free. Look for brands that specifically state beef gelatine or plant-based pectin on the label. Some supermarkets now stock halal-certified gummy worms in the international foods aisle.
- Double the batch for leftovers: These cups keep beautifully in the fridge for up to three days. The biscuits will soften into a cake-like texture, which some people actually prefer. Make a double batch on Sunday for dessert throughout the week.
Delicious Variations to Try
- Spicy Version: Add ½ teaspoon of cayenne pepper and ¼ teaspoon of cinnamon to the milk mixture when cooking the pudding. The warmth of the spice cuts through the richness of the chocolate beautifully. Top with a pinch of chilli flakes for a dramatic finish.
- Vegetarian/Vegan Option: Use full-fat oat milk or coconut milk instead of dairy, and substitute the butter with a plant-based block margarine. Whipped coconut cream (chilled tin, scoop the solid part) works perfectly in place of double cream. Ensure your biscuits and gummy worms are vegan-friendly.
- Different Protein: For a savoury-sweet twist, layer in small cubes of cooked, cooled chicken breast seasoned with smoked paprika and a pinch of salt. The salty-savoury notes contrast brilliantly with the sweet chocolate—think of it as a dessert-inspired chicken salad.
What to Serve With Chocolate Dirt Cups (Using Pork-Free Gummy Worms)
- A dollop of extra whipped cream on the side for dipping the gummy worms
- Fresh strawberries or raspberries to balance the richness
- A glass of cold milk or a warm cup of mint tea
- For a more elaborate spread, pair with Fudgy Small Batch Brownies With Crunchy Nuts for a double-chocolate experience
Frequently Asked Questions
Chocolate Dirt Cups (Using Pork-Free Gummy Worms)
Ingredients
Method
- Make the chocolate pudding base: In a medium saucepan, whisk together the milk, sugar, and cornflour until the cornflour has completely dissolved and the mixture looks pale and smooth, with no white flecks remaining. Place the pan over medium heat and stir constantly with a wooden spoon. After about 4 minutes, you will feel the mixture start to thicken—it will coat the back of the spoon and leave a clear trail when you drag your finger through it.
- Add the chocolate and butter: Remove the pan from the heat immediately. Add the chopped dark chocolate, butter, vanilla extract, and a pinch of sea salt. Stir gently in one direction until the chocolate has fully melted and the pudding is glossy, dark, and smells richly of cocoa. The texture should be thick enough to hold a ribbon on the surface for a few seconds.
- Cool the pudding quickly: Pour the hot pudding into a wide, shallow bowl to speed up cooling. Press a piece of cling film directly onto the surface of the pudding—this stops a skin from forming. Let it sit at room temperature for 10 minutes, then transfer to the fridge for 20 minutes. The pudding should be cool to the touch but still slightly warm at the centre.
- Whip the cream: In a clean bowl, pour the double cream and whisk with an electric hand mixer on medium speed until soft peaks form. You are looking for cream that holds its shape when you lift the beaters but still looks soft and pillowy—not stiff and buttery. This takes about 2 minutes.
- Crush the biscuits: Place the chocolate sandwich biscuits in a zip-top bag and seal it tightly. Use a rolling pin to crush them into fine crumbs that resemble garden soil. You want a mix of fine dust and a few slightly larger bits for texture—think coarse sand rather than powder. Set aside.
- Layer the cups: Spoon a generous tablespoon of crushed biscuit into the bottom of each cup. Gently fold the cooled chocolate pudding into the whipped cream using a spatula—use a figure-eight motion until no white streaks remain. Divide this chocolate cream mixture evenly among the cups, filling each about three-quarters full. The surface should look smooth and even.
- Top with dirt and worms: Sprinkle the remaining crushed biscuits over the top of each cup to create a thick, dark layer that completely hides the pudding underneath. Press a few pork-free gummy worms into the centre so they appear to be crawling out of the dirt. For the best effect, leave one worm half-buried and another poking out at an angle.
- Chill and serve: Place the cups in the fridge for at least 1 hour before serving. The pudding will set further and the biscuits will soften slightly, creating a texture that feels like real earth. When you pull a cup out, the surface should be firm to the touch and the worms should stay in place.
Notes
I hope these Chocolate Dirt Cups bring a little joy to your kitchen on even the busiest of evenings. There is something deeply satisfying about watching a child’s face light up when they spot a gummy worm wriggling out of their dessert—and knowing it took you less than half an hour to create that moment makes it even sweeter. If you give these a try, I would love to hear how they turned out. Drop a comment below and tell me your favourite variation, or share a photo of your own creepy-crawly creations. For more fun, no-fuss desserts, take a look at our Elegant Mini Chocolate Desserts For Gatherings or these Creamy No Bake Oreo Cheesecake Cups Recipe 2 for even more quick wins. Happy cooking, everyone!






