
Warm Fudgy Brownie Sundae Bowls Ready in 20 Minutes
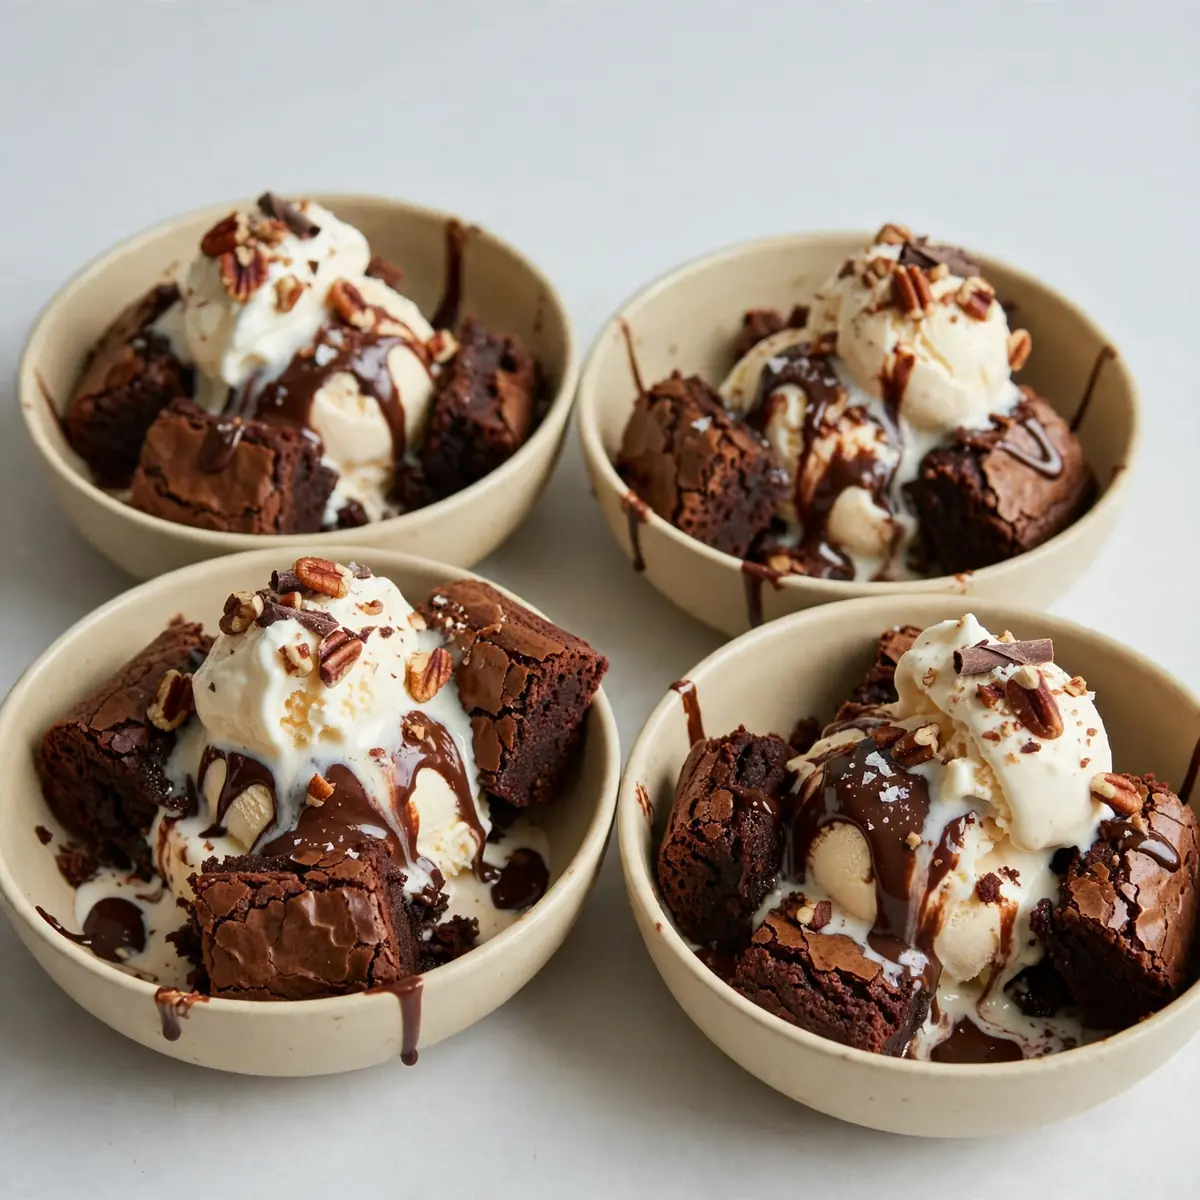
On a frantic Tuesday, when the school run blurs into back-to-back meetings and the thought of a complex dinner feels like a cruel joke, I stumbled upon this combination by accident, and it’s been a hit ever since. These Warm Fudgy Brownie Sundae Bowls are my secret weapon for turning a chaotic weeknight into a small, glorious celebration without dirtying every pan in the kitchen.
Recipe Overview
- Prep Time: 10 minutes
- Cook Time: 15 minutes
- Total Time: 25 minutes
- Servings: 6 individual bowls
- Difficulty: Easy
Why You’ll Love This Warm Fudgy Brownie Sundae Bowls
- Speedy Weeknight Rescue: From craving to table in under half an hour, this dessert saves the day when you need something special, fast.
- Minimal Washing Up: We use one bowl for the batter and a single baking tray lined with parchment—no scrubbing required.
- Make-Ahead Magic: The brownie bowls can be baked earlier in the day and warmed up, or you can prep the dry mix in a jar for an even quicker assembly.
- Customisable for Everyone: Each person tops their own bowl, so picky eaters and adventurous palates are all happy at the same table.
- That Gooey, Warm Centre: The contrast between the crisp edges and the molten, fudgy middle, paired with cold ice cream, is pure weeknight joy.
Ingredients You’ll Need
- 150g unsalted butter, plus extra for greasing
- 200g dark chocolate (70% cocoa), roughly chopped
- 200g caster sugar
- 2 large eggs, at room temperature
- 1 tsp vanilla extract
- 75g plain flour
- 30g cocoa powder, sifted
- ¼ tsp salt
- 6 good-quality chocolate truffles or 12 chocolate buttons (for the hidden fudgy centre)
- 6 scoops of vanilla ice cream
- 150ml double cream, lightly whipped
- Fresh raspberries or strawberries, for topping
- Chocolate shavings or sprinkles, to finish
Tip: Use a good dark chocolate you’d happily eat on its own—the flavour really shines through in this simple batter.
How to Make Warm Fudgy Brownie Sundae Bowls
- Preheat and prep: Set your oven to 180°C (160°C fan). Grease six individual oven-safe ramekins or a large muffin tin with a little butter. You want the bowls to slide out easily later.
- Melt the base: In a large heatproof bowl set over a pan of barely simmering water, melt the 150g butter and 200g chopped dark chocolate together. Stir gently until the mixture is completely smooth and glossy—it should look like thick, dark silk and smell deeply of chocolate. Remove from the heat and let it cool for two minutes.
- Whisk in the sweetness: Beat in the 200g caster sugar with a wooden spoon until the mixture thickens slightly and feels grainy against the spoon. Then add the two eggs, one at a time, and the vanilla. Whisk vigorously until the batter becomes thick, shiny, and falls from the spoon in a rich ribbon. You’ll hear the whisk against the bowl change to a softer, heavier sound as it comes together.
- Fold the dry bits: Sift the 75g plain flour, 30g cocoa powder, and ¼ tsp salt directly over the batter. Gently fold with a spatula until you can no longer see any streaks of flour—the batter will be thick, fudgy, and smell intensely of cocoa. Don’t overmix, or the brownies will turn cakey.
- Fill the bowls: Spoon the batter evenly into the six prepared ramekins, filling each about two-thirds full. Gently press one chocolate truffle (or two chocolate buttons) into the centre of each bowl of batter, pushing it down until it’s just covered. The batter will feel thick and slightly sticky against your fingers.
- Bake to perfection: Place the ramekins on a baking tray and bake for exactly 12–14 minutes. The edges should look set and slightly cracked, while the centre will still wobble softly when you gently shake the tray. The smell of warm, fudgy chocolate will fill your kitchen—that’s your cue they’re nearly there.
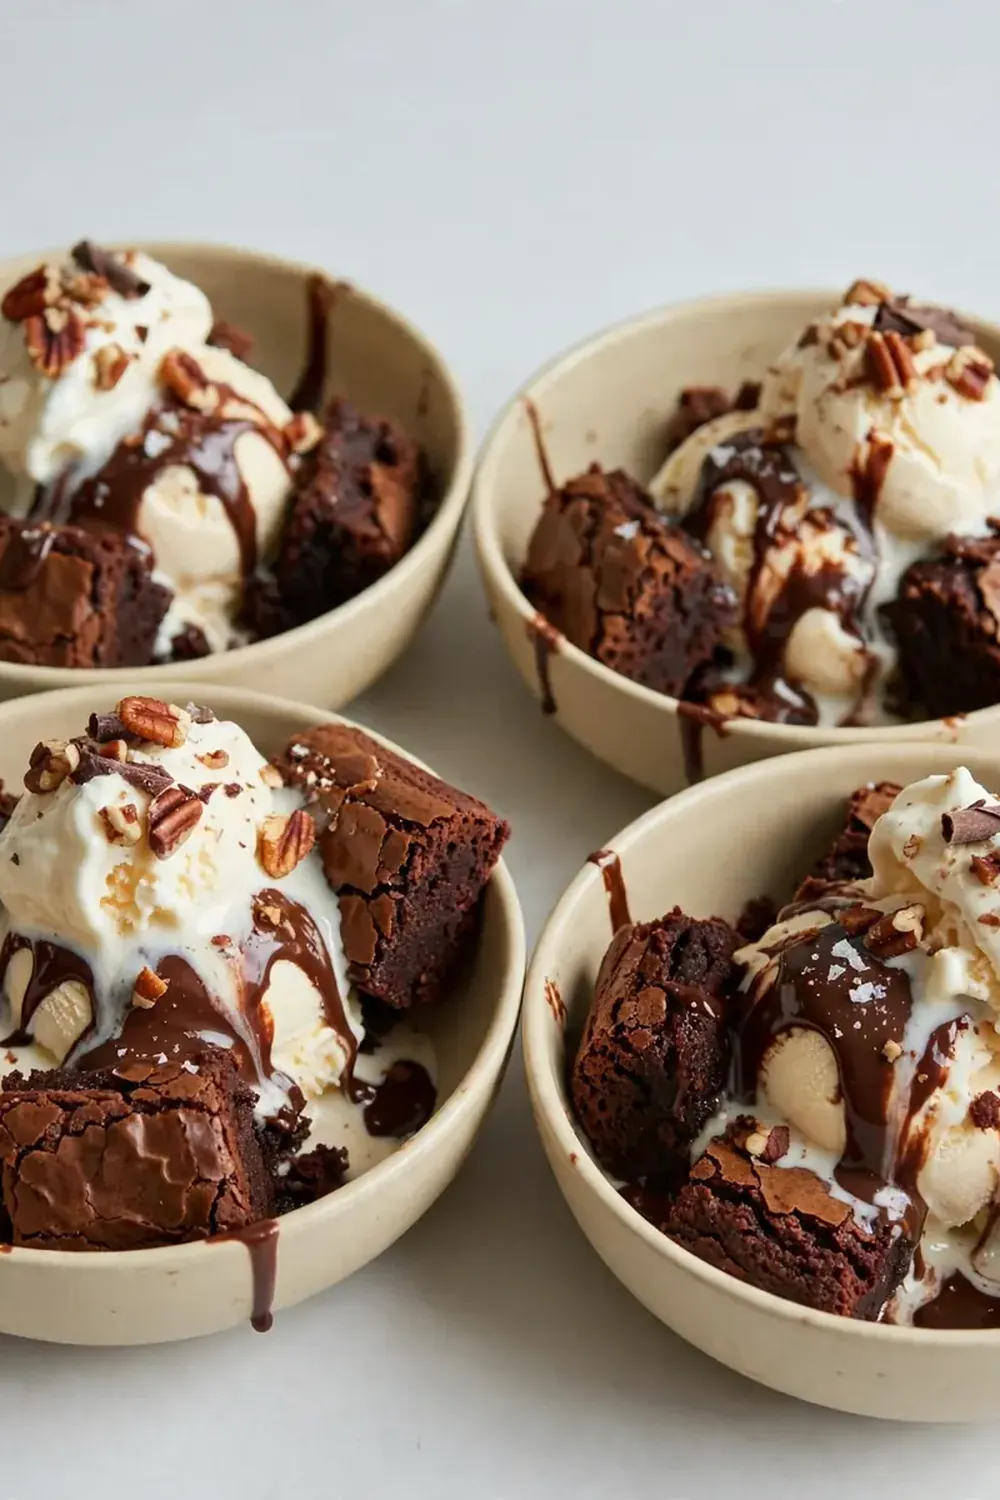
- Cool briefly and serve: Let the brownie bowls cool on a wire rack for exactly 2 minutes—no longer, or they’ll set too much. Run a small knife around the edge of each ramekin, then invert onto plates or serving bowls. The brownie should slide out with a soft, warm thud. Top immediately with a scoop of vanilla ice cream, a dollop of whipped cream, fresh berries, and a scattering of chocolate shavings. Serve right away while the centre is still gloriously molten.
Tips From My Kitchen
- Don’t skip the resting time after baking: Those two minutes on the wire rack are crucial. If you turn them out too soon, the brownie may collapse; if you wait too long, the fudgy centre sets and you lose the lava effect. Set a timer.
- Make the batter ahead of time: You can prepare the brownie batter up to 24 hours in advance and keep it covered in the fridge. When you’re ready, simply spoon it into the ramekins, add the truffle, and bake—adding just one extra minute to the baking time since the batter is cold.
- Use a large muffin tin if you don’t have ramekins: Line a standard 6-hole muffin tin with paper cases, then fill with batter. They won’t slide out as cleanly, but you can serve them directly in the paper cases—no extra washing up at all.
- Freeze the truffle first for an extra gooey centre: Pop the chocolate truffles in the freezer for 10 minutes before pushing them into the batter. This delays their melting slightly, giving you an even more dramatic, molten core when you cut into the brownie.
- Scale the recipe for two: If it’s just you and one other person, halve all the ingredients and bake in two ramekins for the same time. The batter keeps well in the fridge for a few days, so you can make another batch later in the week.
Equipment You’ll Need
- 6 small oven-safe ramekins (about 150ml capacity) or a large muffin tin
- Mixing bowls (one large, one medium)
- Whisk or wooden spoon
- Baking tray
- Parchment paper (optional, for lining)
- Wire cooling rack
- Spatula for folding
Common Mistakes to Avoid
- Overcrowding the pan: Don’t cram the ramekins too close together on the tray. Leave at least 2cm between them so the hot air circulates evenly. If they’re touching, the centres may stay raw while the edges burn.
- Wrong temperature: Baking at too high a temperature will give you a hard, crusty exterior and a raw, soupy middle. Stick to 180°C (160°C fan) and trust the timer. An oven thermometer is a wise investment if your oven runs hot or cool.
- Skipping the rest time: Turning the brownies out immediately after baking is tempting, but they need those two minutes to firm up just enough to hold their shape. Rushing this step leads to a collapsed, sad puddle on the plate instead of a proud, fudgy bowl.
Delicious Variations to Try
- Peanut Butter Lava: Instead of a chocolate truffle, push a teaspoon of smooth peanut butter into the centre of each brownie bowl before baking. The salty, nutty centre pairs beautifully with the rich chocolate.
- Vegan & Dairy-Free Option: Replace the butter with 150g coconut oil (refined, for no coconut taste) and use a dairy-free dark chocolate. Swap the eggs for two flax eggs (2 tbsp ground flaxseed mixed with 5 tbsp water, left to gel for 10 minutes). Use a plant-based ice cream and coconut whipped cream for serving.
- Mint Chocolate Chip Twist: Add ½ tsp peppermint extract to the batter along with the vanilla. Top the finished sundae with crushed mint chocolate chip cookies for a refreshing crunch.
What to Serve With Warm Fudgy Brownie Sundae Bowls
- A tall glass of cold milk or a dairy-free alternative to balance the richness
- A dusting of icing sugar and a few mint leaves for a pretty finish
- For a more indulgent spread, serve alongside a batch of No Bake Peach Cobbler Cheesecake Cups for a varied dessert table
li>Extra fresh berries on the side for a burst of tartness
Still hungry for ideas? You might also love Fudgy Homemade Brownie Recipe, Brownie Recipe For Deliciously Fudgy Treats from our sister kitchens.
Frequently Asked Questions
Warm Fudgy Brownie Sundae Bowls
Ingredients
Method
- Preheat and prep: Set your oven to 180°C (160°C fan). Grease six individual oven-safe ramekins or a large muffin tin with a little butter. You want the bowls to slide out easily later.
- Melt the base: In a large heatproof bowl set over a pan of barely simmering water, melt the 150g butter and 200g chopped dark chocolate together. Stir gently until the mixture is completely smooth and glossy—it should look like thick, dark silk and smell deeply of chocolate. Remove from the heat and let it cool for two minutes.
- Whisk in the sweetness: Beat in the 200g caster sugar with a wooden spoon until the mixture thickens slightly and feels grainy against the spoon. Then add the two eggs, one at a time, and the vanilla. Whisk vigorously until the batter becomes thick, shiny, and falls from the spoon in a rich ribbon. You'll hear the whisk against the bowl change to a softer, heavier sound as it comes together.
- Fold the dry bits: Sift the 75g plain flour, 30g cocoa powder, and ¼ tsp salt directly over the batter. Gently fold with a spatula until you can no longer see any streaks of flour—the batter will be thick, fudgy, and smell intensely of cocoa. Don't overmix, or the brownies will turn cakey.
- Fill the bowls: Spoon the batter evenly into the six prepared ramekins, filling each about two-thirds full. Gently press one chocolate truffle (or two chocolate buttons) into the centre of each bowl of batter, pushing it down until it's just covered. The batter will feel thick and slightly sticky against your fingers.
- Bake to perfection: Place the ramekins on a baking tray and bake for exactly 12–14 minutes. The edges should look set and slightly cracked, while the centre will still wobble softly when you gently shake the tray. The smell of warm, fudgy chocolate will fill your kitchen—that's your cue they're nearly there.
- Cool briefly and serve: Let the brownie bowls cool on a wire rack for exactly 2 minutes—no longer, or they'll set too much. Run a small knife around the edge of each ramekin, then invert onto plates or serving bowls. The brownie should slide out with a soft, warm thud. Top immediately with a scoop of vanilla ice cream, a dollop of whipped cream, fresh berries, and a scattering of chocolate shavings. Serve right away while the centre is still gloriously molten.
Notes
These Warm Fudgy Brownie Sundae Bowls have become our Tuesday night tradition—the dessert that turns a hectic day into a moment of pure, chocolatey calm. I’d love to hear how they work in your kitchen, so please drop a comment below and tell me what toppings your family chose. For more quick, satisfying desserts that fit into a busy week, browse our collection of simple festive treats for your next special occasion.






