
Easy Weeknight Cherry Pie with Lattice Top
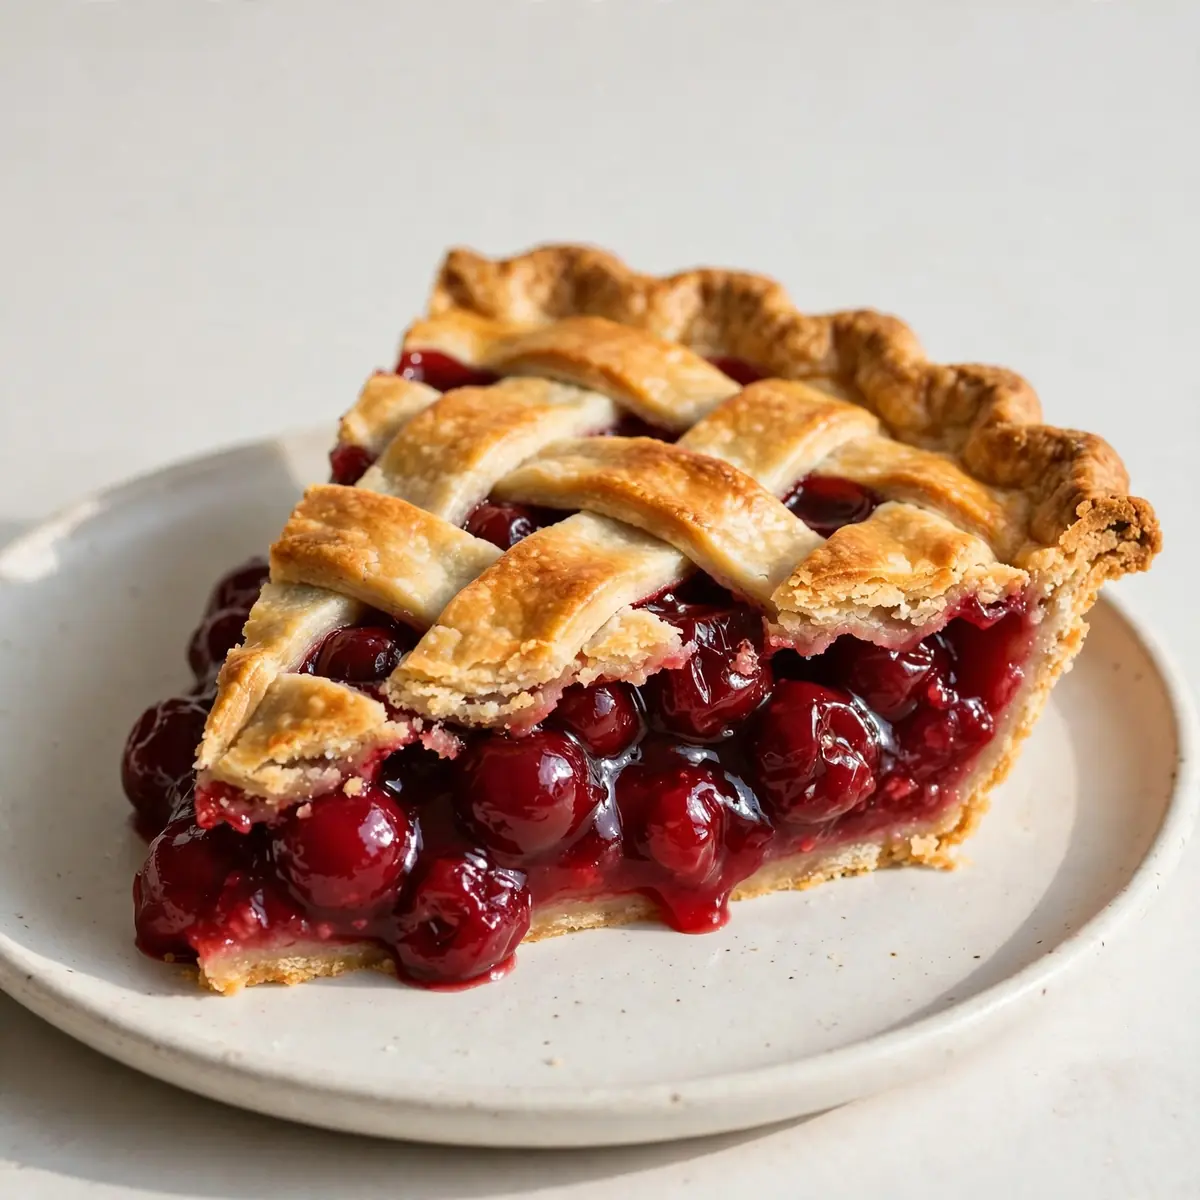
After a long day of school runs, meetings, and homework help, the last thing I want is a complicated dessert that leaves my kitchen looking like a flour bomb went off. This Cherry Pie with Lattice Top is the answer: a stunning but speedy bake that comes together in under an hour, uses minimal dishes, and actually tastes like you spent all afternoon on it.
Recipe Overview
- Prep time: 20 minutes
- Cook time: 35-40 minutes
- Total time: 55-60 minutes
- Servings: 8 generous slices
- Difficulty: Medium (the lattice looks fancy but is simple to master)
Why You’ll Love This Cherry Pie with Lattice Top
- Weeknight-friendly speed: From fridge to table in under an hour, using pre-made shortcuts that don’t sacrifice quality.
- One-bowl filling, one-tray bake: The filling comes together in a single bowl, and the pie bakes entirely on one lined tray — minimal washing up.
- Make-ahead magic: Assemble the whole pie the night before, refrigerate, and bake straight from the fridge when you get home. No stress.
- No fancy equipment needed: You don’t need a food processor or pastry cutter — just your hands, a rolling pin, and a sharp knife.
- Guaranteed to please even picky eaters: My husband, who’s usually picky, asked for seconds! The tart-sweet cherry filling and buttery, crisp lattice crust win over everyone.
Ingredients You’ll Need
- 2 x 320g rolls of ready-rolled shortcrust pastry (or homemade if you have time)
- 800g pitted cherries (frozen or fresh, no need to thaw frozen ones)
- 100g caster sugar
- 2 tablespoons cornflour
- 1 tablespoon lemon juice
- 1 teaspoon vanilla extract
- ¼ teaspoon almond extract (optional, but lovely)
- 1 egg, beaten (for glazing the lattice)
- 1 tablespoon demerara sugar (for sprinkling)
- Pinch of sea salt
Tip: If using frozen cherries, increase the cornflour to 2½ tablespoons — frozen fruit releases more juice during baking, and this extra thickener ensures your pie filling isn’t runny.
How to Make Cherry Pie with Lattice Top
- Preheat and prepare the base: Set your oven to 190°C (fan-assisted). Unroll one sheet of shortcrust pastry and gently press it into a 23cm pie dish, letting the excess hang over the edges. Prick the base all over with a fork — you’ll see small steam holes forming as it bakes, which prevents the dreaded soggy bottom. Pop the dish in the fridge while you make the filling.
- Make the cherry filling: In a large bowl, combine the pitted cherries, caster sugar, cornflour, lemon juice, vanilla extract, almond extract (if using), and a pinch of sea salt. Stir gently until the sugar begins to dissolve and the mixture looks glossy — you’ll notice the cherries releasing a little juice, creating a syrupy sheen. Set aside for 5 minutes to let the cornflour start working.
- Fill the pie: Remove the chilled pastry base from the fridge. Pour the cherry mixture into the centre, spreading it evenly with a spatula. The filling should come almost to the rim but not overflow — you want a generous mound that will settle during baking. The aroma of vanilla and almond will already be filling your kitchen.
- Cut the lattice strips: Unroll the second pastry sheet onto a lightly floured surface. Using a sharp knife or pizza cutter, slice it into 10-12 strips, each about 2cm wide. You want them uniform so the lattice looks neat — run your finger along the cut edge to feel for any ragged bits and trim them off.
- Weave the lattice: Lay 5-6 strips horizontally across the pie, spacing them about 2cm apart. Fold back every other strip halfway, then lay a vertical strip across the unfolded ones. Unfold the folded strips over the vertical strip. Repeat, alternating which strips you fold, until you’ve used all the strips. Press the edges firmly onto the rim of the pie dish — you should see the pastry strips sticking together as you go. Trim the overhanging pastry with a knife, leaving a 1cm border, and crimp the edges with your fingers or a fork.
- Glaze and bake: Brush the entire lattice top with the beaten egg — the pastry will turn a deep golden brown as it bakes. Sprinkle the demerara sugar evenly over the top; it will create a crunchy, sparkly crust. Place the pie on a baking tray lined with parchment paper (this catches any drips and makes cleanup a breeze). Bake for 35-40 minutes, or until the filling is bubbling thickly through the lattice gaps and the pastry is a rich, golden amber colour. You’ll hear a gentle bubbling sound from the oven — that’s the cornflour-thickened juice reaching its peak.
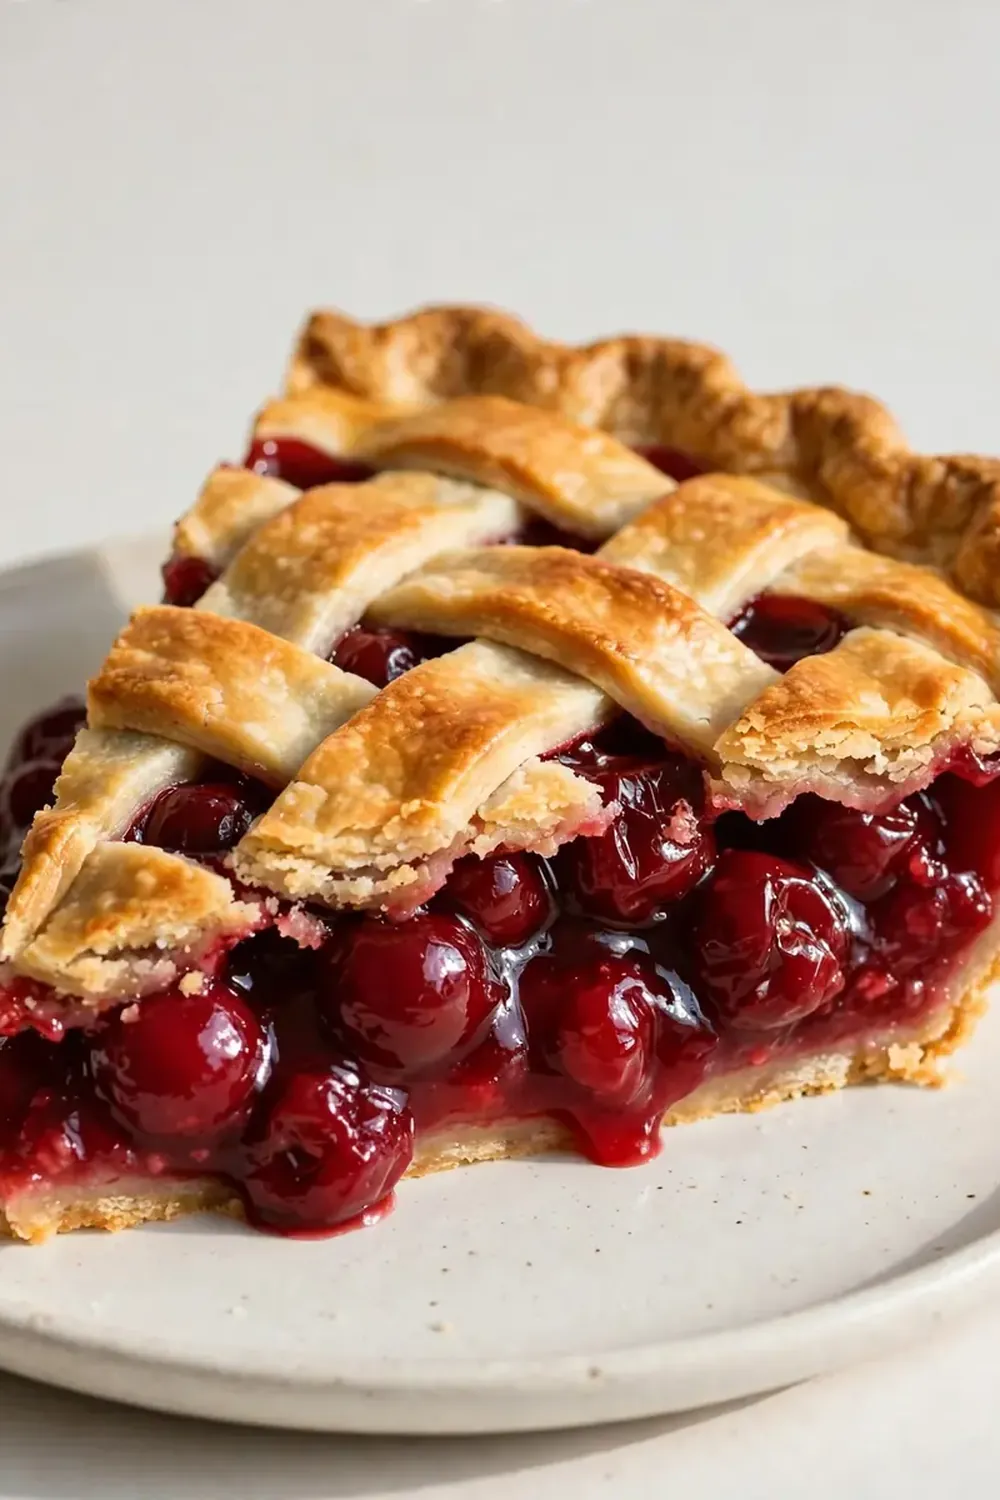
- Cool before slicing: Transfer the pie to a wire cooling rack and let it rest for at least 20 minutes. I know it’s tempting to dig in straight away, but the filling needs this time to set. When you do slice, you’ll see the cherries hold their shape in a thick, jammy sauce rather than spilling everywhere.
Tips From My Kitchen
- Keep everything cold: Cold pastry is your best friend. If the dough starts feeling sticky or soft while you’re weaving the lattice, pop the whole pie in the fridge for 10 minutes. This firms up the butter, ensuring the lattice holds its shape and bakes into distinct, flaky layers rather than melting into a blob.
- Double up on the tray: Always place your pie on a baking tray lined with parchment paper. Cherry filling has a tendency to bubble over, and scrubbing burnt sugar off your oven floor is nobody’s idea of a quick weeknight. The tray catches every drop, and you can simply lift the paper off afterwards.
- Use frozen cherries without thawing: This is my number one time-saver. Frozen cherries go straight into the bowl with the sugar and cornflour — no thawing, no draining, no extra mess. They release their juice slowly as the pie bakes, so the filling stays thick and rich rather than watery.
- Make the lattice ahead of time: You can cut and weave the lattice strips on a separate sheet of parchment paper, then slide the whole thing onto the filled pie just before baking. This means the pie can be fully assembled in the fridge the night before, and you just glaze and bake straight from the fridge the next day — perfect for busy evenings.
- Don’t skip the resting time: That 20-minute rest on the cooling rack isn’t just for show. As the pie cools, the cornflour continues to thicken the cherry juice, transforming it from a thin syrup into a luscious, spoonable filling. Slice too early, and you’ll have a puddle on your plate instead of a neat wedge.
Equipment You’ll Need
- Stand mixer or hand mixer (optional, but helpful if making your own pastry)
- Baking tray
- Parchment paper
- Wire cooling rack
- 23cm pie dish
- Sharp knife or pizza cutter
- Pastry brush
Common Mistakes to Avoid
- Overcrowding the pan: If you cram too many cherries into the pie, the filling will bubble over excessively and the lattice may sink under the weight. Stick to the 800g measurement — the cherries will soften and shrink slightly during baking, creating the perfect filling height.
- Wrong temperature: Baking at too low a temperature (below 180°C) will cause the pastry to absorb the cherry juice and turn soggy, while the filling won’t thicken properly. Stick to 190°C fan-assisted — the high heat sets the pastry quickly and forces the cornflour to activate fast, giving you a crisp base and a jammy filling.
- Skipping the rest time: I’ve been making this for over 6 years, and it never disappoints — but only when I let it rest. That 20-minute wait on the cooling rack is non-negotiable. The filling sets, the pastry finishes crisping, and the flavours meld together. Slice too soon and you lose all that hard work.
Delicious Variations to Try
- Spiced Autumn Version: Add 1 teaspoon of ground cinnamon and ¼ teaspoon of ground cloves to the cherry filling. The warm spices complement the tart cherries beautifully, and the kitchen will smell like a cosy autumn afternoon.
- Vegan Option: Use a vegan shortcrust pastry (check the label — many supermarket brands are accidentally vegan). Replace the egg glaze with a mixture of 1 tablespoon of plant-based milk and 1 teaspoon of maple syrup, brushed over the lattice. The demerara sugar is already vegan-friendly.
- Mixed Berry Twist: Swap half the cherries for 400g of frozen mixed berries (blueberries, raspberries, blackberries). The combination creates a deeper, more complex flavour, and the different berries add lovely colour contrasts through the lattice gaps.
What to Serve With Cherry Pie with Lattice Top
- A generous scoop of vanilla ice cream — the cold creaminess against the warm, jammy cherries is pure magic.
- A dollop of thick double cream or clotted cream for a richer, more indulgent finish.
- For a lighter option, a spoonful of Greek yoghurt with a drizzle of honey balances the tartness perfectly.
- A cup of strong black coffee or a pot of chamomile tea — both cut through the sweetness beautifully.
Frequently Asked Questions
Cherry Pie with Lattice Top
Ingredients
Method
- Preheat and prepare the base: Set your oven to 190°C (fan-assisted). Unroll one sheet of shortcrust pastry and gently press it into a 23cm pie dish, letting the excess hang over the edges. Prick the base all over with a fork — you'll see small steam holes forming as it bakes, which prevents the dreaded soggy bottom. Pop the dish in the fridge while you make the filling.
- Make the cherry filling: In a large bowl, combine the pitted cherries, caster sugar, cornflour, lemon juice, vanilla extract, almond extract (if using), and a pinch of sea salt. Stir gently until the sugar begins to dissolve and the mixture looks glossy — you'll notice the cherries releasing a little juice, creating a syrupy sheen. Set aside for 5 minutes to let the cornflour start working.
- Fill the pie: Remove the chilled pastry base from the fridge. Pour the cherry mixture into the centre, spreading it evenly with a spatula. The filling should come almost to the rim but not overflow — you want a generous mound that will settle during baking. The aroma of vanilla and almond will already be filling your kitchen.
- Cut the lattice strips: Unroll the second pastry sheet onto a lightly floured surface. Using a sharp knife or pizza cutter, slice it into 10-12 strips, each about 2cm wide. You want them uniform so the lattice looks neat — run your finger along the cut edge to feel for any ragged bits and trim them off.
- Weave the lattice: Lay 5-6 strips horizontally across the pie, spacing them about 2cm apart. Fold back every other strip halfway, then lay a vertical strip across the unfolded ones. Unfold the folded strips over the vertical strip. Repeat, alternating which strips you fold, until you've used all the strips. Press the edges firmly onto the rim of the pie dish — you should see the pastry strips sticking together as you go. Trim the overhanging pastry with a knife, leaving a 1cm border, and crimp the edges with your fingers or a fork.
- Glaze and bake: Brush the entire lattice top with the beaten egg — the pastry will turn a deep golden brown as it bakes. Sprinkle the demerara sugar evenly over the top; it will create a crunchy, sparkly crust. Place the pie on a baking tray lined with parchment paper (this catches any drips and makes cleanup a breeze). Bake for 35-40 minutes, or until the filling is bubbling thickly through the lattice gaps and the pastry is a rich, golden amber colour. You'll hear a gentle bubbling sound from the oven — that's the cornflour-thickened juice reaching its peak.
- Cool before slicing: Transfer the pie to a wire cooling rack and let it rest for at least 20 minutes. I know it's tempting to dig in straight away, but the filling needs this time to set. When you do slice, you'll see the cherries hold their shape in a thick, jammy sauce rather than spilling everywhere.
Notes
I’d love to hear how this Cherry Pie with Lattice Top turned out in your kitchen. Did your family ask for seconds like mine did? Drop a comment below and let me know — and if you’re looking for more sweet treats that don’t demand hours of effort, check out my Guilt Free Sugar Free Desserts Under 100 Calories or these Zesty No Bake Key Lime Cheesecake Jars 2 for another quick dessert idea that’s ready in minutes.






