
Easy Chocolate Pudding From Scratch
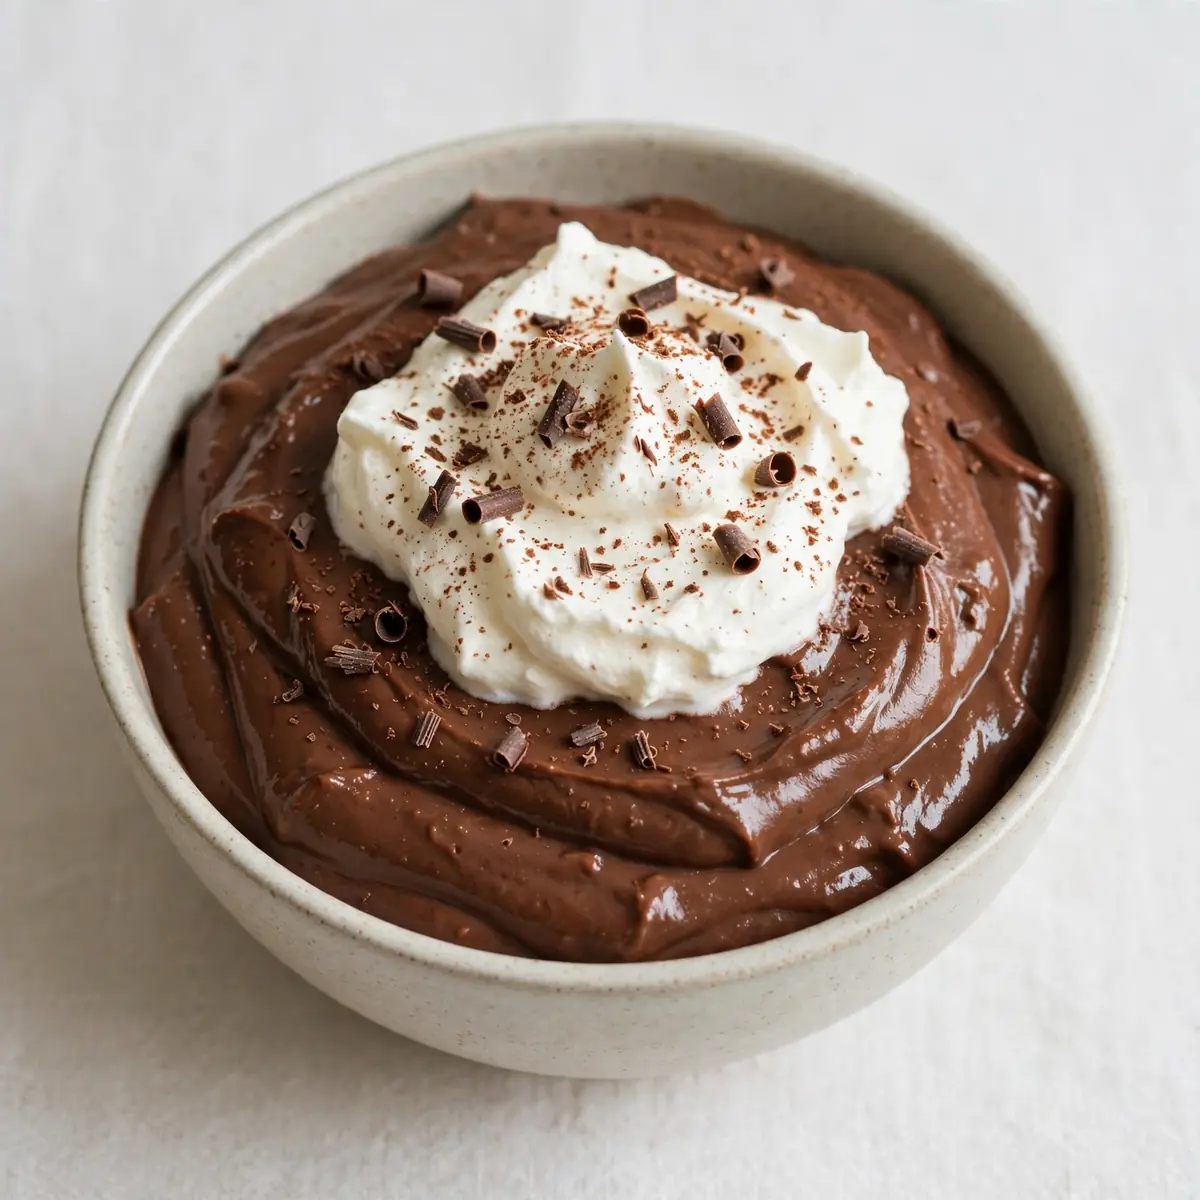
There are few things more comforting than the slow, deliberate process of making a proper chocolate pudding from scratch on a quiet weekend afternoon. The gentle bubbling on the stove, the rich cocoa scent filling the kitchen, and the anticipation as it thickens into silky perfection—this is cooking as a meditative act, not a chore.
Recipe Overview
- Prep Time: 10 minutes
- Cook Time: 15 minutes
- Total Time: 25 minutes (plus 2 hours chilling)
- Servings: 4
- Difficulty: Easy
Why You’ll Love This Easy Chocolate Pudding from Scratch
- Genuine homemade taste: You control the sweetness and the quality of chocolate, resulting in a pudding that tastes far superior to anything from a box.
- Remarkably simple technique: This uses basic store-cupboard ingredients and a single saucepan—no double boilers or fancy gadgets required.
- Deep, velvety texture: The combination of cornflour and egg yolks creates a luscious, creamy consistency that holds its shape beautifully.
- Perfect for mindful cooking: The stirring and watching builds a connection to the food, making the final result feel genuinely earned and satisfying.
- Endlessly adaptable: Once you master the base, you can add spices, extracts, or even swirl in caramel for a personal twist.
Ingredients You’ll Need
- 500ml whole milk
- 50g caster sugar
- 30g good-quality cocoa powder (not drinking chocolate)
- 20g cornflour
- 2 large egg yolks
- 1 teaspoon vanilla extract
- Pinch of sea salt
- 100g dark chocolate (70% cocoa solids), finely chopped
- 15g unsalted butter
Tip: For the best flavour, use a cocoa powder you would happily eat straight from the tin—it makes all the difference to the final pudding.
How to Make Easy Chocolate Pudding from Scratch
- In a medium bowl, whisk together the caster sugar, cocoa powder, cornflour, and sea salt until no lumps remain. The mixture should look like fine, dark sand with a uniform colour.
- In a separate small bowl, lightly beat the egg yolks with a fork until they are pale yellow and slightly frothy—this takes about 30 seconds.
- Pour the milk into a heavy-based saucepan and place over a medium heat. Watch for tiny bubbles forming around the edge of the pan; you want it steaming hot but not boiling, which takes roughly 3-4 minutes.
- Slowly pour about 100ml of the hot milk into the dry ingredients while whisking constantly. The mixture will turn into a thick, dark paste that smells intensely of chocolate.
- Pour the paste back into the saucepan with the remaining milk, whisking continuously. Return to a medium heat and stir with a wooden spoon. After 2-3 minutes, you will feel the mixture starting to thicken; it will make a soft, slapping sound against the sides of the pan.
- Once the pudding has thickened to the consistency of double cream—about 5 minutes of gentle simmering—remove from the heat. Quickly whisk in the beaten egg yolks, vanilla extract, and finely chopped dark chocolate. The heat will melt the chocolate, and the pudding will turn glossy and dark, like liquid velvet.
- Stir in the unsalted butter until completely melted and incorporated. The surface should look smooth and shiny, with no graininess visible.
- Pour the pudding into individual serving dishes or one large bowl. Press a piece of cling film directly onto the surface to prevent a skin forming. Refrigerate for at least 2 hours, or until completely chilled and set. When ready, the pudding should wobble gently but hold its shape when spooned.
Tips From My Kitchen
- Always sift your dry ingredients: Cocoa powder and cornflour love to form stubborn lumps. Sifting them together ensures a perfectly smooth pudding without any chalky bits.
- Temper the egg yolks properly: Adding hot liquid directly to eggs will scramble them. By whisking a small amount of hot milk into the dry paste first, you gradually raise the temperature of the eggs later, ensuring a silky finish.
- Use a heavy-bottomed saucepan: Thin pans create hot spots that can scorch the milk and ruin the delicate flavour. A decent stainless steel or enamel pan distributes heat evenly, giving you better control.
- Don’t rush the thickening stage: The pudding needs to simmer gently for the cornflour to activate fully. If you turn the heat too high, you risk burning the bottom while the centre remains thin.
- Chill thoroughly before serving: Patience here is crucial. The pudding continues to set as it cools, and a full two-hour chill transforms it from a warm sauce into a spoon-standing dessert with perfect texture.
Equipment You’ll Need
- Heavy-based saucepan (2-litre capacity)
- Wooden spoon or heat-resistant spatula
- Mixing bowls (medium and small)
- Fine-mesh sieve for sifting
- Balloon whisk
- Individual serving dishes or one large bowl
Common Mistakes to Avoid
- Overcrowding the pan: This isn’t a stir-fry, but the principle still applies. Using too small a saucepan means the pudding can’t circulate freely, leading to uneven cooking and potential scorching. Choose a pan that holds at least double the volume of your liquid.
- Wrong temperature: The milk should be steaming with tiny bubbles around the edge—around 80°C—not boiling vigorously. Boiling milk can curdle it and create a grainy texture. Keep the heat at medium throughout and watch carefully.
- Skipping the rest time: I know it’s tempting to dig in straight away, but warm pudding lacks the structure and mouthfeel that makes this dessert so special. The chilling period allows the cornflour to fully hydrate and the flavours to meld, transforming it from a simple sauce into a proper pudding.
Delicious Variations to Try
- Spiced Orange Version: Add the finely grated zest of one orange along with half a teaspoon of ground cinnamon to the dry ingredients. The citrus oils brighten the chocolate beautifully.
- Vegan Option: Replace the whole milk with full-fat oat milk or coconut milk from a carton (not the tinned kind). Use a vegan dark chocolate and substitute the butter with coconut oil. The texture will be slightly different but still wonderfully creamy.
- Malted Milk Pudding: Swap 20g of the cocoa powder for 20g of malted milk powder. This was inspired by a dish I had at a little restaurant in the UK, and it adds a lovely toasty, nostalgic flavour.
What to Serve With Easy Chocolate Pudding from Scratch
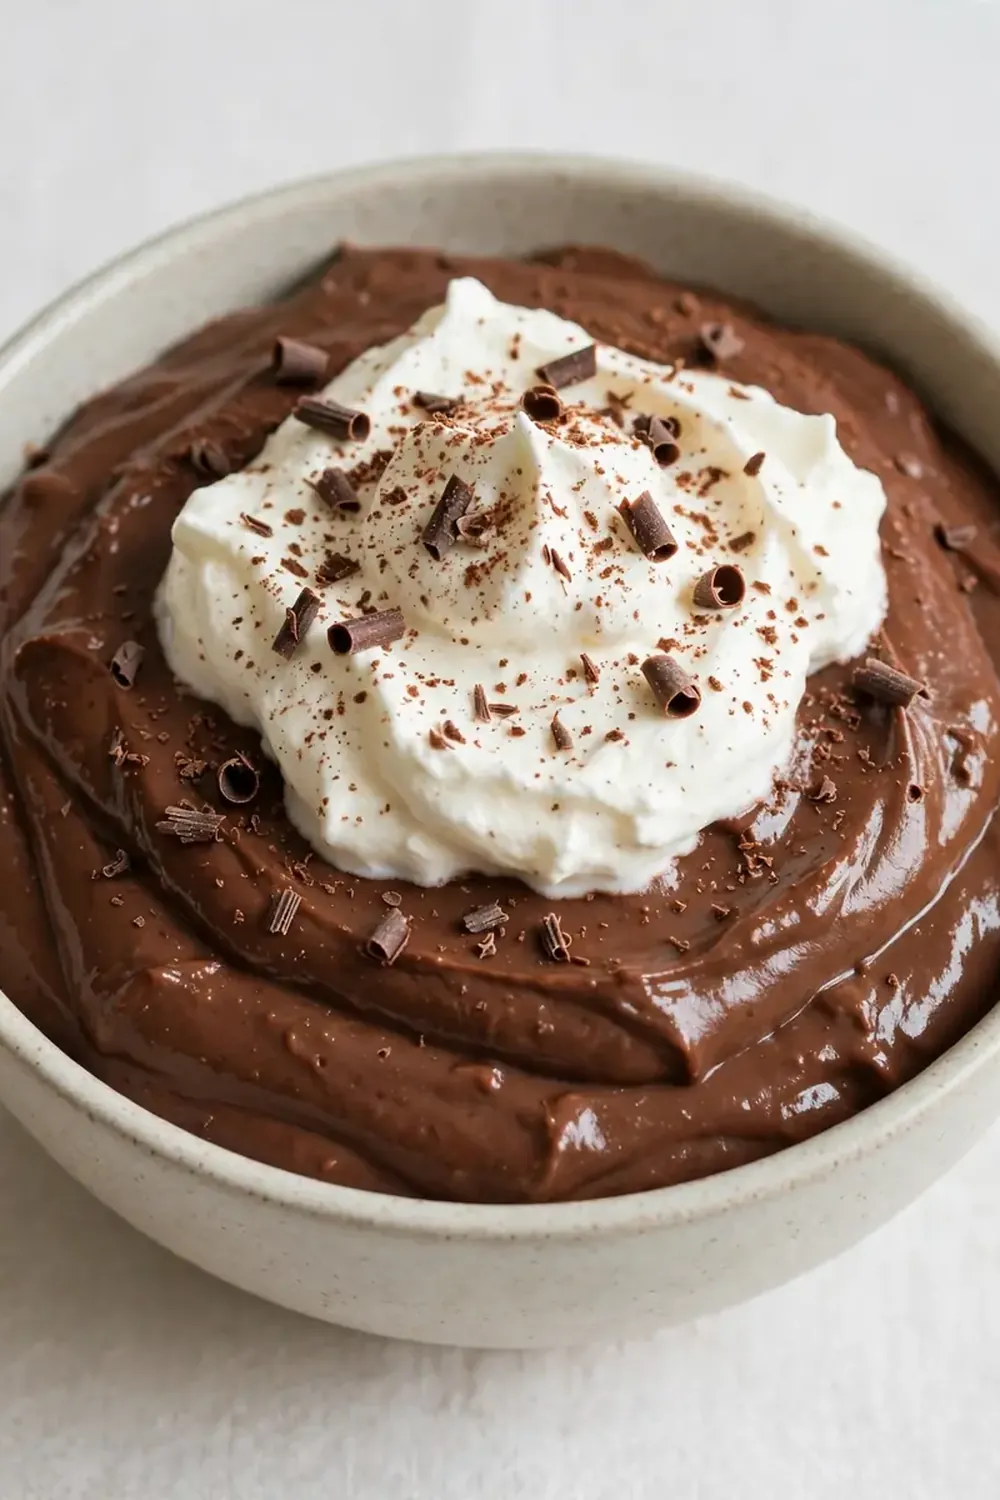
- A dollop of softly whipped double cream, barely sweetened
- A scattering of fresh raspberries or sliced strawberries for acidity
- Crunchy brandy snaps or delicate tuile biscuits for texture contrast
- A dusting of cocoa powder or finely grated dark chocolate on top
Still hungry for ideas? You might also love Chocolate Protein Pudding With Avocado, Homemade Apple Butter From Scratch from our sister kitchens.
Frequently Asked Questions
Easy Chocolate Pudding from Scratch
Ingredients
Method
- In a medium bowl, whisk together the caster sugar, cocoa powder, cornflour, and sea salt until no lumps remain. The mixture should look like fine, dark sand with a uniform colour.
- In a separate small bowl, lightly beat the egg yolks with a fork until they are pale yellow and slightly frothy—this takes about 30 seconds.
- Pour the milk into a heavy-based saucepan and place over a medium heat. Watch for tiny bubbles forming around the edge of the pan; you want it steaming hot but not boiling, which takes roughly 3-4 minutes.
- Slowly pour about 100ml of the hot milk into the dry ingredients while whisking constantly. The mixture will turn into a thick, dark paste that smells intensely of chocolate.
- Pour the paste back into the saucepan with the remaining milk, whisking continuously. Return to a medium heat and stir with a wooden spoon. After 2-3 minutes, you will feel the mixture starting to thicken; it will make a soft, slapping sound against the sides of the pan.
- Once the pudding has thickened to the consistency of double cream—about 5 minutes of gentle simmering—remove from the heat. Quickly whisk in the beaten egg yolks, vanilla extract, and finely chopped dark chocolate. The heat will melt the chocolate, and the pudding will turn glossy and dark, like liquid velvet.
- Stir in the unsalted butter until completely melted and incorporated. The surface should look smooth and shiny, with no graininess visible.
- Pour the pudding into individual serving dishes or one large bowl. Press a piece of cling film directly onto the surface to prevent a skin forming. Refrigerate for at least 2 hours, or until completely chilled and set. When ready, the pudding should wobble gently but hold its shape when spooned.
Notes
I stumbled upon this exact combination by accident one rainy Sunday when I was out of cream and needed a quick dessert fix, and it’s been a hit ever since. There is a particular magic in watching a handful of simple ingredients transform into something so deeply satisfying through nothing more than patience and a wooden spoon. If you have a quiet afternoon ahead and a craving for something truly homemade, I cannot recommend this easy chocolate pudding from scratch highly enough. Have you tried making it yet? I would love to hear how yours turned out in the comments below.






