Chewy Funfetti Cookies
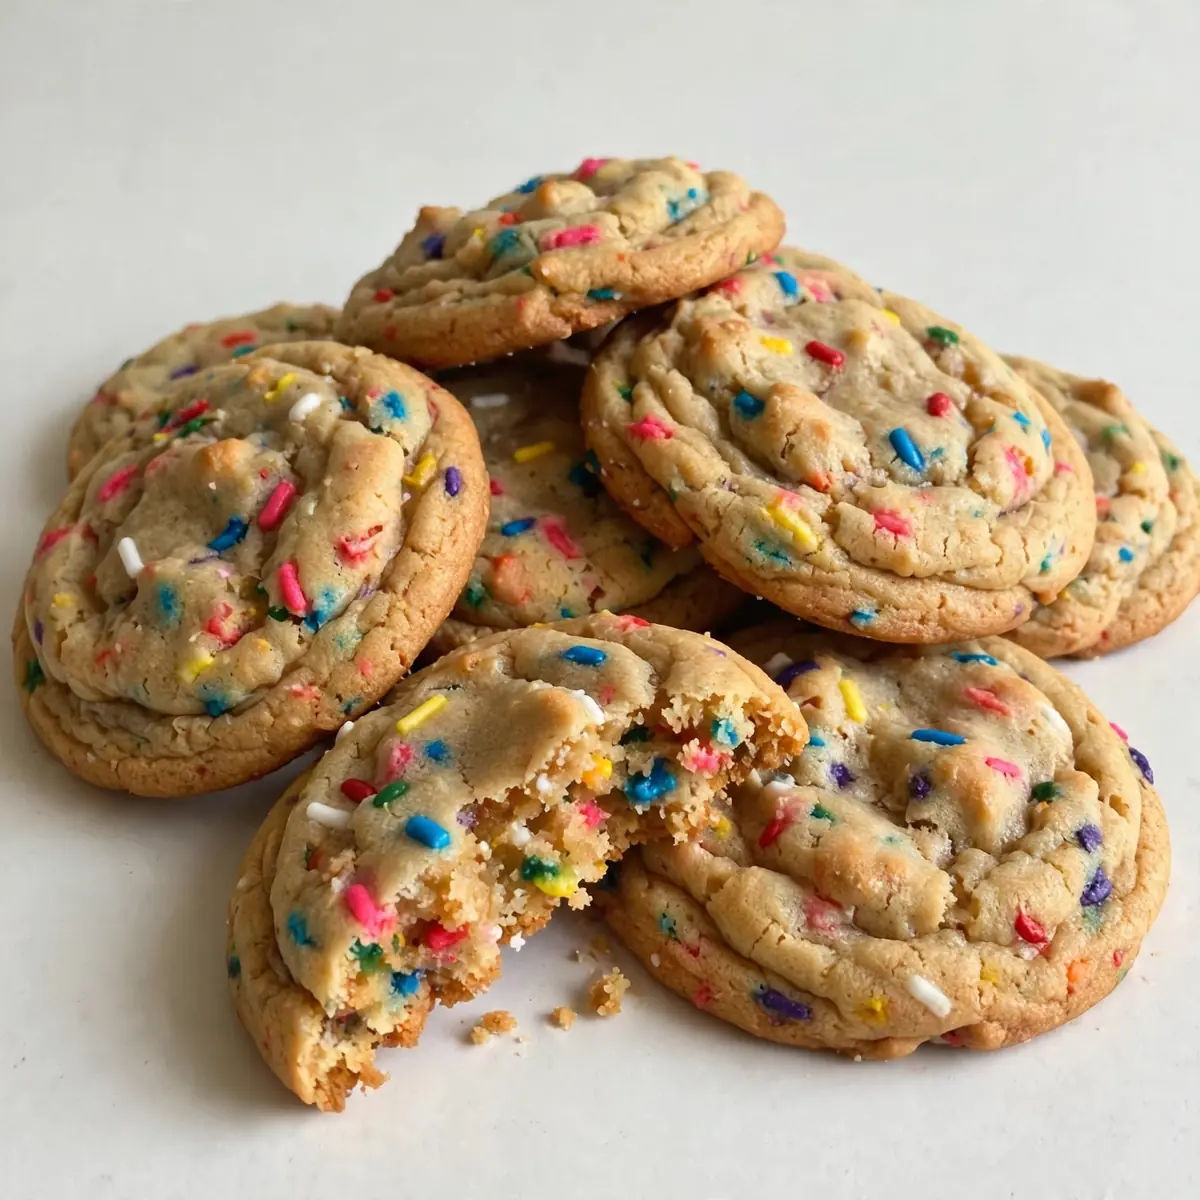
There’s a particular kind of magic that happens on a grey Sunday afternoon when the kitchen fills with the scent of vanilla and butter, and you decide to bake something purely for the joy of it. These Chewy Funfetti Cookies are that project—a slow, deliberate, and utterly comforting ritual that rewards you with a tray of soft, rainbow-flecked biscuits that taste like pure childhood nostalgia.
Recipe Overview
- Prep Time: 20 minutes
- Cook Time: 12-14 minutes
- Total Time: 1 hour 20 minutes (including chilling)
- Servings: 24 cookies
- Difficulty: Easy
Why You’ll Love This Chewy Funfetti Cookies
- Intensely chewy texture: The combination of melted butter and an extra egg yolk creates a dense, fudgy centre that stays soft for days.
- No stand mixer required: This is a bowl-and-spoon affair, making it perfect for a relaxed, hands-on baking session.
- Customisable colour palette: You can match the sprinkles to a holiday, a birthday, or simply your mood—the visual pop is half the fun.
- Long-lasting freshness: Unlike many cookies that go stale overnight, these retain their chewy texture for up to five days when stored properly.
- A true sensory project: From the rhythmic creaming of butter and sugar to the satisfying crackle of the dough as it bakes, every step feels grounding and intentional.
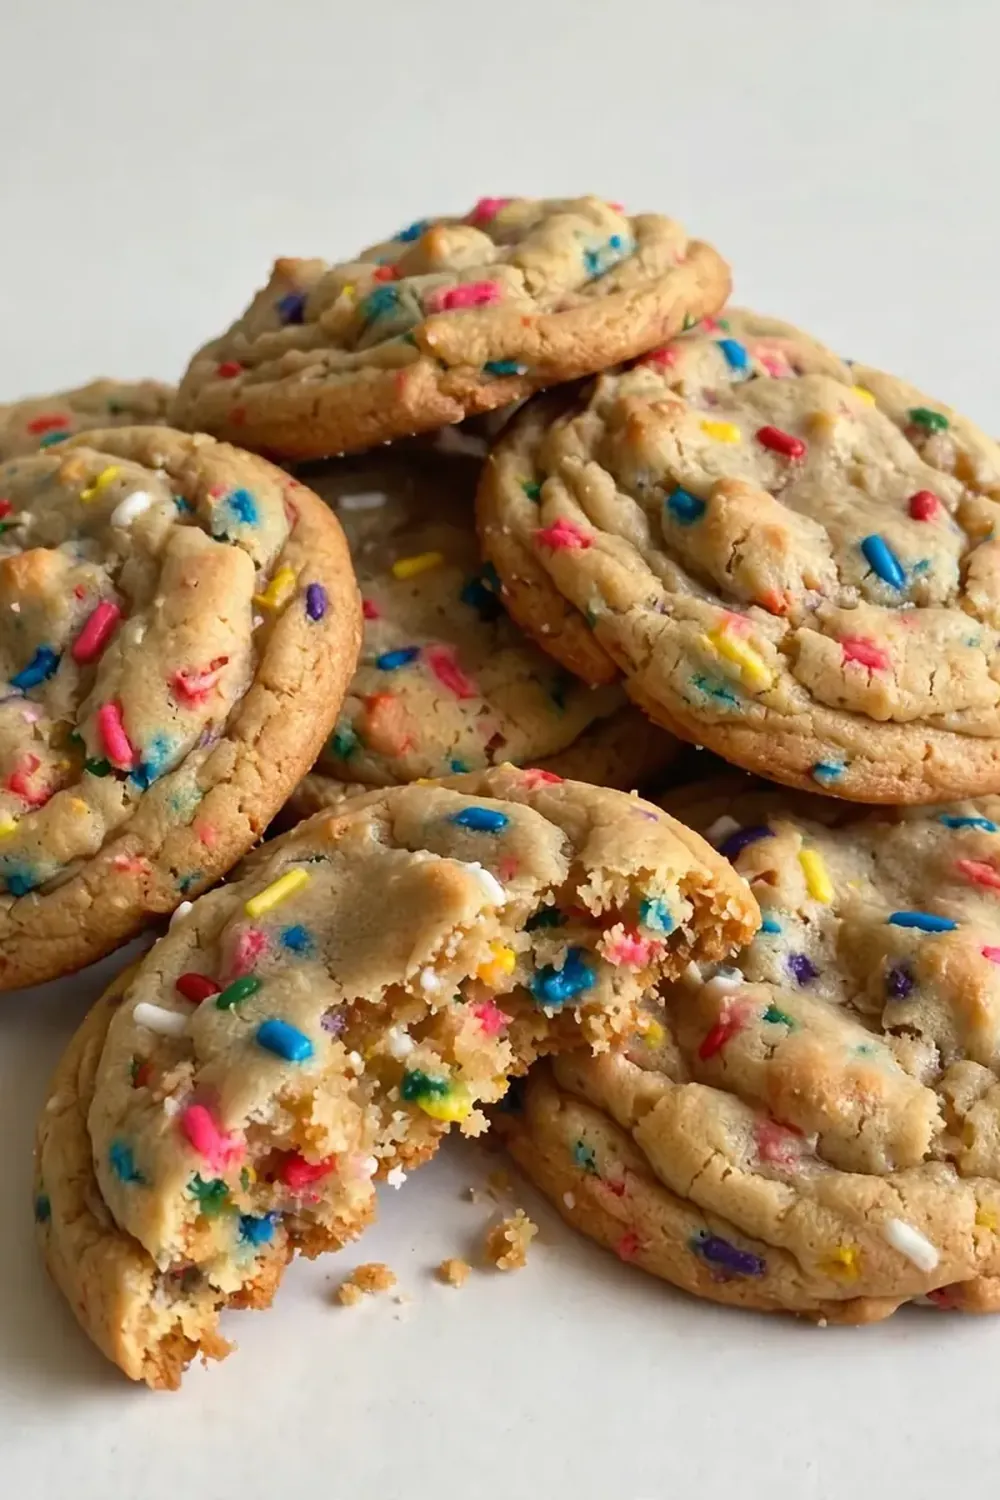
Ingredients You’ll Need
- 300g plain flour (all-purpose flour)
- ½ teaspoon bicarbonate of soda
- ½ teaspoon baking powder
- ¼ teaspoon fine sea salt
- 170g unsalted butter, melted and cooled slightly
- 200g light brown sugar, packed
- 50g granulated sugar
- 1 large egg (room temperature)
- 1 large egg yolk (room temperature)
- 2 teaspoons vanilla extract
- 120g rainbow sprinkles (jimmies style, not nonpareils)
Tip: For the best chewy texture, use light brown sugar rather than dark—it provides the perfect moisture level without making the cookies overly soft or dense.
How to Make Chewy Funfetti Cookies
- Whisk the dry ingredients: In a medium bowl, whisk together the flour, bicarbonate of soda, baking powder, and salt. Watch for the flour to become light and aerated, with no lumps remaining—it should feel like fine sand when you lift the whisk.
- Cream the butter and sugars: In a large mixing bowl, combine the melted butter, light brown sugar, and granulated sugar. Beat vigorously with a wooden spoon or hand mixer for 2-3 minutes. The mixture will transform from a gritty, separated paste into a smooth, glossy paste that smells deeply of caramelised sugar. It should hold a soft ribbon when you lift the spoon.
- Add the eggs and vanilla: Beat in the whole egg, then the egg yolk, followed by the vanilla extract. Listen for the sound to change from a thick slosh to a silken, liquid rhythm. The batter will lighten in colour to a pale gold, and the texture will feel like thick custard.
- Fold in the dry ingredients: Add the flour mixture in two additions, folding gently with a spatula. Stop as soon as the last streak of flour disappears—overworking will develop gluten, making the cookies tough. The dough will be soft, pliable, and slightly sticky to the touch.
- Add the sprinkles: Gently fold the rainbow sprinkles into the dough with just a few turns. You want to see distinct, un-melted stripes of colour throughout the dough, not a murky grey mess. The dough should look like confetti-studded playdough.
- Chill the dough: Cover the bowl with cling film and refrigerate for at least 30 minutes, or up to 72 hours. After chilling, the dough will be firm and no longer sticky to the touch. This rest allows the flour to fully hydrate and the fats to solidify, preventing the cookies from spreading into flat discs.
- Preheat and portion: Preheat your oven to 180°C (160°C fan-forced) and line two baking trays with parchment paper. Scoop tablespoon-sized balls of dough and roll them between your palms until smooth. The balls should be about the size of a walnut, and they should feel cool and firm in your hands.
- Bake: Place the dough balls 5cm apart on the trays. Bake for 12-14 minutes, rotating the tray halfway through. The edges will turn a deep golden brown and look set, while the centres will appear slightly puffed and pale—almost underdone. A faint crackling sound will emerge as the tops begin to crack. They will not look fully baked, and that is exactly right.
- Cool and set: Let the cookies rest on the baking tray for 5 minutes. During this time, you will see the centres continue to bake from the residual heat, and the edges will firm up. After 5 minutes, transfer them to a wire cooling rack. They should feel soft but sturdy, with a slight bounce when pressed.
Tips From My Kitchen
- Use jimmies, not nonpareils: Jimmies are the long, cylindrical sprinkles that hold their shape and colour during baking. Nonpareils (the tiny round beads) tend to bleed into the dough, turning it an unappetising grey. The visual contrast of distinct, bright stripes is what makes these cookies so joyful.
- Weigh your flour with a scale: Scooping flour with a measuring cup can add up to 20% more flour than intended, resulting in dry, cakey cookies. Use a kitchen scale for precision—300g of flour is non-negotiable for that perfect chewy crumb.
- Don’t skip the chilling step: I used to struggle with this recipe until I discovered this technique. Chilling solidifies the butter, which means the cookies spread slowly and evenly in the oven. Without it, the melted butter will cause the cookies to pool into thin, crispy discs rather than staying thick and chewy.
- Bake from cold dough: Always portion and bake the dough directly from the fridge. If the dough warms to room temperature, the cookies will spread too much. I make this at least once a week—it’s become a family favourite—and I keep a batch of pre-scooped dough balls in the freezer for spontaneous baking.
- Add a sprinkle topping: Just before baking, press a few extra sprinkles onto the surface of each dough ball. This ensures the tops look as vibrant as the insides, creating a beautiful, bakery-style finish.
- Use a cookie scoop for uniformity: A small cookie scoop ensures every ball is the same size, which means they bake evenly. Uneven dough balls lead to some cookies being over-baked and crispy while others are under-baked and raw in the centre.
Equipment You’ll Need
- Large mixing bowl and medium mixing bowl
- Wooden spoon or silicone spatula
- Hand mixer (optional, but helpful for creaming)
- Baking tray (two trays recommended)
- Parchment paper
- Wire cooling rack
- Small cookie scoop (about 1.5 tablespoons capacity)
- Kitchen scale
Common Mistakes to Avoid
- Overcrowding the pan: These cookies spread significantly during baking. Placing them closer than 5cm apart will cause them to merge into one giant, unevenly baked blob. Always bake in batches, using two trays at most, and let the trays cool completely between batches.
- Wrong temperature: Baking at too high a temperature will brown the edges before the centre has set, resulting in a raw middle. Too low, and the cookies will spread into thin, greasy puddles. Stick precisely to 180°C (160°C fan) and use an oven thermometer if your oven runs hot or cold.
- Skipping the rest time: Resting the dough is not optional—it is the single most important step for achieving a chewy texture. The 30-minute chill allows the gluten to relax and the starches to absorb moisture, creating a denser, more cohesive crumb. Rushing this step will yield flat, greasy cookies every time.
Delicious Variations to Try
- Spicy Version: Add ½ teaspoon of ground cinnamon and ¼ teaspoon of cayenne pepper to the dry ingredients. The warmth of the spices contrasts beautifully with the sweet, buttery base and the cool pops of colour from the sprinkles. It is an unexpected but addictive twist.
- Vegan Option: Substitute the butter with 170g of vegan block butter (not spreadable margarine) and replace the eggs with a mixture of 2 tablespoons of ground flaxseed mixed with 5 tablespoons of water, left to gel for 10 minutes. Use vegan-friendly sprinkles (check labels for shellac or beeswax). The texture will be slightly more cake-like but still deliciously soft.
- Different Protein: Swap 50g of the plain flour for 50g of vanilla or unflavoured protein powder. You will need to add an extra tablespoon of milk to the dough to compensate for the dryness of the protein powder. This turns the cookies into a more substantial, post-workout treat without sacrificing the chewiness.
What to Serve With Chewy Funfetti Cookies
- A tall glass of cold oat milk or whole milk for dunking
- A scoop of vanilla bean ice cream for a warm-cookie sundae
- A mug of milky tea or a rich hot chocolate
- Fresh berries to cut through the sweetness
Still hungry for ideas? You might also love Soft Chewy Snickerdoodle Cookies, Blueberry Heaven Cookies The Definitive Recipe For Soft Chewy Perfection from our sister kitchens.
Frequently Asked Questions
Chewy Funfetti Cookies
Ingredients
Method
-
Whisk the dry ingredients: In a medium bowl, whisk together the flour, bicarbonate of soda, baking powder, and salt. Watch for the flour to become light and aerated, with no lumps remaining—it should feel like fine sand when you lift the whisk.
-
Cream the butter and sugars: In a large mixing bowl, combine the melted butter, light brown sugar, and granulated sugar. Beat vigorously with a wooden spoon or hand mixer for 2-3 minutes. The mixture will transform from a gritty, separated paste into a smooth, glossy paste that smells deeply of caramelised sugar. It should hold a soft ribbon when you lift the spoon.
-
Add the eggs and vanilla: Beat in the whole egg, then the egg yolk, followed by the vanilla extract. Listen for the sound to change from a thick slosh to a silken, liquid rhythm. The batter will lighten in colour to a pale gold, and the texture will feel like thick custard.
-
Fold in the dry ingredients: Add the flour mixture in two additions, folding gently with a spatula. Stop as soon as the last streak of flour disappears—overworking will develop gluten, making the cookies tough. The dough will be soft, pliable, and slightly sticky to the touch.
-
Add the sprinkles: Gently fold the rainbow sprinkles into the dough with just a few turns. You want to see distinct, un-melted stripes of colour throughout the dough, not a murky grey mess. The dough should look like confetti-studded playdough.
-
Chill the dough: Cover the bowl with cling film and refrigerate for at least 30 minutes, or up to 72 hours. After chilling, the dough will be firm and no longer sticky to the touch. This rest allows the flour to fully hydrate and the fats to solidify, preventing the cookies from spreading into flat discs.
-
Preheat and portion: Preheat your oven to 180°C (160°C fan-forced) and line two baking trays with parchment paper. Scoop tablespoon-sized balls of dough and roll them between your palms until smooth. The balls should be about the size of a walnut, and they should feel cool and firm in your hands.
-
Bake: Place the dough balls 5cm apart on the trays. Bake for 12-14 minutes, rotating the tray halfway through. The edges will turn a deep golden brown and look set, while the centres will appear slightly puffed and pale—almost underdone. A faint crackling sound will emerge as the tops begin to crack. They will not look fully baked, and that is exactly right.
-
Cool and set: Let the cookies rest on the baking tray for 5 minutes. During this time, you will see the centres continue to bake from the residual heat, and the edges will firm up. After 5 minutes, transfer them to a wire cooling rack. They should feel soft but sturdy, with a slight bounce when pressed.
Notes
I hope this recipe becomes as much of a weekend ritual for you as it has for me. There is something deeply satisfying about taking an hour to mix, chill, and bake these little bursts of joy, especially when the kitchen smells like a bakery and the first batch emerges golden and speckled with colour. If you give these Chewy Funfetti Cookies a try, I would love to hear how they turned out—drop a comment below and let me know your favourite sprinkle colour combination. For another sweet treat that embraces the slow-baking ethos, you might also enjoy my Pumpkin Breakfast Cookies Tutorial Step By Step or the indulgent No Bake Chocolate Peanut Butter Ritz Cookies for when you need something quick but equally comforting.