30-Minute Double Chocolate Crinkle Cookies
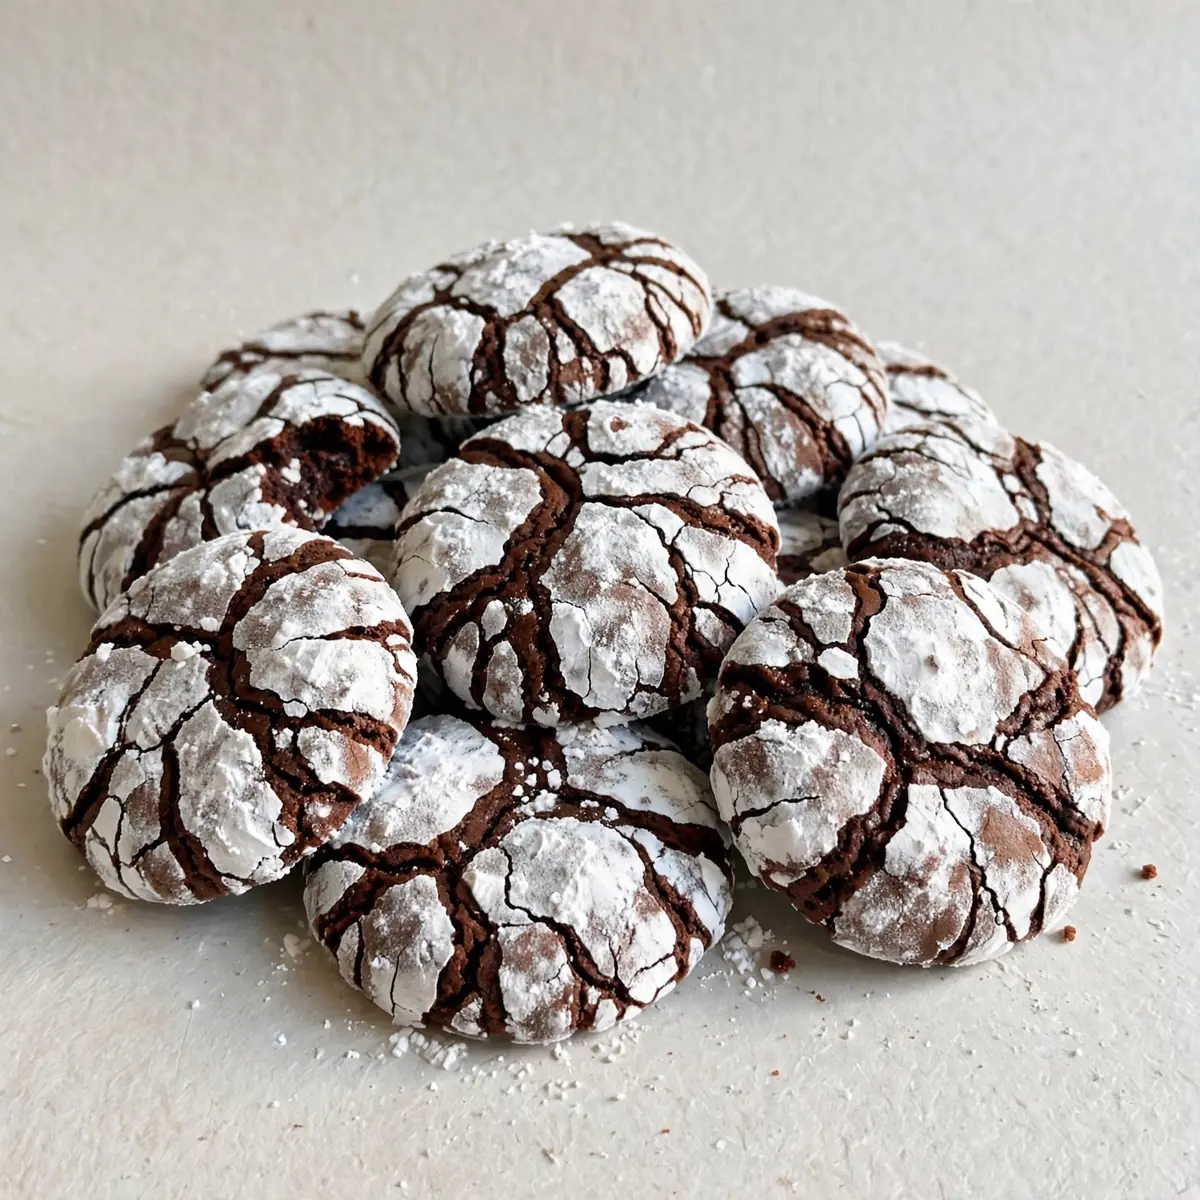
I know that look. You’ve walked through the door at half past six, the kids are already asking what’s for pudding, and you’re wondering how on earth you’ll fit baking into the chaos of a weeknight. I have been there more times than I can count. These Double Chocolate Crinkle Cookies are my secret weapon: a ridiculously fast, one-bowl recipe that comes together in the time it takes to unpack the school bags.
Recipe Overview
- Prep time: 10 minutes
- Cook time: 10 minutes
- Total time: 20 minutes
- Servings: 24 cookies
- Difficulty: Easy
Why You’ll Love This Double Chocolate Crinkle Cookies
- One bowl, zero fuss: You mix everything in a single bowl. Less washing up means more time on the sofa.
- Ready in under 30 minutes: From craving to cookie in twenty minutes flat. That includes the baking time.
- Made ahead with ease: The dough sits happily in the fridge for three days, or in the freezer for a month. Bake off just what you need.
- Kids can help: My kids absolutely devour this every time I make it, and they love rolling the balls in icing sugar. It’s a proper hands-on activity that keeps them busy.
- Deep, fudgy chocolate flavour: Cocoa powder and melted chocolate work together to give you that rich, brownie-like centre without any complicated steps.
Ingredients You’ll Need
- 200g plain flour
- 50g cocoa powder (unsweetened)
- 1 teaspoon baking powder
- ¼ teaspoon salt
- 120g unsalted butter, melted
- 200g caster sugar
- 2 large eggs, at room temperature
- 1 teaspoon vanilla extract
- 100g dark chocolate chips (or chopped dark chocolate)
- 80g icing sugar, for rolling
Tip: Use good-quality cocoa powder here. It makes a real difference to the depth of flavour, and since there are so few ingredients, every one counts.
How to Make Double Chocolate Crinkle Cookies
- Preheat and prepare: Heat your oven to 180°C (160°C fan). Line two baking trays with parchment paper. The paper should lie flat without curling at the edges — that’s your cue it’s ready.
- Mix the dry base: In a large bowl, whisk together the plain flour, cocoa powder, baking powder and salt. You’ll see the cocoa powder disperse evenly, turning the mixture a deep, uniform brown. Set this aside.
- Combine wet ingredients: In the same bowl (yes, the one you just used — less washing up), pour in the melted butter and caster sugar. Stir vigorously with a wooden spoon until the mixture looks glossy and feels smooth, like a thick paste. Add the eggs one at a time, beating well after each addition. The batter will become looser and shinier. Stir in the vanilla extract.
- Bring it together: Tip the dry ingredients back into the wet mixture. Fold gently with a spatula until just combined — you should see no streaks of flour, but stop as soon as it comes together. The dough will be soft and slightly sticky to the touch. Fold in the dark chocolate chips until they are evenly distributed.
- Chill briefly (optional but recommended): Cover the bowl and pop it in the fridge for 10 minutes. This firms the dough slightly, making it easier to roll. If you are in a rush, you can skip this step, but the cookies will spread a little more.
- Shape and coat: Place the icing sugar in a shallow bowl. Using a tablespoon or a small cookie scoop, portion out balls of dough about the size of a walnut. Roll each ball between your palms until smooth, then drop it into the icing sugar. Toss to coat generously — the more sugar, the better the crinkle effect. Place the coated balls on the prepared baking trays, leaving about 5cm of space between each one. You want them to have room to spread without merging.
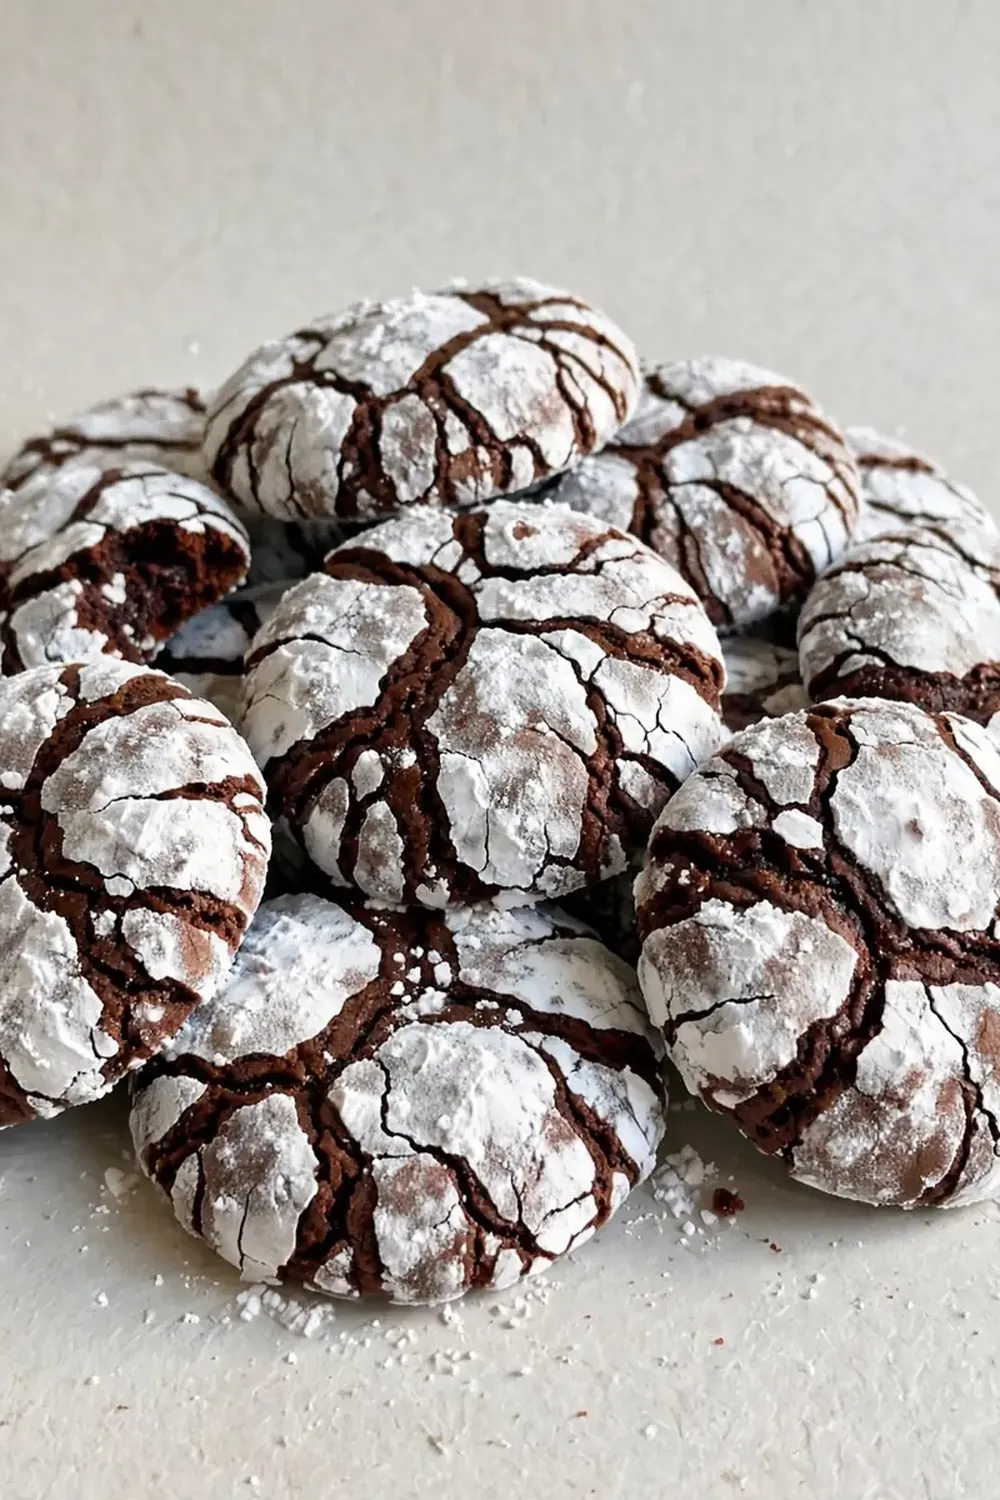
- Bake to perfection: Bake for 10 to 12 minutes. At the 8-minute mark, check through the oven door: the cookies should have spread and the tops will be covered in cracks, revealing the dark chocolate dough beneath. The edges will look set, but the centres will still appear slightly soft and puffy. That is exactly what you want — they will continue to set as they cool.
- Cool completely: Remove the tray from the oven and let the cookies rest on the hot tray for 5 minutes. They will be very fragile when hot. After 5 minutes, transfer them to a wire cooling rack using a thin spatula. You will hear a slight sizzle as they hit the rack — that’s the sound of them settling. Let them cool completely before serving. The texture should be crisp at the edges and soft, almost fudgy, in the centre.
Tips From My Kitchen
- Chill the dough for a better crinkle: The resting time is not just about convenience. Chilling the dough firms the butter, which slows down spreading in the oven. This gives the cookies more time to crack open before they set, creating those beautiful, dramatic crinkles. I stumbled upon this combination by accident, and it’s been a hit ever since.
- Use a cookie scoop for uniform size: A small scoop ensures every cookie is the same size, so they bake evenly. If you use a spoon, aim for a rounded tablespoon of dough per cookie. Uneven sizes mean some will be overdone while others are still raw.
- Double-coat in icing sugar for maximum effect: Roll each dough ball first in a light dusting of icing sugar, then roll again in a second, thicker layer. The double coating creates a thicker white crust that cracks dramatically as the cookie spreads. It also adds a lovely, sweet crunch.
- Swap the chocolate chips for a different texture: If dark chocolate is too intense for your family, use milk chocolate chips or a combination of both. You can also chop a bar of your favourite chocolate into chunks for pockets of melted chocolate in every bite.
- Make them ahead for busy weeks: The dough keeps in the fridge for up to three days in an airtight container. You can also freeze the rolled, sugar-coated balls on a tray until solid, then transfer them to a freezer bag. Bake from frozen, adding 2 to 3 minutes to the baking time. This is my go-to trick for school bake sales and last-minute visitors.
Equipment You’ll Need
- Stand mixer or hand mixer (though a wooden spoon works just as well)
- Large mixing bowl
- Baking tray (or two, for batch baking)
- Parchment paper
- Wire cooling rack
- Cookie scoop or tablespoon
- Shallow bowl for icing sugar
Common Mistakes to Avoid
- Overcrowding the pan: These cookies spread significantly during baking. If you place them too close together, they will merge into one giant, flat blob. Stick to 6 to 8 cookies per standard baking tray, leaving at least 5cm of space between each one. Bake in batches if necessary — your patience will be rewarded with perfectly round, separate cookies.
- Wrong temperature: An oven that is too hot will set the outside before the inside has a chance to spread and crack, giving you hard, domed cookies. An oven that is too cool will cause the cookies to spread into thin, greasy discs. Always use an oven thermometer to check your oven’s actual temperature, as dials can be unreliable.
- Skipping the rest time: I know it is tempting to skip the fridge step, but that short rest is what gives these cookies their signature look. Without it, the dough is too soft to roll neatly, and the crinkle effect will be far less pronounced. If you are really pressed for time, even 5 minutes in the freezer helps.
What to Serve With Double Chocolate Crinkle Cookies
- A tall glass of cold milk — the classic pairing for a reason.
- Vanilla ice cream for a simple, indulgent dessert.
- A dollop of whipped cream and fresh raspberries to cut through the richness.
- Hot chocolate on a cold evening for double chocolate heaven.
- If you are looking for other quick desserts, try our Creamy Individual Cheesecake Cups With Berries for a no-bake option, or the Healthy Peanut Butter Banana Muffins Recipe 2 for a breakfast-friendly treat.
Still hungry for ideas? You might also love Hot Chocolate Cookies Baking Recipe, Rice Krispie Chocolate Chip Cookies from our sister kitchens.
Frequently Asked Questions
Double Chocolate Crinkle Cookies
Ingredients
Method
- Preheat and prepare: Heat your oven to 180°C (160°C fan). Line two baking trays with parchment paper. The paper should lie flat without curling at the edges — that's your cue it's ready.
- Mix the dry base: In a large bowl, whisk together the plain flour, cocoa powder, baking powder and salt. You'll see the cocoa powder disperse evenly, turning the mixture a deep, uniform brown. Set this aside.
- Combine wet ingredients: In the same bowl (yes, the one you just used — less washing up), pour in the melted butter and caster sugar. Stir vigorously with a wooden spoon until the mixture looks glossy and feels smooth, like a thick paste. Add the eggs one at a time, beating well after each addition. The batter will become looser and shinier. Stir in the vanilla extract.
- Bring it together: Tip the dry ingredients back into the wet mixture. Fold gently with a spatula until just combined — you should see no streaks of flour, but stop as soon as it comes together. The dough will be soft and slightly sticky to the touch. Fold in the dark chocolate chips until they are evenly distributed.
- Chill briefly (optional but recommended): Cover the bowl and pop it in the fridge for 10 minutes. This firms the dough slightly, making it easier to roll. If you are in a rush, you can skip this step, but the cookies will spread a little more.
- Shape and coat: Place the icing sugar in a shallow bowl. Using a tablespoon or a small cookie scoop, portion out balls of dough about the size of a walnut. Roll each ball between your palms until smooth, then drop it into the icing sugar. Toss to coat generously — the more sugar, the better the crinkle effect. Place the coated balls on the prepared baking trays, leaving about 5cm of space between each one. You want them to have room to spread without merging.
- Bake to perfection: Bake for 10 to 12 minutes. At the 8-minute mark, check through the oven door: the cookies should have spread and the tops will be covered in cracks, revealing the dark chocolate dough beneath. The edges will look set, but the centres will still appear slightly soft and puffy. That is exactly what you want — they will continue to set as they cool.
- Cool completely: Remove the tray from the oven and let the cookies rest on the hot tray for 5 minutes. They will be very fragile when hot. After 5 minutes, transfer them to a wire cooling rack using a thin spatula. You will hear a slight sizzle as they hit the rack — that's the sound of them settling. Let them cool completely before serving. The texture should be crisp at the edges and soft, almost fudgy, in the centre.
Notes
I would love to hear how these turn out in your kitchen. Drop a comment below and let me know if your family loved them as much as mine does. And if you are after more chocolate inspiration, have a look at our Elegant Mini Chocolate Desserts For Gatherings or the Fudgy Zucchini Brownies With Chocolate Glaze 2 for another quick weeknight win.