Quick Make-Ahead Boston Cream Donuts
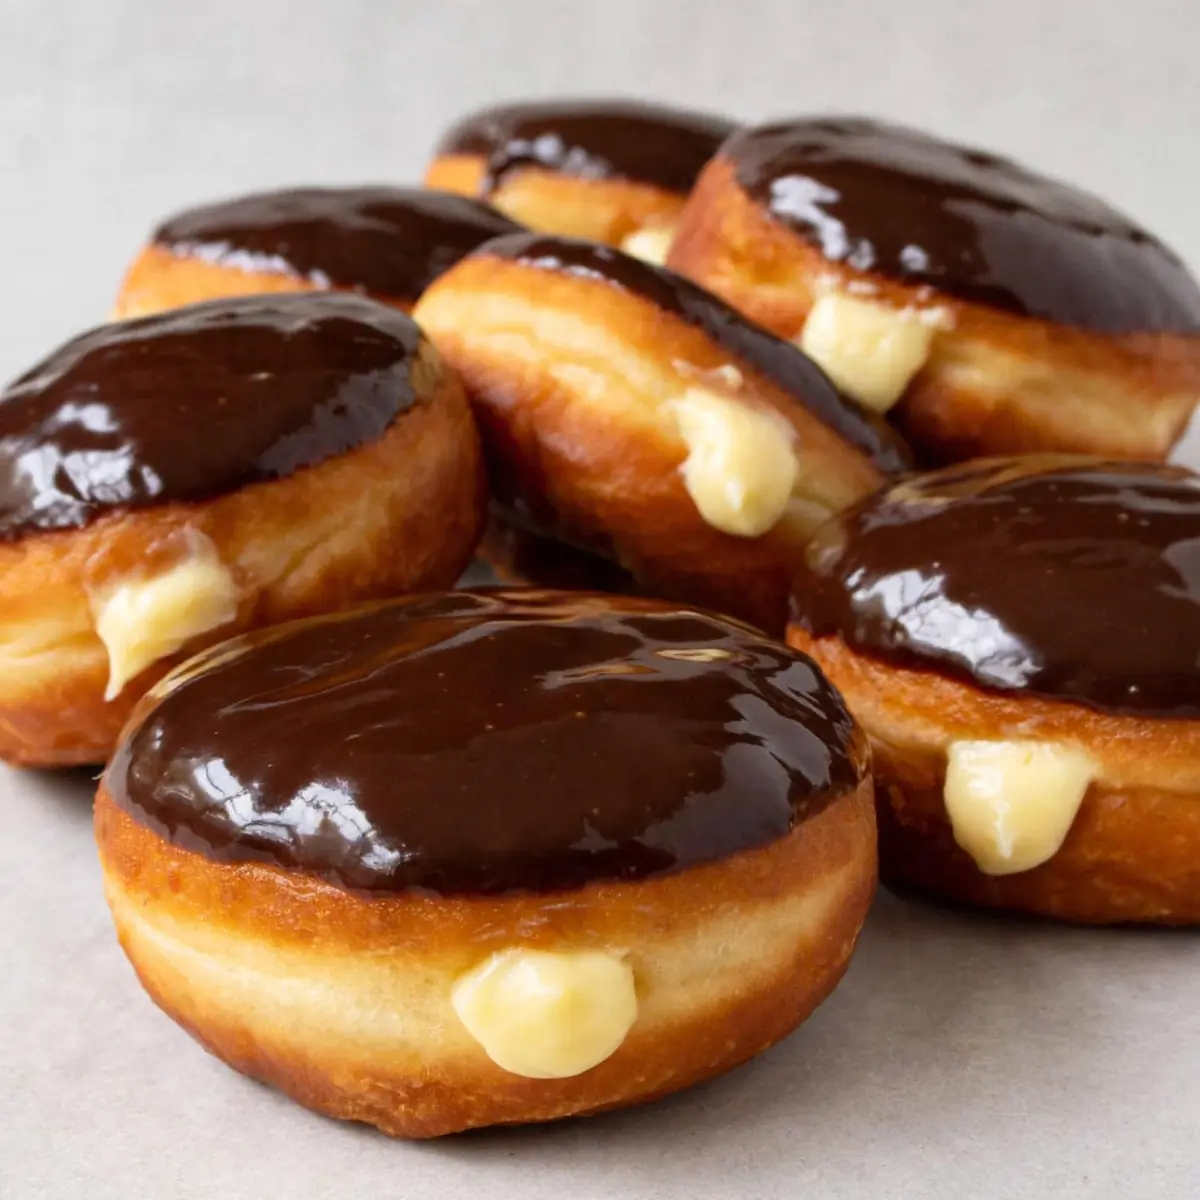
After a long Tuesday of school runs, work deadlines, and after-school clubs, the last thing I want is a sink full of dirty pans and a complicated dessert recipe. That’s exactly why I started making Boston Cream Donuts for dessert on frantic weeknights. We get the full, rich experience of a filled doughnut with a glossy chocolate glaze, all from a single skillet and a handful of common ingredients, ready in under thirty minutes.
Recipe Overview
- Prep Time: 10 minutes
- Cook Time: 12 minutes
- Total Time: 22 minutes
- Servings: 8 donuts
- Difficulty: Easy
Why You’ll Love This Boston Cream Donuts
- One-Pan Wonder: We cook the doughnuts entirely in a single frying pan, so cleanup takes less than five minutes. No deep fryer, no rolling pin, no mess.
- Ready Before the Kids Complain: From the moment you pull out the ingredients to the first bite, you’re looking at about twenty minutes. That’s faster than driving to the shop.
- Make-Ahead Magic: I stumbled upon this combination by accident, and it’s been a hit ever since. You can prep the custard filling and the glaze the night before, then simply cook the doughnuts when you walk in the door.
- No Fancy Equipment: You don’t need a stand mixer, a piping bag, or a deep-fat thermometer. A bowl, a wooden spoon, and a good non-stick pan are all we really need.
- Customisable for Picky Eaters: The base recipe is mild and buttery, so you can easily adjust the sweetness or swap the filling for jam or chocolate spread if someone isn’t keen on custard.
Ingredients You’ll Need
- 250g plain flour
- 30g caster sugar
- 1½ teaspoons baking powder
- ½ teaspoon bicarbonate of soda
- ¼ teaspoon fine sea salt
- 150ml buttermilk
- 1 large egg
- 40g unsalted butter, melted and cooled slightly
- 1 teaspoon vanilla extract
- Vegetable oil, for frying (about 250ml)
- 200g ready-made vanilla custard (from a carton or can)
- 100g dark chocolate (70% cocoa solids), broken into pieces
- 60ml double cream
- 1 tablespoon golden syrup
Tip: If you don’t have buttermilk, stir 1 tablespoon of lemon juice into 150ml of whole milk and let it sit for five minutes. It will thicken and curdle slightly, which is exactly what we want for a tender doughnut.
How to Make Boston Cream Donuts
- Mix the dry ingredients: In a large mixing bowl, whisk together the flour, caster sugar, baking powder, bicarbonate of soda, and salt. The mixture should look pale and uniform, with no lumps of baking powder. Set aside.
- Combine the wet ingredients: In a separate jug or small bowl, whisk together the buttermilk, egg, melted butter, and vanilla extract. The mixture will be a pale yellow colour and smell sweetly of vanilla. Pour this into the dry ingredients and stir with a wooden spoon until just combined. The batter will be thick, slightly sticky, and look a bit like a soft scone dough. Do not overmix, or the doughnuts will be tough.
- Heat the oil: Pour the vegetable oil into a large frying pan or skillet, about 1cm deep. Heat over a medium flame for two to three minutes. To test if it is ready, drop a tiny pinch of flour into the oil. If it sizzles and bubbles immediately, the temperature is correct. If it burns straight away, turn the heat down slightly.
- Shape and fry the doughnuts: Using lightly oiled hands, scoop out portions of the dough (about the size of a golf ball) and gently shape them into a patty shape, about 1.5cm thick. Carefully place them into the hot oil, leaving space between each one. Fry for two to three minutes per side. The underside should turn a deep golden brown, and you will hear a gentle sizzling sound. When you flip them, the cooked side should feel firm to the touch. Work in batches of four to avoid overcrowding the pan.
- Drain and cool: Using a slotted spoon, transfer the cooked doughnuts to a plate lined with kitchen paper. They will be crisp on the outside and soft inside. Let them cool for five minutes while you make the glaze, or they will melt the chocolate later.
- Make the chocolate glaze: Place the dark chocolate pieces, double cream, and golden syrup in a small heatproof bowl. Microwave in 20-second bursts, stirring each time, until the chocolate is fully melted and the mixture is smooth and glossy. It should look like a thick, dark sauce and smell intensely of chocolate. Alternatively, set the bowl over a pan of simmering water.
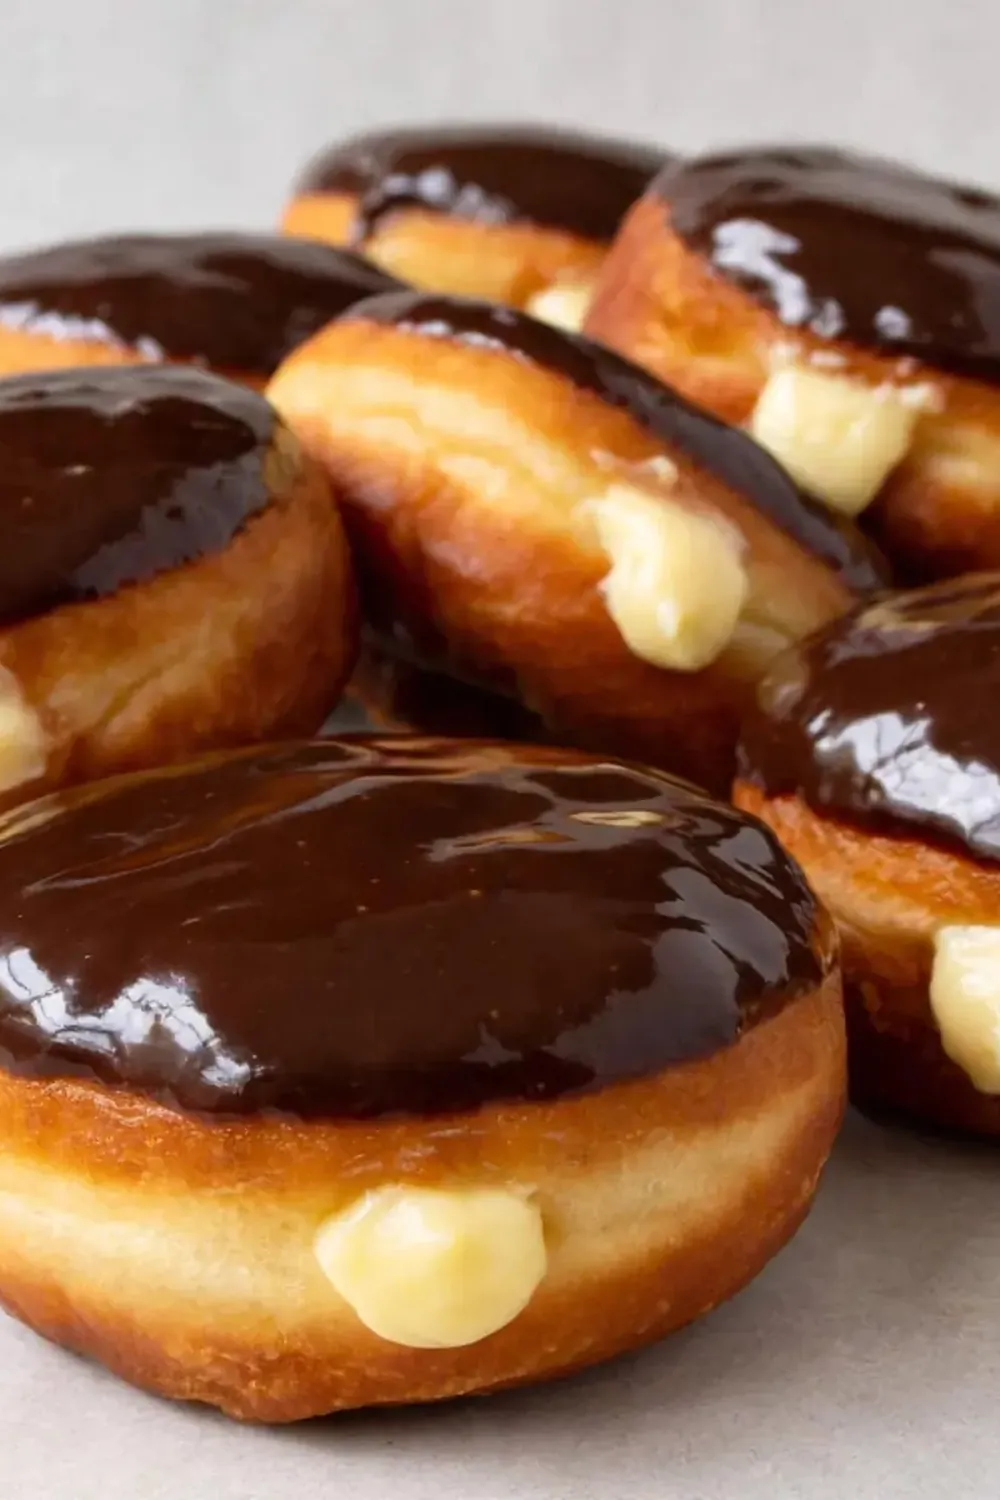
- Assemble the doughnuts: Using a small, sharp knife, cut a slit into the side of each cooled doughnut, creating a pocket. Spoon or pipe the vanilla custard into a piping bag (or use a strong sandwich bag with the corner snipped off) and fill each doughnut until it feels heavy. Dip the top of each filled doughnut into the warm chocolate glaze, letting the excess drip off. Place them on a wire rack for the glaze to set for a couple of minutes before serving.
Tips From My Kitchen
- Don’t overmix the batter: The more you stir the dough, the more gluten develops. This will make your doughnuts dense and chewy instead of light and fluffy. Stir just until you can’t see any more dry flour, even if there are a few small lumps. They will even out during frying.
- Keep the oil steady: If the oil is too hot, the outside of the doughnut will burn before the inside is cooked through. If it is too cool, the doughnuts will absorb too much oil and become greasy. I used to struggle with this dish until I discovered this technique: maintain a medium heat and test the temperature with a flour pinch every time you start a new batch.
- Use a thermometer for the glaze: For a perfectly glossy finish, the chocolate glaze should be warm but not hot (about 32–35°C). If it is too hot, it will soak into the doughnut instead of forming a shiny shell. If it is too cold, it will be too thick to dip smoothly.
- Make the custard ahead: You can prepare the filling up to two days in advance. Simply transfer the custard to an airtight container and keep it in the fridge. Give it a good stir before piping, as it will thicken as it chills.
- Work in small batches: Frying too many doughnuts at once lowers the oil temperature and causes them to cook unevenly. I find that four doughnuts per batch is the sweet spot, leaving enough room for them to float and brown evenly.
Equipment You’ll Need
- Large frying pan or skillet (non-stick works best)
- Sharp knife and cutting board
- Mixing bowls (one large, one small)
- Wooden spoon or spatula
- Slotted spoon for flipping and removing doughnuts
- Kitchen paper for draining
- Piping bag or a sturdy sandwich bag
Common Mistakes to Avoid
- Overcrowding the pan: When you crowd the pan, the oil temperature drops dramatically. This means the doughnuts will take longer to cook, absorb more oil, and come out greasy instead of crisp. Always fry in batches and allow the oil to come back up to temperature between batches.
- Wrong temperature: If the oil is not hot enough, the doughnuts will spread out into flat discs and soak up oil like a sponge. If it is too hot, they will burn on the outside and remain raw in the centre. Aim for a steady 170–180°C, which is a medium heat on most stovetops.
- Skipping the rest time: After frying, the doughnuts need a few minutes to cool down. If you dip them into the warm chocolate glaze immediately, the heat will cause the glaze to slide right off. A five-minute rest on kitchen paper allows the steam to escape and the surface to set, so the glaze sticks properly.
Delicious Variations to Try
- Spicy Version: Add ½ teaspoon of ground cinnamon and a pinch of cayenne pepper to the dry ingredients. The warmth of the spice cuts through the sweet custard and chocolate beautifully, giving the doughnuts a subtle kick.
- Vegetarian/Vegan Option: Replace the egg with a flax egg (1 tablespoon ground flaxseed mixed with 3 tablespoons water) and use a plant-based milk mixed with lemon juice instead of buttermilk. For the custard, use a ready-made vegan vanilla custard, and swap the double cream in the glaze for coconut cream.
- Different Protein: For a more substantial dessert, you can add a tablespoon of peanut butter powder or a scoop of vanilla protein powder to the dry ingredients. This adds a nutty flavour and a little extra staying power for hungry teenagers.
What to Serve With Boston Cream Donuts
- A generous scoop of vanilla ice cream or a dollop of clotted cream
- A fresh cup of strong black coffee or a cold glass of milk
- A handful of fresh berries, such as raspberries or sliced strawberries, to cut through the richness
Still hungry for ideas? You might also love Boston Cream Donuts With Chocolate Frosting, Classic Boston Cream Pie Recipe Dessert from our sister kitchens.
Frequently Asked Questions
Boston Cream Donuts
Ingredients
Method
- Mix the dry ingredients: In a large mixing bowl, whisk together the flour, caster sugar, baking powder, bicarbonate of soda, and salt. The mixture should look pale and uniform, with no lumps of baking powder. Set aside.
- Combine the wet ingredients: In a separate jug or small bowl, whisk together the buttermilk, egg, melted butter, and vanilla extract. The mixture will be a pale yellow colour and smell sweetly of vanilla. Pour this into the dry ingredients and stir with a wooden spoon until just combined. The batter will be thick, slightly sticky, and look a bit like a soft scone dough. Do not overmix, or the doughnuts will be tough.
- Heat the oil: Pour the vegetable oil into a large frying pan or skillet, about 1cm deep. Heat over a medium flame for two to three minutes. To test if it is ready, drop a tiny pinch of flour into the oil. If it sizzles and bubbles immediately, the temperature is correct. If it burns straight away, turn the heat down slightly.
- Shape and fry the doughnuts: Using lightly oiled hands, scoop out portions of the dough (about the size of a golf ball) and gently shape them into a patty shape, about 1.5cm thick. Carefully place them into the hot oil, leaving space between each one. Fry for two to three minutes per side. The underside should turn a deep golden brown, and you will hear a gentle sizzling sound. When you flip them, the cooked side should feel firm to the touch. Work in batches of four to avoid overcrowding the pan.
- Drain and cool: Using a slotted spoon, transfer the cooked doughnuts to a plate lined with kitchen paper. They will be crisp on the outside and soft inside. Let them cool for five minutes while you make the glaze, or they will melt the chocolate later.
- Make the chocolate glaze: Place the dark chocolate pieces, double cream, and golden syrup in a small heatproof bowl. Microwave in 20-second bursts, stirring each time, until the chocolate is fully melted and the mixture is smooth and glossy. It should look like a thick, dark sauce and smell intensely of chocolate. Alternatively, set the bowl over a pan of simmering water.
- Assemble the doughnuts: Using a small, sharp knife, cut a slit into the side of each cooled doughnut, creating a pocket. Spoon or pipe the vanilla custard into a piping bag (or use a strong sandwich bag with the corner snipped off) and fill each doughnut until it feels heavy. Dip the top of each filled doughnut into the warm chocolate glaze, letting the excess drip off. Place them on a wire rack for the glaze to set for a couple of minutes before serving.
Notes
I hope this recipe becomes your new secret weapon for those hectic evenings when you still want something special. If you give these Boston Cream Donuts a try, I would love to hear how they turned out. If you are looking for another quick dessert to round out the week, I highly recommend our Creamy Individual Cheesecake Cups With Berries — they are just as speedy and use many of the same pantry staples. Drop a comment below and let me know if your family devoured them as fast as mine did.