Classic Key Lime Pie
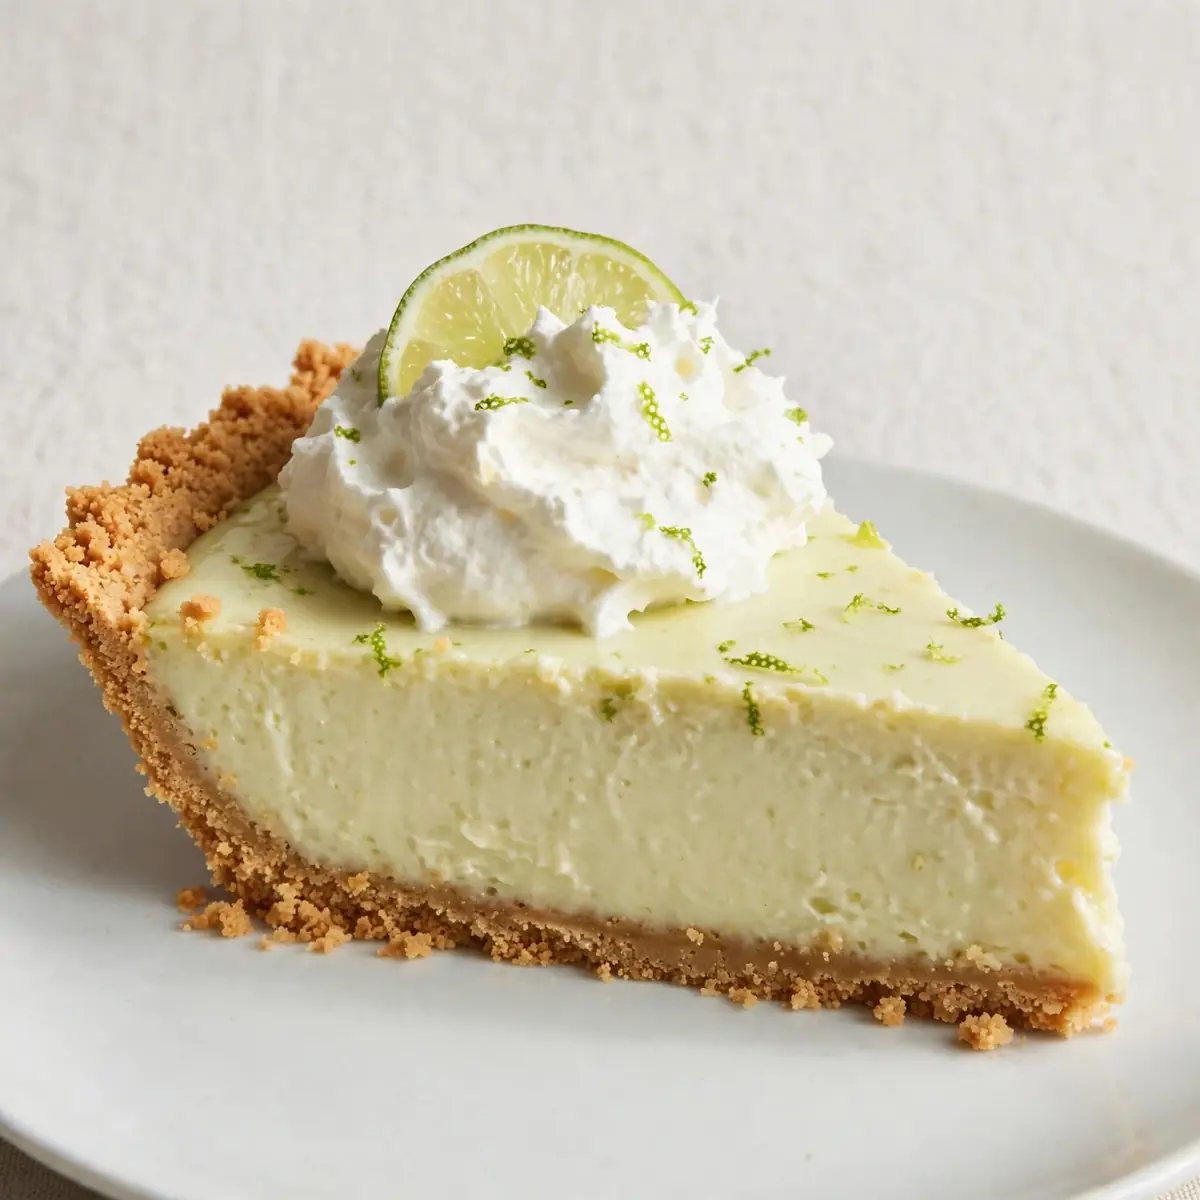
There are few things more soothing on a drizzly weekend than the scent of toasting biscuit crumbs and tart citrus mingling in a warm kitchen. This Classic Key Lime Pie is my favourite excuse to slow down, to measure carefully, and to lose myself in the rhythmic whisking of a glossy, golden filling. It’s not a recipe to rush; it’s a project that rewards patience with a slice of pure, sun-drenched calm.
Recipe Overview
- Prep Time: 30 minutes
- Cook Time: 15 minutes (plus 4 hours chilling)
- Total Time: 4 hours 45 minutes
- Servings: 8 generous slices
- Difficulty: Medium (requires a gentle hand and patience)
Why You’ll Love This Classic Key Lime Pie
- Therapeutic Process: From crumbling the biscuits to watching the filling set, every step is a mindful ritual that melts away the week’s tension.
- Perfectly Balanced Zing: The sharp, floral acidity of key limes cuts through the rich, buttery base and creamy top, creating a harmony that wakes up your palate.
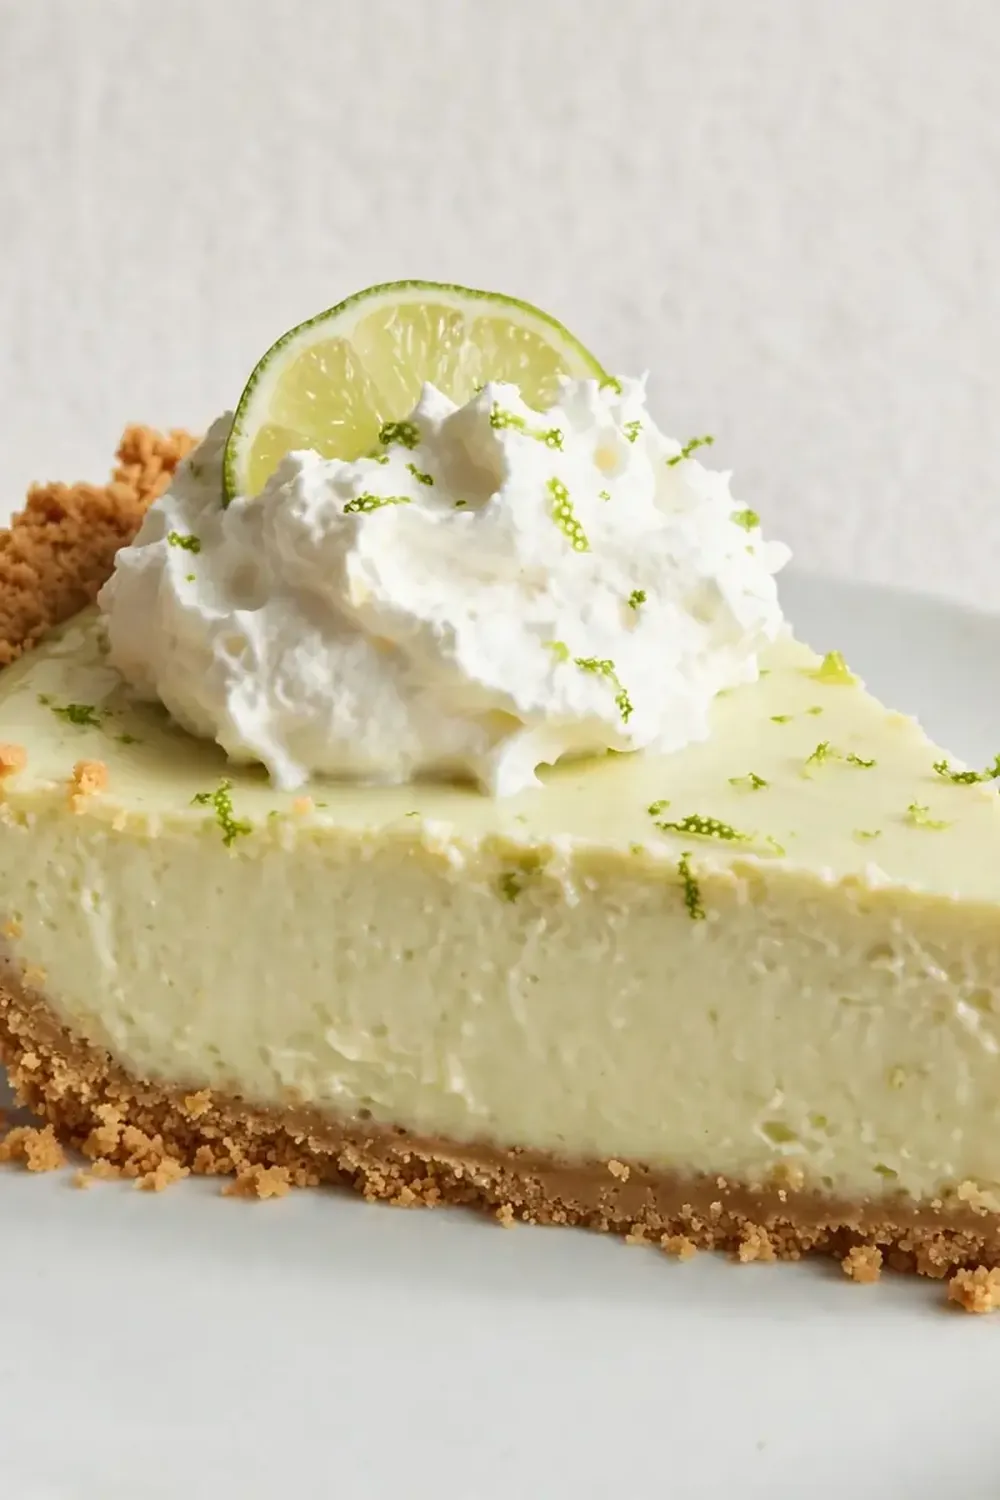
- Stunning Visual Reward: That pale, cloud-like meringue or whipped cream topping against the sunny filling is a genuine showstopper for the tea table.
- Make-Ahead Magic: This pie actually improves with a long, cold rest, making it the ideal Saturday project for a Sunday dessert.
- Nostalgia in Every Bite: It tastes like a holiday in Florida, yet feels wonderfully achievable in your own British kitchen, much like a Classic New York Baked Cheesecake brings a taste of the Big Apple home.
Ingredients You’ll Need
- 200g digestive biscuits
- 75g unsalted butter, melted
- 1 tablespoon golden caster sugar
- 4 large free-range egg yolks
- 400g tin of condensed milk
- 120ml fresh key lime juice (or regular lime juice, but key limes are worth seeking out)
- 1 tablespoon finely grated key lime zest (plus extra for garnish)
- 300ml double cream
- 1 tablespoon icing sugar
- ½ teaspoon vanilla extract
Tip: Key limes are smaller and more aromatic than regular limes. If you can’t find them in your local shop, use a mix of regular lime and a squeeze of lemon juice to mimic that complex, floral tang.
How to Make Classic Key Lime Pie
- Make the crust. Place the digestive biscuits in a sealed bag and bash them with a rolling pin until they resemble fine, sandy crumbs. You should hear a satisfying crunch as they break down. Tip them into a bowl and stir through the melted butter and sugar until the mixture feels damp and clumps together when you press it.
- Blind bake the base. Press the crumb mixture firmly and evenly into the base and up the sides of a 23cm loose-bottomed tart tin. Use the flat bottom of a glass to get a smooth, compact finish. Bake at 160°C (140°C fan) for 10 minutes. The kitchen will smell warmly of toasted biscuit. Remove and let it cool completely on a wire rack.
- Whip the filling. In a large, clean bowl, whisk the egg yolks with an electric mixer until they are thick and pale, the colour of a primrose, and they leave a ribbon trail on the surface when you lift the beaters.
- Add the condensed milk. Pour in the condensed milk and whisk on low until fully combined. The mixture will become thick and velvety, like a very rich custard.
- Introduce the lime. Slowly stream in the key lime juice while whisking gently. Watch as the mixture thickens almost immediately, turning a pale, creamy yellow. This is the magic of the acid reacting with the milk. Fold in the lime zest until it is evenly distributed, and the air smells sharp and fragrant.
- Bake the filling. Pour the filling into the cooled biscuit base and spread it level. Bake at 160°C (140°C fan) for just 12 minutes. The edges should look set, but the centre will still wobble slightly when you gently shake the tin. Do not let it brown. The smell will be a gorgeous, sweet-tart perfume.
- Cool and chill. Let the pie cool completely on the rack at room temperature. You will see the surface settle and become smooth. Then, transfer it to the fridge to chill for at least 4 hours, or ideally overnight. The filling will firm up to a silky, sliceable texture.
- Top and serve. Just before serving, whip the double cream, icing sugar, and vanilla extract together until soft peaks form. The cream should be billowy and hold its shape. Spread or pipe it over the chilled pie, then garnish with a little extra lime zest. My kids absolutely devour this every time I make it.
Tips From My Kitchen
- Juice your limes at room temperature. Cold limes yield less juice. Roll them firmly on the countertop under your palm before cutting to break the membranes and release more liquid. You’ll hear a slight pop as they soften, which means you are ready to squeeze.
- Do not over-bake the filling. The pie sets primarily from the acid in the lime juice, not from the heat of the oven. The short bake is just to gently cook the eggs and stabilise the custard. Over-baking will cause the filling to curdle and develop a grainy texture. The centre should still have a gentle wobble when it comes out.
- Chill is non-negotiable. A warm key lime pie is a sloppy, soupy mess. It needs a full four hours in the fridge to allow the proteins to relax and the slice to hold its shape. Patience here is the difference between a triumph and a puddle. My husband, who’s usually picky, asked for seconds of this perfectly chilled version.
- Use a metal or glass bowl for the filling. Plastic bowls can retain residual grease or smells that will inhibit the egg yolks from thickening properly. A clean, dry metal or glass bowl ensures your whisking is as effective as possible.
- Zest before you juice. It is infinitely easier to grate the fragrant green rind from a whole lime than a limp, juiced half. This small step saves you a great deal of frustration and ensures you get the most aromatic zest for your filling and garnish.
Equipment You’ll Need
- 23cm loose-bottomed tart tin
- Electric hand mixer or stand mixer
- Rolling pin and a sturdy sealable bag
- Fine-mesh sieve (for juicing limes)
- Microplane or fine grater
- Large glass or metal mixing bowls
- Baking tray
- Wire cooling rack
Delicious Variations to Try
- Spiced Ginger Crust: Swap the digestive biscuits for ginger nut biscuits and add half a teaspoon of ground ginger to the melted butter. The warming, peppery heat of the ginger is a stunning counterpoint to the cool, sharp lime filling.
- Coconut-Lime Twist: Stir 50g of toasted, desiccated coconut into the biscuit base. For the topping, fold a tablespoon of coconut cream into the whipped double cream for a subtle tropical flavour that pairs beautifully with the citrus.
- Vegan Key Lime Pie: Use a vegan biscuit (check the label for butter content), and substitute the butter with a good-quality coconut oil. For the filling, replace the condensed milk with a tin of sweetened condensed coconut milk and use a plant-based cream for the topping. The texture will be slightly softer but still utterly delicious.
What to Serve With Classic Key Lime Pie
- A dollop of thick, clotted cream for extra decadence.
- A handful of fresh raspberries or blueberries to add a burst of colour and a different kind of tartness.
- A strong, dark coffee, which provides a bitter contrast to the sweet, tangy pie.
- If you are feeling adventurous, serve it alongside a helping of Creamy High Protein Cheesecake Jars No Bake 2 for a real dessert spread.
Still hungry for ideas? You might also love No Bake Key Lime Pie Squares, Cream Cheese No Bake Key Lime Pie from our sister kitchens.
Frequently Asked Questions
Classic Key Lime Pie
Ingredients
Method
-
Make the crust. Place the digestive biscuits in a sealed bag and bash them with a rolling pin until they resemble fine, sandy crumbs. You should hear a satisfying crunch as they break down. Tip them into a bowl and stir through the melted butter and sugar until the mixture feels damp and clumps together when you press it.
-
Blind bake the base. Press the crumb mixture firmly and evenly into the base and up the sides of a 23cm loose-bottomed tart tin. Use the flat bottom of a glass to get a smooth, compact finish. Bake at 160°C (140°C fan) for 10 minutes. The kitchen will smell warmly of toasted biscuit. Remove and let it cool completely on a wire rack.
-
Whip the filling. In a large, clean bowl, whisk the egg yolks with an electric mixer until they are thick and pale, the colour of a primrose, and they leave a ribbon trail on the surface when you lift the beaters.
-
Add the condensed milk. Pour in the condensed milk and whisk on low until fully combined. The mixture will become thick and velvety, like a very rich custard.
-
Introduce the lime. Slowly stream in the key lime juice while whisking gently. Watch as the mixture thickens almost immediately, turning a pale, creamy yellow. This is the magic of the acid reacting with the milk. Fold in the lime zest until it is evenly distributed, and the air smells sharp and fragrant.
-
Bake the filling. Pour the filling into the cooled biscuit base and spread it level. Bake at 160°C (140°C fan) for just 12 minutes. The edges should look set, but the centre will still wobble slightly when you gently shake the tin. Do not let it brown. The smell will be a gorgeous, sweet-tart perfume.
-
Cool and chill. Let the pie cool completely on the rack at room temperature. You will see the surface settle and become smooth. Then, transfer it to the fridge to chill for at least 4 hours, or ideally overnight. The filling will firm up to a silky, sliceable texture.
-
Top and serve. Just before serving, whip the double cream, icing sugar, and vanilla extract together until soft peaks form. The cream should be billowy and hold its shape. Spread or pipe it over the chilled pie, then garnish with a little extra lime zest. My kids absolutely devour this every time I make it.
Notes
This Classic Key Lime Pie is more than a dessert; it is a gentle, deliberate act of creating something beautiful from simple, honest ingredients. I hope you find the same quiet joy in its making as I do, and that every slice brings a little sunshine to your table. Have you tried this recipe, or do you have a cherished tip for a perfect lime curd? I would love to hear all about it in the comments below.