
5-Minute Peanut Butter Banana Nice Cream Make-Ahead Dinner
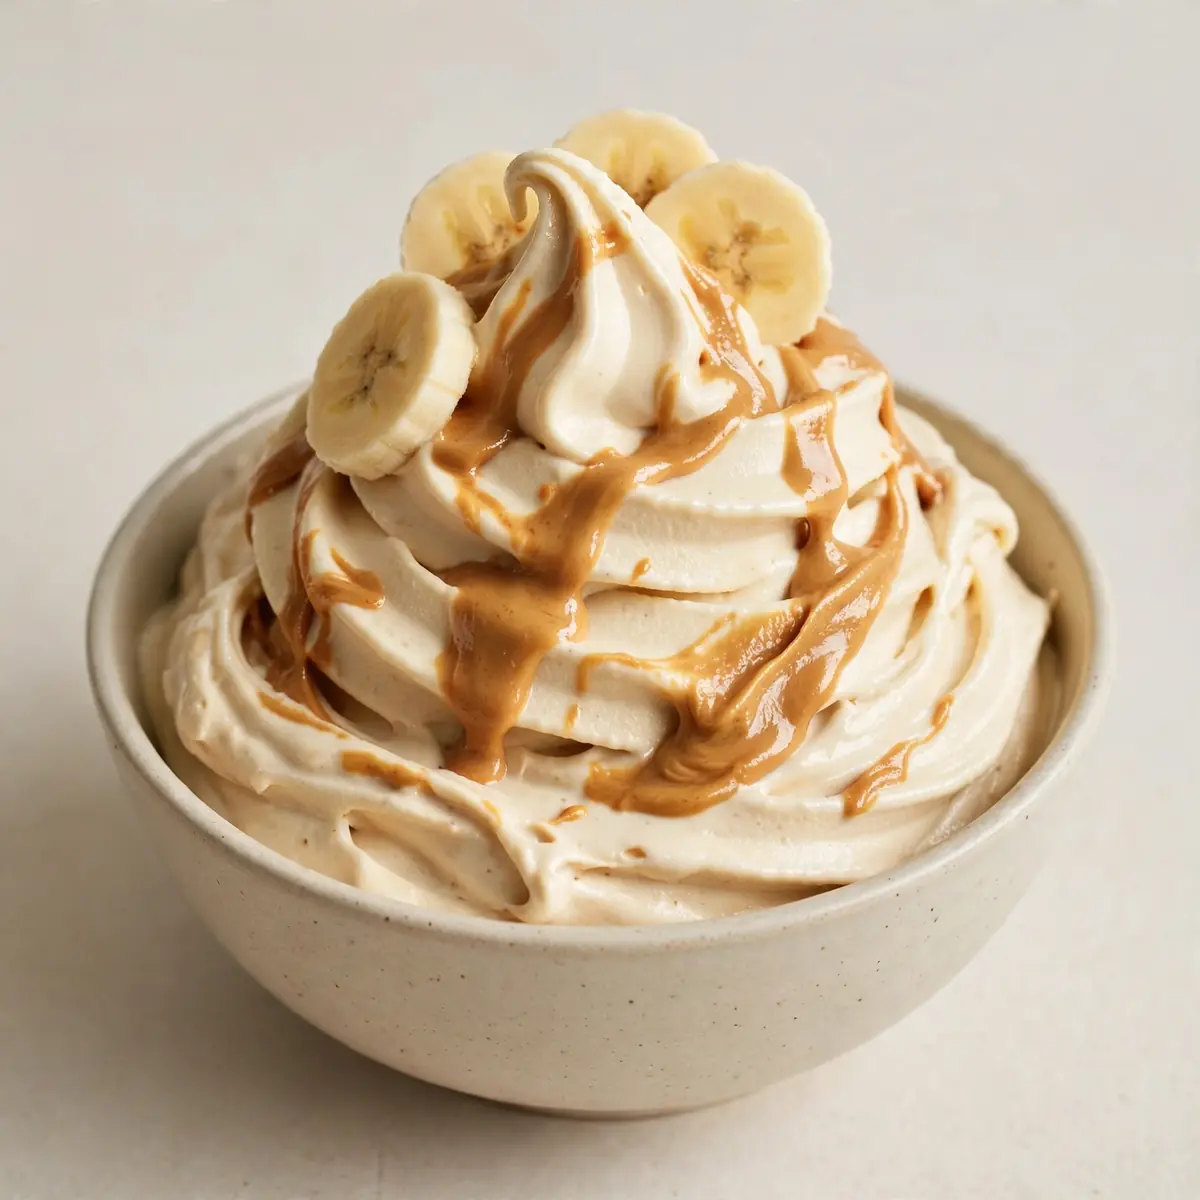
There are fifteen minutes until bedtime, the dishwasher is still running, and three tiny humans are orbiting my ankles demanding pudding. This is the precise moment I reach for my frozen stash of peanut butter banana “nice cream.” It’s not a dessert that requires a blender, a freezer bowl, or a clean-up that takes longer than the eating. It is a weapon in the war against the evening chaos.
Recipe Overview
- Prep time: 5 minutes
- Cook time: 0 minutes (no cooking required)
- Total time: 5 minutes (plus 10 minutes if using fresh bananas)
- Servings: 4 generous portions
- Difficulty: Very easy
Why You’ll Love This Peanut Butter Banana “Nice Cream”
- No ice cream maker needed, just like these 15-Min Churro Crunch Bowls with Chocolate Sauce. This recipe relies on frozen bananas and a food processor or high-speed blender. There is no churning, no custard base, and no complicated technique, unlike this 5-Minute Cookie Dough Yogurt Bowl Dinner which comes together in a flash.
- Ready in the time it takes to pour milk. If you have frozen bananas ready, this dessert comes together in under five minutes. It is faster than driving to the shop, and just as satisfying as these Deconstructed Cheesecake Bowls Ready in 10 Minutes.
- One-bowl (or one-blender) cleanup. I despise washing up after a long day. This recipe leaves you with exactly one container and a spatula to rinse.
- Naturally sweet without added sugar. Ripe bananas provide all the sweetness needed. This makes it a reliable option for families looking to reduce refined sugar intake.
- Freezer-friendly for make-ahead meal prep. You can portion this into small containers and have individual desserts ready for the entire week.
Ingredients You’ll Need
- 4 large ripe bananas (approximately 500g peeled weight)
- 3 tablespoons smooth peanut butter (60g)
- 60ml full-fat coconut milk (or any plant-based milk you have on hand)
- 1 teaspoon vanilla extract
- A generous pinch of sea salt
- Optional: 1 tablespoon maple syrup or honey (only if your bananas are not very ripe)
- Optional garnish: chopped salted peanuts, a drizzle of extra peanut butter, or cacao nibs
Tip: The ripeness of your bananas is the single most important factor here. Look for bananas that are heavily spotted with brown — almost to the point where you would normally make banana bread. The sugar content is highest at this stage, which gives you a creamy, sweet result without any added sweeteners.
How to Make Peanut Butter Banana “Nice Cream”
- Prepare your bananas. Peel the bananas and slice them into 2cm thick rounds. You should hear a soft thud as they hit the board. Arrange the slices in a single layer on a baking tray lined with baking paper. The slices should not touch each other, or they will freeze into one solid block.
- Freeze the bananas. Place the tray in the freezer for a minimum of 4 hours, or overnight. The bananas should be rock-solid to the touch — they will feel like frozen coins. If you press one with your fingernail, there should be no give at all.
- Combine the base ingredients. Tip the frozen banana slices into a food processor. Add the peanut butter, coconut milk, vanilla extract, and the pinch of salt. At this stage, the mixture will look like a pile of frozen rubble. Do not panic — this is normal.
- Blend and scrape. Pulse the food processor in 10-second bursts. After about 30 seconds, you will hear the sound change from a loud rattling to a softer, scraping noise. Stop the machine and scrape down the sides with a spatula. The mixture will look crumbly, like wet sand.
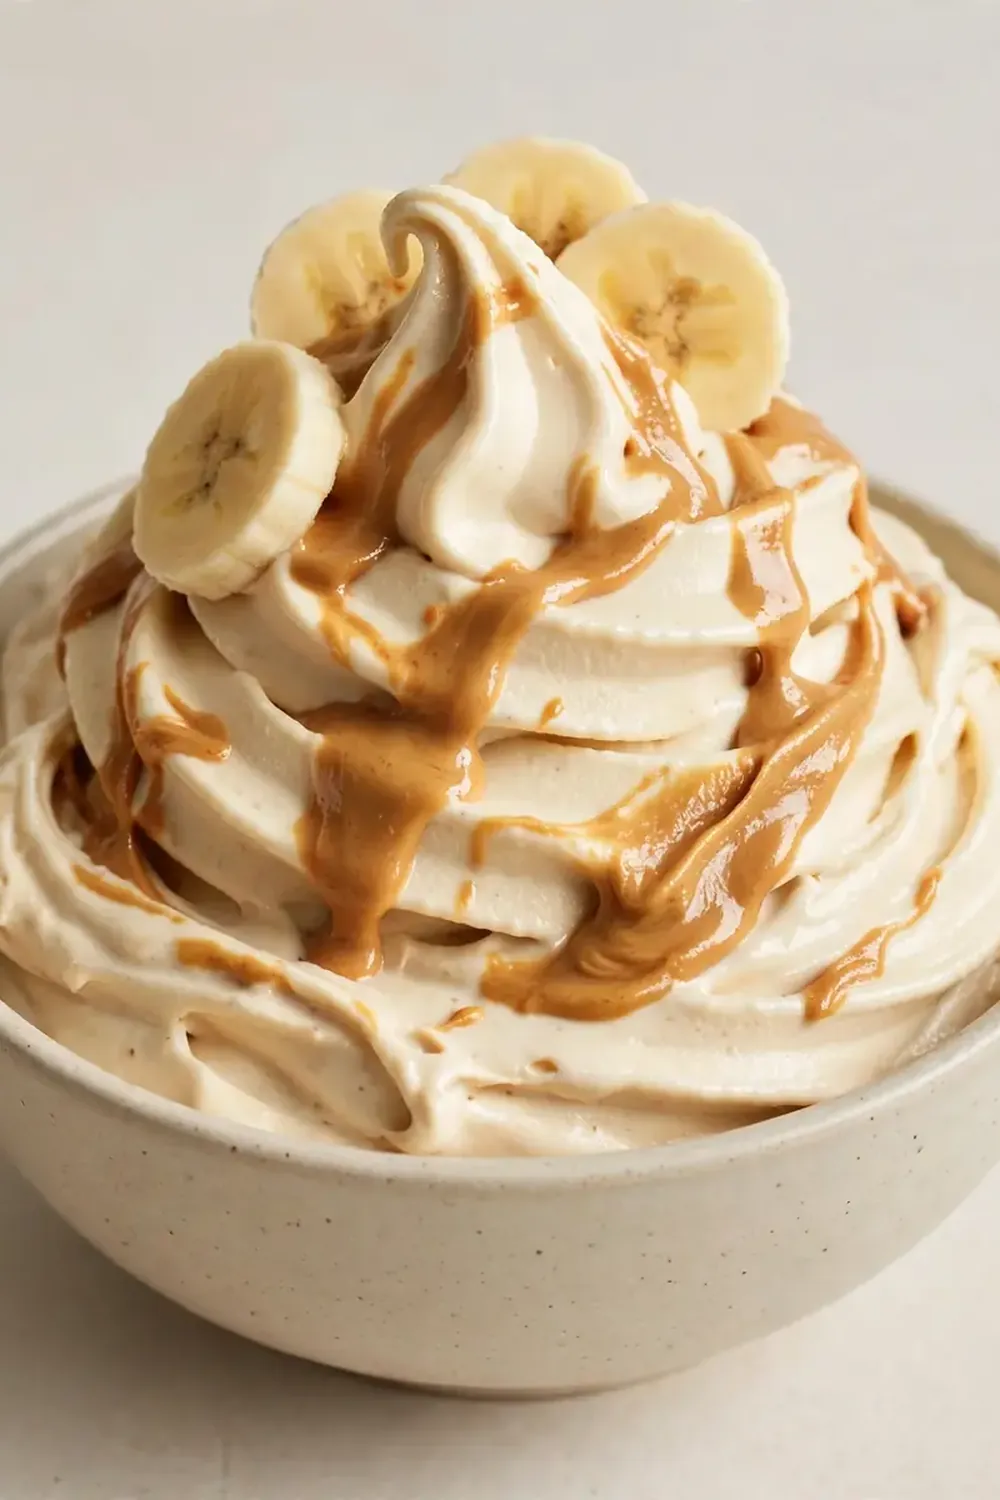
- Continue blending until silky. Turn the processor on continuously now. After 60 to 90 seconds, the mixture will suddenly transform. You will hear the motor labour as the bananas break down into a smooth, thick cream. The colour will shift from pale yellow to a uniform, creamy beige. The texture should be exactly like soft-serve ice cream — thick enough to hold its shape but smooth enough to fall from a spoon.
- Adjust the consistency. If the mixture is too thick to blend, add one extra tablespoon of coconut milk. If it is too runny (this only happens if your bananas were not fully frozen), add a handful of ice cubes and blend again. The final texture should feel heavy and velvety on the spoon.
- Serve immediately or freeze for later. Scoop the nice cream into bowls. It will have a soft, scoopable texture right away. If you prefer a firmer texture, transfer the mixture to a lidded container and freeze for 1-2 hours. After freezing, allow it to sit at room temperature for 5 minutes before scooping.
Tips From My Kitchen
- Always freeze bananas in a single layer. If you pile them into a bag while still soft, they freeze into a giant banana iceberg. This makes it impossible to break them apart later without a hammer. Spread them on a tray first, then transfer the frozen coins to a zip-top bag for storage.
- Use a food processor, not a standard blender. A standard upright blender often struggles with frozen fruit because the blades are too high above the mixture. A food processor has a wider, flatter base that keeps the frozen slices in contact with the blades. If you only have a blender, use the tamper tool to push the bananas down repeatedly.
- Add the peanut butter frozen or chilled. If your peanut butter is at room temperature, it can warm the banana mixture and cause it to melt before it is fully blended. Keep your peanut butter in the fridge, or measure it out and pop it in the freezer for 10 minutes before you start.
- Make a double batch for the week. This nice cream freezes beautifully. I make a double batch on Sunday evening, portion it into four small containers, and label them. My kids can grab their own dessert from the freezer after dinner. It takes thirty seconds of planning and saves me fifteen minutes of nightly negotiation.
- Ripen bananas on purpose. If you want to make this dessert but only have yellow bananas, place them in a paper bag with an apple overnight. The ethylene gas from the apple speeds up ripening. By morning, they will be spotty and soft enough to use.
- Do not skip the salt. The salt is not optional. Salt balances the sweetness of the bananas and deepens the flavour of the peanut butter. Without it, the nice cream tastes flat and one-dimensional.
Equipment You’ll Need
- Food processor (or high-speed blender with tamper tool)
- Baking tray and baking paper (for freezing bananas)
- Sharp knife and cutting board
- Flexible silicone spatula (for scraping every last bit)
- Lidded containers (for freezing portions)
Common Mistakes to Avoid
- Overcrowding the food processor: If you try to blend more than four bananas at once, the machine will overheat and the mixture will not blend evenly. Work in batches if you are making a large quantity. You should always see the blades moving freely between the frozen pieces.
- Using under-ripe bananas: Green or pale yellow bananas contain too much starch and not enough sugar. They will produce a grainy, icy texture instead of a creamy one. The bananas must be soft and spotted. If you taste a banana and it makes your mouth pucker, it is not ready.
- Blending too long after it is smooth: Once the mixture turns silky and starts to move like a thick milkshake, stop immediately. Over-blending generates friction heat, which melts the frozen bananas and turns your nice cream into banana soup.
Delicious Variations to Try
- Chocolate Peanut Butter Version: Add 2 tablespoons of unsweetened cocoa powder along with the peanut butter. The powder will turn the mixture a deep, dark brown. You will smell the chocolate as soon as the blades start moving. This version pairs wonderfully with a sprinkle of flaky sea salt on top.
- Vegan Option: This recipe is already vegan if you use plant-based milk. To make it extra creamy, swap the coconut milk for full-fat oat milk or cashew cream. The higher fat content gives an even silkier mouthfeel.
- Berry Swirl Variation: After blending the base nice cream, gently fold in 100g of frozen raspberries or strawberries that have been thawed and mashed. Do not blend the berries — stir them through by hand so you get ribbons of red running through the beige base.
What to Serve With Peanut Butter Banana “Nice Cream”
- A warm, gooey chocolate brownie — the temperature contrast is wonderful
- Sliced fresh strawberries or a handful of blueberries for a fresh, tart counterpoint
- A crunchy topping like crushed honey-roasted peanuts or toasted coconut flakes
>A drizzle of warm honey or date syrup for an extra layer of sweetness
Still hungry for ideas? You might also love Peanut Butter Banana Muffins, Chocolate Peanut Butter Banana Bread from our sister kitchens.
Frequently Asked Questions
Peanut Butter Banana “Nice Cream”
Ingredients
Method
-
Prepare your bananas. Peel the bananas and slice them into 2cm thick rounds. You should hear a soft thud as they hit the board. Arrange the slices in a single layer on a baking tray lined with baking paper. The slices should not touch each other, or they will freeze into one solid block.
-
Freeze the bananas. Place the tray in the freezer for a minimum of 4 hours, or overnight. The bananas should be rock-solid to the touch — they will feel like frozen coins. If you press one with your fingernail, there should be no give at all.
-
Combine the base ingredients. Tip the frozen banana slices into a food processor. Add the peanut butter, coconut milk, vanilla extract, and the pinch of salt. At this stage, the mixture will look like a pile of frozen rubble. Do not panic — this is normal.
-
Blend and scrape. Pulse the food processor in 10-second bursts. After about 30 seconds, you will hear the sound change from a loud rattling to a softer, scraping noise. Stop the machine and scrape down the sides with a spatula. The mixture will look crumbly, like wet sand.
-
Continue blending until silky. Turn the processor on continuously now. After 60 to 90 seconds, the mixture will suddenly transform. You will hear the motor labour as the bananas break down into a smooth, thick cream. The colour will shift from pale yellow to a uniform, creamy beige. The texture should be exactly like soft-serve ice cream — thick enough to hold its shape but smooth enough to fall from a spoon.
-
Adjust the consistency. If the mixture is too thick to blend, add one extra tablespoon of coconut milk. If it is too runny (this only happens if your bananas were not fully frozen), add a handful of ice cubes and blend again. The final texture should feel heavy and velvety on the spoon.
-
Serve immediately or freeze for later. Scoop the nice cream into bowls. It will have a soft, scoopable texture right away. If you prefer a firmer texture, transfer the mixture to a lidded container and freeze for 1-2 hours. After freezing, allow it to sit at room temperature for 5 minutes before scooping.
Notes
This peanut butter banana “nice cream” has become the secret weapon in my weeknight dinner routine. I keep a stash of frozen banana coins in the freezer at all times, ready for that moment when everyone needs something sweet and I need something simple. It is the dessert that saves my sanity, one bowl at a time. I would love to hear how it works for your family — drop a comment below and tell me which variation your household prefers.







