
5-Minute No-Bake Peanut Butter Oatmeal Cookies for Busy Weeknights
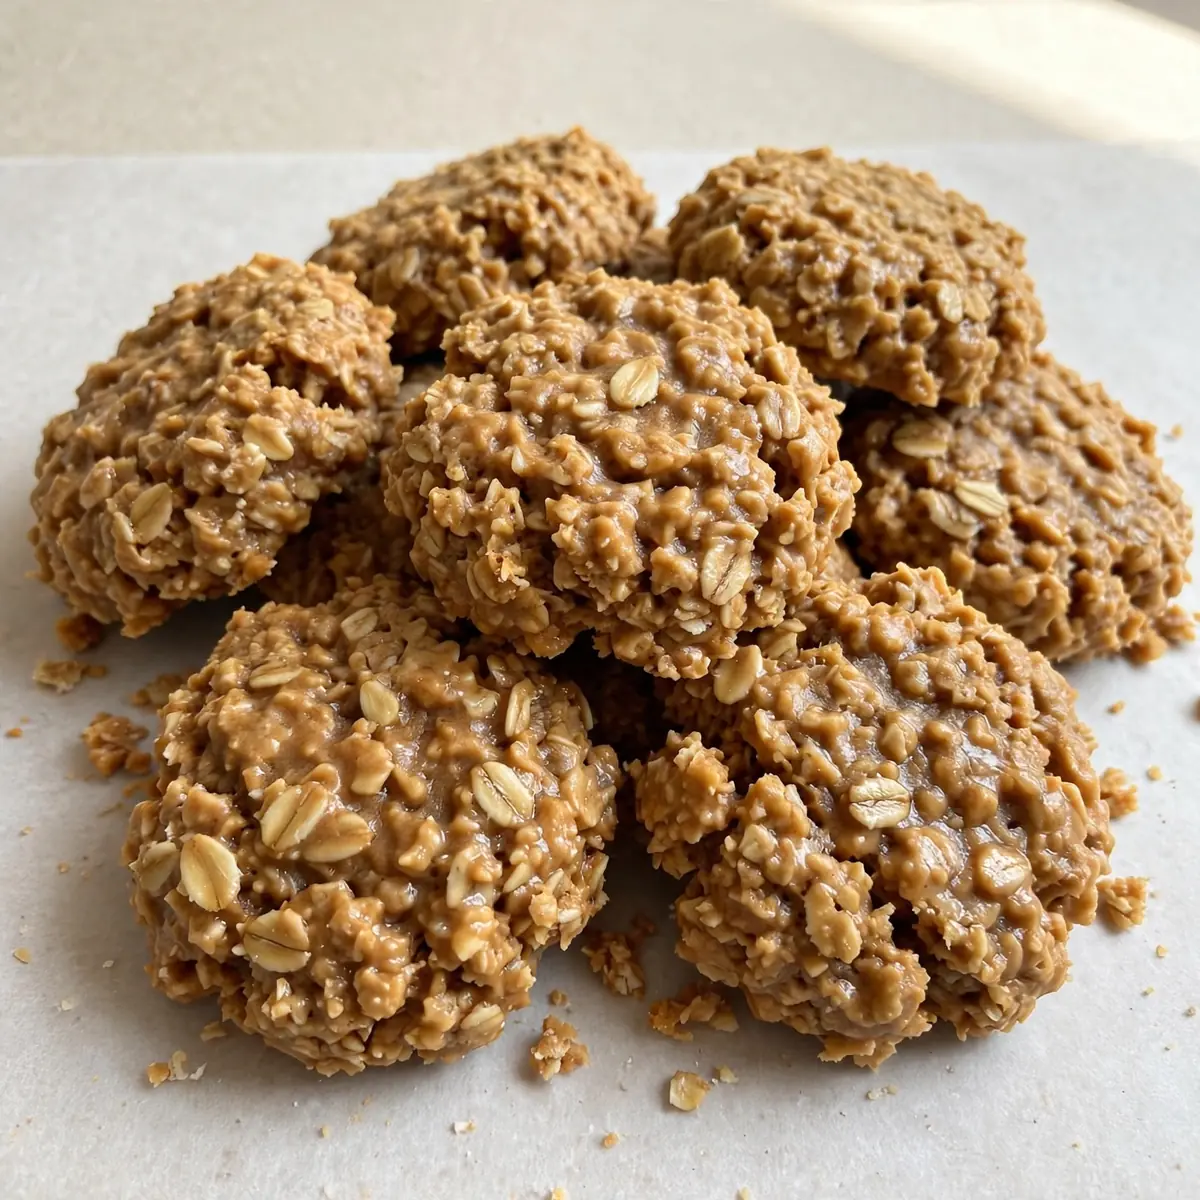
After a long day of school runs, work, and after-school clubs, the last thing I want is a sink full of pans and a complicated recipe. That’s exactly how this no-bake peanut butter oatmeal cookies recipe became our go-to weeknight dinner “dessert” — it comes together faster than you can order takeaway, and the only thing you dirty is a single saucepan.
Recipe Overview
- Prep time: 10 minutes
- Cook time: 5 minutes
- Total time: 15 minutes (plus 30 minutes chilling)
- Servings: 18–20 cookies
- Difficulty: Easy
Why You’ll Love This No-Bake Peanut Butter Oatmeal Cookies
- One-pot wonder: You melt, stir, and scoop from a single saucepan — minimal washing up means more time with the family.
- No oven required: Perfect for warm evenings when you don’t want to heat the kitchen, or when the oven is already full with a main dish.
- Make-ahead magic: These cookies keep beautifully in the fridge for up to a week, so you can prep them on Sunday for grab-and-go treats all week.
- Kid-approved: My kids absolutely devour this every time I make it. They love helping me stir the mixture and watching it thicken.
- Pantry staple ingredients: You probably already have everything you need — no special trips to the supermarket required.
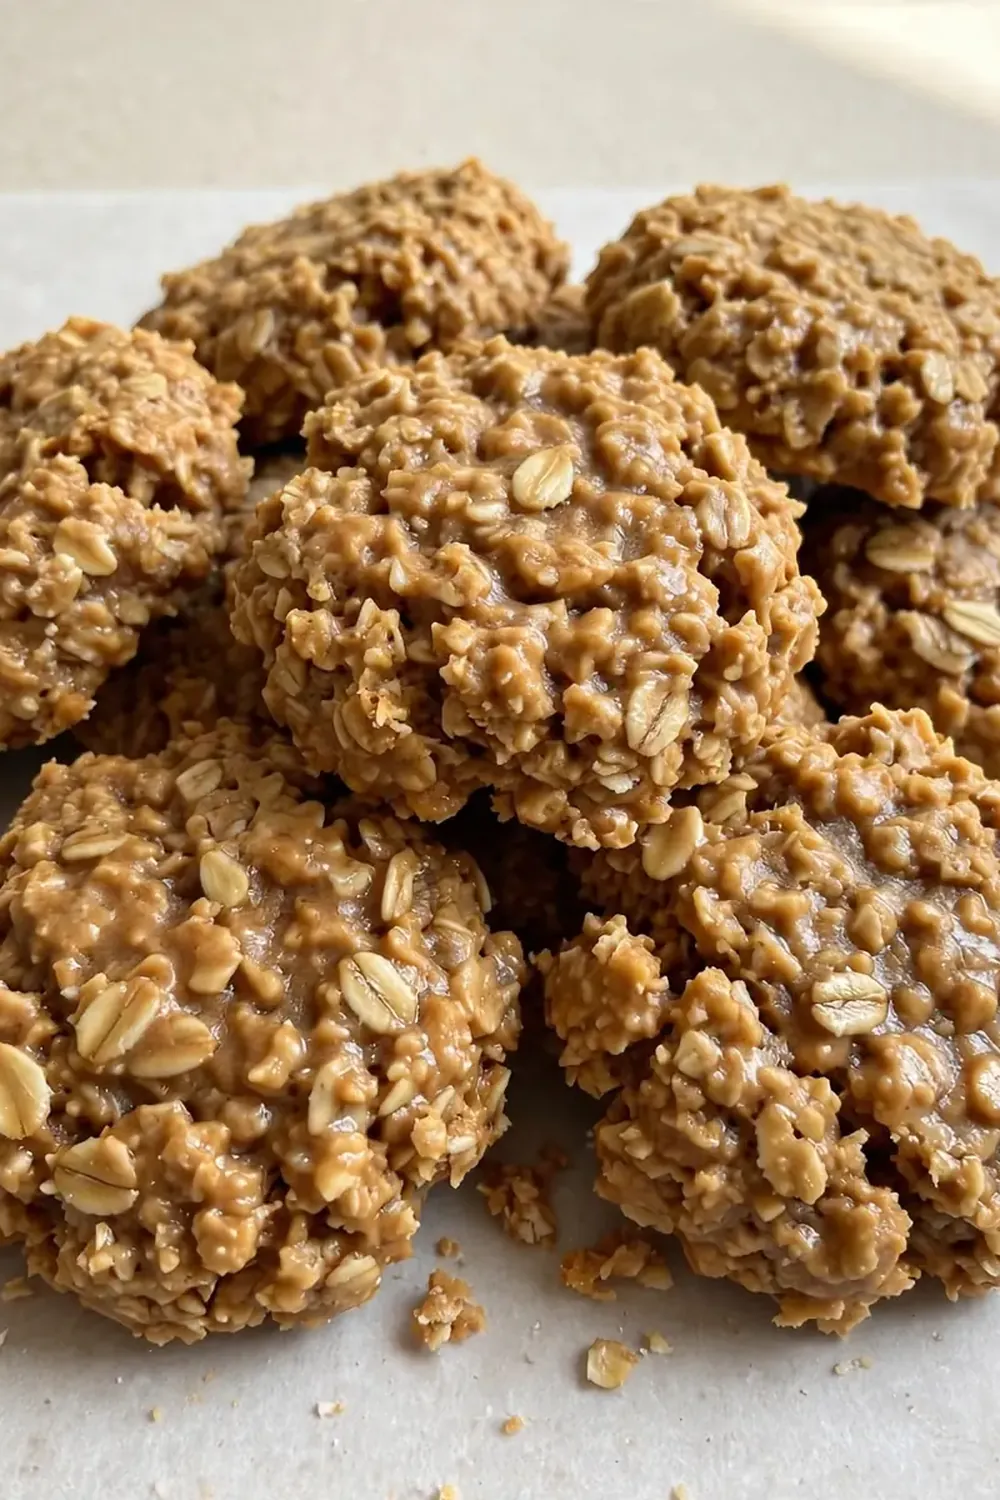
Ingredients You’ll Need
- 200g caster sugar
- 120ml whole milk
- 115g unsalted butter
- 4 tablespoons cocoa powder
- 200g smooth peanut butter
- 1 teaspoon vanilla extract
- 200g porridge oats
- 50g desiccated coconut (optional)
- Pinch of sea salt
Tip: Use quick-cook oats if you prefer a softer texture; rolled oats give a chewier bite. I stumbled upon this combination by accident when I ran out of rolled oats one evening, and it’s been a hit ever since.
How to Make No-Bake Peanut Butter Oatmeal Cookies
- Line your tray: Line a large baking tray with parchment paper. You’ll want it ready before you start cooking — the mixture sets fast.
- Melt the base: In a medium saucepan over medium heat, combine the caster sugar, milk, butter, and cocoa powder. Stir continuously until the butter has melted and the mixture is smooth and glossy — you’ll see it turn a deep, rich brown, and you’ll smell the cocoa blooming.
- Bring to a boil: Increase the heat to medium-high and bring the mixture to a full rolling boil. Let it boil for exactly 1 minute without stirring. You’ll see large bubbles breaking the surface, and the mixture will thicken slightly — this is crucial for the cookies to set properly.
- Remove from heat: Take the saucepan off the heat immediately. Stir in the peanut butter and vanilla extract until fully combined. The mixture should be smooth and silky, with a glossy sheen.
- Add the dry ingredients: Fold in the porridge oats, desiccated coconut (if using), and a pinch of sea salt. Stir until every oat is coated — the mixture will look thick and lumpy, and you’ll smell the warm peanut butter and oats together.
- Scoop and shape: Working quickly while the mixture is still warm, use a tablespoon or small cookie scoop to drop rounded portions onto the lined tray. If the mixture starts to stiffen, you can press each cookie gently with the back of a spoon to flatten it slightly.
- Chill to set: Place the tray in the refrigerator for at least 30 minutes. The cookies are ready when they are firm to the touch and no longer sticky. You’ll see they’ve set into solid, slightly shiny discs.
- Serve or store: Once set, transfer the cookies to a wire cooling rack if you like, or simply enjoy them straight from the fridge. They will continue to firm up as they cool completely.
Tips From My Kitchen
- Boil for exactly one minute: This isn’t a suggestion — it’s the secret to the right texture. Boil for less and the cookies will be too soft and never set properly; boil for more and they’ll become dry and crumbly. Set a timer the moment the mixture reaches a full rolling boil.
- Use a heavy-bottomed saucepan: A thin pan can cause hot spots that burn the sugar mixture before it’s fully melted. A heavy-bottomed pan distributes heat evenly, giving you a smooth, lump-free base every time.
- Work quickly once the oats are in: The mixture stiffens as it cools, so have your lined tray ready before you start. If it becomes too thick to scoop, you can return the saucepan to very low heat for 10–15 seconds to loosen it slightly.
- Don’t skip the chilling step: These cookies absolutely need time in the fridge to set. Rushing this step will give you a sticky, messy pile instead of a neat cookie. Patience pays off here.
- Make ahead for busy weeks: Double the batch and store half in an airtight container in the fridge for up to a week, or freeze for up to three months. They thaw in just 10 minutes at room temperature — perfect for lunchboxes or after-school snacks.
Equipment You’ll Need
- Medium saucepan (heavy-bottomed preferred)
- Wooden spoon or silicone spatula
- Baking tray
- Parchment paper
- Tablespoon or small cookie scoop
- Wire cooling rack (optional)
Common Mistakes to Avoid
- Overcrowding the pan: If you try to double the batch in the same saucepan, the mixture won’t heat evenly and the boiling time will be off. Stick to a single batch per pan, or use a larger pot if doubling.
- Wrong temperature: Boiling the mixture on too low a heat won’t activate the sugar properly, leading to soft, unset cookies. Keep the heat at medium-high and watch for that full rolling boil — big, energetic bubbles, not small, lazy ones.
- Skipping the rest time: The chilling step isn’t optional — it’s where the cookies actually set. Without it, you’ll end up with a sticky, oat-filled mess. Give them the full 30 minutes in the fridge, or even longer if you have time.
Delicious Variations to Try
- Spicy Version: Add half a teaspoon of ground cinnamon and a pinch of cayenne pepper along with the oats. The warmth of the spice balances beautifully with the sweet peanut butter, and it’s a lovely surprise for grown-up palates.
- Vegetarian/Vegan Option: Replace the butter with coconut oil and use a plant-based milk like almond or oat milk. The texture will be slightly different — a little firmer — but just as delicious. Use maple syrup instead of caster sugar for a less refined option.
- Different Protein: Swap the peanut butter for almond butter, cashew butter, or sunflower seed butter if you have a nut allergy. Each gives a distinct flavour — almond butter is milder, while sunflower seed butter turns the cookies a surprising greenish-brown (don’t worry, it’s natural).
What to Serve With No-Bake Peanut Butter Oatmeal Cookies
- A glass of cold milk — the classic pairing that never fails
- A dollop of Greek yoghurt for a creamy contrast
- Fresh berries or sliced banana for a touch of tartness
- A warm mug of herbal tea or coffee for the grown-ups
Still hungry for ideas? You might also love No Bake Coconut Macaroons, Hearty Oatmeal Apple Breakfast Bake For Mornings from our sister kitchens.
Frequently Asked Questions
No-Bake Peanut Butter Oatmeal Cookies
Ingredients
Method
- Line your tray: Line a large baking tray with parchment paper. You'll want it ready before you start cooking — the mixture sets fast.
- Melt the base: In a medium saucepan over medium heat, combine the caster sugar, milk, butter, and cocoa powder. Stir continuously until the butter has melted and the mixture is smooth and glossy — you'll see it turn a deep, rich brown, and you'll smell the cocoa blooming.
- Bring to a boil: Increase the heat to medium-high and bring the mixture to a full rolling boil. Let it boil for exactly 1 minute without stirring. You'll see large bubbles breaking the surface, and the mixture will thicken slightly — this is crucial for the cookies to set properly.
- Remove from heat: Take the saucepan off the heat immediately. Stir in the peanut butter and vanilla extract until fully combined. The mixture should be smooth and silky, with a glossy sheen.
- Add the dry ingredients: Fold in the porridge oats, desiccated coconut (if using), and a pinch of sea salt. Stir until every oat is coated — the mixture will look thick and lumpy, and you'll smell the warm peanut butter and oats together.
- Scoop and shape: Working quickly while the mixture is still warm, use a tablespoon or small cookie scoop to drop rounded portions onto the lined tray. If the mixture starts to stiffen, you can press each cookie gently with the back of a spoon to flatten it slightly.
- Chill to set: Place the tray in the refrigerator for at least 30 minutes. The cookies are ready when they are firm to the touch and no longer sticky. You'll see they've set into solid, slightly shiny discs.
- Serve or store: Once set, transfer the cookies to a wire cooling rack if you like, or simply enjoy them straight from the fridge. They will continue to firm up as they cool completely.
Notes
I’d love to hear how these no-bake peanut butter oatmeal cookies work out in your kitchen. Did your family love them as much as mine does? Drop a comment below and let me know your favourite variation — I’m always looking for new ideas to try.






