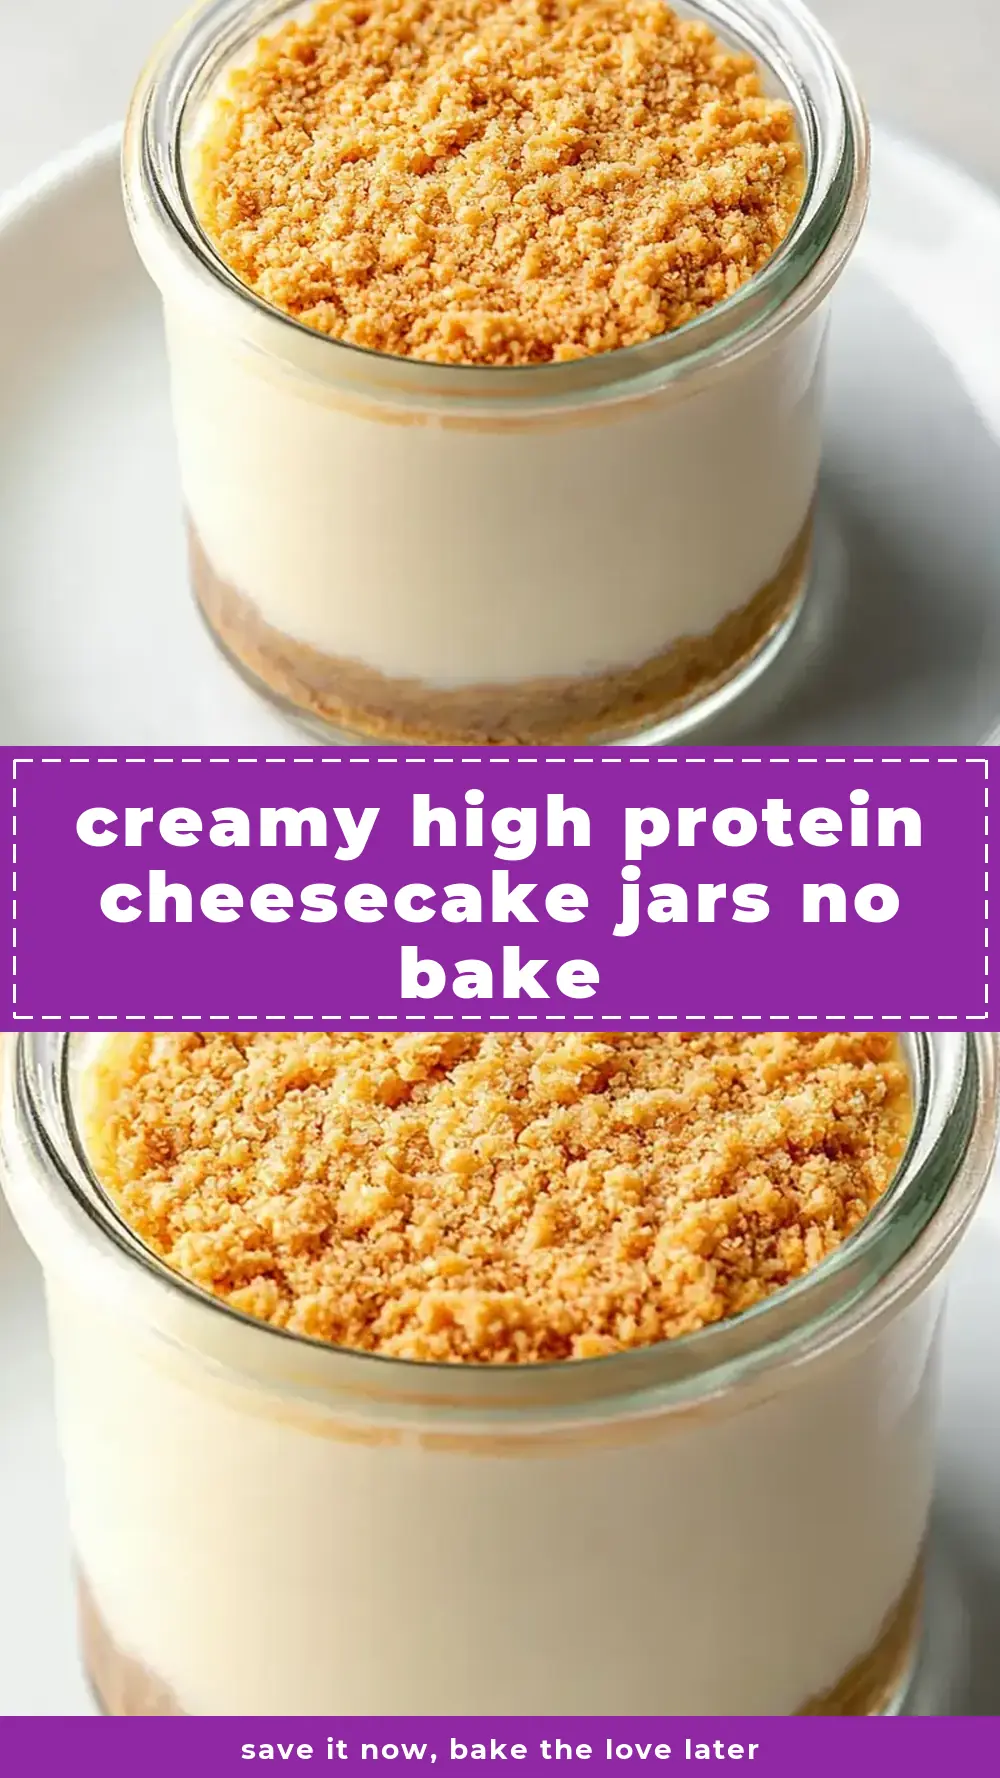
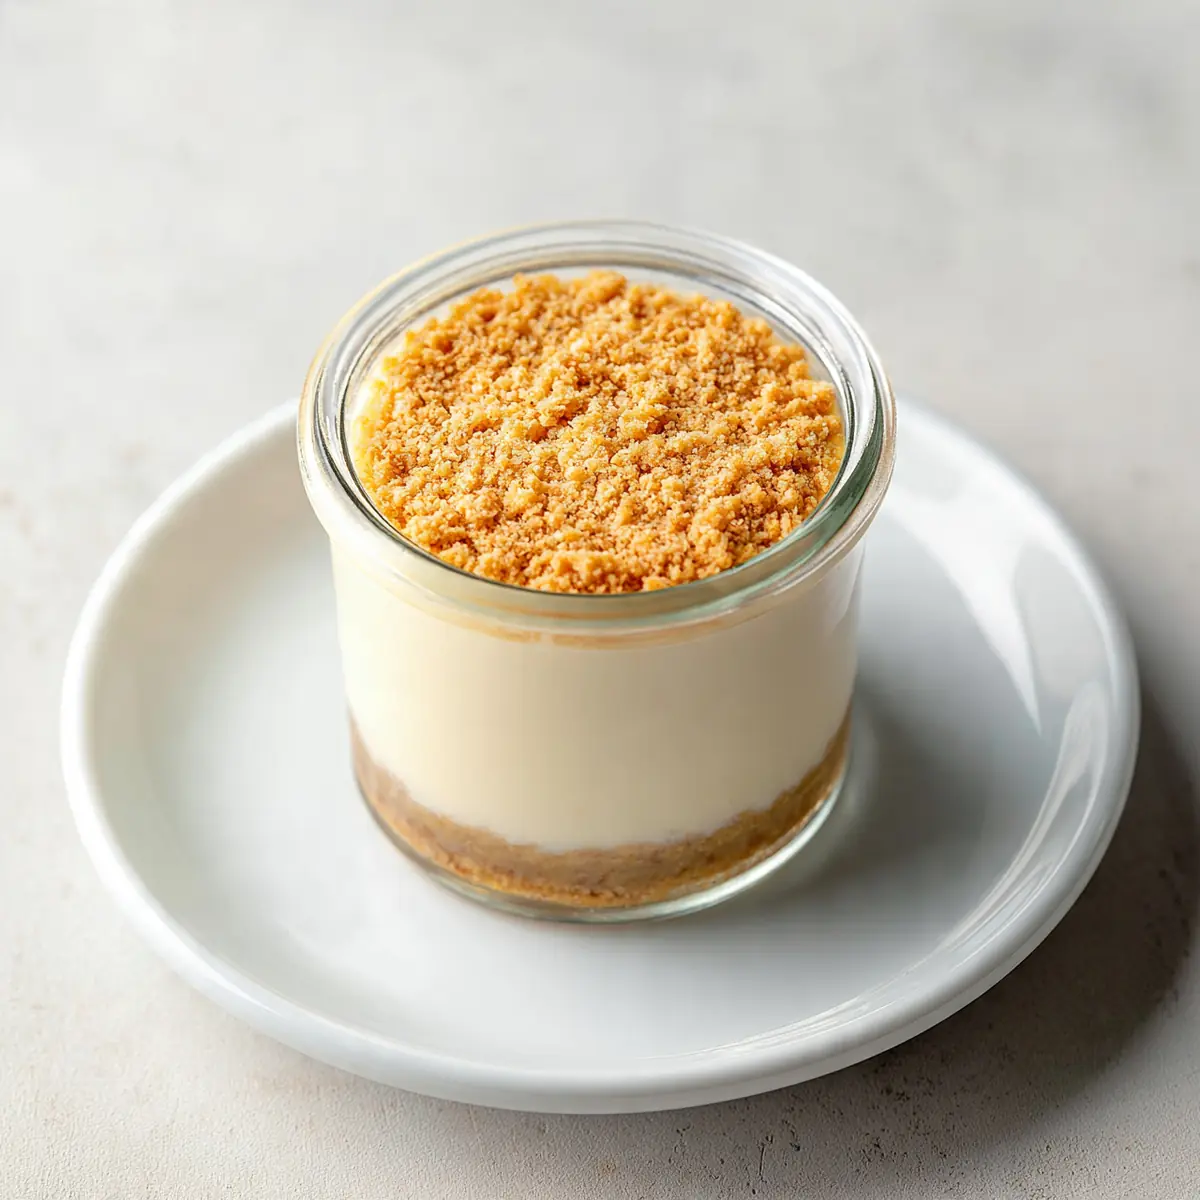
Creamy High Protein Cheesecake Jars No Bake
As the sun dips below the horizon on a bustling Tuesday evening, the kitchen often feels like a whirlwind after a long day of work and school runs. Dinner is done, but there’s still that little craving for something sweet, something satisfying, yet utterly unfussy. This is where my Creamy High Protein Cheesecake Jars come to the rescue – a beacon of calm in the weeknight chaos, offering a delightful treat without adding another chore to your already packed schedule.
My journey to perfecting these jars began out of sheer necessity. With two active children and a demanding job, I often found myself reaching for less-than-ideal treats when the craving struck, simply because time was a luxury I rarely had. I wanted something wholesome, that felt indulgent but offered a nutritional boost, and most importantly, could be prepped ahead, like this Creamy High Protein Chocolate Pudding Recipe.com/creative-thanksgiving-dessert-ideas-for-guests/”>Creative Thanksgiving Dessert Ideas For Guests.com/nutritious-pumpkin-pie-smoothie-bowl-recipe/”>Nutritious Pumpkin Pie Smoothie Bowl Recipe.com/mini-chocolate-nut-desserts-for-any-occasion-2/”>Mini Chocolate Nut Desserts For Any Occasion.com/beautiful-strawberry-pastries-for-a-sweet-occasion-2/”>Beautiful Strawberry Pastries For A Sweet Occasion.com/fudgy-zucchini-brownies-with-chocolate-glaze-2/”>Fudgy Zucchini Brownies With Chocolate Glaze. After countless experiments, I stumbled upon this combination by accident, and it’s been a hit ever since, transforming our dessert routine from a last-minute scramble to a moment of pure, guilt-free pleasure.
These no-bake cheesecake jars are an absolute godsend for busy families. They’re quick to assemble, require minimal washing up, and are fantastic for making ahead, meaning you can simply pull them from the fridge when that sweet tooth calls. Not only do they deliver on taste, but with their higher protein content, they also offer a satisfying end to any meal, keeping hunger at bay until breakfast. Trust me, these aren’t just a dessert; they’re a clever solution for reclaiming your precious weeknight evenings.
Recipe Overview
- Prep Time: 25 minutes
- Chill Time: Minimum 2 hours (preferably 4 hours or overnight)
- Total Time: 25 minutes active, plus chilling
- Servings: 6 jars
- Difficulty: Easy
Why You’ll Love This Creamy High Protein Cheesecake Jars No Bake
- Effortless Weeknight Solution: Designed for speed and convenience, these jars simplify your evening routine.
- Minimal Washing Up: A few bowls and a mixer are all you need, making cleanup a breeze.
- Nutrient-Packed Indulgence: Enjoy a sweet treat that also contributes to your daily protein intake, keeping you satisfied.
- Perfect for Meal Prep: Make a batch on Sunday, and have delicious desserts ready for the entire week.
- Customisable Flavours: Easily adapt the toppings and base to suit everyone’s preferences, ensuring no complaints!
Ingredients You’ll Need
- 200g digestive biscuits
- 75g unsalted butter, melted
- 500g full-fat cream cheese, softened
- 250g Greek yoghurt (full-fat or 0% fat, for protein boost)
- 100g icing sugar, sifted
- 1 teaspoon vanilla extract
- 200ml double cream
- Pinch of fine sea salt
- Fresh berries (strawberries, raspberries, blueberries) for topping
- Optional: 2 tablespoons lemon juice for a zesty kick
- Optional: 2 tablespoons protein powder (unflavoured or vanilla) for an extra boost
Tip: Using full-fat cream cheese and double cream will give you the richest, most luxurious texture. However, for a lighter option, you can certainly use a reduced-fat cream cheese and a lighter cream, though the protein content will still be significant thanks to the Greek yoghurt.
How to Make Creamy High Protein Cheesecake Jars No Bake
- Prepare the Biscuit Base: Take your digestive biscuits and place them into a food processor. Blitz until they form fine crumbs, resembling coarse sand. Alternatively, place them in a zip-top bag and crush them thoroughly with a rolling pin. Melt your unsalted butter gently in a small saucepan or microwave until it’s completely liquid and glistens. Pour the melted butter over the biscuit crumbs in a medium bowl and mix well with a spoon until all the crumbs are evenly coated and appear moist.
- Assemble the Bases: Divide the buttery biscuit mixture evenly among 6-8 individual serving jars (small jam jars or ramekins work perfectly). Press the crumbs down firmly into the bottom of each jar using the back of a spoon or your fingertips. You want a compact, even layer that feels solid. Once pressed, place these jars in the refrigerator to chill for at least 15 minutes while you prepare the filling. This helps the base set and prevents it from crumbling too much when you spoon on the topping.
- Whip the Cream Cheese Mixture: In a large mixing bowl, combine the softened full-fat cream cheese, Greek yoghurt, sifted icing sugar, vanilla extract, and a pinch of salt. If you’re adding lemon juice or protein powder, incorporate them now. Using a stand mixer fitted with the whisk attachment, or a hand mixer, beat the mixture on medium speed until it’s completely smooth, light, and appears creamy white, with no lumps visible. Scrape down the sides of the bowl occasionally to ensure everything is fully incorporated.
- Fold in the Double Cream: In a separate, chilled bowl, whip the double cream until it forms soft peaks – it should hold its shape but still be light and airy. Gently fold the whipped cream into the cream cheese mixture using a spatula. Use a light hand, folding just until no streaks of cream remain and the mixture is uniformly pale and fluffy. Overmixing at this stage can deflate the cream, so be gentle to maintain that lovely, airy texture. The mixture should smell subtly sweet and vanilla-scented.
- Fill the Jars: Spoon or pipe the creamy cheesecake filling into the prepared jars, distributing it evenly over the chilled biscuit bases. Fill the jars almost to the top, leaving a small space for your toppings. The filling should look smooth and invitingly soft. You can use a piping bag for a neater finish, but a spoon works perfectly well too. Gently tap each jar on the counter a couple of times to settle the filling and remove any air bubbles.
- Chill and Set: Cover each jar with a lid or cling film to prevent any fridge odours from being absorbed. Return the cheesecake jars to the refrigerator and chill for a minimum of 2-4 hours, or ideally, overnight. This crucial step allows the cheesecake to firm up, creating that classic creamy, dense texture. When properly chilled, the filling should feel firm to the touch and hold its shape beautifully.
- Serve with Toppings: Just before serving, uncover the chilled cheesecake jars. Top generously with fresh berries – a vibrant cascade of strawberries, raspberries, and blueberries creates a beautiful contrast to the pale filling. Friends always ask me for this recipe after trying it at dinner parties, and the fresh fruit is always a highlight!
Tips From My Kitchen
- Chill Your Bowls and Utensils for Whipping Cream: For the best results when whipping double cream, pop your mixing bowl and whisk attachment (or beater blades) into the freezer for 10-15 minutes before you start. The cold helps the cream whip up much faster and achieve those lovely, stable soft peaks. This prevents over-whipping and ensures your cheesecake filling stays light and airy.
- Soften Cream Cheese Properly: Ensure your full-fat cream cheese is at room temperature before you start mixing. If it’s too cold, it will be lumpy and difficult to incorporate smoothly, leading to a grainy texture in your finished cheesecake. Take it out of the fridge at least an hour before you plan to start, or gently warm it in its packaging in a bowl of warm water for 10-15 minutes. This small step makes a huge difference to the creaminess.
- Don’t Skip the Chilling Time: I know it’s tempting to dive straight in, but the extended chilling time is absolutely essential for no-bake cheesecakes. It allows the gelatine-free mixture to properly set and firm up, developing that characteristic dense yet creamy texture. Rushing this step will result in a runny, disappointing dessert. Plan ahead and give them at least 4 hours, or ideally, chill them overnight.
- Customise Your Base: While digestive biscuits are a classic for a reason, don’t be afraid to experiment! Try ginger biscuits for a spicy kick, oat biscuits for a chewier texture, or even gluten-free biscuits if catering to dietary needs. You can also add a pinch of cinnamon or cocoa powder to your biscuit crumbs for an extra layer of flavour.
- Make Ahead for Stress-Free Serving: These cheesecake jars are a dream for meal prep. You can assemble them completely (without the fresh berry toppings) up to 3 days in advance and keep them covered in the fridge. This frees up your weeknights for other activities, making them perfect for busy families. Just add your fresh fruit right before serving for maximum visual appeal and freshness.
- Consider Individual Jars for Portion Control and Portability: Using individual jars is not only charming but also incredibly practical. It allows for perfect portion control and makes these cheesecakes easy to transport for packed lunches or picnics. Plus, minimal mess!
Equipment You’ll Need
- Stand mixer or hand mixer
- Food processor (optional, for crushing biscuits)
- Large mixing bowl
- Rubber spatula
- 6-8 small jars (e.g., jam jars, ramekins)
- Cling film or jar lids
Common Mistakes to Avoid
- Overcrowding the pan: While not applicable to baking in a pan for this no-bake recipe, the equivalent mistake would be overfilling your individual jars. Ensure you leave enough space at the top for your generous fruit toppings. Overfilling can make them difficult to cover and transport, and visually less appealing.
- Wrong temperature: Using cold cream cheese will result in a lumpy filling that lacks the silky smooth texture we’re aiming for. Always ensure your cream cheese is at room temperature to guarantee a perfectly smooth and uniform mixture. Conversely, ensure your double cream is very cold before whipping to achieve the best peaks.
- Skipping the rest time: The chilling period is non-negotiable for no-bake cheesecakes. Skipping or shortening this time will lead to a runny, unset dessert. The cold allows the fats in the cream cheese and double cream to firm up, creating that delightful, set texture. Patience is key for a successful jar!
What to Serve With Creamy High Protein Cheesecake Jars No Bake
- A light dusting of icing sugar
- A sprig of fresh mint for garnish
- A drizzle of honey or maple syrup
- A scattering of toasted flaked almonds for crunch
- A few curls of dark chocolate
Frequently Asked Questions
Creamy High Protein Cheesecake Jars No Bake
Ingredients
Method
-
Prepare the Biscuit Base: Take your digestive biscuits and place them into a food processor. Blitz until they form fine crumbs, resembling coarse sand. Alternatively, place them in a zip-top bag and crush them thoroughly with a rolling pin. Melt your unsalted butter gently in a small saucepan or microwave until it’s completely liquid and glistens. Pour the melted butter over the biscuit crumbs in a medium bowl and mix well with a spoon until all the crumbs are evenly coated and appear moist.
-
Assemble the Bases: Divide the buttery biscuit mixture evenly among 6-8 individual serving jars (small jam jars or ramekins work perfectly). Press the crumbs down firmly into the bottom of each jar using the back of a spoon or your fingertips. You want a compact, even layer that feels solid. Once pressed, place these jars in the refrigerator to chill for at least 15 minutes while you prepare the filling. This helps the base set and prevents it from crumbling too much when you spoon on the topping.
-
Whip the Cream Cheese Mixture: In a large mixing bowl, combine the softened full-fat cream cheese, Greek yoghurt, sifted icing sugar, vanilla extract, and a pinch of salt. If you’re adding lemon juice or protein powder, incorporate them now. Using a stand mixer fitted with the whisk attachment, or a hand mixer, beat the mixture on medium speed until it’s completely smooth, light, and appears creamy white, with no lumps visible. Scrape down the sides of the bowl occasionally to ensure everything is fully incorporated.
-
Fold in the Double Cream: In a separate, chilled bowl, whip the double cream until it forms soft peaks – it should hold its shape but still be light and airy. Gently fold the whipped cream into the cream cheese mixture using a spatula. Use a light hand, folding just until no streaks of cream remain and the mixture is uniformly pale and fluffy. Overmixing at this stage can deflate the cream, so be gentle to maintain that lovely, airy texture. The mixture should smell subtly sweet and vanilla-scented.
-
Fill the Jars: Spoon or pipe the creamy cheesecake filling into the prepared jars, distributing it evenly over the chilled biscuit bases. Fill the jars almost to the top, leaving a small space for your toppings. The filling should look smooth and invitingly soft. You can use a piping bag for a neater finish, but a spoon works perfectly well too. Gently tap each jar on the counter a couple of times to settle the filling and remove any air bubbles.
-
Chill and Set: Cover each jar with a lid or cling film to prevent any fridge odours from being absorbed. Return the cheesecake jars to the refrigerator and chill for a minimum of 2-4 hours, or ideally, overnight. This crucial step allows the cheesecake to firm up, creating that classic creamy, dense texture. When properly chilled, the filling should feel firm to the touch and hold its shape beautifully.
-
Serve with Toppings: Just before serving, uncover the chilled cheesecake jars. Top generously with fresh berries – a vibrant cascade of strawberries, raspberries, and blueberries creates a beautiful contrast to the pale filling. Friends always ask me for this recipe after trying it at dinner parties, and the fresh fruit is always a highlight!
Notes
There you have it – a truly delightful, high-protein dessert that doesn’t demand hours in the kitchen, making it the ideal solution for those demanding weeknights. These Creamy High Protein Cheesecake Jars have become a firm favourite in my home, offering that perfect balance of indulgence and nourishment without the fuss. I hope they bring as much joy and ease to your family dinners as they have to mine. Do give them a try and let me know what you think in the comments below!