5-Minute Prep Fudgy Cocoa Brownies for Busy Weeknights
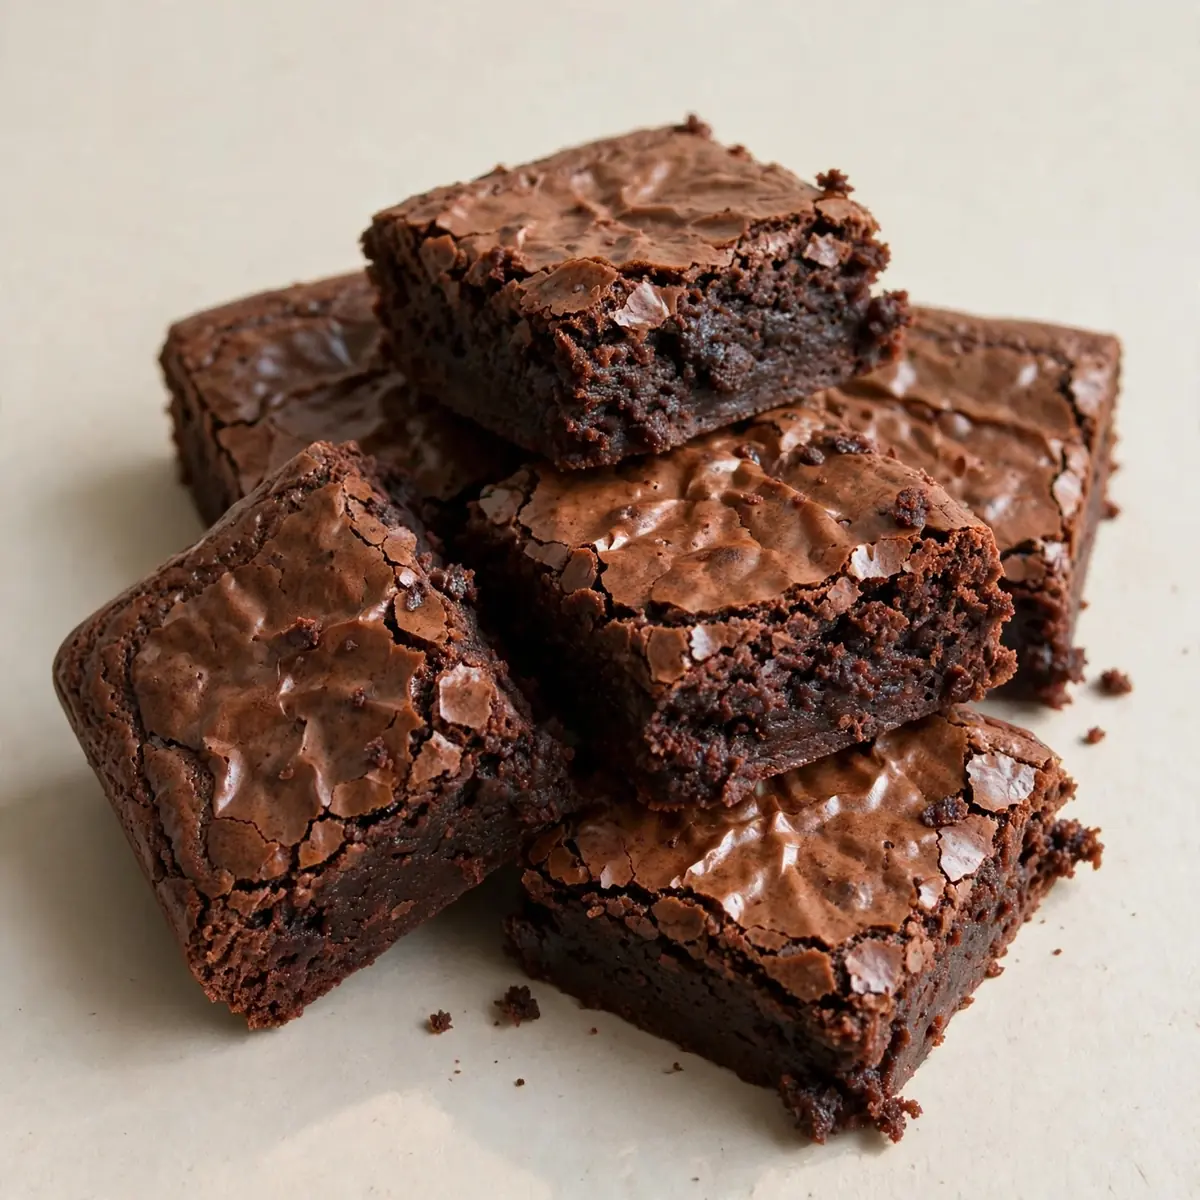
When the school run turns into a meltdown and the kitchen clock is ticking, the last thing anyone wants is a washing-up mountain. I turned to this Fudgy Cocoa Brownies recipe on a frantic Tuesday, needing a dessert that would come together faster than a takeaway order and leave only one bowl to rinse.
Recipe Overview
- Prep time: 10 minutes
- Cook time: 22 minutes
- Total time: 32 minutes
- Servings: 16 generous squares
- Difficulty: Easy
Why You’ll Love This Fudgy Cocoa Brownies
- One-bowl wonder: Everything melts and mixes in a single saucepan, meaning you’ll spend less than five minutes at the sink afterwards.
- No stand mixer required: A wooden spoon and a bit of elbow grease are all you need — no electric gadgets to haul out or wash up.
- Perfect for lunchboxes: These brownies stay moist for days, making them ideal for packing into school or work bags without turning into crumbs.
- Freezer-friendly: You can bake a batch on Sunday, slice it, and stash portions in the freezer for those after-school emergencies that pop up midweek.
- Deep chocolate flavour without fancy ingredients: Good-quality cocoa powder does all the heavy lifting here, so there’s no need to chop expensive chocolate or hunt down speciality items.
Ingredients You’ll Need
- 200g unsalted butter, cut into cubes
- 300g caster sugar
- 80g cocoa powder (Dutch-processed gives the richest colour)
- 3 large eggs, at room temperature
- 1 teaspoon vanilla extract
- 100g plain flour
- ½ teaspoon salt
- 100g dark chocolate chips (optional, but recommended for extra fudginess)
Tip: Make sure your eggs are truly at room temperature — cold eggs can cause the butter mixture to seize, giving you a denser, less tender crumb. Pop them into a bowl of warm water for five minutes if you’re short on time.
How to Make Fudgy Cocoa Brownies
- Preheat and prepare: Set your oven to 170°C (fan-assisted). Line a 20cm square baking tin with baking parchment, leaving some overhang on two sides — this will become your handle for lifting the baked brownie out cleanly.
- Melt the butter and sugar together: Place the butter cubes and caster sugar in a medium saucepan over a low heat. Stir gently with a wooden spoon as the butter melts. You’ll know it’s ready when the mixture looks like a smooth, glossy syrup and feels warm to the touch — about 3 to 4 minutes. Do not let it bubble or boil.
- Sift in the cocoa powder: Remove the saucepan from the heat. Sift the cocoa powder over the butter-sugar mixture and stir until fully incorporated. The batter will look thick, dark and slightly grainy at this stage — that’s perfectly normal.
- Add the eggs one at a time: Crack the first egg into the saucepan and stir vigorously until it disappears into the mixture. Repeat with the remaining two eggs. The batter should transform into a thick, shiny paste that smells intensely of chocolate. Add the vanilla extract and stir once more.
- Fold in the dry ingredients: Sprinkle the flour and salt over the top. Using a gentle folding motion, incorporate the flour until you can no longer see any white streaks. The batter will be stiff and slightly glossy — avoid overmixing, or the brownies will turn cakey. If using chocolate chips, fold them in now.
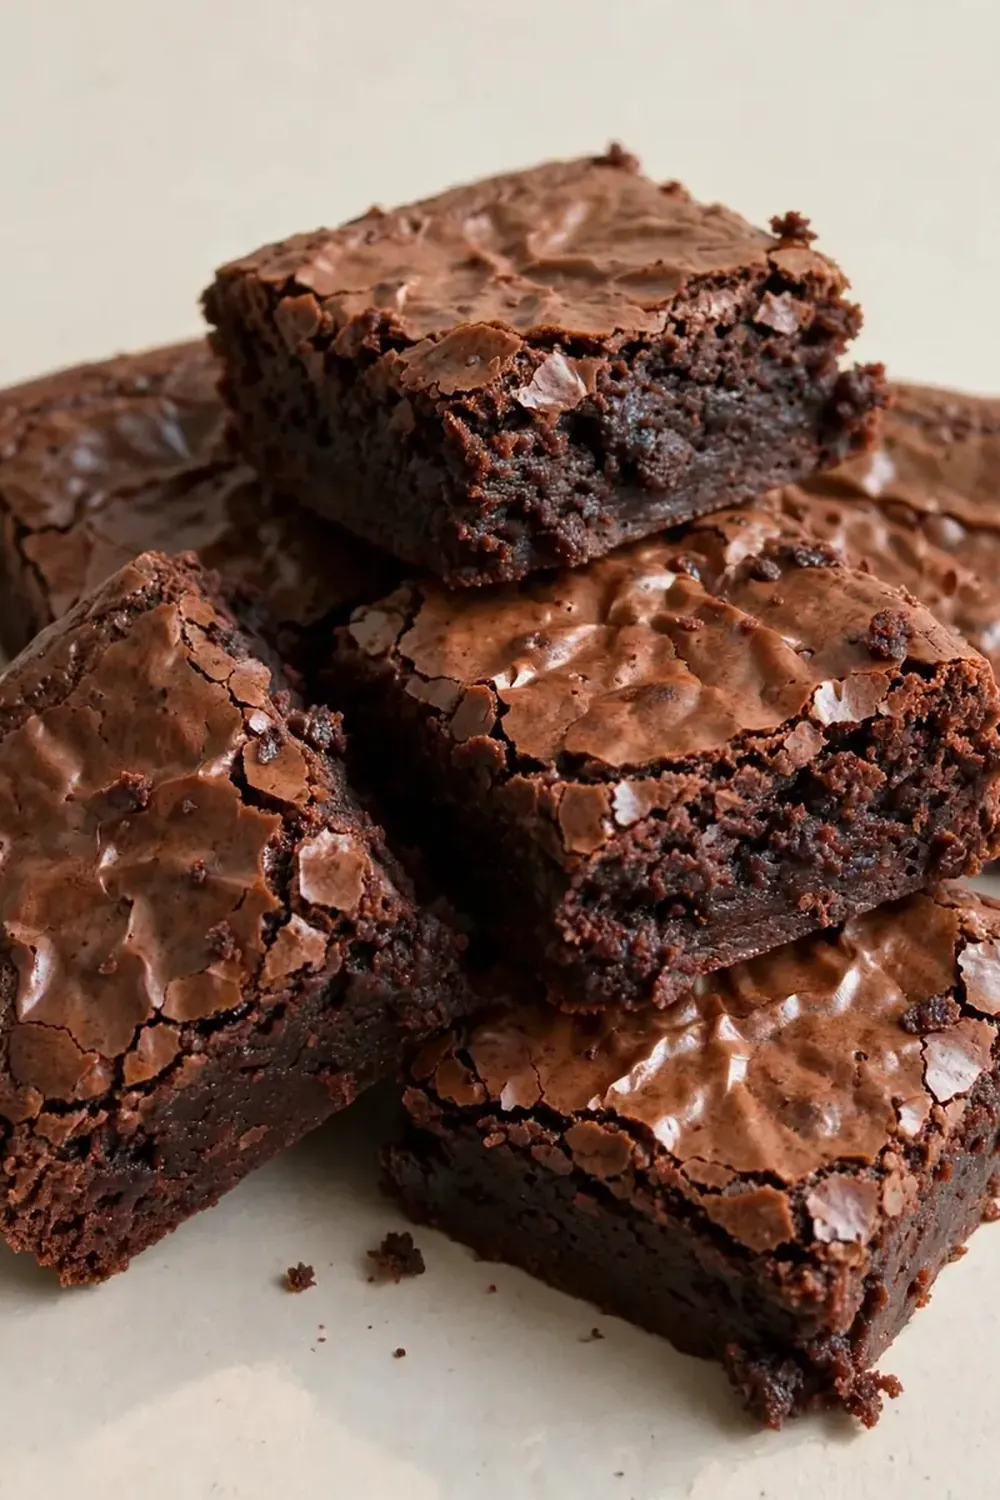
- Bake until the edges pull away: Scrape the batter into the prepared tin and spread it evenly with a spatula. Bake on the middle rack for 20 to 22 minutes. At the 20-minute mark, the centre should still look slightly wet and the edges will have started to pull away from the sides of the tin. The top will have a delicate, papery crust that cracks when you tap it gently.
- Cool completely before slicing: Remove the tin from the oven and place it on a wire rack. Allow the brownies to cool in the tin for at least 30 minutes — this step is crucial for that fudgy texture. Once cool, lift the block out using the parchment overhang and slice into 16 even squares with a sharp knife, wiping the blade clean between cuts.
Tips From My Kitchen
- Weigh your ingredients by grams, not cups: Cocoa powder is notoriously light and airy. A cup can vary by 30g or more depending on how you scoop it, which will throw off the moisture balance. Use a digital scale for consistent, reliable results every time.
- Do not overbake — trust the wobble: The biggest mistake home bakers make is leaving brownies in the oven until a skewer comes out clean. You want it to emerge with a few moist crumbs attached. The residual heat inside the pan continues to cook the centre as it cools, so pulling it out early ensures that signature fudgy texture.
- Line your tin with care: Cut two strips of parchment — one to line the base and two opposite sides, another to line the remaining two sides. This double-layer method prevents any batter from leaking through the seams and makes lifting the finished brownie out effortless.
- Make-ahead tip for busy evenings: You can prepare the dry mix (flour, cocoa powder and salt) in a sealed jar up to a week in advance. On the night you want to bake, simply melt the butter and sugar, then stir in the pre-mixed dry ingredients and eggs. That shaves a solid three minutes off the process.
- Chill before slicing for cleaner edges: After the brownies have cooled to room temperature, pop the whole tin into the fridge for 20 minutes. The firmness allows you to slice through without dragging or crumbling, giving you those picture-perfect squares you see in bakeries.
- Use a hot knife for sticky cuts: Run your knife under hot water, dry it quickly, then slice. The heat glides through the fudgy centre without tearing the crust. Wipe and reheat the blade between each cut for best results.
What to Serve With Fudgy Cocoa Brownies
- A scoop of classic vanilla ice cream — the cold creaminess cuts through the dense chocolate beautifully.
- A dollop of thick Greek yoghurt swirled with a little honey, for a lighter, tangy contrast.
- Fresh raspberries or sliced strawberries, which add a bright, tart pop that balances the sweetness.
- A tall glass of cold milk — sometimes the simplest pairing remains the best.
- If you’re feeling indulgent, a drizzle of warm salted caramel sauce over the top before serving.
Still hungry for ideas? You might also love Fudgy Banana Bread Brownies The Perfect Mix Of Cake Brownies, Budget Batch Cook These Fudgy High Protein Two Bite Brownies from our sister kitchens.
Frequently Asked Questions
Fudgy Cocoa Brownies
Ingredients
Method
- Preheat and prepare: Set your oven to 170°C (fan-assisted). Line a 20cm square baking tin with baking parchment, leaving some overhang on two sides — this will become your handle for lifting the baked brownie out cleanly.
- Melt the butter and sugar together: Place the butter cubes and caster sugar in a medium saucepan over a low heat. Stir gently with a wooden spoon as the butter melts. You’ll know it’s ready when the mixture looks like a smooth, glossy syrup and feels warm to the touch — about 3 to 4 minutes. Do not let it bubble or boil.
- Sift in the cocoa powder: Remove the saucepan from the heat. Sift the cocoa powder over the butter-sugar mixture and stir until fully incorporated. The batter will look thick, dark and slightly grainy at this stage — that’s perfectly normal.
- Add the eggs one at a time: Crack the first egg into the saucepan and stir vigorously until it disappears into the mixture. Repeat with the remaining two eggs. The batter should transform into a thick, shiny paste that smells intensely of chocolate. Add the vanilla extract and stir once more.
- Fold in the dry ingredients: Sprinkle the flour and salt over the top. Using a gentle folding motion, incorporate the flour until you can no longer see any white streaks. The batter will be stiff and slightly glossy — avoid overmixing, or the brownies will turn cakey. If using chocolate chips, fold them in now.
- Bake until the edges pull away: Scrape the batter into the prepared tin and spread it evenly with a spatula. Bake on the middle rack for 20 to 22 minutes. At the 20-minute mark, the centre should still look slightly wet and the edges will have started to pull away from the sides of the tin. The top will have a delicate, papery crust that cracks when you tap it gently.
- Cool completely before slicing: Remove the tin from the oven and place it on a wire rack. Allow the brownies to cool in the tin for at least 30 minutes — this step is crucial for that fudgy texture. Once cool, lift the block out using the parchment overhang and slice into 16 even squares with a sharp knife, wiping the blade clean between cuts.
Notes
Friends always ask me for this recipe after trying it at dinner parties, and I love that they can whip it up on a random weeknight without any fuss. After testing this recipe five times, I finally got it just right — that perfect balance between a glossy, crackly top and a gooey, almost truffle-like centre. Whether you’re baking for a midweek treat or planning ahead for a celebration, these Fudgy Cocoa Brownies are the kind of dessert that makes everyone sigh with satisfaction. If you’re after another dessert that travels well and feeds a crowd, our Festive Christmas Dessert Recipes For Your Guests has plenty of ideas that work beautifully alongside this brownie base. I’d love to hear how yours turn out — drop a comment below and let me know if you managed to resist eating the entire batch in one sitting.