Easy Weeknight Cheesecake Swirl Brownies
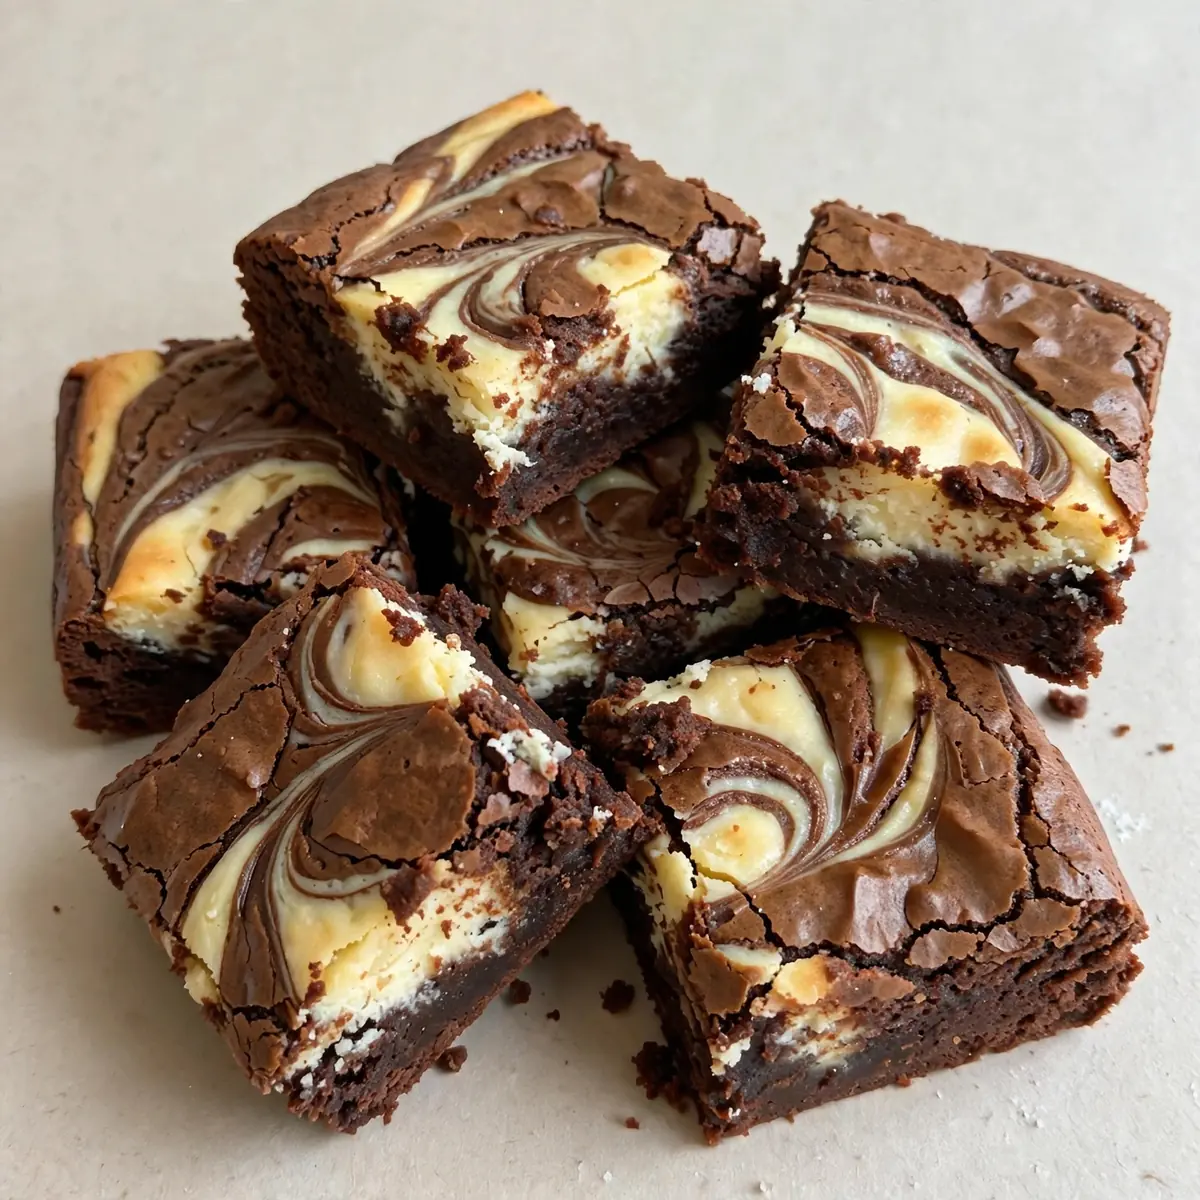
It’s 5:47pm on a Tuesday, the kids are circling the kitchen like hungry sharks, and you’ve just remembered you promised to bring something to the school bake sale tomorrow. This cheesecake swirl brownie recipe is my lifeline on those exact evenings — it goes from pantry to oven in under fifteen minutes and uses just one bowl and one baking tin.
Recipe Overview
- Prep Time: 12 minutes
- Cook Time: 28 minutes
- Total Time: 40 minutes (plus 20 minutes cooling)
- Servings: 16 squares
- Difficulty: Easy
Why You’ll Love This Cheesecake Swirl Brownies
- One-bowl, one-tin recipe: I mix the brownie batter in a single bowl, pour it straight into the lined tin, then mix the cheesecake topping in the same bowl. That is the entire washing-up list.
- No stand mixer required: A wooden spoon and a fork are all you need. This matters when your stand mixer is buried somewhere behind the slow cooker.
- Make-ahead friendly: These brownies taste even better the next day. Bake them the night before, store in the fridge, and slice straight from chilled for clean edges.
- Pantry staple ingredients: Butter, sugar, eggs, flour, cocoa, cream cheese — things I almost always have because they feature in so many other recipes.
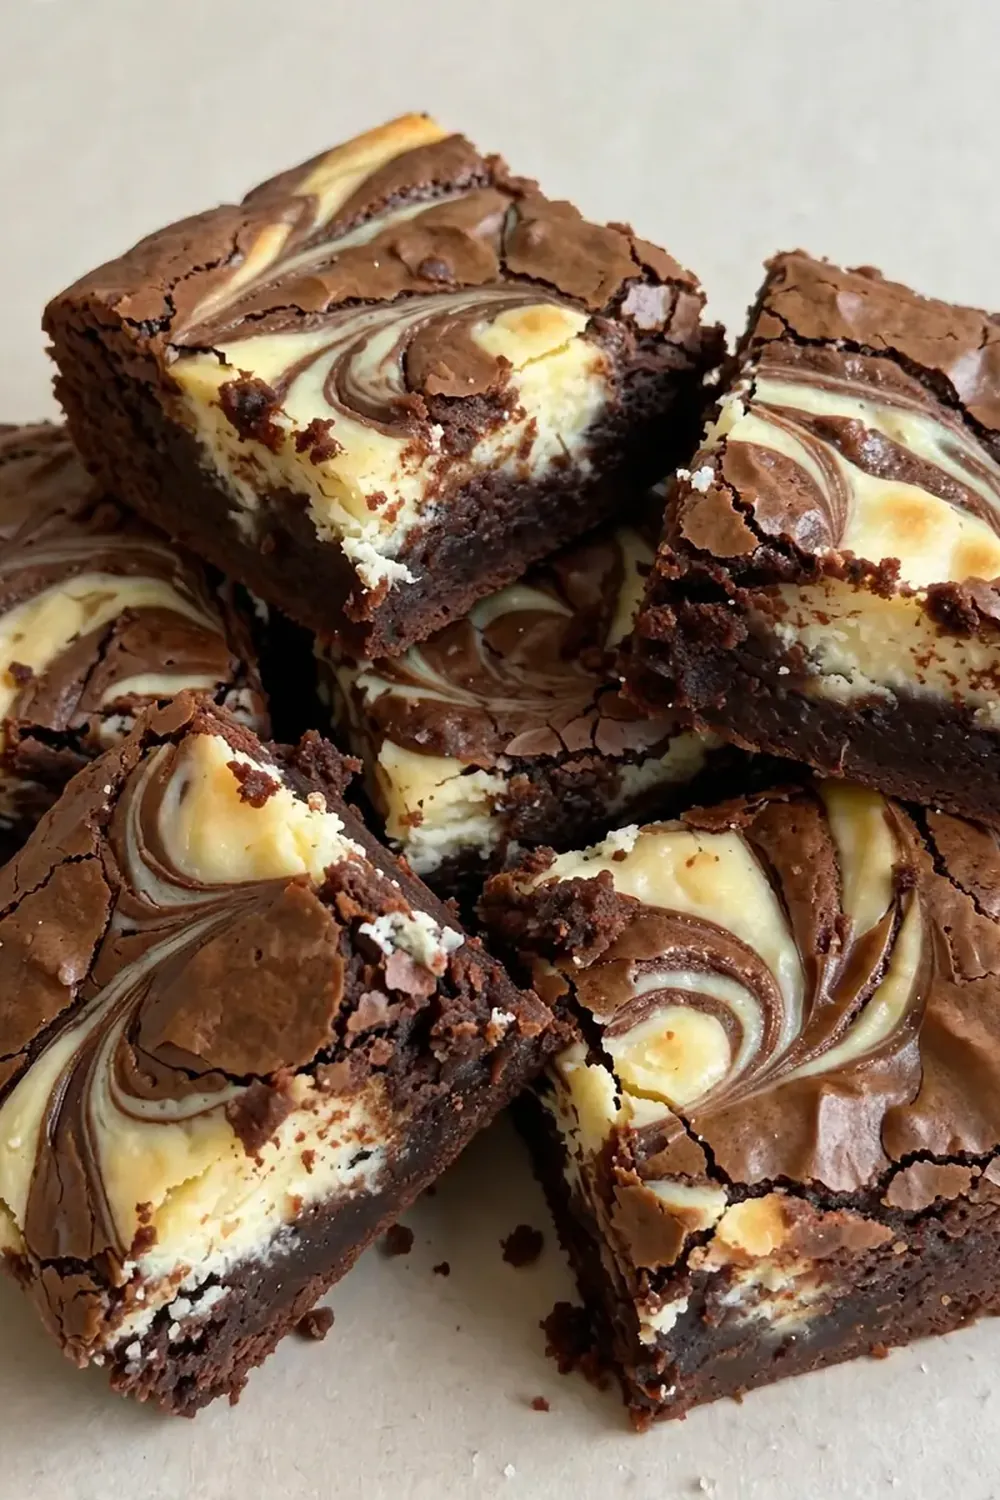
- Foolproof swirl technique: The cheesecake layer is thick enough that it doesn’t sink into the brownie, so every swirl stays visible and distinct.
Ingredients You’ll Need
- 150g unsalted butter
- 200g caster sugar
- 100g light brown sugar
- 2 large eggs, at room temperature
- 1 teaspoon vanilla extract
- 80g plain flour
- 50g cocoa powder
- ¼ teaspoon salt
- 250g full-fat cream cheese, softened
- 50g caster sugar (for cheesecake layer)
- 1 large egg yolk
- ½ teaspoon vanilla extract
Tip: Set your cream cheese and eggs out twenty minutes before you start. Cold cream cheese creates lumps that won’t swirl smoothly, and cold eggs can make the butter seize.
How to Make Cheesecake Swirl Brownies
- Preheat the oven to 180°C (160°C fan). Line a 20cm square baking tin with parchment paper, leaving two sides overhanging like handles. The paper should sit flush against the corners — press it in with your fingertips until you hear it crinkle flat.
- Melt the butter in a large mixing bowl. Microwave in 30-second bursts, stirring each time, until it’s completely liquid and smells nutty and warm. Whisk in both sugars until the mixture looks like wet sand — gritty, glossy, and darker than when you started.
- Add the eggs and vanilla. Whisk vigorously for a full minute. The batter should thicken noticeably, becoming paler and pulling away from the sides of the bowl in ribbons when you lift the whisk. This aeration is what gives the brownie its crackly top.
- Sift the flour, cocoa, and salt directly over the batter. Fold gently with a spatula, scraping the bottom of the bowl. Stop when you can no longer see any white flour streaks — about twelve folds. The batter should be thick, fudgy, and smell deeply of chocolate.
- Spoon the brownie batter into the prepared tin. Use the spatula to spread it evenly into the corners. It will be quite stiff — that is exactly right.
- Make the cheesecake layer in the same bowl. Add the softened cream cheese, 50g sugar, egg yolk, and ½ teaspoon vanilla. Mash with a fork until smooth, then switch to a spoon and beat for thirty seconds until it looks like thick yogurt — pale, silky, and completely lump-free.
- Spoon dollops of cheesecake mixture over the brownie batter. Aim for nine even blobs — three rows of three. Take a butter knife and drag it through both layers in an S-shape, working from left to right. Do this exactly five times; over-swirling muddies the pattern.
- Bake for 26-30 minutes. At 26 minutes, the edges should look set and slightly pulling away from the paper, the centre should wobble just a little when you gently shake the tin, and the top should have a delicate, paper-thin crust. A skewer inserted two inches from the edge should come out with a few moist crumbs — not wet batter.
- Cool in the tin on a wire rack for twenty minutes. The brownie will continue to cook from residual heat. After twenty minutes, lift it out using the parchment handles and transfer to the rack to cool completely. The top should feel firm and matte, not sticky.
- Chill for at least one hour before slicing. I know it’s hard to wait, but a chilled brownie cuts cleanly. Use a long, sharp knife and wipe it between each cut. You should see distinct, creamy swirls against the dark, fudgy brownie.
Tips From My Kitchen
- Line the tin properly: Cut your parchment paper so it reaches exactly to the top edge of the tin, then fold the corners like you’re wrapping a present. This creates a sling that lifts the entire slab out in one piece. If the paper is too short, the brownies will stick to the sides and crumble when you try to lift them.
- Room temperature ingredients are non-negotiable: Cold cream cheese creates tiny white lumps that look like curdled milk in the finished bake. Cold eggs can cause the butter to solidify into small flecks. I set everything on the counter while I sort the washing-up, and by the time I’m done, they’re ready.
- Don’t overmix the brownie batter: Once the flour goes in, gluten development begins. Overmixing produces a cakey, tough brownie instead of the dense, fudgy texture we want. Fold just until the flour disappears — a few tiny flour patches are better than a tough crumb.
- Use full-fat cream cheese: Low-fat cream cheese has a higher water content, which means it weeps during baking and creates a watery ring around the cheesecake swirls. Full-fat stays thick and creamy, giving you those distinct, defined swirls that look professional.
- Chill before slicing: This is the secret to clean, bakery-style squares. A warm brownie is soft and sticky — the knife drags the cheesecake layer into the brownie, creating a muddy mess. After an hour in the fridge, the texture firms up perfectly, and you get sharp edges and visible swirls.
Equipment You’ll Need
- 20cm square baking tin
- Large mixing bowl
- Wooden spoon or spatula
- Fork and butter knife
- Parchment paper
- Wire cooling rack
Delicious Variations to Try
- Spicy Version: Add ½ teaspoon of cinnamon and a pinch of cayenne pepper to the dry ingredients. The heat builds slowly at the back of your throat, balancing the sweetness of the cheesecake layer.
- Vegan Option: Replace the butter with 150g of coconut oil, use two flax eggs (2 tablespoons ground flaxseed mixed with 6 tablespoons water, left to gel for 10 minutes), and substitute the cream cheese with a thick, plain cashew-based alternative. The texture will be slightly less fudgy but still delicious.
- Different Protein: Fold 80g of chopped toasted walnuts or pecans into the brownie batter before adding the cheesecake layer. The nuts add a savoury crunch that contrasts beautifully with the creamy swirls.
What to Serve With Cheesecake Swirl Brownies
- A scoop of vanilla ice cream to contrast the warm, fudgy texture
- A glass of cold milk for the classic pairing
- A dollop of lightly whipped cream with a grating of orange zest
- Fresh raspberries or strawberries to cut through the richness
Still hungry for ideas? You might also love Lemon Raspberry Swirl Cheesecake 2, Heavenly Keto Cheesecake Brownies Low Carb Sugar Free from our sister kitchens.
Frequently Asked Questions
Cheesecake Swirl Brownies
Ingredients
Method
- Preheat the oven to 180°C (160°C fan). Line a 20cm square baking tin with parchment paper, leaving two sides overhanging like handles. The paper should sit flush against the corners — press it in with your fingertips until you hear it crinkle flat.
- Melt the butter in a large mixing bowl. Microwave in 30-second bursts, stirring each time, until it's completely liquid and smells nutty and warm. Whisk in both sugars until the mixture looks like wet sand — gritty, glossy, and darker than when you started.
- Add the eggs and vanilla. Whisk vigorously for a full minute. The batter should thicken noticeably, becoming paler and pulling away from the sides of the bowl in ribbons when you lift the whisk. This aeration is what gives the brownie its crackly top.
- Sift the flour, cocoa, and salt directly over the batter. Fold gently with a spatula, scraping the bottom of the bowl. Stop when you can no longer see any white flour streaks — about twelve folds. The batter should be thick, fudgy, and smell deeply of chocolate.
- Spoon the brownie batter into the prepared tin. Use the spatula to spread it evenly into the corners. It will be quite stiff — that is exactly right.
- Make the cheesecake layer in the same bowl. Add the softened cream cheese, 50g sugar, egg yolk, and ½ teaspoon vanilla. Mash with a fork until smooth, then switch to a spoon and beat for thirty seconds until it looks like thick yogurt — pale, silky, and completely lump-free.
- Spoon dollops of cheesecake mixture over the brownie batter. Aim for nine even blobs — three rows of three. Take a butter knife and drag it through both layers in an S-shape, working from left to right. Do this exactly five times; over-swirling muddies the pattern.
- Bake for 26-30 minutes. At 26 minutes, the edges should look set and slightly pulling away from the paper, the centre should wobble just a little when you gently shake the tin, and the top should have a delicate, paper-thin crust. A skewer inserted two inches from the edge should come out with a few moist crumbs — not wet batter.
- Cool in the tin on a wire rack for twenty minutes. The brownie will continue to cook from residual heat. After twenty minutes, lift it out using the parchment handles and transfer to the rack to cool completely. The top should feel firm and matte, not sticky.
- Chill for at least one hour before slicing. I know it's hard to wait, but a chilled brownie cuts cleanly. Use a long, sharp knife and wipe it between each cut. You should see distinct, creamy swirls against the dark, fudgy brownie.
Notes
This is my go-to recipe when I need something quick but impressive, and friends always ask me for this recipe after trying it at dinner parties. I’d love to hear how yours turn out — drop a comment below and let me know if you tried any of the variations. For another no-fuss dessert that works beautifully for entertaining, have a look at these Tangy Lemon Blueberry Desserts For Entertaining, or if you want something even quicker, try these Fudgy 3 Ingredient Brownies For An Easy Snack. Happy baking!