Quick Homemade Rich Chocolate Pudding for Busy Weeknights
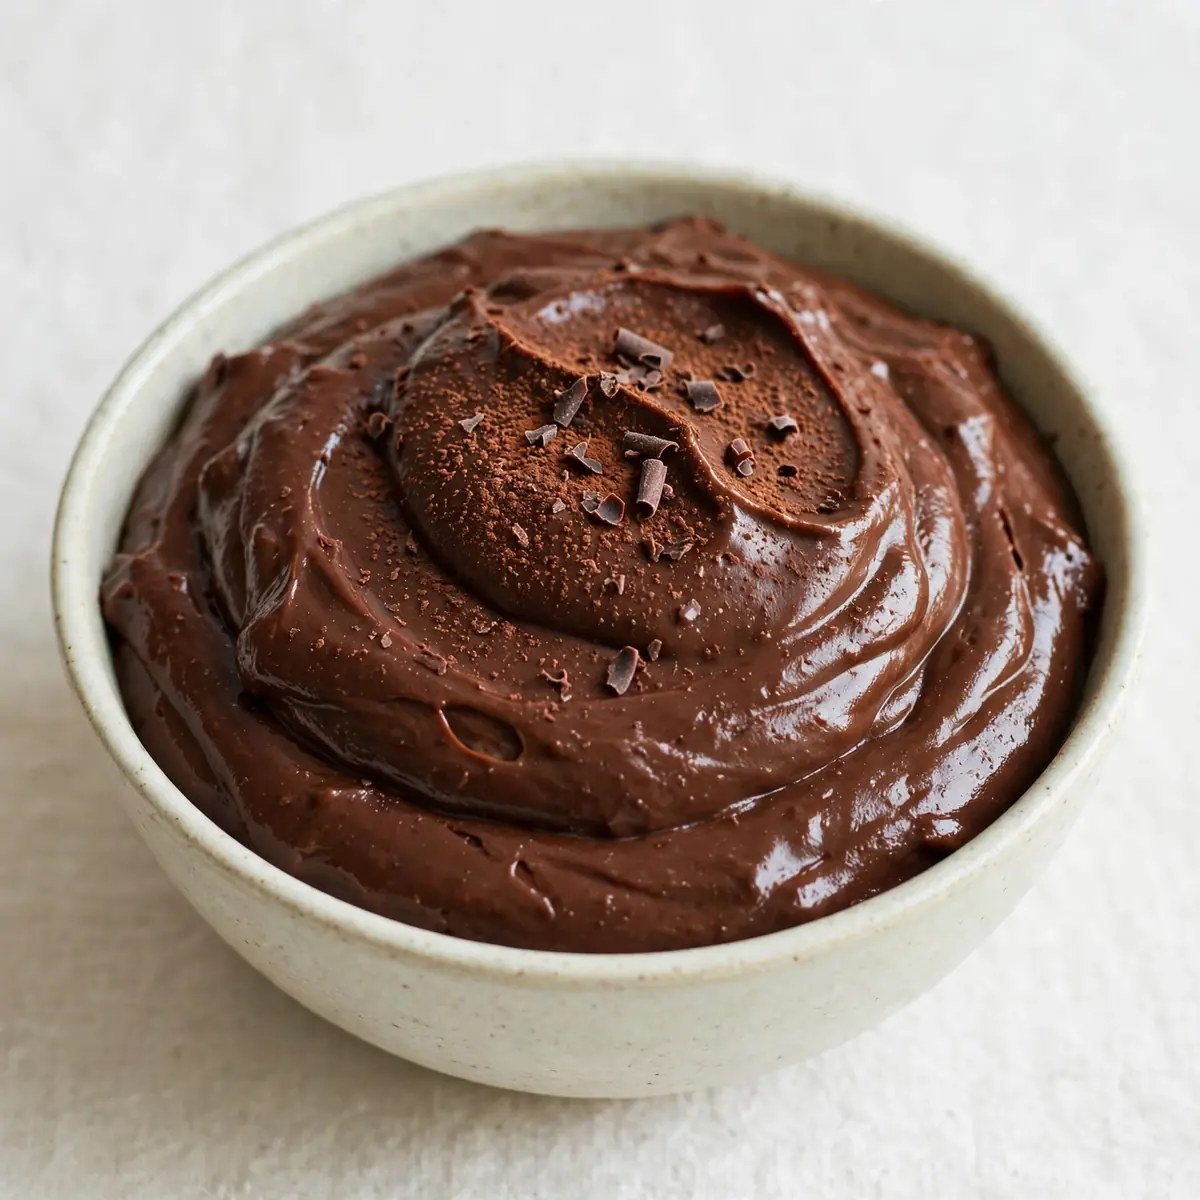
After a long day of school runs, work, and homework battles, the last thing I want is a complicated dessert that leaves my kitchen looking like a bomb’s hit it. That’s exactly why I developed this Homemade Rich Chocolate Pudding recipe — it comes together in one saucepan, uses store-cupboard staples, and my kids absolutely devour this every time I make it. Let me show you how to get a silky, deeply chocolatey pudding on the table in under twenty minutes.
Recipe Overview
- Prep time: 5 minutes
- Cook time: 12 minutes
- Total time: 17 minutes
- Servings: 4 generous portions
- Difficulty: Very easy
Why You’ll Love This Homemade Rich Chocolate Pudding
- One-pan wonder: Everything cooks in a single saucepan, which means you’re left with just one pot to wash at the end. That’s a game-changer on a busy Tuesday night.
- No fancy ingredients: You probably have everything you need in your pantry and fridge right now. No whisking egg whites, no tempering chocolate, no double boiler required.
- Make-ahead friendly: This pudding actually improves after a few hours in the fridge. You can prepare it in the morning, pop it in the fridge, and serve it cold or reheated after dinner.
- Kid-approved texture: The silkiness hits that perfect spot between a thick mousse and a classic custard. Even picky eaters who usually skip dessert will happily clear their bowls.
- Adaptable for dietary needs: With a couple of simple swaps — which I’ll cover in the tips section — you can make this dairy-free or lower in sugar without losing that luscious mouthfeel.
Ingredients You’ll Need
- 500ml whole milk
- 60g caster sugar
- 30g cornflour
- 30g unsweetened cocoa powder (the good-quality Dutch-processed stuff makes a real difference)
- 100g dark chocolate (70% cocoa solids), finely chopped
- 1 teaspoon vanilla extract
- A pinch of fine sea salt
- 50ml double cream (optional, for extra richness)
- 30g unsalted butter, cut into small cubes
Tip: If you want to make this pudding dairy-free, swap the whole milk for oat milk and use a plant-based butter block. The texture will be slightly less thick but still wonderfully creamy. Avoid using coconut milk here — its flavour competes with the chocolate.
How to Make Homemade Rich Chocolate Pudding
- Whisk the dry base: In your saucepan (off the heat), whisk together the caster sugar, cornflour, cocoa powder, and salt. You’re looking for an even, speckled brown mixture with no visible lumps of cornflour — it should feel powdery and fine when you rub a bit between your fingers.
- Add the milk slowly: Pour about 100ml of the milk into the dry mixture and whisk until you have a thick, dark paste. The paste should be smooth and glossy, similar to a thin chocolate spread. This step prevents lumps later.
- Incorporate the remaining milk: Gradually pour in the rest of the milk, whisking constantly. The mixture will thin out to the consistency of a regular milkshake — pale brown and very liquid. Don’t worry, it will thicken beautifully.
- Cook over medium heat: Place the saucepan over medium heat and stir constantly with a wooden spoon or spatula. After about 3–4 minutes, you’ll notice the mixture starting to steam gently — that’s your cue that it’s heating through. Keep stirring, scraping the bottom and corners of the pan.
- Watch for the first bubbles: Around the 6-minute mark, you’ll see lazy bubbles breaking the surface. The mixture will suddenly begin to thicken; you’ll feel the drag on your spoon. Don’t walk away — stirring is essential now.
- Boil for one full minute: Once the pudding is bubbling steadily across the entire surface (big, slow bubbles), set a timer for exactly 60 seconds. The mixture will have the texture of thin custard at this point. Stir constantly — you’ll see it transform to a thick, glossy pudding that leaves a clean trail when you drag your spoon across the bottom of the pan.
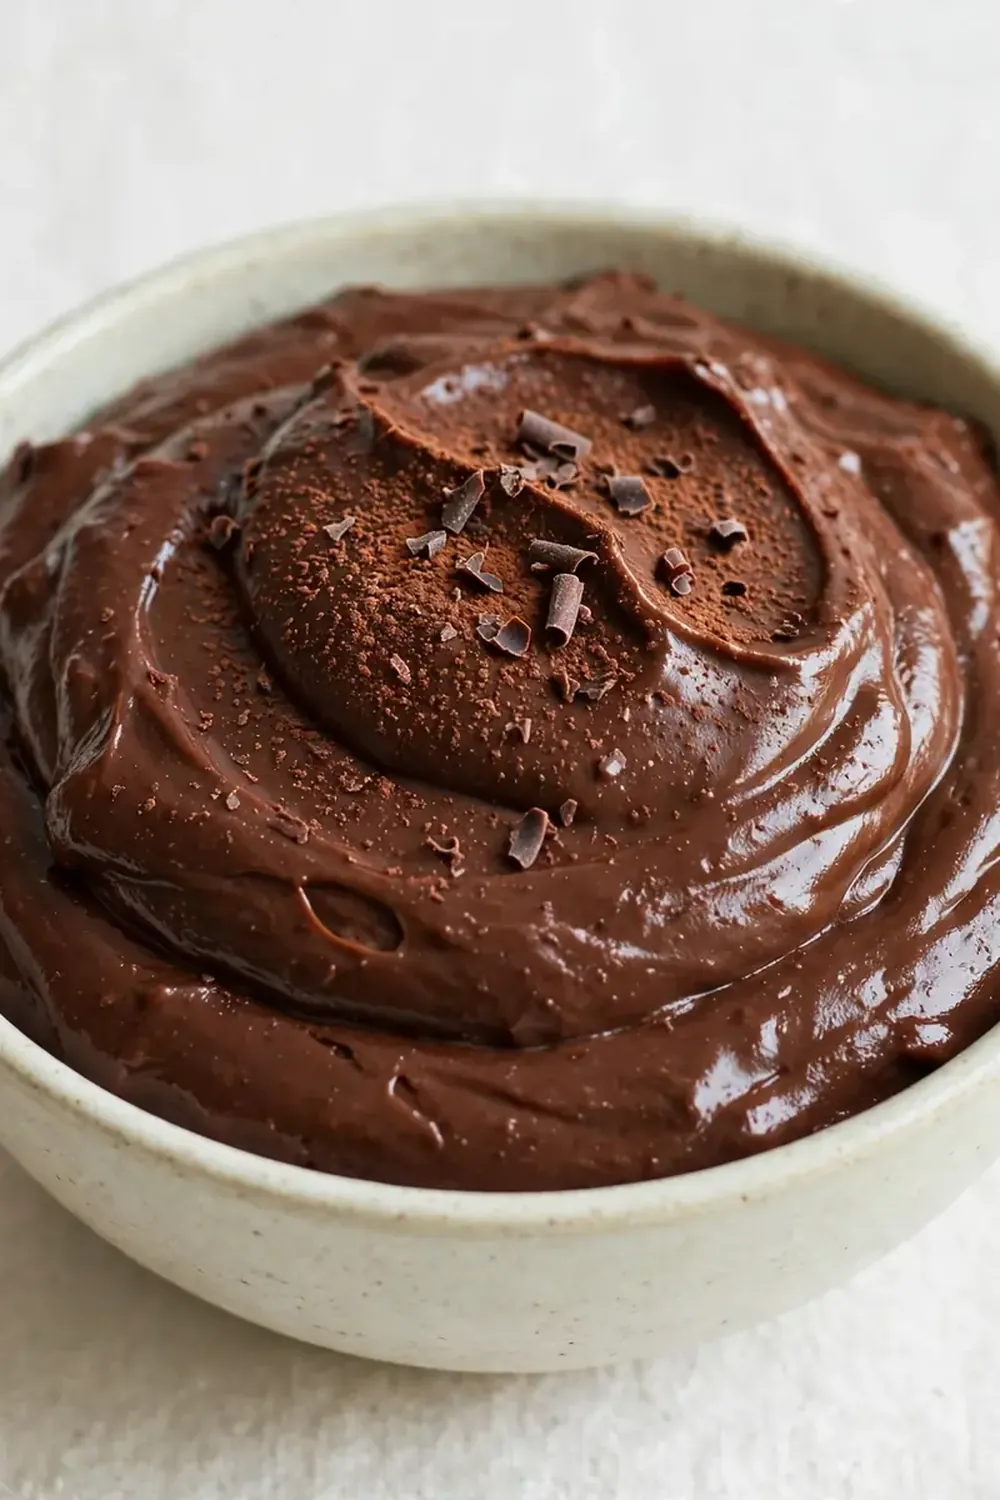
- Remove from heat and add the good stuff: Take the pan off the heat immediately. Drop in the chopped dark chocolate, butter cubes, and vanilla extract. Stir gently until everything melts into the hot pudding — the chocolate and butter will create a dark, satiny sheen. The smell at this stage is pure indulgence, rich and slightly toasty.
- Finish with cream if using: If you’re adding the double cream, pour it in now and stir until fully incorporated. This step is optional, but it gives the pudding an extra velvety mouthfeel that feels truly luxurious.
- Divide and cool: Pour the pudding into four individual ramekins or a single serving dish. The texture should be thick enough to mound slightly before settling flat. Let them sit at room temperature for 10 minutes — a thin skin will form on top, which some people love. You can cover them with cling film (pressing it directly onto the surface to prevent a skin forming) and refrigerate for later, or serve warm.
Tips From My Kitchen
- Use a heavy-bottomed saucepan: A thin pan will scorch the milk before the cornflour has a chance to thicken properly. A heavy-bottomed pan distributes heat evenly, giving you that silky, lump-free result every time. If you notice any brown specks forming on the bottom of the pan, you’ve got the heat too high — turn it down immediately.
- Chop your chocolate finely: The finer you chop your dark chocolate, the faster it will melt into the hot pudding. Big chunks will leave you with pockets of solid chocolate in an otherwise smooth pudding. I like to chop it into pieces no bigger than a grain of rice.
- Don’t skip the boil: Cornflour needs to reach a full boil (95–100°C) to activate its thickening power. If you pull the pan off the heat too early, the pudding will stay thin and never set properly, even after hours in the fridge. That one-minute boil is non-negotiable.
- Make it ahead like a pro: This pudding is perfect for batch prep. Double the recipe, pour it into four large jars, and keep them in the fridge for up to four days. To serve, microwave individual portions for 20–30 seconds, or enjoy them cold straight from the jar — my youngest daughter prefers it this way.
- Troubleshoot lumps: If you somehow end up with lumps (it happens to the best of us), don’t panic. Pour the warm pudding through a fine-mesh sieve into a clean bowl, pressing it through with the back of a ladle. You’ll lose about a tablespoon of pudding, but the result will be perfectly smooth.
- Boost the chocolate flavour without bitterness: Add a quarter-teaspoon of instant coffee powder or espresso powder along with the dry ingredients. You won’t taste coffee at all — it simply deepens the chocolate notes and rounds out the sweetness. This is my secret weapon for a truly adult-tasting pudding.
Equipment You’ll Need
- Large heavy-bottomed saucepan (2-litre capacity is ideal)
- Balloon whisk
- Wooden spoon or silicone spatula
- Sharp knife and cutting board (for chopping chocolate)
- Measuring jug and spoons
- 4 small ramekins or a single serving dish
- Fine-mesh sieve (optional, for smoothing any lumps)
- Cling film (if refrigerating)
What to Serve With Homemade Rich Chocolate Pudding
This pudding is plenty satisfying on its own, but a few simple accompaniments elevate it from a quick fix to something truly special. I love serving it with a dollop of barely-sweetened whipped cream and a scattering of fresh raspberries — the tartness cuts through the richness beautifully. For a crunchier option, crumble a few shortbread biscuits on top just before serving. If you’re feeling indulgent, drizzle over a little salted caramel sauce or add a scoop of vanilla ice cream.
- Whipped cream and fresh berries
- Crumbled biscuits or toasted flaked almonds
- A dusting of icing sugar and a sprig of mint
- Vanilla ice cream for a hot-cold contrast
Still hungry for ideas? You might also love Easy Chocolate Pudding From Scratch, Keto Chocolate Chia Pudding Dessert from our sister kitchens.
Frequently Asked Questions
Homemade Rich Chocolate Pudding
Ingredients
Method
- Whisk the dry base: In your saucepan (off the heat), whisk together the caster sugar, cornflour, cocoa powder, and salt. You’re looking for an even, speckled brown mixture with no visible lumps of cornflour — it should feel powdery and fine when you rub a bit between your fingers.
- Add the milk slowly: Pour about 100ml of the milk into the dry mixture and whisk until you have a thick, dark paste. The paste should be smooth and glossy, similar to a thin chocolate spread. This step prevents lumps later.
- Incorporate the remaining milk: Gradually pour in the rest of the milk, whisking constantly. The mixture will thin out to the consistency of a regular milkshake — pale brown and very liquid. Don’t worry, it will thicken beautifully.
- Cook over medium heat: Place the saucepan over medium heat and stir constantly with a wooden spoon or spatula. After about 3–4 minutes, you’ll notice the mixture starting to steam gently — that’s your cue that it’s heating through. Keep stirring, scraping the bottom and corners of the pan.
- Watch for the first bubbles: Around the 6-minute mark, you’ll see lazy bubbles breaking the surface. The mixture will suddenly begin to thicken; you’ll feel the drag on your spoon. Don’t walk away — stirring is essential now.
- Boil for one full minute: Once the pudding is bubbling steadily across the entire surface (big, slow bubbles), set a timer for exactly 60 seconds. The mixture will have the texture of thin custard at this point. Stir constantly — you’ll see it transform to a thick, glossy pudding that leaves a clean trail when you drag your spoon across the bottom of the pan.
- Remove from heat and add the good stuff: Take the pan off the heat immediately. Drop in the chopped dark chocolate, butter cubes, and vanilla extract. Stir gently until everything melts into the hot pudding — the chocolate and butter will create a dark, satiny sheen. The smell at this stage is pure indulgence, rich and slightly toasty.
- Finish with cream if using: If you’re adding the double cream, pour it in now and stir until fully incorporated. This step is optional, but it gives the pudding an extra velvety mouthfeel that feels truly luxurious.
- Divide and cool: Pour the pudding into four individual ramekins or a single serving dish. The texture should be thick enough to mound slightly before settling flat. Let them sit at room temperature for 10 minutes — a thin skin will form on top, which some people love. You can cover them with cling film (pressing it directly onto the surface to prevent a skin forming) and refrigerate for later, or serve warm.
Notes
I’d love to hear how this Homemade Rich Chocolate Pudding works out in your kitchen. Did your family go back for seconds? Did you try one of the variations? Drop a comment below and let me know — I read every single one, and your tips might just help another busy parent get a quick, impressive dessert on the table. If you’re in the mood for another speedy treat, you might also enjoy my Easy Coconut Truffles Tutorial With 3 Ingredients — they come together almost as fast as this pudding. For a lighter option that’s perfect for breakfast prep, have a look at the Simple Overnight Oats Guide For Breakfast Prep 2. And if you’re planning a gathering, the Creamy Peach Mousse Trifle For Summer Parties 2 is a showstopper that takes minimal effort. Happy cooking, everyone!