Quick Weeknight Vanilla Custard Pots Done in Minutes
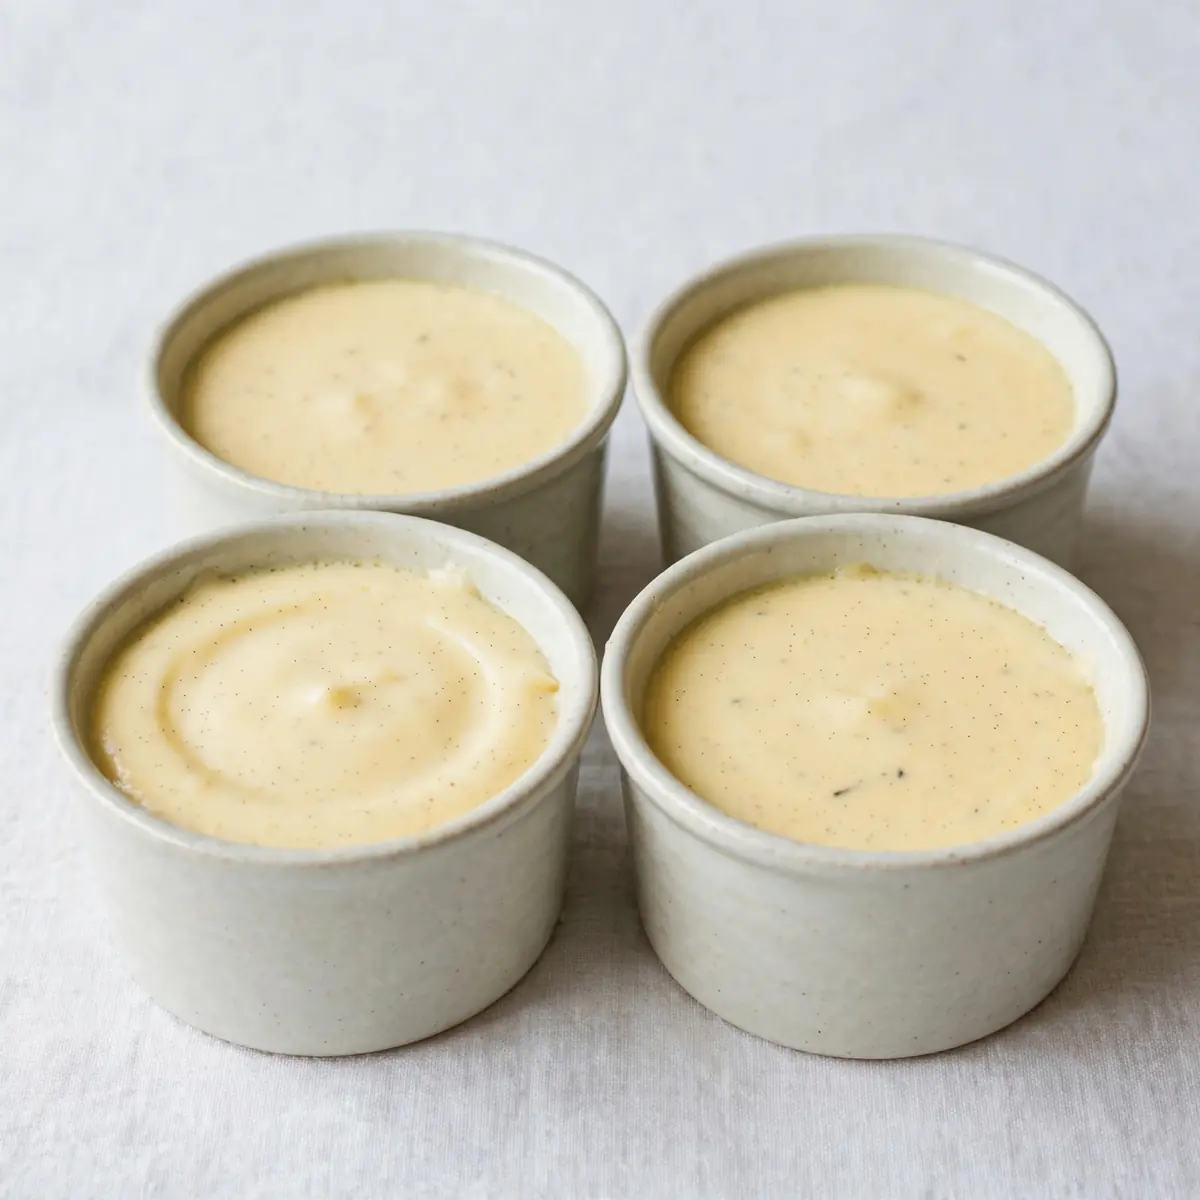
After a long day of school runs, work deadlines, and after-school activities, the last thing I want is a complicated dessert that leaves my kitchen looking like a bomb site. This is my go-to recipe when I need something quick but impressive, and the secret weapon is using alcohol-free vanilla extract. These Vanilla Custard Pots come together in the time it takes to clear the dinner plates, they use just one saucepan, and they can be prepped ahead so you can actually sit down and enjoy your evening.
Recipe Overview
- Prep Time: 5 minutes
- Cook Time: 8 minutes
- Total Time: 13 minutes (plus 2 hours chilling)
- Servings: 4 individual pots
- Difficulty: Beginner-friendly
Why You’ll Love This Vanilla Custard Pots (Using Alcohol-Free Vanilla)
- Minimal Cleanup, Maximum Reward: You only need one saucepan and a whisk. No sticky baking trays, no mixer bowls to scrub – just a quick rinse and you’re done.
- Make-Ahead Magic: These custard pots actually taste better after a night in the fridge. You can make them on a Sunday evening and have a ready-to-serve dessert for the next three nights.
- Kid-Approved and Allergen-Friendly: Because we use alcohol-free vanilla, this dessert is suitable for the whole family. No hidden spirits, just pure, rich vanilla flavour that children adore.
- Naturally Thickened, No Eggs Needed: This version uses cornflour (cornstarch) to create that silky, spoon-coating texture without the risk of curdling or scrambling eggs. It’s foolproof for busy cooks.
- Fridge-Door Ingredients: You probably already have whole milk, double cream, sugar, and cornflour in your kitchen. The only special purchase is alcohol-free vanilla, which is easy to find in most supermarkets.
Ingredients You’ll Need
- 600ml whole milk
- 200ml double cream
- 80g caster sugar
- 30g cornflour (cornstarch)
- 2 teaspoons alcohol-free vanilla extract
- Pinch of fine sea salt
- 4 small ramekins or glass pots (about 150ml capacity each)
Tip: For the silkiest texture, use full-fat milk and cream. Semi-skimmed milk will work, but the custard will be noticeably thinner. If you want a truly luxurious mouthfeel, swap 100ml of the milk for an extra 100ml of double cream.
How to Make Vanilla Custard Pots (Using Alcohol-Free Vanilla)
- Whisk the dry ingredients together: In a medium saucepan (off the heat), whisk the caster sugar, cornflour, and a pinch of salt until completely combined. You should see a pale, powdery mixture with no lumps of cornflour visible. This step prevents clumps later.
- Add the cold milk gradually: Pour in about 100ml of the cold milk and whisk into the sugar mixture until you have a smooth, runny paste. It will look like thin, white pancake batter. Slowly pour in the remaining 500ml of milk, whisking constantly. The mixture will now be a thin, opaque liquid with a slightly chalky texture from the cornflour.
- Bring to a gentle simmer: Place the saucepan over a medium heat. Stir continuously with a wooden spoon or silicone spatula, scraping the bottom and sides of the pan. After about 3–4 minutes, you will feel the mixture start to thicken at the bottom. The sound will change from a gentle slosh to a soft, bubbling ‘plop’.
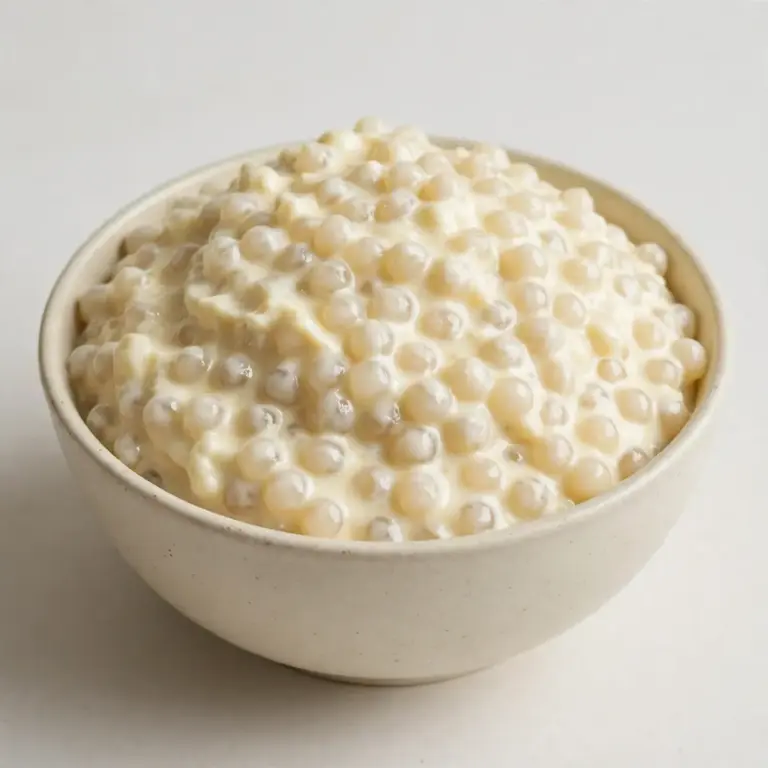
- Watch for the first bubble: When you see the first lazy bubble break the surface, immediately reduce the heat to low. The mixture will look lumpy for a few seconds – do not panic. Keep stirring vigorously. Within 30 seconds, the lumps will smooth out into a glossy, thick custard that coats the back of your spoon.
- Finish with cream and vanilla: Remove the saucepan from the heat. Pour in the double cream and the alcohol-free vanilla extract. Whisk until the cream is fully incorporated and the custard turns a warm, pale ivory colour. The smell at this point is absolutely divine – a sweet, creamy vanilla scent with no sharp alcohol notes.
- Strain for perfection (optional but recommended): If you want a restaurant-smooth finish, pour the custard through a fine-mesh sieve into a large jug. This catches any tiny lumps that may have formed. You will see a smooth, flowing liquid that looks like thick pouring cream.
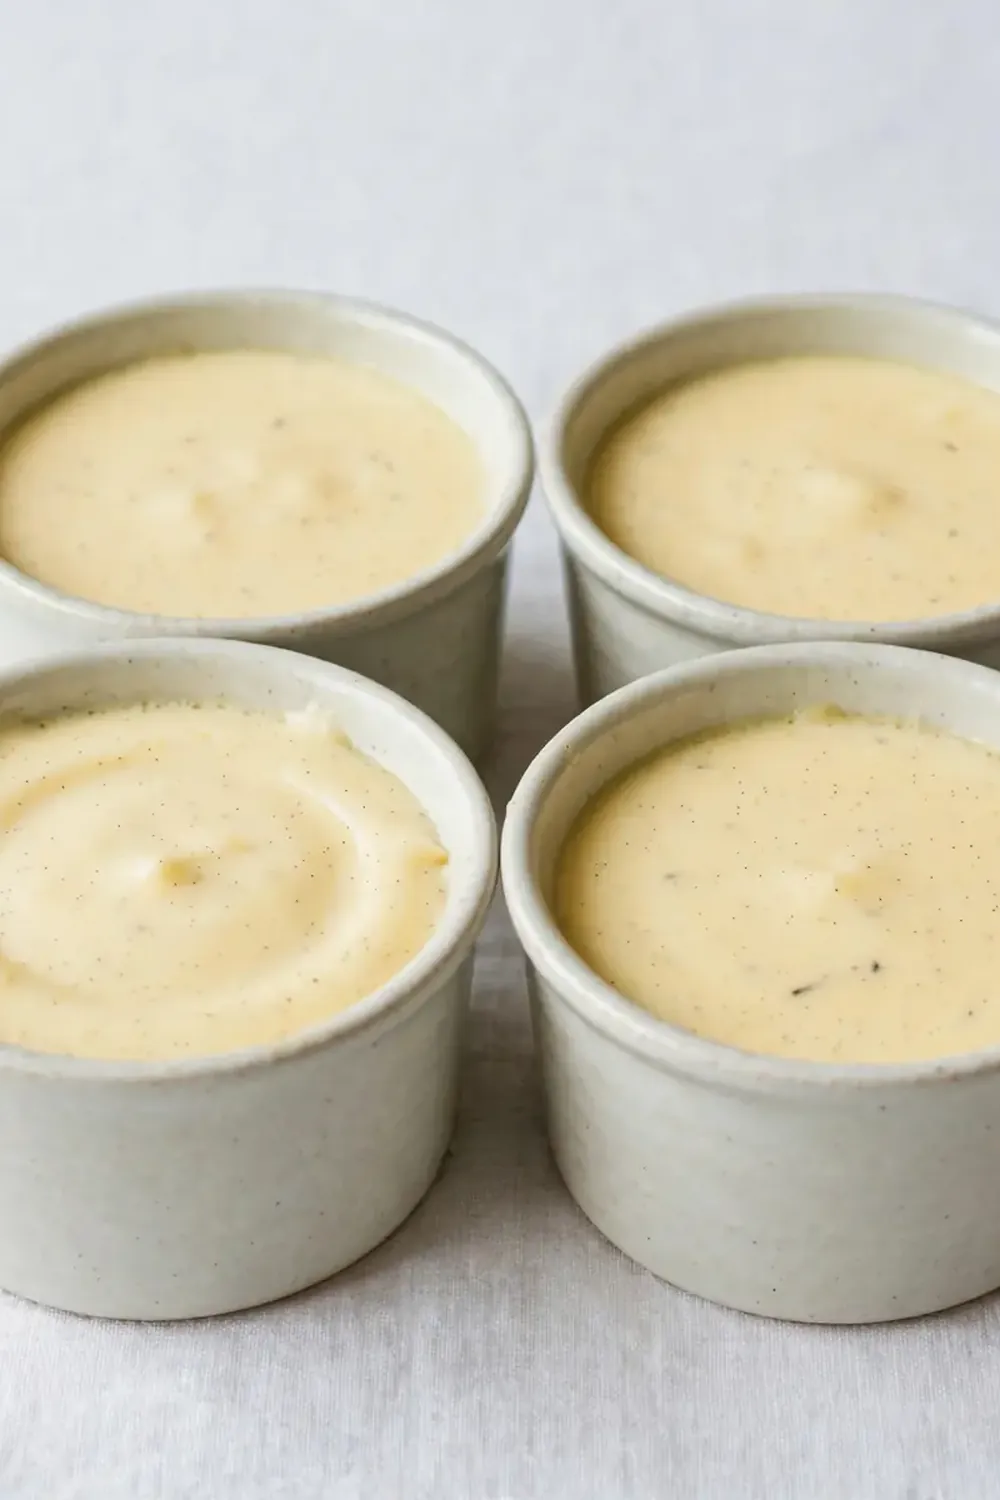
- Fill the pots: Divide the custard evenly among your four ramekins or pots. Tap each pot gently on the worktop to release any air bubbles. You should see a perfectly smooth surface with no holes.
- Chill until set: Leave the pots to cool at room temperature for about 20 minutes, then cover each with cling film or a lid and place in the fridge. They need at least 2 hours to set properly. When ready, the custard should wobble like a jelly but hold its shape when spooned. The top will have formed a delicate skin, which is the sign of a perfectly set custard.
Tips From My Kitchen
- Never stop stirring: The biggest enemy of a smooth custard is impatience. You must stir constantly from the moment you turn on the heat until you remove the pan. If you walk away, even for 30 seconds, the cornflour will sink to the bottom and create scorched, gritty patches. I set a timer on my phone for 4 minutes and stir like my life depends on it.
- Use a heavy-bottomed saucepan: A thin pan will transfer heat too quickly, causing hot spots that scorch the milk. A heavy-bottomed pan distributes heat evenly, giving you a more controlled thickening process. If you only have a thin pan, use a lower heat and stir even more frequently.
- Cool before covering: If you cover hot custard pots with cling film straight away, condensation will drip onto the surface and create a watery, unappealing layer. Let them cool completely at room temperature (about 20–25 minutes) before you cover them. You will know they are cool enough when the sides of the pot feel warm but not hot to the touch.
- Scale up or down with confidence: This recipe is easy to double for a party. Simply use a larger saucepan and expect the cooking time to increase by about 2 minutes. The key visual cue is the same: stir until you see that first bubble break, then cook for another 30 seconds.
- Make it dairy-free without losing texture: If someone in your family avoids dairy, substitute the whole milk with oat milk and the double cream with full-fat coconut cream (the thick part from a can of coconut milk). The coconut flavour will be noticeable, so pair it with a tropical twist like passionfruit seeds on top. The cornflour will still thicken beautifully, giving you that same wobbly set.
- Friends always ask me for this recipe after trying it at dinner parties. The secret is that it tastes like I spent hours tempering eggs, but I actually made it in the 15 minutes while the roast chicken rested. I always keep a bottle of alcohol-free vanilla in my cupboard just for this.
Common Mistakes to Avoid
- Overcrowding the pan: If you try to make more than four servings in a single small saucepan, the custard will take too long to heat through, leading to a grainy texture. Use a pan that is at least 2 litres in capacity, or make the recipe in two batches. The custard should come to a simmer within 4–5 minutes, not 10.
- Wrong temperature: Cooking on high heat is the fastest way to ruin your custard. The milk will scald and form a skin before the cornflour has a chance to thicken. Keep the heat at medium, and when you see the first bubble, reduce to low. If you use a thermometer, the target temperature is 85°C – the custard should never reach a rolling boil.
- Skipping the rest time: I know it is tempting to serve these straight from the pan, but warm custard will be runny and thin. The cornflour needs time to gel properly in the fridge. Two hours is the minimum, but overnight is even better. This resting period also allows the vanilla flavour to deepen and mellow.
Delicious Variations to Try
- Spiced Honey Version: Replace the caster sugar with 80ml of runny honey and add ½ teaspoon of ground cinnamon and ¼ teaspoon of ground nutmeg to the dry ingredients. The honey gives the custard a deeper, almost floral sweetness and a slightly softer set. Top with a dusting of cinnamon before serving.
- Vegan Option: Use 600ml of oat milk and 200ml of full-fat coconut cream. Replace the caster sugar with 60g of coconut sugar for a caramel-like flavour. The coconut cream will add a natural richness, and the cornflour will still create that signature wobbly texture. Serve with fresh berries to cut through the richness.
- Different Flavouring: Swap the alcohol-free vanilla for 1 tablespoon of orange blossom water or 2 teaspoons of rose water. These floral notes pair wonderfully with a dollop of pomegranate molasses on top. Alternatively, use the seeds from one vanilla pod scraped directly into the milk for an even more intense, speckled appearance.
What to Serve With Vanilla Custard Pots (Using Alcohol-Free Vanilla)
- A handful of fresh raspberries or sliced strawberries for a tart contrast
- A crumbled shortbread biscuit on top for crunch
- A drizzle of salted caramel sauce (homemade or shop-bought)
- A side of Chewy Chocolate Caramel Cookies For Holiday Trays for a complete dessert experience
- A light dusting of cocoa powder or ground cinnamon just before serving
Still hungry for ideas? You might also love Christmas Eve Cinnamon Vanilla Custard Pie from our sister kitchens.
Frequently Asked Questions
Vanilla Custard Pots (Using Alcohol-Free Vanilla)
Ingredients
Method
- Whisk the dry ingredients together: In a medium saucepan (off the heat), whisk the caster sugar, cornflour, and a pinch of salt until completely combined. You should see a pale, powdery mixture with no lumps of cornflour visible. This step prevents clumps later.
- Add the cold milk gradually: Pour in about 100ml of the cold milk and whisk into the sugar mixture until you have a smooth, runny paste. It will look like thin, white pancake batter. Slowly pour in the remaining 500ml of milk, whisking constantly. The mixture will now be a thin, opaque liquid with a slightly chalky texture from the cornflour.
- Bring to a gentle simmer: Place the saucepan over a medium heat. Stir continuously with a wooden spoon or silicone spatula, scraping the bottom and sides of the pan. After about 3–4 minutes, you will feel the mixture start to thicken at the bottom. The sound will change from a gentle slosh to a soft, bubbling ‘plop’.
- Watch for the first bubble: When you see the first lazy bubble break the surface, immediately reduce the heat to low. The mixture will look lumpy for a few seconds – do not panic. Keep stirring vigorously. Within 30 seconds, the lumps will smooth out into a glossy, thick custard that coats the back of your spoon.
- Finish with cream and vanilla: Remove the saucepan from the heat. Pour in the double cream and the alcohol-free vanilla extract. Whisk until the cream is fully incorporated and the custard turns a warm, pale ivory colour. The smell at this point is absolutely divine – a sweet, creamy vanilla scent with no sharp alcohol notes.
- Strain for perfection (optional but recommended): If you want a restaurant-smooth finish, pour the custard through a fine-mesh sieve into a large jug. This catches any tiny lumps that may have formed. You will see a smooth, flowing liquid that looks like thick pouring cream.
- Fill the pots: Divide the custard evenly among your four ramekins or pots. Tap each pot gently on the worktop to release any air bubbles. You should see a perfectly smooth surface with no holes.
- Chill until set: Leave the pots to cool at room temperature for about 20 minutes, then cover each with cling film or a lid and place in the fridge. They need at least 2 hours to set properly. When ready, the custard should wobble like a jelly but hold its shape when spooned. The top will have formed a delicate skin, which is the sign of a perfectly set custard.
Notes
I hope these Vanilla Custard Pots become a regular in your weeknight dinner rotation. They are proof that you do not need a kitchen full of fancy equipment or hours of free time to create something truly special for your family. Friends always ask me for this recipe after trying it at dinner parties, and I love seeing the surprise on their faces when I tell them it took less than 15 minutes. Have you tried making these yet? I would love to hear how they turned out for you, or if you have any tips of your own to share. Drop a comment below and let me know what you served them with – and if you are looking for another no-fuss dessert, check out these Tangy Lemon Blueberry Desserts For Entertaining for a bright, citrusy alternative.