Ingredients
Method
- Whisk the dry ingredients together: In a medium saucepan (off the heat), whisk the caster sugar, cornflour, and a pinch of salt until completely combined. You should see a pale, powdery mixture with no lumps of cornflour visible. This step prevents clumps later.
- Add the cold milk gradually: Pour in about 100ml of the cold milk and whisk into the sugar mixture until you have a smooth, runny paste. It will look like thin, white pancake batter. Slowly pour in the remaining 500ml of milk, whisking constantly. The mixture will now be a thin, opaque liquid with a slightly chalky texture from the cornflour.
- Bring to a gentle simmer: Place the saucepan over a medium heat. Stir continuously with a wooden spoon or silicone spatula, scraping the bottom and sides of the pan. After about 3–4 minutes, you will feel the mixture start to thicken at the bottom. The sound will change from a gentle slosh to a soft, bubbling ‘plop’.
- Watch for the first bubble: When you see the first lazy bubble break the surface, immediately reduce the heat to low. The mixture will look lumpy for a few seconds – do not panic. Keep stirring vigorously. Within 30 seconds, the lumps will smooth out into a glossy, thick custard that coats the back of your spoon.
- Finish with cream and vanilla: Remove the saucepan from the heat. Pour in the double cream and the alcohol-free vanilla extract. Whisk until the cream is fully incorporated and the custard turns a warm, pale ivory colour. The smell at this point is absolutely divine – a sweet, creamy vanilla scent with no sharp alcohol notes.
- Strain for perfection (optional but recommended): If you want a restaurant-smooth finish, pour the custard through a fine-mesh sieve into a large jug. This catches any tiny lumps that may have formed. You will see a smooth, flowing liquid that looks like thick pouring cream.
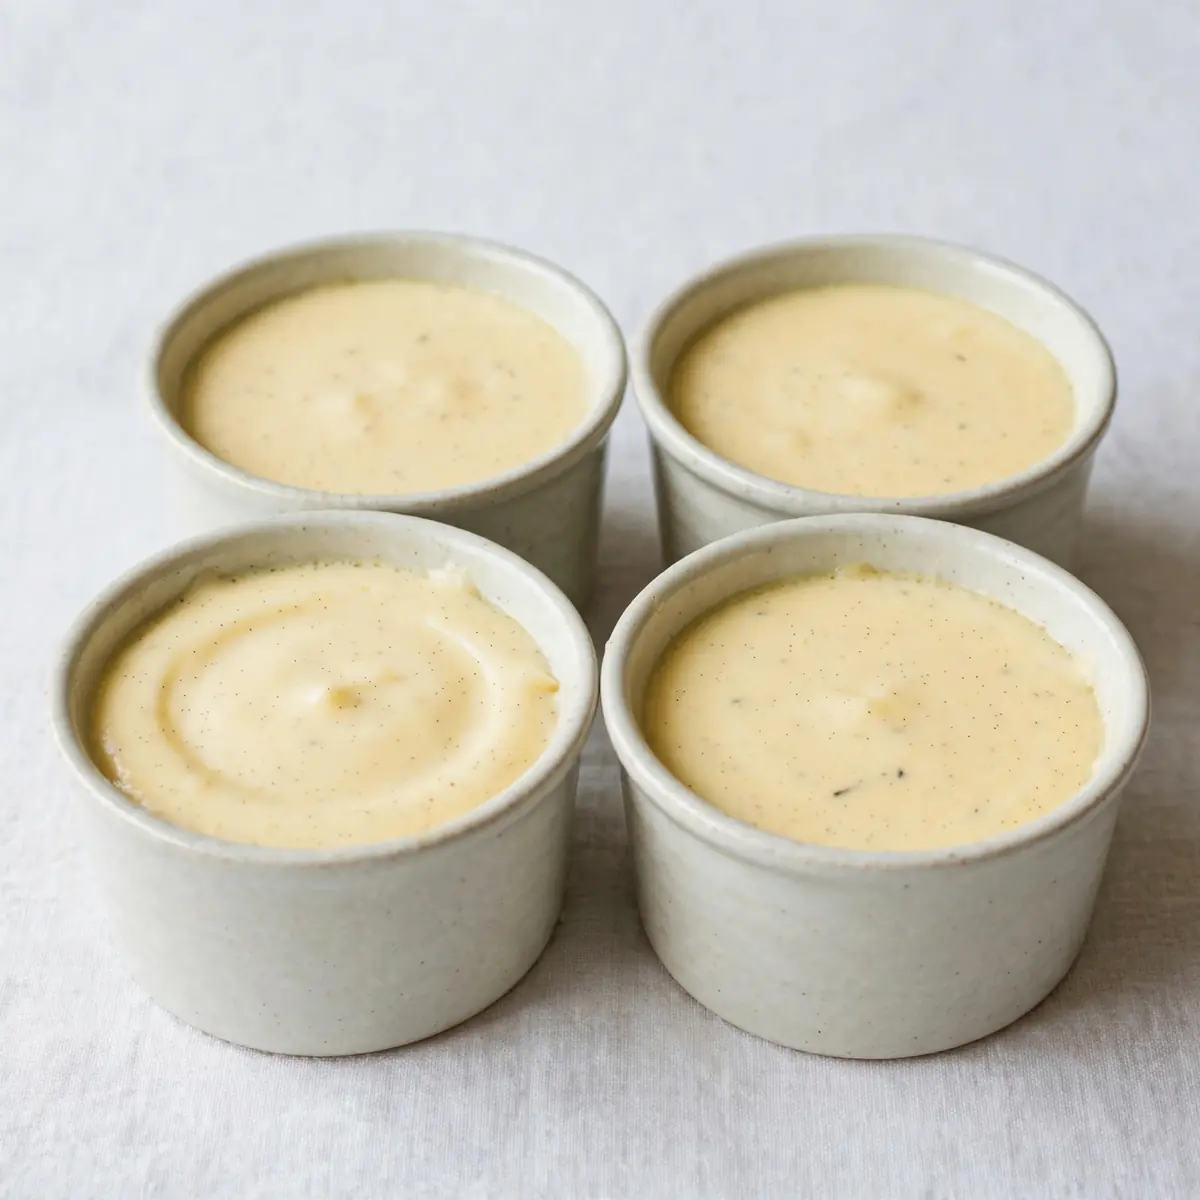
- Fill the pots: Divide the custard evenly among your four ramekins or pots. Tap each pot gently on the worktop to release any air bubbles. You should see a perfectly smooth surface with no holes.
- Chill until set: Leave the pots to cool at room temperature for about 20 minutes, then cover each with cling film or a lid and place in the fridge. They need at least 2 hours to set properly. When ready, the custard should wobble like a jelly but hold its shape when spooned. The top will have formed a delicate skin, which is the sign of a perfectly set custard.
Notes
Chilling time of at least 2 hours is required for the custard to set properly. Straining the custard through a sieve is optional but recommended for a perfectly smooth texture.