
5-Ingredient Oreo Cheesecake Ready in 10 Minutes
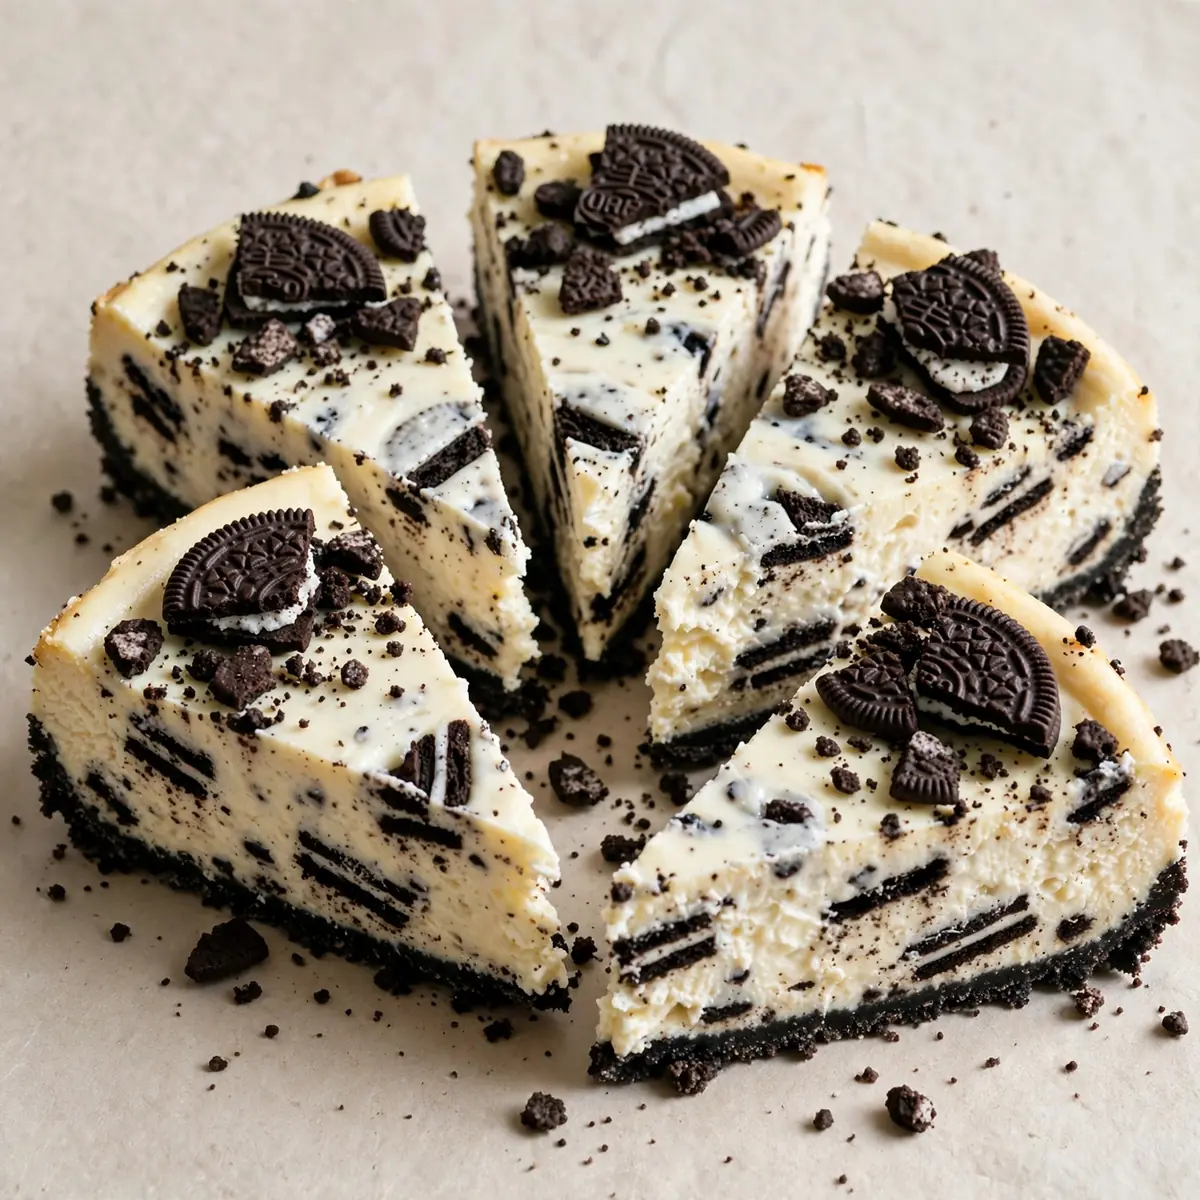
After a long day of school runs, work, and endless after-school activities, the last thing I want is a complicated dessert that leaves my kitchen looking like a bomb site. This Oreo Cookies and Cream Cheesecake is my secret weapon for a quick weeknight dinner treat that feels like a proper indulgence without the fuss.
Recipe Overview
- Prep Time: 20 minutes (active) + 10 minutes (assembly)
- Cook Time: 50–55 minutes
- Total Time: 1 hour 15 minutes (plus 4 hours chilling)
- Servings: 8–10 generous slices
- Difficulty: Easy – straightforward steps, minimal equipment
Why You’ll Love This Oreo Cookies and Cream Cheesecake
- Ready in under an hour of hands-on time: The oven does the heavy lifting while you sort out homework or pack lunches for the next day.
- Minimal washing up: This recipe uses just one mixing bowl, a springform tin, and a spoon. No food processor, no double boiler, no fuss.
- Make-ahead friendly: Bake it the night before, let it chill overnight, and you’ve got dessert sorted for the next two days. It actually tastes better on day two.
- Uses store-cupboard staples: You likely have cream cheese, eggs, and sugar already. Just grab a pack of Oreos and some double cream, and you’re away.
- No water bath required: This is the technique I used to struggle with until I discovered how to get a crack-free top without the hassle of wrapping tins in foil and risking a soggy base.
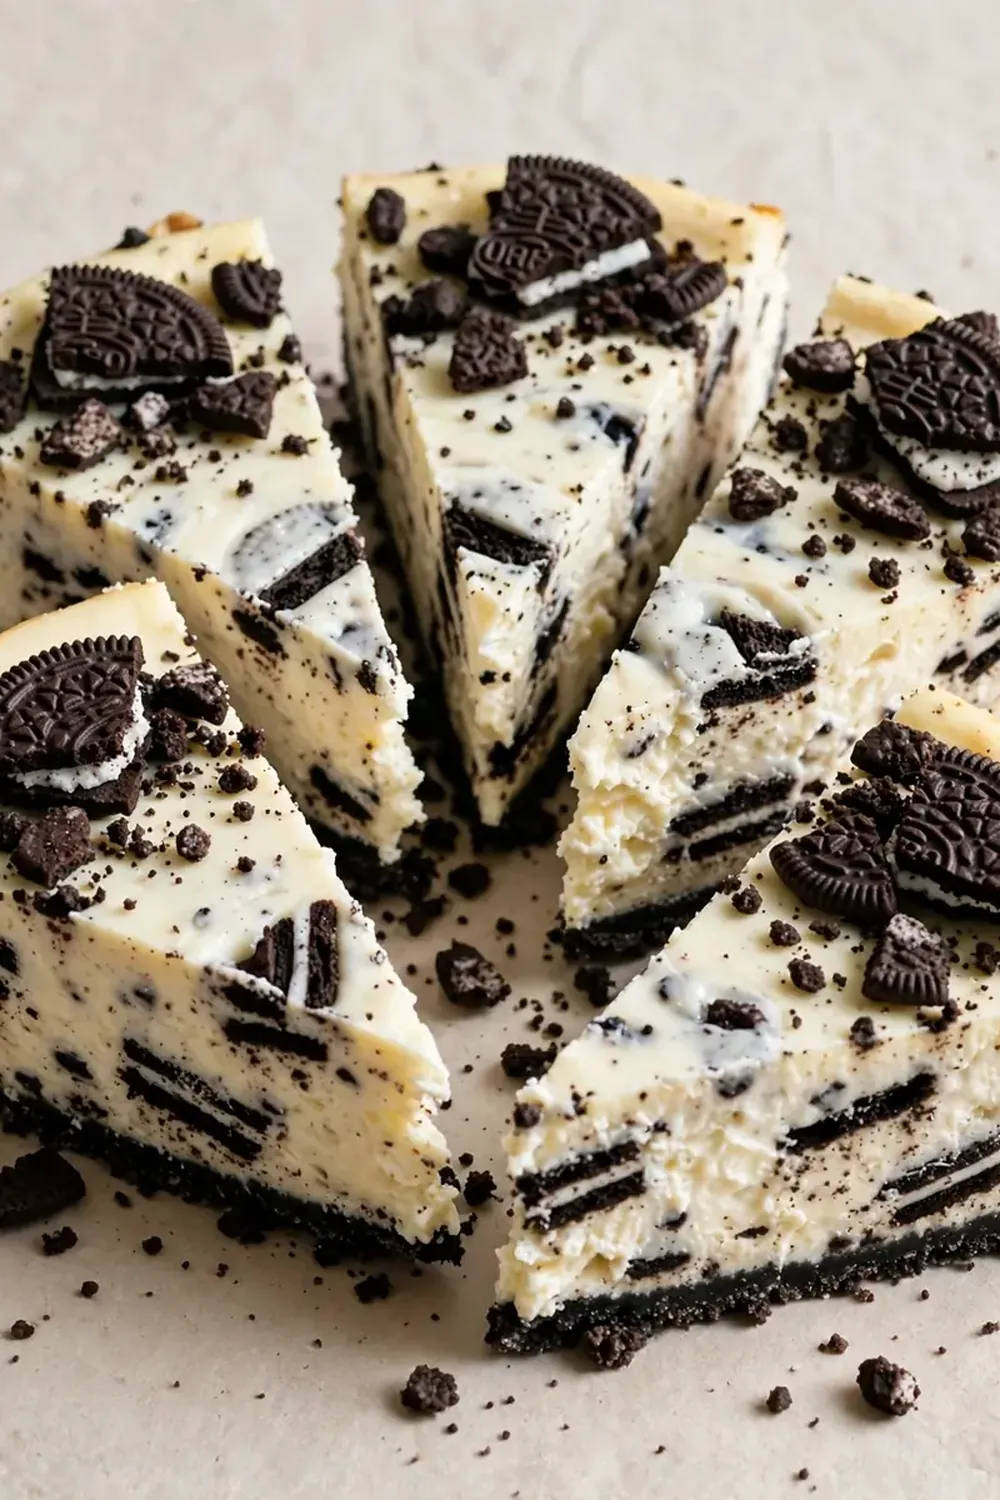
Ingredients You’ll Need
- 300g Oreo biscuits (about 25–27 biscuits)
- 80g unsalted butter, melted
- 600g full-fat cream cheese, at room temperature
- 150g caster sugar
- 1 teaspoon vanilla extract
- 3 large eggs, at room temperature
- 200ml double cream
- 2 tablespoons plain flour
- Pinch of salt
- 100g crushed Oreo pieces (about 8–9 biscuits, roughly broken)
Tip: For the smoothest filling, make sure your cream cheese and eggs are truly at room temperature. Cold ingredients create a lumpy batter that won’t bake evenly, and nobody wants a grainy cheesecake.
How to Make Oreo Cookies and Cream Cheesecake
- Preheat and prepare the tin: Set your oven to 160°C (140°C fan). Line the base of a 20cm springform tin with a circle of baking parchment and lightly grease the sides. The smell of warm butter and chocolate will start filling your kitchen right about now.
- Make the base: Blitz 200g of the Oreos (about 17 biscuits) in a sealed plastic bag using a rolling pin, or pulse them in a food processor until you have fine, dark crumbs with no large chunks. Pour the crumbs into a bowl, add the melted butter, and stir until every crumb looks damp and smells rich and buttery. Press this mixture firmly into the base of your prepared tin using the back of a spoon. You’ll feel it compacting into a solid, even layer. Bake for 10 minutes, then set aside to cool. The base will look slightly darker and smell deeply of chocolate.
- Start the filling: In a large mixing bowl, beat the cream cheese with an electric mixer on medium speed until it looks smooth and glossy, with no lumps visible – about 2 minutes. You’ll see it soften and become pale and creamy. Add the caster sugar and vanilla extract, and beat for another minute until the mixture looks light and airy, almost like thick frosting.
- Add the eggs one at a time: Crack in the first egg and beat on low speed until just combined – you’ll see the yellow ribbon disappear into the white mixture. Repeat with the second and third eggs, scraping down the sides of the bowl after each addition. The batter should look smooth, silky, and uniform in colour.
- Finish the filling: Pour in the double cream and add the flour and salt. Beat on low speed until everything is incorporated – about 30 seconds. The batter will look thick, glossy, and pourable, with a slight sheen on top. Fold in the 100g of crushed Oreo pieces using a spatula. You’ll see dark swirls and chunks throughout the pale filling.
- Assemble and bake: Pour the filling over the cooled base and spread it evenly with a spatula. Tap the tin gently on the counter twice to release any air bubbles – you’ll hear a soft thud. Bake for 50–55 minutes. After 45 minutes, check for doneness: the edges should look set and slightly puffed, while the centre should wobble gently when you shake the tin, like a firm jelly. The kitchen will smell incredible – warm cream cheese and chocolate.
- Cool slowly: Turn off the oven, crack the door open with a wooden spoon, and let the cheesecake cool inside for 1 hour. This gentle cooling prevents cracking. After an hour, transfer to a wire rack to cool completely. You’ll see the surface settle and become smooth and flat. Once cool, refrigerate for at least 4 hours, ideally overnight. The texture firms up beautifully – it should feel dense but silky when you cut into it.
Tips From My Kitchen
- Use full-fat cream cheese, not reduced-fat: Lower-fat versions contain more water, which makes the cheesecake wet and prone to sinking. Full-fat cream cheese gives that dense, velvety texture that holds its shape when sliced. I learned this the hard way after a sunken, soggy disaster early in my baking days.
- Crush the Oreos for the filling by hand: For the base, fine crumbs are ideal. For the filling, I prefer to break the biscuits into rough chunks by hand or by tapping them gently in a bag with a rolling pin. This gives you distinct pieces of cookie and cream throughout the cheesecake, rather than a muddy grey batter.
- Don’t overbeat the eggs: Once you add the eggs, beat only until they disappear into the mixture. Overbeating incorporates too much air, which causes the cheesecake to puff up in the oven and then crack dramatically as it cools. You want a dense, creamy texture, not a soufflé.
- Chill overnight for the best texture: I know it’s tempting to dig in after a few hours, but an overnight rest in the fridge allows the flavours to meld and the texture to set properly. The cheesecake becomes firmer, cleaner to slice, and the Oreo pieces soften slightly, creating that perfect creamy-crunchy contrast.
- Slice with a hot knife: Run your knife under hot water, dry it off, then slice. The heat glides through the cold cheesecake without dragging or crumbling the Oreo pieces. Wipe the blade clean between each cut for picture-perfect slices.
Equipment You’ll Need
- Stand mixer or hand mixer
- 20cm springform tin
- Baking parchment
- Mixing bowls (one large, one medium)
- Rolling pin or food processor (for crushing biscuits)
- Spatula
- Wire cooling rack
Common Mistakes to Avoid
- Overcrowding the tin: Don’t be tempted to use a smaller tin to get a taller cheesecake. The batter needs room to rise slightly and then settle. Using a tin smaller than 20cm will cause the mixture to overflow or bake unevenly, with a burnt edge and a raw centre.
- Wrong temperature: Baking at too high a temperature will cause the edges to set before the centre, leading to a cracked surface. Stick to 160°C (140°C fan) and resist the urge to turn up the heat. A low, steady oven is the secret to a smooth top.
- Skipping the rest time: The slow cooling in the oven and the overnight chill are non-negotiable. Cutting into a warm cheesecake will give you a runny, messy slice. Patience here transforms a good cheesecake into a great one.
Delicious Variations to Try
- Chocolate Orange Version: Add the zest of one orange to the cream cheese mixture and swap the vanilla extract for orange extract. The citrus cuts through the richness beautifully, and the combination with dark chocolate Oreos is divine.
- Vegan Option: Use vegan cream cheese (the block-style, not the spreadable kind), a flax egg (1 tablespoon ground flaxseed mixed with 3 tablespoons water per egg), and vegan double cream. Use dairy-free butter for the base. The texture will be slightly softer but still deliciously creamy.
- Different Biscuit Base: Swap the Oreos for Bourbon biscuits, chocolate digestives, or even ginger nuts for a spiced twist. Each biscuit brings its own flavour profile – ginger nuts add warmth, while Bourbons double down on the chocolate hit.
What to Serve With Oreo Cookies and Cream Cheesecake
- A dollop of lightly whipped double cream, unsweetened, to balance the sweetness
- A scattering of fresh raspberries or strawberries – their sharpness cuts through the richness
- A drizzle of warm chocolate sauce or caramel sauce for extra indulgence
- A strong cup of black coffee or an espresso to contrast the creamy dessert
Still hungry for ideas? You might also love Strawberry Cheesecake Cookies Recipe, Classic Oreo Crust Cheesecake from our sister kitchens.
Frequently Asked Questions
Oreo Cookies and Cream Cheesecake
Ingredients
Method
- Preheat and prepare the tin: Set your oven to 160°C (140°C fan). Line the base of a 20cm springform tin with a circle of baking parchment and lightly grease the sides. The smell of warm butter and chocolate will start filling your kitchen right about now.
- Make the base: Blitz 200g of the Oreos (about 17 biscuits) in a sealed plastic bag using a rolling pin, or pulse them in a food processor until you have fine, dark crumbs with no large chunks. Pour the crumbs into a bowl, add the melted butter, and stir until every crumb looks damp and smells rich and buttery. Press this mixture firmly into the base of your prepared tin using the back of a spoon. You'll feel it compacting into a solid, even layer. Bake for 10 minutes, then set aside to cool. The base will look slightly darker and smell deeply of chocolate.
- Start the filling: In a large mixing bowl, beat the cream cheese with an electric mixer on medium speed until it looks smooth and glossy, with no lumps visible – about 2 minutes. You'll see it soften and become pale and creamy. Add the caster sugar and vanilla extract, and beat for another minute until the mixture looks light and airy, almost like thick frosting.
- Add the eggs one at a time: Crack in the first egg and beat on low speed until just combined – you'll see the yellow ribbon disappear into the white mixture. Repeat with the second and third eggs, scraping down the sides of the bowl after each addition. The batter should look smooth, silky, and uniform in colour.
- Finish the filling: Pour in the double cream and add the flour and salt. Beat on low speed until everything is incorporated – about 30 seconds. The batter will look thick, glossy, and pourable, with a slight sheen on top. Fold in the 100g of crushed Oreo pieces using a spatula. You'll see dark swirls and chunks throughout the pale filling.
- Assemble and bake: Pour the filling over the cooled base and spread it evenly with a spatula. Tap the tin gently on the counter twice to release any air bubbles – you'll hear a soft thud. Bake for 50–55 minutes. After 45 minutes, check for doneness: the edges should look set and slightly puffed, while the centre should wobble gently when you shake the tin, like a firm jelly. The kitchen will smell incredible – warm cream cheese and chocolate.
- Cool slowly: Turn off the oven, crack the door open with a wooden spoon, and let the cheesecake cool inside for 1 hour. This gentle cooling prevents cracking. After an hour, transfer to a wire rack to cool completely. You'll see the surface settle and become smooth and flat. Once cool, refrigerate for at least 4 hours, ideally overnight. The texture firms up beautifully – it should feel dense but silky when you cut into it.
Notes
I’d love to hear how this Oreo Cookies and Cream Cheesecake works out in your kitchen. Drop a comment below and let me know if your family devoured it in one sitting or if it lasted two days like ours usually does. Happy baking, and remember – a quick weeknight dessert doesn’t have to mean compromising on flavour.






