Quick Weeknight Chocolate Silk Pie
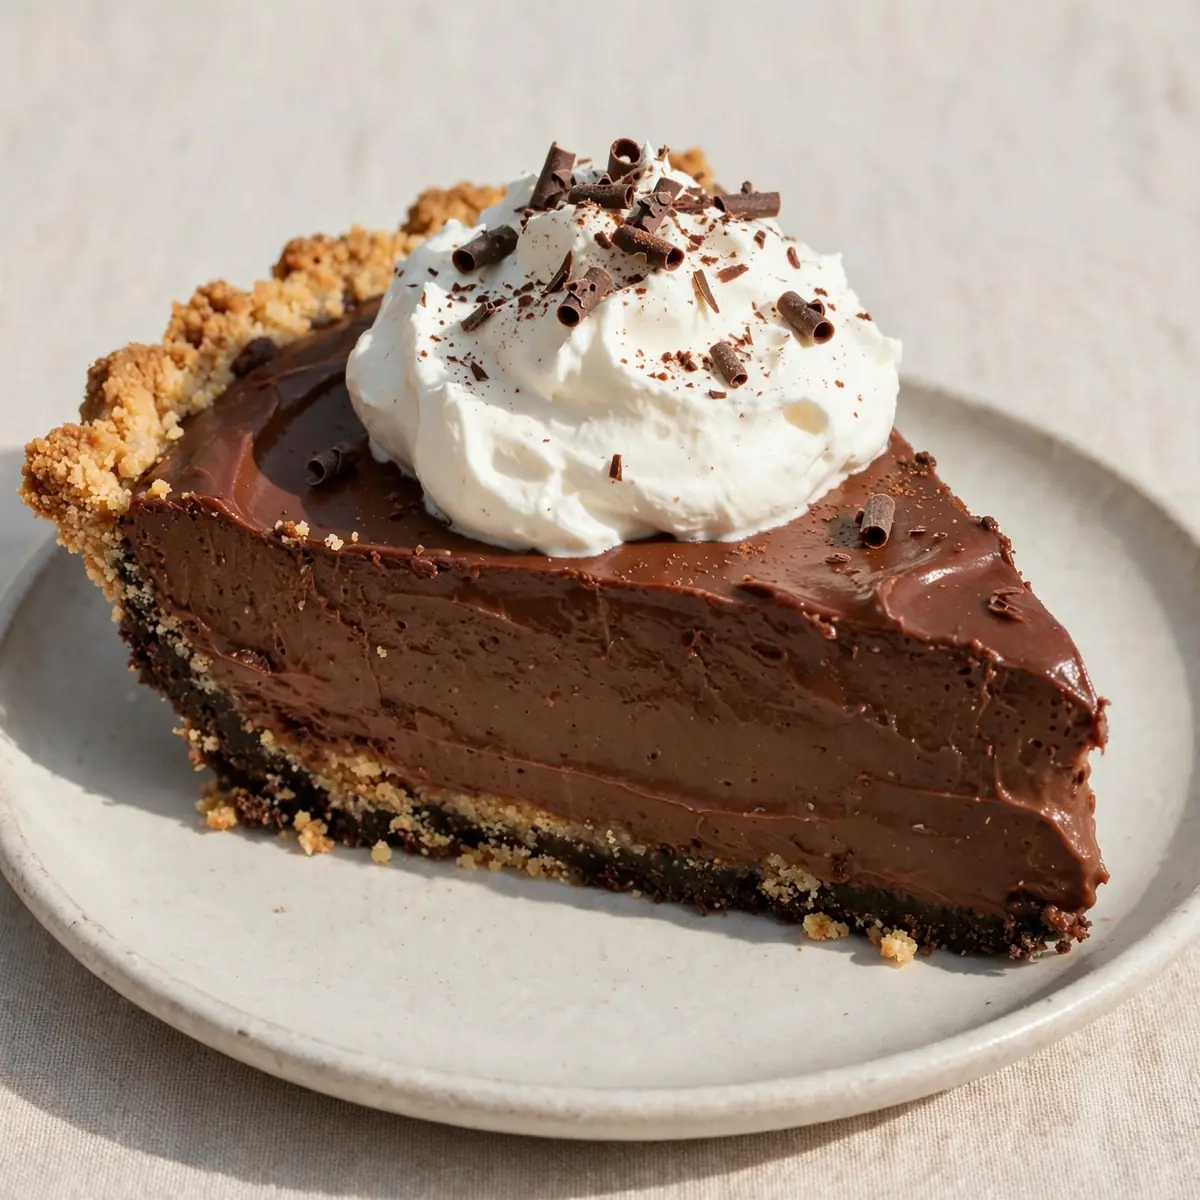
Friday night, 6:15 pm, and I’ve got a hungry family circling the kitchen like sharks. You know the drill. I need pudding that looks like I spent hours on it but actually comes together in the time it takes to unload the dishwasher. This Chocolate Silk Pie (Gelatin-Free) is my secret weapon. It’s rich, it’s silky, and it sets in the fridge while you eat your actual dinner — making it the ultimate weeknight win for busy families who want dessert without the fuss.
Recipe Overview
- Prep Time: 15 minutes
- Cook Time: 5 minutes (stovetop)
- Chill Time: 4 hours (or overnight)
- Total Time: 4 hours 20 minutes
- Servings: 8 generous slices
- Difficulty: Easy
Why You’ll Love This Chocolate Silk Pie (Gelatin-Free)
- No gelatin means no fuss: No blooming, no dissolving, no worrying about setting properly. This pie relies on cornflour and egg yolks for its luscious texture — a method I’ve trusted for over 4 years, and it never disappoints.
- Minimal cleanup, maximum reward: One saucepan, one mixing bowl, and a pie dish. That’s it. No food processor to wash, no double boiler to scrub. My husband, who’s usually picky, asked for seconds the first time I made this, and I barely had any washing up to do after.
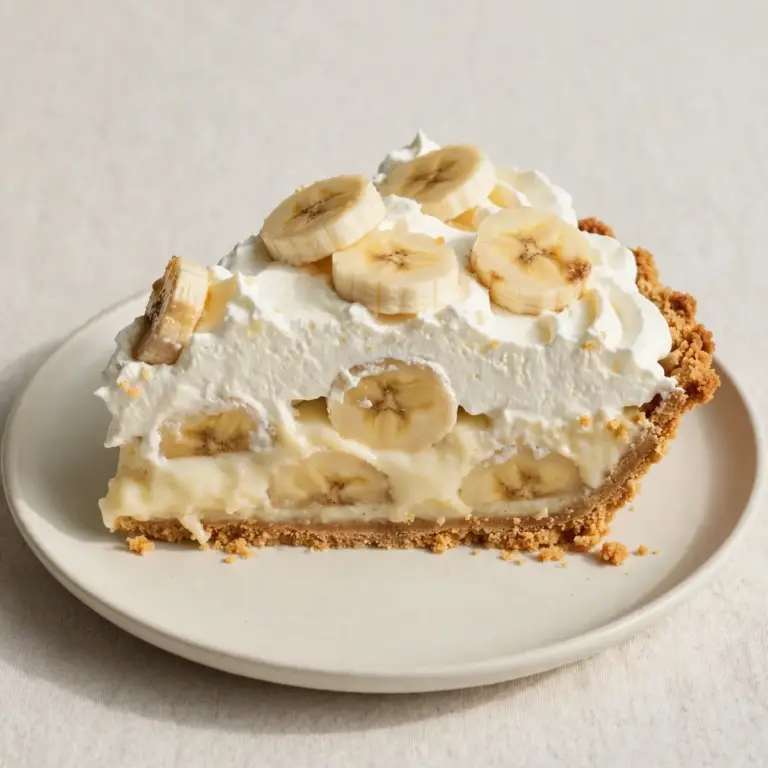
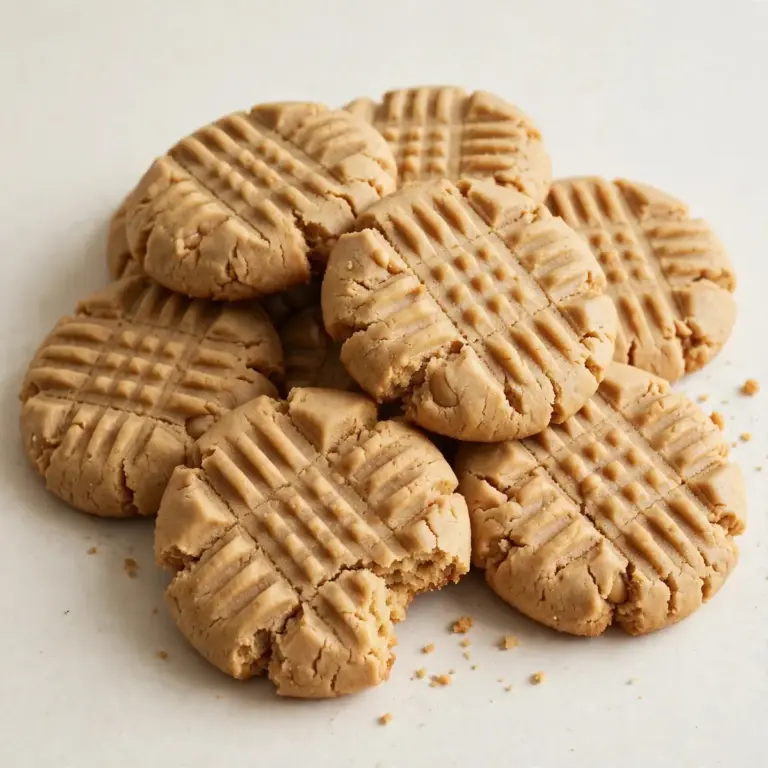
- Make-ahead magic for busy evenings: Prep this pie the night before or in the morning before school drop-off. By dinner time, it’s perfectly set and ready to slice. This is a lifesaver on those days when you’re running from work to football practice to homework help, just like our Easy Weeknight Banana Cream Pie.com/5-ingredient-soft-peanut-butter-cookies-ready-in-15/”>5-Ingredient Soft Peanut Butter Cookies Ready in 15.com/quick-weeknight-white-chocolate-macadamia-nut-cookies/”>Quick Weeknight White Chocolate Macadamia Nut Cookies.
- Silky, rich texture without the wobble: Unlike gelatin-based pies that can feel a bit rubbery, this one has a velvety, melt-in-your-mouth quality. The cornflour gives it a soft, spoonable set that feels luxurious, not artificial.
- Simple ingredients you already have: Butter, sugar, cocoa powder, eggs, milk, and a bit of vanilla. No trips to specialty shops, no expensive chocolate bars. This is cupboard cooking at its finest.
Ingredients You’ll Need
- 200g digestive biscuits (or any plain, sweet biscuit)
- 100g unsalted butter, melted
- 300ml whole milk
- 150g caster sugar
- 40g cocoa powder (unsweetened)
- 30g cornflour
- 3 large egg yolks
- 1 tsp vanilla extract
- Pinch of salt
- 300ml double cream (for whipping)
- 1 tbsp icing sugar (optional, for the topping)
- Chocolate shavings or grated chocolate, for garnish (optional)
Tip: For the richest flavour, use a good-quality cocoa powder — it makes a noticeable difference. I also recommend using full-fat milk; lower-fat versions will make the filling thinner and less luxurious.
How to Make Chocolate Silk Pie (Gelatin-Free)
- Make the biscuit base: Place the digestive biscuits in a sealed plastic bag and crush them with a rolling pin until they resemble fine breadcrumbs — you want a uniform, sandy texture with no large chunks. Tip the crumbs into a bowl, pour in the melted butter, and stir until every crumb is coated and the mixture looks like wet sand. Press this firmly into the base and up the sides of a 23cm pie dish. Use the bottom of a glass to get an even, compact layer. The base should feel solid and hold together when pressed. Pop it in the fridge to set while you make the filling.
- Whisk the dry ingredients: In a medium saucepan, whisk together the caster sugar, cocoa powder, cornflour, and salt. Make sure there are no lumps of cocoa or cornflour — the mixture should look like a smooth, dark powder. The colour will be a deep, rich brown, and it will smell faintly of chocolate.
- Add the milk and egg yolks: Slowly pour in the milk while whisking continuously. You want a smooth, lump-free paste. Then add the egg yolks and whisk again until fully incorporated. The mixture will be thin and milky at this stage, a pale brown colour with a slight sheen.
- Cook the filling: Place the saucepan over medium heat and stir constantly with a wooden spoon or a whisk. Don’t walk away — this is the critical part. After about 3-4 minutes, you’ll feel the mixture start to thicken. It will go from a thin liquid to a thick, glossy pudding in a matter of seconds. You’ll hear it start to bubble gently, and it will look like a dark, shiny chocolate sauce. Let it bubble for exactly 1 minute while stirring — this cooks the cornflour and ensures a silky texture. The final consistency should be thick enough to coat the back of a spoon heavily, and it will smell intensely of chocolate.
- Finish the filling: Remove the saucepan from the heat and stir in the vanilla extract. The filling will be very thick and glossy, with a smooth, pudding-like texture. Pour it immediately into the prepared biscuit base. Use a spatula to spread it evenly. The surface should be smooth and level. Tap the dish gently on the counter to release any air bubbles.
- Cool and set: Let the pie cool at room temperature for about 20 minutes — you’ll see the filling firm up slightly as it cools. Then transfer it to the fridge and chill for at least 4 hours, or overnight. The filling should be completely set, firm to the touch but still soft and silky when you press it. The surface will look matte and smooth.
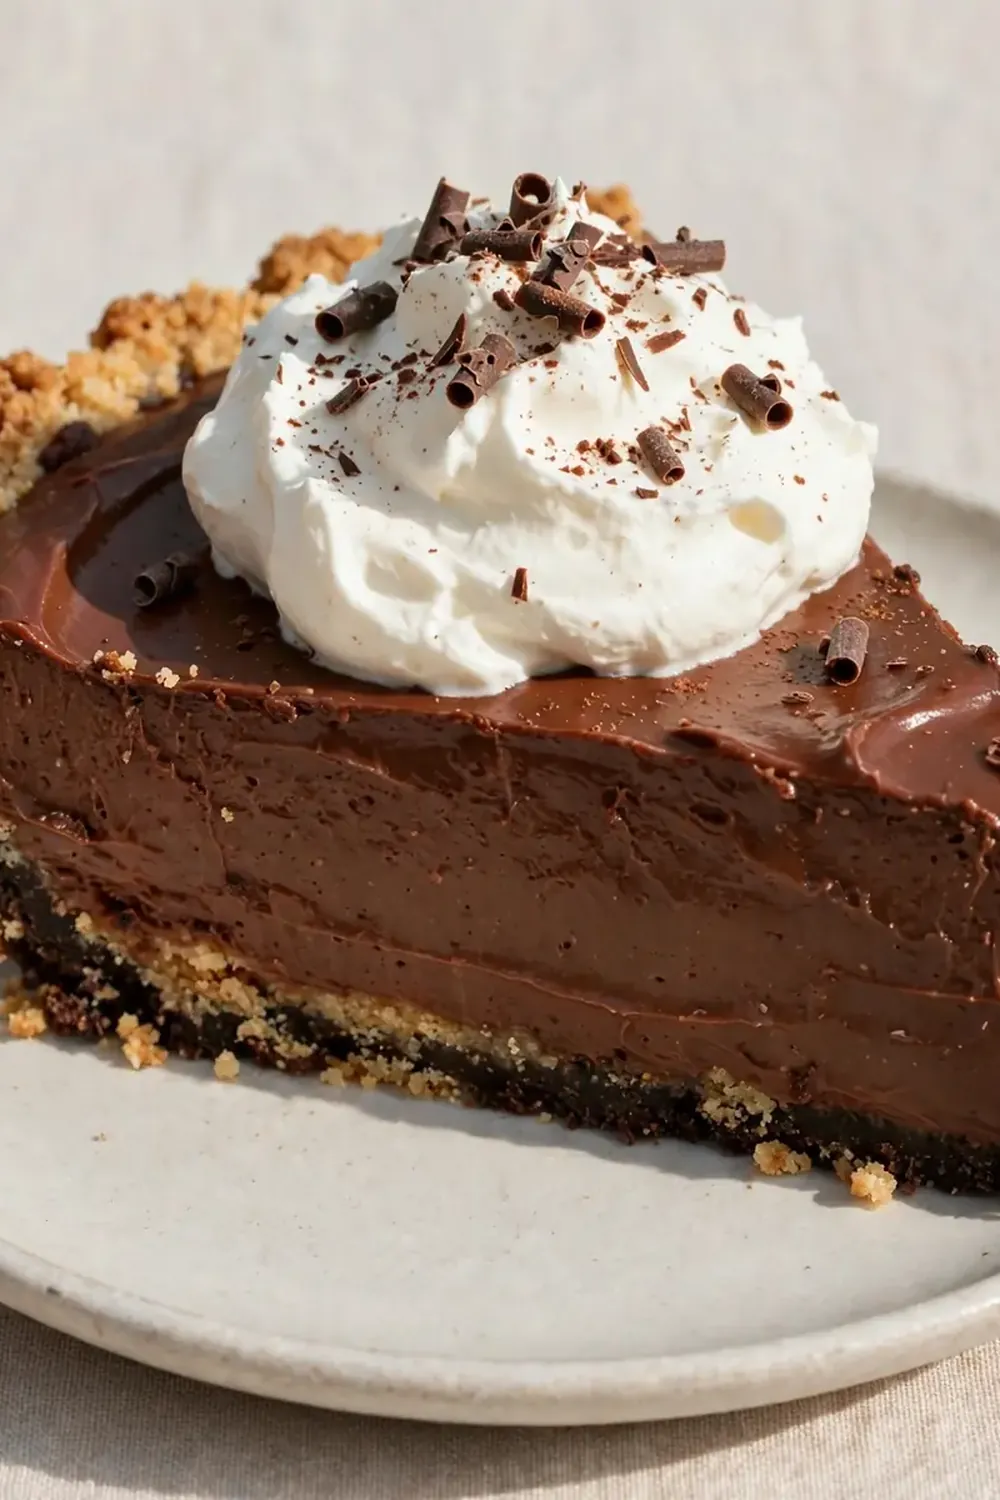
- Whip the topping: Just before serving, pour the double cream into a chilled bowl. Add the icing sugar if you want a slightly sweeter topping. Whip with a hand mixer or stand mixer until soft peaks form — the cream should hold its shape but still look soft and billowy. You’ll know it’s ready when you lift the beaters and the cream forms gentle peaks that flop over slightly. Spread or pipe the cream over the chilled pie. Sprinkle with chocolate shavings if you like.
Tips From My Kitchen
- Don’t skip the 1-minute bubble: This is the most important step. The cornflour needs to be cooked properly to thicken the filling and avoid a raw, floury taste. If you stop cooking as soon as it thickens, you risk the pie not setting properly. Let it bubble gently for a full minute while stirring — you’ll see the texture become glossier and the mixture pull away from the sides of the pan slightly.
- Use a glass pie dish for even setting: Glass conducts heat gently and allows you to see if the base is evenly pressed. It also chills faster than ceramic, which helps the pie set in the 4-hour window. If you only have a metal tin, expect a slightly longer setting time.
- Press the biscuit base firmly: A loose base will crumble when you slice the pie. Use the flat bottom of a measuring cup or a glass to press the crumbs down with real authority. The base should feel compact and solid, almost like a single layer of biscuit. This also prevents the filling from seeping through and making the base soggy.
- Make it the night before for the best texture: While 4 hours is enough for the pie to set, overnight chilling gives the filling time to become truly silky and allows the flavours to meld. The biscuit base also softens slightly, making it easier to slice. This is my go-to make-ahead tip for busy weeknights — prep it after the kids are in bed, and dessert is sorted for the next day.
- Whip the cream just before serving: Whipped cream can deflate or weep if left too long. For the best presentation, whip it right before you’re ready to serve. If you need to prep ahead, whip the cream to soft peaks, cover it tightly with cling film, and refrigerate for up to 2 hours. Give it a quick whisk before using to bring it back to life.
- Slice with a hot, dry knife: For clean, restaurant-style slices, run a sharp knife under hot water, dry it off, then slice. Wipe the blade clean between each cut. This prevents the filling from dragging and gives you neat, photogenic slices.
Equipment You’ll Need
- 23cm pie dish (glass is ideal)
- Medium saucepan
- Whisk
- Wooden spoon or silicone spatula
- Mixing bowls (one large, one medium)
- Rolling pin (for crushing biscuits)
- Hand mixer or stand mixer (for whipping cream)
- Measuring cups and spoons
Delicious Variations to Try
- Spicy Mexican Chocolate Version: Add ½ teaspoon of ground cinnamon and a pinch of cayenne pepper to the dry ingredients. The warmth of the spices complements the rich chocolate beautifully without overwhelming it. Serve with a dollop of cream and a sprinkle of flaky salt.
- Vegan Option: Replace the butter with a plant-based block butter (not spreadable margarine) and use oat milk or coconut milk instead of whole milk. For the egg yolks, use 2 tablespoons of cornflour mixed with 3 tablespoons of water per yolk — this will thicken the filling just as well. Use a coconut-based cream for the topping.
- Different Biscuit Base: Swap the digestive biscuits for ginger snaps for a spicy kick, or use chocolate sandwich biscuits for an extra chocolatey base. If you use gluten-free biscuits, check that they’re sturdy enough to hold the filling — some gluten-free options are too crumbly.
What to Serve With Chocolate Silk Pie (Gelatin-Free)
- A handful of fresh raspberries or strawberries — their tartness cuts through the richness.
- A dusting of cocoa powder or a drizzle of caramel sauce for extra indulgence.
- A scoop of vanilla ice cream on the side for an old-school pudding feel.
- A strong cup of coffee or a glass of cold milk — perfect for dunking the crust.
- Leftovers? This pie is just as good straight from the fridge the next day. I’ve been known to sneak a slice for breakfast with my morning brew.
Still hungry for ideas? You might also love French Silk Pie Chocolate Dessert, Classic Chocolate Cream Pie from our sister kitchens.
Frequently Asked Questions
Chocolate Silk Pie (Gelatin-Free)
Ingredients
Method
-
Make the biscuit base: Place the digestive biscuits in a sealed plastic bag and crush them with a rolling pin until they resemble fine breadcrumbs — you want a uniform, sandy texture with no large chunks. Tip the crumbs into a bowl, pour in the melted butter, and stir until every crumb is coated and the mixture looks like wet sand. Press this firmly into the base and up the sides of a 23cm pie dish. Use the bottom of a glass to get an even, compact layer. The base should feel solid and hold together when pressed. Pop it in the fridge to set while you make the filling.
-
Whisk the dry ingredients: In a medium saucepan, whisk together the caster sugar, cocoa powder, cornflour, and salt. Make sure there are no lumps of cocoa or cornflour — the mixture should look like a smooth, dark powder. The colour will be a deep, rich brown, and it will smell faintly of chocolate.
-
Add the milk and egg yolks: Slowly pour in the milk while whisking continuously. You want a smooth, lump-free paste. Then add the egg yolks and whisk again until fully incorporated. The mixture will be thin and milky at this stage, a pale brown colour with a slight sheen.
-
Cook the filling: Place the saucepan over medium heat and stir constantly with a wooden spoon or a whisk. Don’t walk away — this is the critical part. After about 3-4 minutes, you’ll feel the mixture start to thicken. It will go from a thin liquid to a thick, glossy pudding in a matter of seconds. You’ll hear it start to bubble gently, and it will look like a dark, shiny chocolate sauce. Let it bubble for exactly 1 minute while stirring — this cooks the cornflour and ensures a silky texture. The final consistency should be thick enough to coat the back of a spoon heavily, and it will smell intensely of chocolate.
-
Finish the filling: Remove the saucepan from the heat and stir in the vanilla extract. The filling will be very thick and glossy, with a smooth, pudding-like texture. Pour it immediately into the prepared biscuit base. Use a spatula to spread it evenly. The surface should be smooth and level. Tap the dish gently on the counter to release any air bubbles.
-
Cool and set: Let the pie cool at room temperature for about 20 minutes — you’ll see the filling firm up slightly as it cools. Then transfer it to the fridge and chill for at least 4 hours, or overnight. The filling should be completely set, firm to the touch but still soft and silky when you press it. The surface will look matte and smooth.
-
Whip the topping: Just before serving, pour the double cream into a chilled bowl. Add the icing sugar if you want a slightly sweeter topping. Whip with a hand mixer or stand mixer until soft peaks form — the cream should hold its shape but still look soft and billowy. You’ll know it’s ready when you lift the beaters and the cream forms gentle peaks that flop over slightly. Spread or pipe the cream over the chilled pie. Sprinkle with chocolate shavings if you like.
Notes
I’d love to hear how this Chocolate Silk Pie turns out for you. Did your family polish it off in one sitting? Did you try any of the variations? Drop a comment below and let me know — your feedback helps other busy cooks decide what to make for their next weeknight dinner. And if you’re looking for another no-fuss dessert, you might enjoy these Fudgy 3 Ingredient Brownies For An Easy Snack or this Zesty No Bake Key Lime Cheesecake Jars 2 for another quick treat. Happy baking!