Chocolate Peanut Butter Muffins
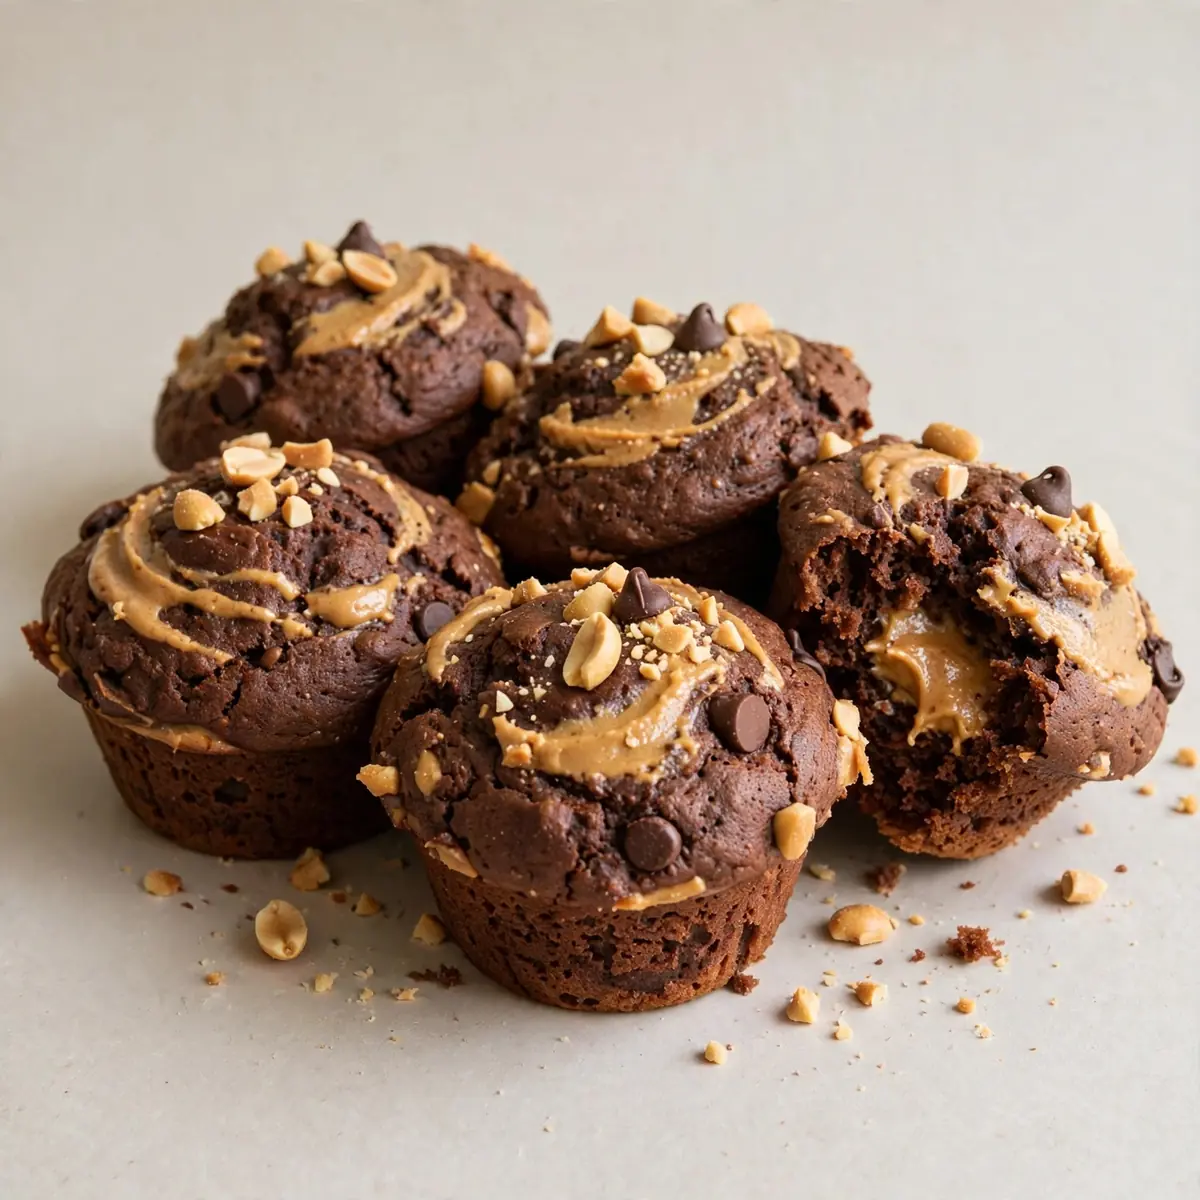
There are some weekends that call for a project, not a task. A slow, deliberate drift through the kitchen where the reward is as much the process as the plate. For me, that project is usually a batch of Chocolate Peanut Butter Muffins. It’s the scent of cocoa meeting warm, nutty butter that pulls me in, a promise of something deeply soothing. Let’s make a mess and bake something that feels like a hug.
Recipe Overview
- Prep Time: 20 minutes
- Cook Time: 18–22 minutes
- Total Time: 40–45 minutes
- Servings: 12 standard muffins
- Difficulty: Easy
Why You’ll Love This Chocolate Peanut Butter Muffins
- The batter comes together in one bowl, leaving you with fewer dishes to tackle while you wait for the timer.
- Each bite delivers a proper balance of rich, dark cocoa and creamy peanut butter—neither flavour overwhelms the other.
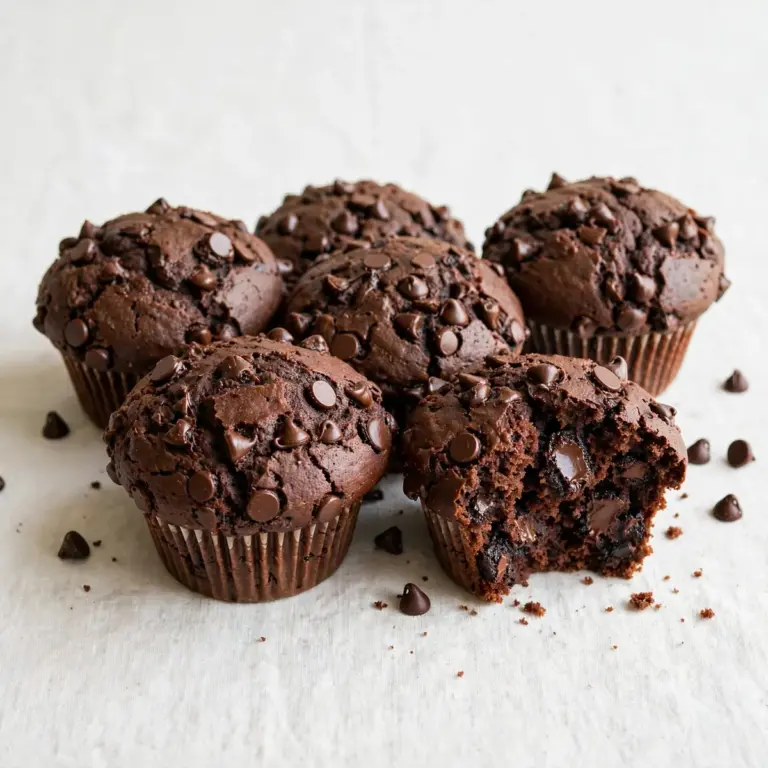
- The tops form a gently domed, crackled crust that gives way to a tender, moist crumb inside.
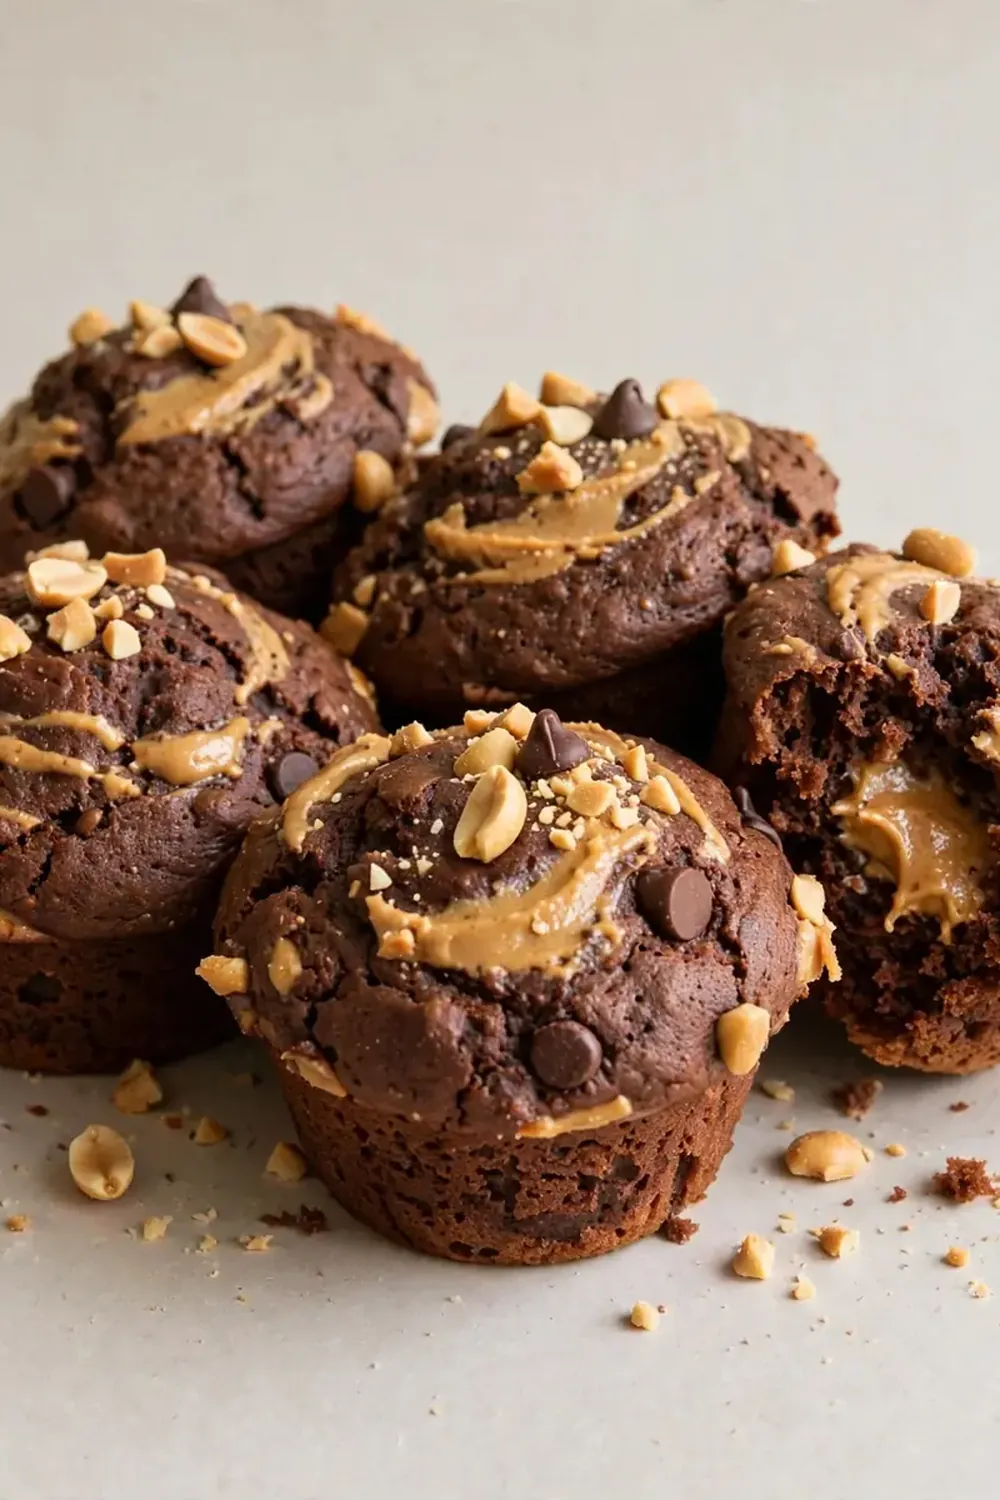
- After testing this recipe five times, I finally got it just right. The peanut butter stays swirled through the centre rather than sinking to the bottom.
- These muffins keep beautifully for days, making them a reliable treat for a lazy Sunday that stretches into Monday morning.
Ingredients You’ll Need
- 250g plain flour
- 50g cocoa powder (unsweetened, Dutch-processed if possible)
- 1½ teaspoons baking powder
- ½ teaspoon bicarbonate of soda
- ¼ teaspoon fine sea salt
- 150g caster sugar
- 120ml vegetable or sunflower oil
- 2 large eggs, at room temperature
- 240ml buttermilk, shaken well
- 1 teaspoon vanilla extract
- 120g smooth peanut butter (plus 2 extra tablespoons for swirling)
- 100g dark chocolate chips or chopped dark chocolate (optional, but recommended)
Tip: Use a smooth, runny peanut butter made from just peanuts and salt. Natural peanut butters that have separated will work, but stir them thoroughly first. Avoid the thick, sugar-laden brands, as they can make the batter too stiff.
How to Make Chocolate Peanut Butter Muffins
- Preheat your oven to 200°C (180°C fan) and line a 12-hole muffin tin with paper cases. The high initial temperature helps create that lovely domed top. While the oven warms, gather your ingredients—this is the moment to slow down and breathe.
- In a large mixing bowl, whisk together the flour, cocoa powder, baking powder, bicarbonate of soda, salt, and caster sugar. Watch the cocoa powder bloom into the air; that deep, slightly bitter scent is the first sign of good things to come. Make sure there are no lumps of flour or cocoa hiding at the bottom.
- In a separate jug or bowl, combine the oil, eggs, buttermilk, and vanilla extract. Whisk them until they look pale and homogenous, a single, glossy liquid. The buttermilk will react with the bicarbonate of soda later to give the muffins a tender lift.
- Pour the wet ingredients into the dry ingredients and stir with a wooden spoon or rubber spatula. Use a gentle hand here; stir only until you see the last streak of flour disappear. The batter will be thick and look slightly lumpy—that’s exactly right. Overmixing will make the muffins tough, and we want them soft as a cloud.
- Fold in the dark chocolate chips, if using, and then add the 120g of peanut butter. Give the batter two or three folds to distribute the peanut butter in thick, uneven ribbons. You want to see distinct streaks of peanut butter; a fully homogeneous batter will lose that wonderful pocket of salty creaminess.
- Divide the batter evenly among the 12 paper cases. Each case should be about three-quarters full. Use a small ice cream scoop or two spoons—it’s a little messy, but that’s part of the charm. The batter will feel dense and slightly sticky against the spoon.
- Take the remaining 2 tablespoons of peanut butter and warm it in the microwave for 10 seconds. Drop a small dab on top of each muffin, then use a toothpick or the tip of a knife to swirl it gently into the surface. Don’t over-swirl; a few lazy figure-eights will do.
- Bake for 18–22 minutes. At the 15-minute mark, your kitchen will smell like a patisserie crossed with a cosy diner. The muffins are done when they spring back lightly when pressed in the centre, and a skewer inserted comes out with a few moist crumbs (not wet batter). The tops should feel set and look crackled.
- Let the muffins cool in the tin for 5 minutes. This rest is crucial—it lets the structure settle. Then transfer them to a wire cooling rack. Listen for the faint crackle of the dome as they cool; it’s a sound of success.
Tips From My Kitchen
- Don’t overmix the batter. This is the single most important rule for tender muffins. Stir just until the flour is incorporated; a few small lumps are fine. Overworking the gluten will produce a dense, bread-like texture rather than a soft, cakey crumb.
- Use room-temperature eggs and buttermilk. Cold ingredients can cause the oil to seize and the batter to curdle. If you forgot to take them out of the fridge, place the eggs in a bowl of warm water for 5 minutes and gently warm the buttermilk in the microwave for 10 seconds.
- Measure your flour correctly. Scooping directly from the bag compacts the flour, leading to dry muffins. Instead, spoon the flour into your measuring cup and level it off with the back of a knife. For the most accurate result, weigh it—250g is the magic number.
- Let the muffins rest in the tin. That 5-minute wait after baking is non-negotiable. The muffins are still steaming and fragile; moving them too early can cause them to collapse or stick to the paper cases. Patience pays off in perfect shape.
- For extra indulgence, add a sprinkle of flaky sea salt on top before baking. The salt crystals contrast beautifully with the sweet chocolate and rich peanut butter, elevating every bite. It’s a tiny detail that makes a big difference.
Equipment You’ll Need
- Stand mixer or hand mixer (though a good whisk and elbow grease work just as well)
- 12-hole muffin tin
- Paper muffin cases
- Large mixing bowl and a separate jug
- Wooden spoon or rubber spatula
- Wire cooling rack
- Kitchen scales and measuring spoons
Common Mistakes to Avoid
- Overcrowding the pan: If you only have a 6-hole tin, don’t be tempted to fill the cases too high or bake them all at once. The muffins need space to rise and form a dome. Bake in two batches, keeping the second batch of batter at room temperature while the first bakes.
- Wrong temperature: A low oven temperature will produce flat, pale muffins. Always preheat fully and use an oven thermometer if your oven runs hot or cold. Baking at 200°C (180°C fan) gives that initial blast of heat that creates a beautiful, crackled top.
- Skipping the rest time: Those 5 minutes in the tin aren’t just for show. The muffins continue to cook gently from residual heat, and the structure firms up. Remove them too soon, and you risk a gummy texture and torn paper cases.
What to Serve With Chocolate Peanut Butter Muffins
- A cold glass of milk—the classic companion that cuts through the richness.
- A warm mug of coffee or a flat white, for those who prefer a grown-up pairing.
- A dollop of Greek yogurt or clotted cream, if you’re feeling particularly decadent.
- Fresh berries, such as raspberries or sliced strawberries, to add a bright, tart contrast.
Still hungry for ideas? You might also love Creamy Peanut Butter Overnight Oats Recipe To Try, Bakery Style Chocolate Chip Muffins Recipe from our sister kitchens.
Frequently Asked Questions
Chocolate Peanut Butter Muffins
Ingredients
Method
- Preheat your oven to 200°C (180°C fan) and line a 12-hole muffin tin with paper cases. The high initial temperature helps create that lovely domed top. While the oven warms, gather your ingredients—this is the moment to slow down and breathe.
- In a large mixing bowl, whisk together the flour, cocoa powder, baking powder, bicarbonate of soda, salt, and caster sugar. Watch the cocoa powder bloom into the air; that deep, slightly bitter scent is the first sign of good things to come. Make sure there are no lumps of flour or cocoa hiding at the bottom.
- In a separate jug or bowl, combine the oil, eggs, buttermilk, and vanilla extract. Whisk them until they look pale and homogenous, a single, glossy liquid. The buttermilk will react with the bicarbonate of soda later to give the muffins a tender lift.
- Pour the wet ingredients into the dry ingredients and stir with a wooden spoon or rubber spatula. Use a gentle hand here; stir only until you see the last streak of flour disappear. The batter will be thick and look slightly lumpy—that’s exactly right. Overmixing will make the muffins tough, and we want them soft as a cloud.
- Fold in the dark chocolate chips, if using, and then add the 120g of peanut butter. Give the batter two or three folds to distribute the peanut butter in thick, uneven ribbons. You want to see distinct streaks of peanut butter; a fully homogeneous batter will lose that wonderful pocket of salty creaminess.
- Divide the batter evenly among the 12 paper cases. Each case should be about three-quarters full. Use a small ice cream scoop or two spoons—it’s a little messy, but that’s part of the charm. The batter will feel dense and slightly sticky against the spoon.
- Take the remaining 2 tablespoons of peanut butter and warm it in the microwave for 10 seconds. Drop a small dab on top of each muffin, then use a toothpick or the tip of a knife to swirl it gently into the surface. Don’t over-swirl; a few lazy figure-eights will do.
- Bake for 18–22 minutes. At the 15-minute mark, your kitchen will smell like a patisserie crossed with a cosy diner. The muffins are done when they spring back lightly when pressed in the centre, and a skewer inserted comes out with a few moist crumbs (not wet batter). The tops should feel set and look crackled.
- Let the muffins cool in the tin for 5 minutes. This rest is crucial—it lets the structure settle. Then transfer them to a wire cooling rack. Listen for the faint crackle of the dome as they cool; it’s a sound of success.
Notes
So there you have it—a weekend project that fills your home with warmth and your plate with something truly satisfying. These Chocolate Peanut Butter Muffins are the kind of bake that makes you want to curl up with a book and a second cup of tea. I’d love to hear how they turn out for you—drop a comment below and share your own kitchen story. If you’re in the mood for another treat that celebrates simple, rich flavours, you might enjoy our Rich Chocolate Banana Bread For A Sweet Snack or these Creamy Strawberry Dessert Cups For Entertaining. Happy baking, friends.