
Classic Chocolate Cream Pie
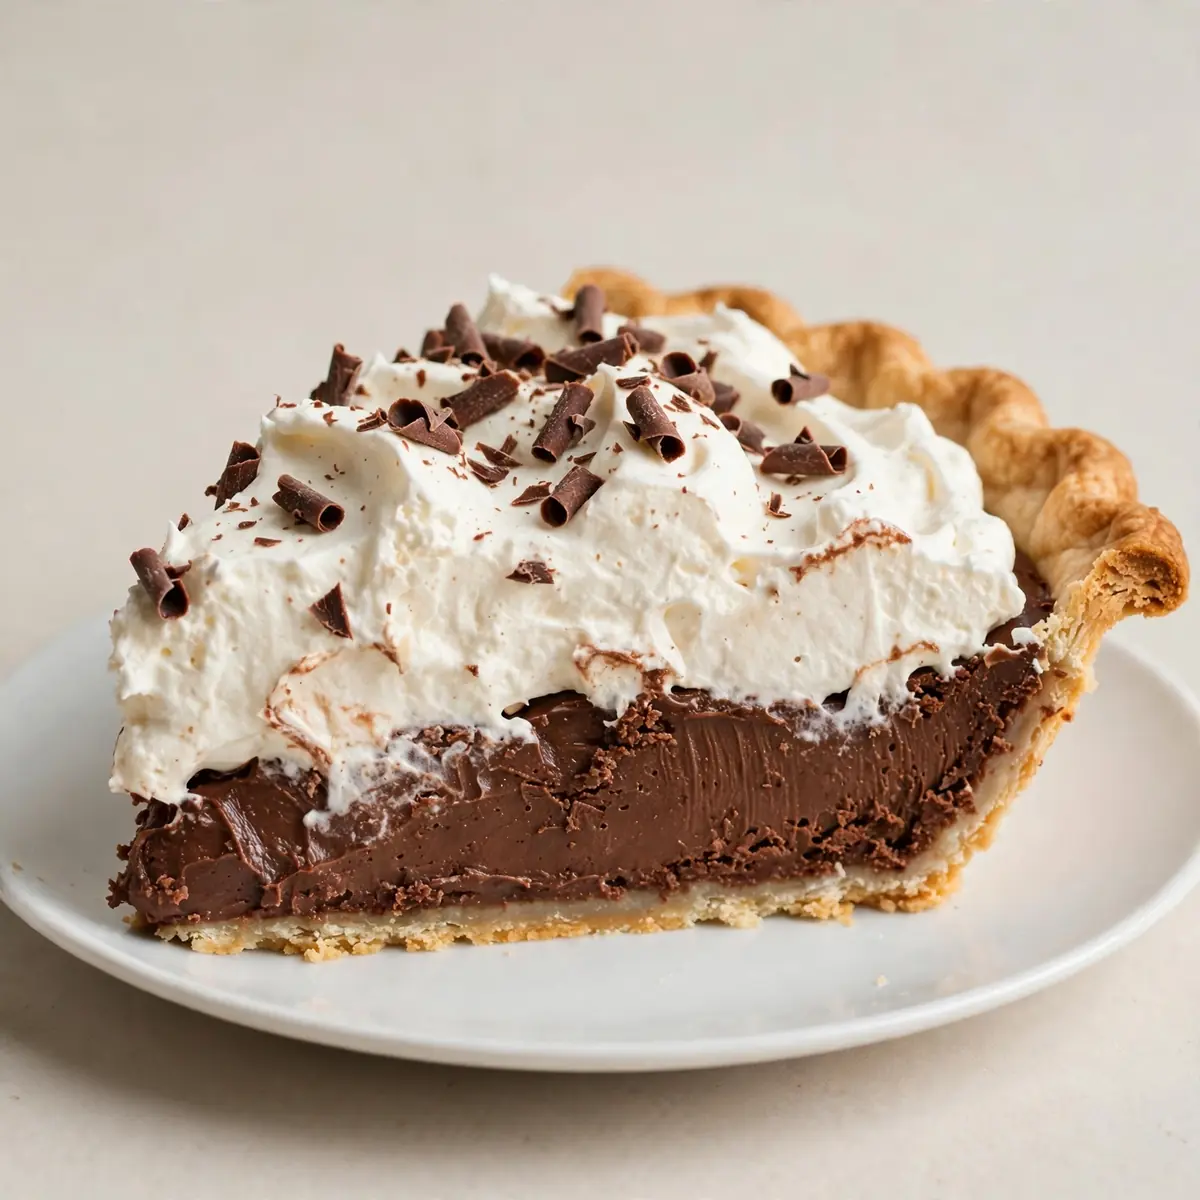
There are some weekends that call for a proper project in the kitchen; something that fills the house with the deep, warming scent of melted chocolate and takes a few unhurried hours to come together. This Classic Chocolate Cream Pie is that project for me—a rich, velvety pudding set in a crisp, buttery pastry shell, topped with clouds of softly whipped cream. I’ve been making this for over 6 years, and it never disappoints, offering a tangible, delicious reward for a slow, mindful afternoon spent cooking.
Recipe Overview
- Prep Time: 45 minutes (plus 3 hours chilling)
- Cook Time: 25 minutes
- Total Time: 4 hours 10 minutes
- Servings: 8 generous slices
- Difficulty: Medium — requires patience, but the techniques are straightforward
Why You’ll Love This Classic Chocolate Cream Pie
- Deep, Decadent Flavour: This isn’t a timid chocolate pudding. Using a mix of dark chocolate and cocoa powder creates a filling that’s intensely rich and satisfyingly complex.
- That Perfectly Crisp Pastry: No soggy bottoms here. The blind-baking method ensures a wonderfully crisp and sturdy shortcrust that holds up to the creamy filling.
- A Lesson in Patience: This recipe forces you to slow down. Waiting for the pastry to rest, the pudding to cool, and the pie to set is part of the joy—the final slice is all the more rewarding for it.
- Customisable for Any Occasion: Dress it up with chocolate shavings and fresh berries for a dinner party, or keep it simple with a dusting of cocoa for a cosy family treat. It’s my go-to recipe when I need something quick but impressive, though for truly instant gratification, I turn to Quick 5-Minute Frozen Lemonade Pie For Busy Weeknights.
- Pure, Unadulterated Comfort: There’s a unique, soul-warming satisfaction in pulling a homemade cream pie from the fridge. It’s a slice of pure, nostalgic happiness.
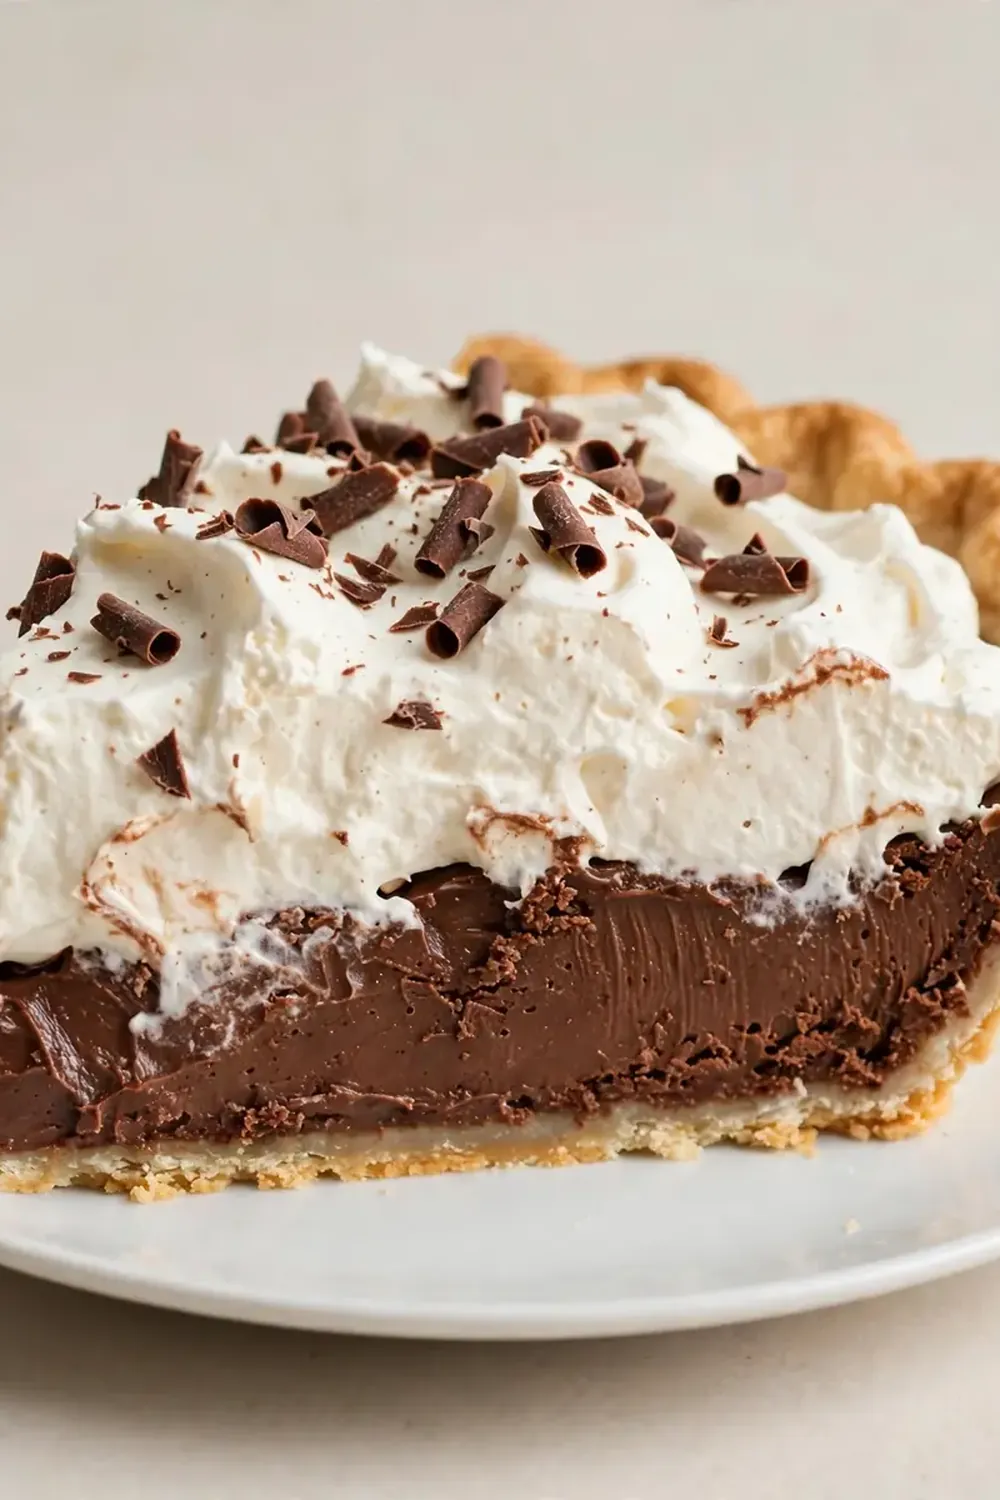
Ingredients You’ll Need
- For the Pastry:
- 200g plain flour, plus extra for dusting
- 100g cold unsalted butter, cubed
- 25g icing sugar
- 1 large egg yolk
- 2-3 tablespoons ice-cold water
- For the Chocolate Filling:
- 500ml whole milk
- 200ml double cream
- 100g caster sugar
- 40g cornflour
- 30g cocoa powder
- 150g dark chocolate (70% cocoa), finely chopped
- 2 large egg yolks
- 1 teaspoon vanilla extract
- A generous pinch of sea salt
- For the Topping:
- 300ml double cream, well chilled
- 1 tablespoon icing sugar
- ½ teaspoon vanilla extract
- Dark chocolate shavings, to decorate
Tip: For the very best flavour, use a high-quality dark chocolate you enjoy eating on its own. The quality of the chocolate is the single most important factor in this pie.
How to Make Classic Chocolate Cream Pie
- Make the pastry: In a large bowl, rub the cold butter into the flour and icing sugar using your fingertips until the mixture resembles fine, pale breadcrumbs. You’ll feel the cool, gritty texture shift to a soft, sandy one. Stir in the egg yolk, then add the ice-cold water one tablespoon at a time, bringing the dough together with a knife until it just holds. It should feel silky, not sticky. Wrap the disc in cling film and rest it in the fridge for at least 30 minutes.
- Blind bake the shell: Roll the chilled pastry out on a lightly floured surface to the thickness of a £1 coin. Gently lift it into a 23cm loose-bottomed tart tin, pressing it into the fluted edges. The pastry will feel firm and cool. Prick the base all over with a fork, line with a crumpled sheet of baking parchment, and fill with baking beans. Bake at 190°C (170°C fan) for 15 minutes, until the edges are just beginning to take on a pale golden colour. Remove the paper and beans, then bake for another 10 minutes until the base is dry and a uniform, light biscuit-brown. Set aside to cool completely on a wire rack.
- Start the pudding: In a large, heavy-based saucepan, whisk together the caster sugar, cornflour, and cocoa powder. The mixture will be a fine, dark powder with no lumps. In a separate jug, whisk the whole milk, double cream, and egg yolks until smooth and pale yellow. Gradually pour the wet ingredients into the dry, whisking constantly to create a smooth, glossy slurry.
- Cook the filling: Place the saucepan over a medium heat and stir continuously with a wooden spoon. At first, the mixture will be thin and milky. After about 4-5 minutes, you will feel the spoon begin to meet resistance as the mixture thickens. Listen for a soft, rhythmic bubbling sound. Once it starts to bubble, cook for exactly 2 minutes, stirring constantly. The pudding will be thick, smooth, and will coat the back of the spoon. Remove the pan from the heat.
- Finish the filling: Add the finely chopped dark chocolate, vanilla extract, and a generous pinch of sea salt to the hot pudding. Stir gently until the chocolate is completely melted and the mixture is a deep, glossy, satiny brown. The aroma will be intensely rich and sweet. Pour the hot filling directly into the cooled pastry shell, smoothing the top with a spatula. The surface should look like dark, polished glass.
- Chill the pie: Press a piece of cling film directly onto the surface of the hot chocolate filling to prevent a skin from forming. Place the pie in the fridge to chill for at least 3 hours, or until the filling is completely firm and set. It should feel bouncy and solid to the touch, with no wobble.
- Whip the topping: Just before serving, pour the well-chilled double cream, icing sugar, and vanilla extract into a large, cold bowl. Whisk with an electric mixer on medium-high speed until the cream holds soft peaks. The cream will go from a liquid slosh to a thick, billowy cloud that holds its shape when the beaters are lifted. Spoon or pipe the cream over the set chocolate filling, spreading it to the edges. Finish with a generous scattering of chocolate shavings.
Tips From My Kitchen
- Chill your pastry thoroughly: The pastry must be properly rested in the fridge before rolling. This relaxes the gluten, preventing the pastry from shrinking during baking. A cold dough also ensures the butter is solid, which creates those desirable, flaky layers when it melts in the oven.
- Use a heavy-bottomed pan: The custard-like chocolate filling is prone to scorching on the bottom of a thin pan. A heavy-based saucepan distributes the heat more evenly, preventing burnt patches and ensuring a silky-smooth result. Stir constantly, especially once it starts to thicken.
- Chop your chocolate finely: The finer you chop the chocolate, the quicker and more evenly it will melt into the hot pudding. If the pieces are too large, you risk the pudding cooling down before the chocolate has fully incorporated, leading to a grainy texture.
- Don’t rush the chilling time: This is the most crucial step for a clean, neat slice. The filling needs a full 3 hours in the fridge to set completely. If you rush it, the pie will be a delicious but messy puddle. Patience here is a virtue that pays off with a beautiful, sliceable pie.
- Whip the cream just before serving: Whipped cream can weep and deflate if left to sit for too long. For the best texture and presentation, whip the cream only when you are ready to finish the pie. This ensures your topping is light, airy, and picture-perfect.
Equipment You’ll Need
- 23cm loose-bottomed fluted tart tin
- Baking beans or dried pulses for blind baking
- Large, heavy-based saucepan
- Electric hand mixer or stand mixer with whisk attachment
- Rolling pin
- Fine-mesh sieve (for sifting cocoa, if needed)
- Wooden spoon or silicone spatula
- Cling film
Common Mistakes to Avoid
- Not blind baking properly: A soggy pastry base is the most common downfall. Ensure you bake the pastry with the weights for the full time, and then bake it again without them until the base is visibly dry and lightly coloured. This creates a barrier that prevents the wet filling from soaking in.
- Using the wrong heat for the filling: Cooking the pudding over too high a heat will cause it to seize and turn lumpy. Keep the heat on a steady medium and stir constantly. The mixture needs to reach a gentle simmmer, not a rapid boil, for the cornflour to thicken properly.
- Skipping the skin-protecting step: If you don’t press cling film directly onto the surface of the hot filling, a thick, rubbery skin will form as it cools. This is unpleasant to eat and ruins the velvety texture. The cling film creates an airtight seal, keeping the surface smooth and luscious.
Delicious Variations to Try
- Spicy Aztec Version: Add a generous pinch of cayenne pepper and a good grating of fresh nutmeg along with the salt in step 5. The gentle heat from the cayenne beautifully complements the bitterness of the dark chocolate, creating a wonderfully complex and warming flavour profile.
- Vegan Option: For a plant-based version, use a good-quality block of coconut cream for the filling instead of double cream and whole milk, and a vegan dark chocolate. Use a vegan pastry recipe with a plant-based butter substitute. The texture will be slightly different—a little more fudge-like—but equally delicious.
- Malted Milk Chocolate Version: Swap the dark chocolate for 150g of good-quality milk chocolate and add 3 tablespoons of malted milk powder to the dry ingredients in step 3. This creates a nostalgic, creamy, malted flavour that is incredibly moreish.
What to Serve With Classic Chocolate Cream Pie
- A dollop of extra-thick clotted cream for pure indulgence.
- A scattering of fresh, tart raspberries or sliced strawberries to cut through the richness.
- Alongside a strong, freshly brewed espresso or a tall glass of cold milk.
- As the centrepiece for a dessert spread, perhaps after a Sunday roast, alongside other treats like our Festive Christmas Dessert Recipes For Your Guests for a truly special occasion.
Still hungry for ideas? You might also love Oatmeal Cream Pie Recipe, Classic Boston Cream Pie Recipe Dessert from our sister kitchens.
Frequently Asked Questions
Classic Chocolate Cream Pie
Ingredients
Method
-
Make the pastry: In a large bowl, rub the cold butter into the flour and icing sugar using your fingertips until the mixture resembles fine, pale breadcrumbs. You’ll feel the cool, gritty texture shift to a soft, sandy one. Stir in the egg yolk, then add the ice-cold water one tablespoon at a time, bringing the dough together with a knife until it just holds. It should feel silky, not sticky. Wrap the disc in cling film and rest it in the fridge for at least 30 minutes.
-
Blind bake the shell: Roll the chilled pastry out on a lightly floured surface to the thickness of a £1 coin. Gently lift it into a 23cm loose-bottomed tart tin, pressing it into the fluted edges. The pastry will feel firm and cool. Prick the base all over with a fork, line with a crumpled sheet of baking parchment, and fill with baking beans. Bake at 190°C (170°C fan) for 15 minutes, until the edges are just beginning to take on a pale golden colour. Remove the paper and beans, then bake for another 10 minutes until the base is dry and a uniform, light biscuit-brown. Set aside to cool completely on a wire rack.
-
Start the pudding: In a large, heavy-based saucepan, whisk together the caster sugar, cornflour, and cocoa powder. The mixture will be a fine, dark powder with no lumps. In a separate jug, whisk the whole milk, double cream, and egg yolks until smooth and pale yellow. Gradually pour the wet ingredients into the dry, whisking constantly to create a smooth, glossy slurry.
-
Cook the filling: Place the saucepan over a medium heat and stir continuously with a wooden spoon. At first, the mixture will be thin and milky. After about 4-5 minutes, you will feel the spoon begin to meet resistance as the mixture thickens. Listen for a soft, rhythmic bubbling sound. Once it starts to bubble, cook for exactly 2 minutes, stirring constantly. The pudding will be thick, smooth, and will coat the back of the spoon. Remove the pan from the heat.
-
Finish the filling: Add the finely chopped dark chocolate, vanilla extract, and a generous pinch of sea salt to the hot pudding. Stir gently until the chocolate is completely melted and the mixture is a deep, glossy, satiny brown. The aroma will be intensely rich and sweet. Pour the hot filling directly into the cooled pastry shell, smoothing the top with a spatula. The surface should look like dark, polished glass.
-
Chill the pie: Press a piece of cling film directly onto the surface of the hot chocolate filling to prevent a skin from forming. Place the pie in the fridge to chill for at least 3 hours, or until the filling is completely firm and set. It should feel bouncy and solid to the touch, with no wobble.
-
Whip the topping: Just before serving, pour the well-chilled double cream, icing sugar, and vanilla extract into a large, cold bowl. Whisk with an electric mixer on medium-high speed until the cream holds soft peaks. The cream will go from a liquid slosh to a thick, billowy cloud that holds its shape when the beaters are lifted. Spoon or pipe the cream over the set chocolate filling, spreading it to the edges. Finish with a generous scattering of chocolate shavings.
Notes
I do hope you give this Classic Chocolate Cream Pie a go on one of your quiet weekends. The process is as comforting as the final result, and the look on people’s faces when you bring it to the table is a true joy. I’d love to hear how you get on—let me know in the comments below if you tried it, and what you thought.






