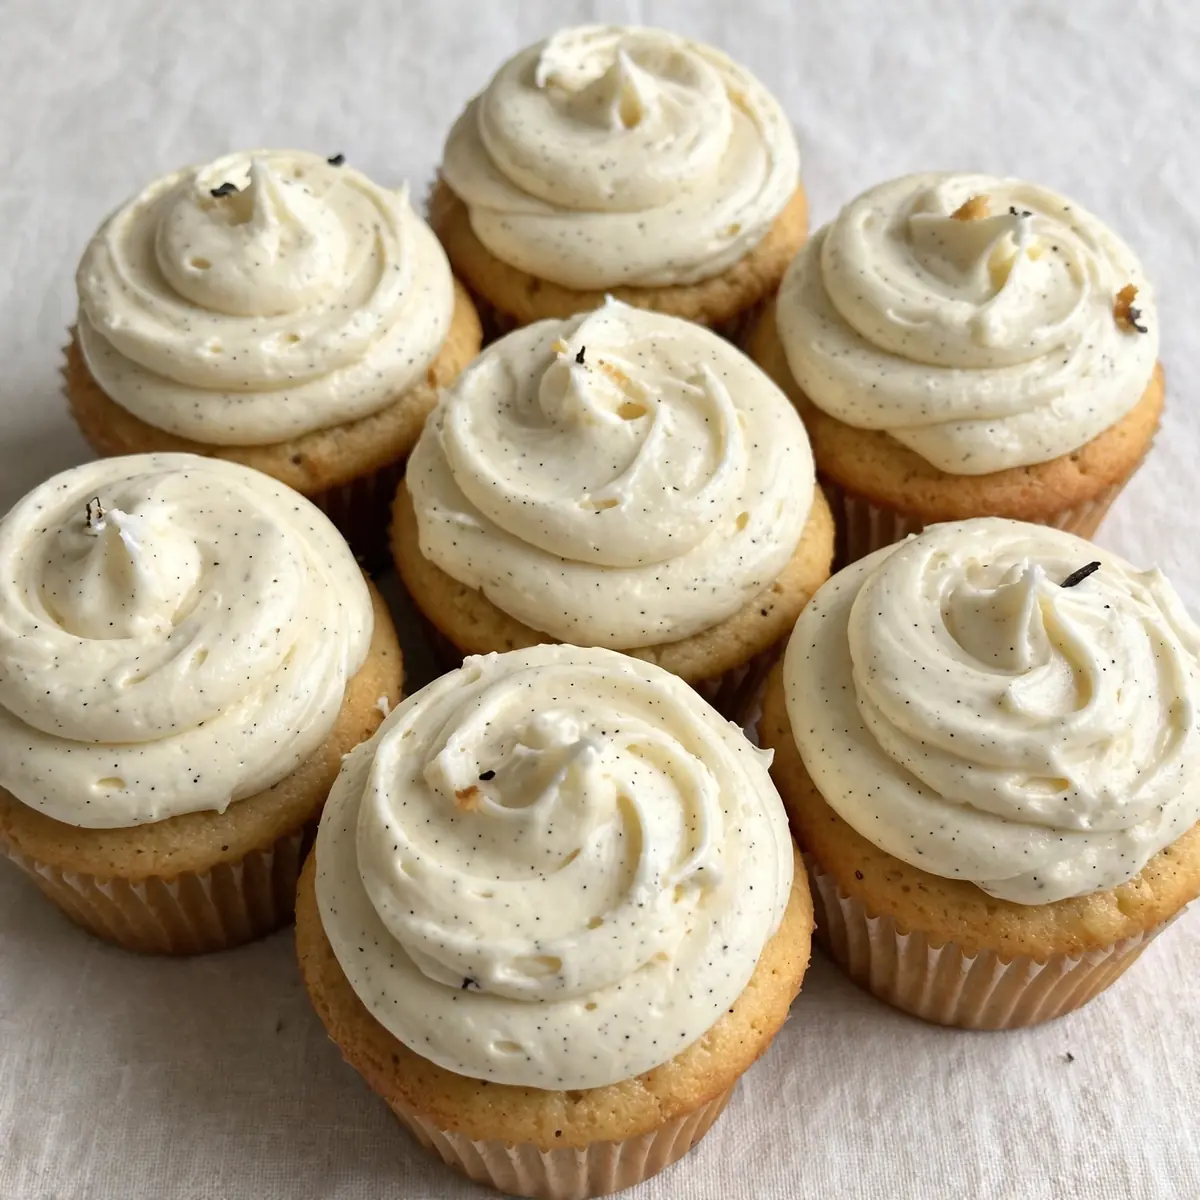
Ingredients
Method
- Preheat the oven to 180°C (160°C fan) and line a 12-hole muffin tray with paper liners. The oven should be fully hot before the batter goes in — you'll hear the heating element click off, and the air inside will feel steady and dry when you open the door. While it heats, prepare your vanilla bean by slicing it lengthwise with a small sharp knife. Run the blunt edge of the knife along the inside of each half to scrape out the tiny black seeds. You'll see a dark, sticky paste form on the blade; that's pure vanilla flavour.
- In a large mixing bowl, beat the softened butter and caster sugar together until pale and fluffy. Use a hand mixer or stand mixer on medium speed for about 3 minutes. The mixture will turn from a pale yellow to almost white, and it will look light and airy, like thick whipped cream. When you stop the mixer and lift the beaters, the butter-sugar mixture should hold a soft peak.
- Add the eggs one at a time, beating well after each addition. Crack the first egg into a small bowl first to avoid shell fragments. After each egg, the batter will look glossy and slightly looser, but it should remain smooth and not separate. If it looks grainy or curdled, your ingredients were too cold — don't worry, it will come together once the flour goes in.
- Stir in the alcohol-free vanilla extract and the vanilla bean seeds. Use a spatula to fold them in gently. You'll see the tiny black specks of vanilla bean distribute evenly through the pale batter, creating little dark flecks. The smell at this point is intoxicating — sweet, creamy, and deeply floral without any sharp alcohol notes.
- In a separate small bowl, whisk together the plain flour, baking powder, and salt. Sift them together if you have a sifter, but a good whisk for 30 seconds works just as well. This ensures the baking powder is evenly distributed so every cupcake rises the same height.
- Add half the dry ingredients to the wet mixture and fold gently with a spatula. Stir just until you see no more white flour streaks — about 8–10 strokes. The batter will look thick and slightly lumpy. Then pour in half the milk and yogurt mixture and fold again. Repeat with the remaining dry ingredients, then the remaining milk and yogurt. The final batter should be thick enough to hold its shape on a spoon but soft enough to drop easily. It will look smooth, creamy, and speckled with black vanilla seeds.
- Divide the batter evenly among the 12 prepared liners. Use a spring-loaded ice cream scoop or two spoons to fill each liner about two-thirds full. The batter should mound slightly in the centre. Tap the tray firmly on the counter twice to release any air bubbles — you'll see the surface settle and become even.
- Bake for 18–20 minutes, until the tops are golden and spring back when lightly pressed. At 18 minutes, the kitchen will smell like a bakery — warm, sweet, and buttery. The cupcakes should be domed and lightly browned around the edges. Insert a skewer into the centre of one; it should come out clean or with just a few moist crumbs. If the skewer is wet with batter, bake for another 2 minutes and check again.
- Cool the cupcakes in the tray for 5 minutes, then transfer to a wire rack to cool completely. After 5 minutes, the cupcakes will have pulled away slightly from the paper liners. Carefully lift each one onto the rack. You'll feel the warmth radiating from them, and the tops will be slightly crisp on the outside but soft underneath. Leave them for at least 30 minutes before frosting — warm frosting will slide right off.
Notes
Ensure all ingredients are at room temperature to prevent curdling. Cool completely before frosting.