Healthy Cottage Cheese Chocolate Mousse Dessert
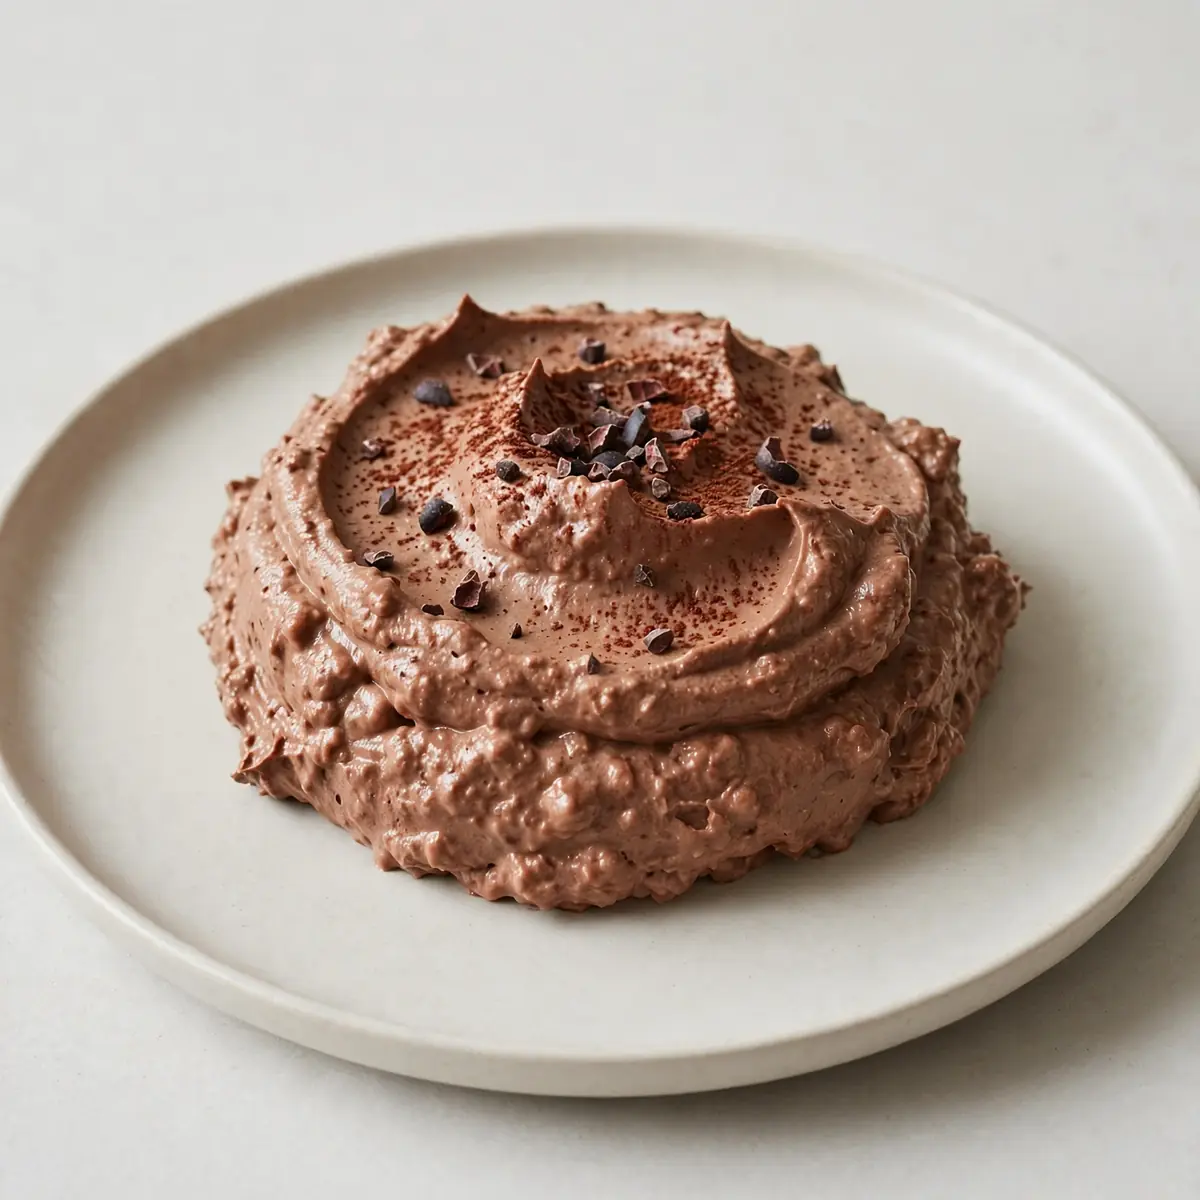
Tuesday night, 6:15 pm, and the kids are already asking what’s for pudding before I’ve even got dinner on the table. I needed something that felt like a treat but didn’t require a separate baking session or a sink full of dirty bowls. That’s when I landed on this healthy cottage cheese chocolate mousse dessert — it takes five minutes to blitz together, uses one single piece of equipment, and tastes so rich and creamy you’d never guess it’s packed with protein. I’ve been making this for over 10 years, and it never disappoints.
Recipe Overview
- Prep time: 5 minutes
- Chill time: 30 minutes (or skip and eat immediately)
- Total time: 35 minutes
- Servings: 4 small ramekins or 2 generous portions
- Difficulty: Easy — if you can press a button on a blender, you’ve got this
Why You’ll Love This Healthy Cottage Cheese Chocolate Mousse Dessert
- One-bowl, one-blender cleanup: Everything goes into the blender jug, you whizz it up, pour it out, and rinse the jug. No separate mixing bowls, no spatulas covered in melted chocolate, no whisking by hand. Dinner cleanup done in under a minute.
- Ready before the kids finish their main course: While your family is eating their dinner, you can blitz this mousse together, pour it into ramekins, and pop it in the fridge. By the time plates are cleared, dessert is chilled and ready to serve, just like our Drizzled Fruit Skewers With Chocolate Sauce.com/drizzled-fruit-skewers-with-chocolate-sauce-3/”>Drizzled Fruit Skewers With Chocolate Sauce.
- Make-ahead magic for busy weeks: This mousse keeps beautifully in the fridge for up to three days. Make a double batch on Sunday evening, portion it into little pots, and you’ve got a healthy dessert ready for Monday, Tuesday, and Wednesday night without lifting a finger.
- High protein, low sugar, no guilt: Cottage cheese brings a serious protein boost, and using a good quality dark cocoa powder means you get deep chocolate flavour without loads of added sugar. My kids absolutely devour this every time I make it, and I feel great serving it to them.
- No heat required: Unlike traditional mousse recipes that need you to melt chocolate over a bain-marie or whip egg whites to stiff peaks, this version uses no heat at all. Great for hot summer evenings when you don’t want to turn on the oven or hob.
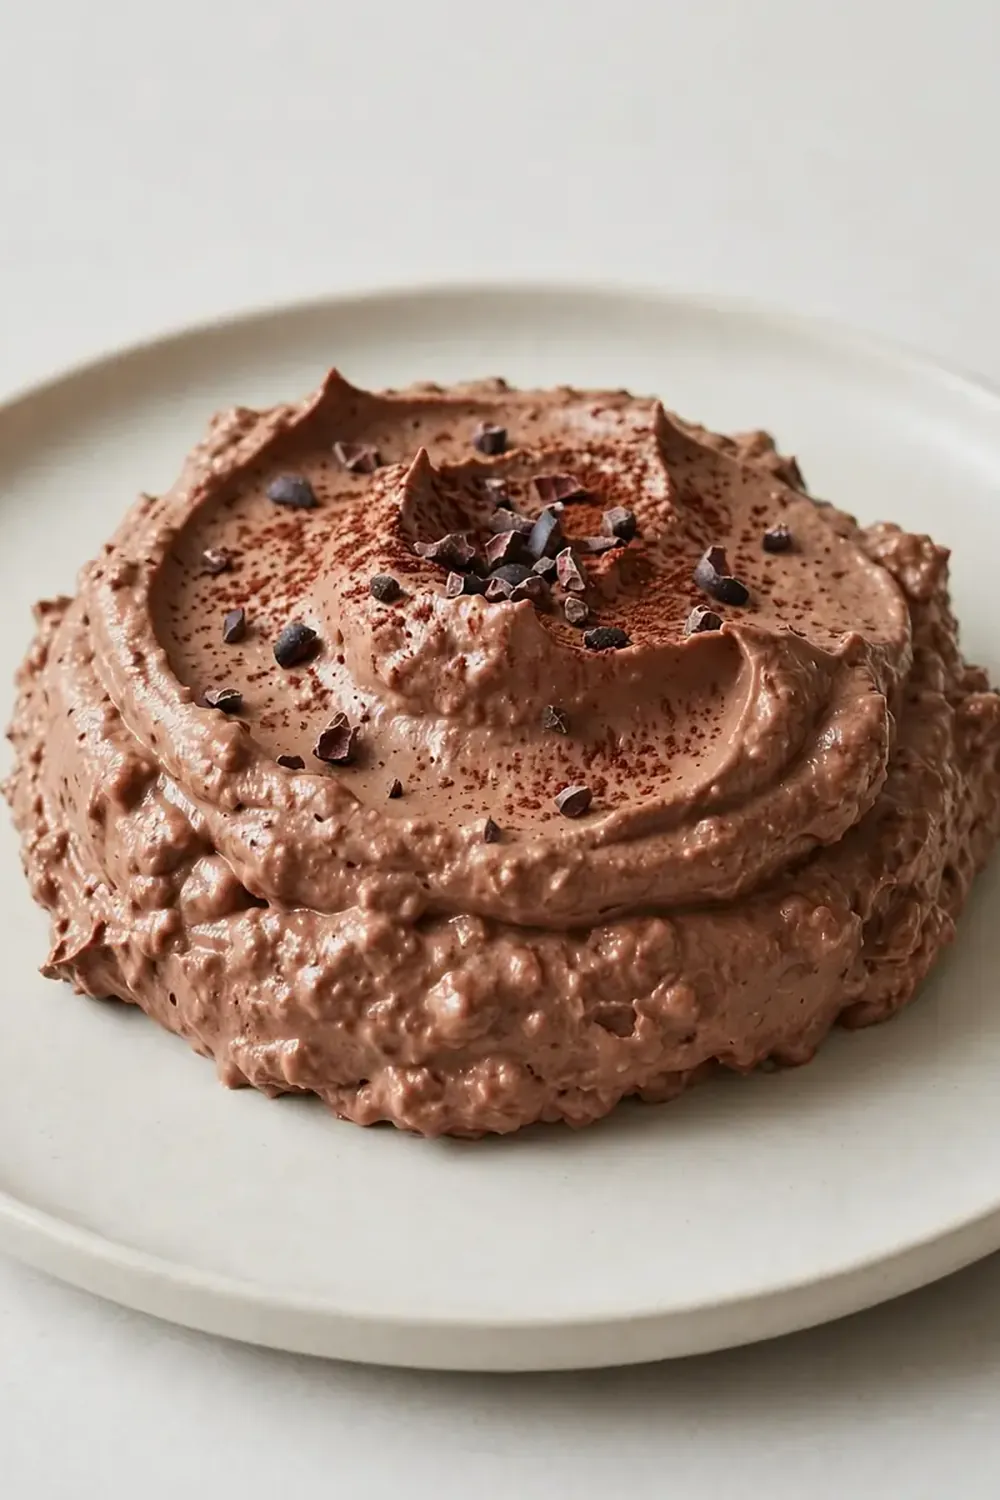
Ingredients You’ll Need
- 400g full-fat cottage cheese (the smooth, not chunky, variety works best)
- 4 tablespoons good quality cocoa powder (unsweetened)
- 3 tablespoons maple syrup or honey
- 1 teaspoon vanilla extract
- 60ml milk (any kind — dairy, oat, or almond all work)
- A pinch of sea salt
- Optional: 50g dark chocolate (70% cocoa or higher), roughly chopped, for folding through
- Optional toppings: fresh raspberries, a dusting of cocoa powder, a few flaked almonds, or a dollop of Greek yoghurt
Tip: Full-fat cottage cheese gives the creamiest, silkiest texture. If you only have low-fat on hand, add an extra tablespoon of milk to help it blend smoothly.
How to Make Healthy Cottage Cheese Chocolate Mousse Dessert
- Blend the cottage cheese first. Spoon the cottage cheese into your blender or food processor. Blitz on high for about 30 seconds until it turns completely smooth — you’re looking for a texture that resembles thick double cream, with no visible lumps or curds. Scrape down the sides once halfway through.
- Add the dry ingredients. Tip in the cocoa powder, salt, and the chopped dark chocolate if you’re using it. The cocoa powder will look dusty on top of the cheese, and that’s perfectly fine. Give everything a quick pulse (three or four short bursts) to start incorporating the powder.
- Pour in the wet ingredients. Add the maple syrup, vanilla extract, and milk. Blitz again on medium-high for 20 to 30 seconds. Watch the colour change from pale brown to a deep, rich chocolate shade — the mixture should look glossy and smooth, like a thick milkshake. If it seems too stiff, add another tablespoon of milk and blitz for 5 seconds.
- Taste and adjust. Dip a clean spoon in and taste. The mousse should be deeply chocolatey with a gentle sweetness. If it tastes bitter, add another half tablespoon of maple syrup and blitz briefly. If it’s not chocolatey enough, add another teaspoon of cocoa powder and pulse again.
- Pour into serving dishes. Divide the mousse evenly among small ramekins, small glass jars, or even little teacups. The texture at this stage should be pourable but thick — it will flow slowly off a spoon and settle into a smooth, even surface in the dish.
- Chill (or eat straight away). For a firmer, mousse-like texture, refrigerate for at least 30 minutes. After chilling, the surface will feel set to the touch, and a spoon will cut through it cleanly, leaving a smooth edge. If you can’t wait, eat it immediately — it will be more like a thick chocolate pudding, and that’s lovely too.
Tips From My Kitchen
- Use a high-speed blender for the smoothest result. Cottage cheese naturally has a grainy texture, and a standard stick blender or a small food processor may not break down the curds completely. A proper jug blender with a powerful motor gives you that silky, airy finish that mimics traditional mousse. If you only have a small processor, blend for a full minute and then pass the mousse through a fine-mesh sieve to catch any remaining lumps.
- Chill your serving dishes for an even better texture. Pop your ramekins or glasses into the fridge for 10 minutes before you pour in the mousse. The cold dishes help the mousse set more quickly and create a lovely, firm top layer that contrasts with the creamy centre. It’s a tiny step that makes a noticeable difference.
- Make a double batch and store in little pots. This mousse is brilliant for lunchboxes or after-school snacks. Pour it into small, lidded containers (those little 150ml glass jars with screw-top lids are perfect) and keep them in the fridge. Grab one whenever you need a quick, healthy sweet fix — no more reaching for packaged desserts full of additives.
- Add a secret protein boost without changing the flavour. If you want to make this even more filling, stir in a scoop of unflavoured or vanilla protein powder after blending. Add it one tablespoon at a time, stirring gently with a spatula, until fully incorporated. The mousse will thicken slightly, and you won’t taste the protein powder at all if you use a good quality brand.
- Let the mousse come to room temperature for 5 minutes before serving if it’s been in the fridge for hours. Straight from the fridge, the mousse can be quite firm and cold, which dulls the chocolate flavour slightly. Letting it sit on the counter for a few minutes takes the chill off and allows the cocoa notes to open up, making it taste richer and more indulgent.
Equipment You’ll Need
- High-speed blender or food processor
- Measuring spoons and a set of measuring cups
- Small rubber spatula for scraping down the sides
- 4 small ramekins, glasses, or lidded pots for serving
What to Serve With Healthy Cottage Cheese Chocolate Mousse Dessert
- A handful of fresh raspberries or strawberries — their tartness cuts through the rich chocolate beautifully.
- A light dusting of cocoa powder and a tiny pinch of sea salt flakes on top.
- A dollop of thick Greek yoghurt swirled through for extra creaminess and tang.
- Alongside a slice of Rich Chocolate Banana Bread For A Sweet Snack for a double-chocolate dessert board.
- Crushed toasted almonds or hazelnuts sprinkled on top for a bit of crunch.
Frequently Asked Questions
Healthy Cottage Cheese Chocolate Mousse Dessert
Ingredients
Method
-
Blend the cottage cheese first. Spoon the cottage cheese into your blender or food processor. Blitz on high for about 30 seconds until it turns completely smooth — you’re looking for a texture that resembles thick double cream, with no visible lumps or curds. Scrape down the sides once halfway through.
-
Add the dry ingredients. Tip in the cocoa powder, salt, and the chopped dark chocolate if you’re using it. The cocoa powder will look dusty on top of the cheese, and that’s perfectly fine. Give everything a quick pulse (three or four short bursts) to start incorporating the powder.
-
Pour in the wet ingredients. Add the maple syrup, vanilla extract, and milk. Blitz again on medium-high for 20 to 30 seconds. Watch the colour change from pale brown to a deep, rich chocolate shade — the mixture should look glossy and smooth, like a thick milkshake. If it seems too stiff, add another tablespoon of milk and blitz for 5 seconds.
-
Taste and adjust. Dip a clean spoon in and taste. The mousse should be deeply chocolatey with a gentle sweetness. If it tastes bitter, add another half tablespoon of maple syrup and blitz briefly. If it’s not chocolatey enough, add another teaspoon of cocoa powder and pulse again.
-
Pour into serving dishes. Divide the mousse evenly among small ramekins, small glass jars, or even little teacups. The texture at this stage should be pourable but thick — it will flow slowly off a spoon and settle into a smooth, even surface in the dish.
-
Chill (or eat straight away). For a firmer, mousse-like texture, refrigerate for at least 30 minutes. After chilling, the surface will feel set to the touch, and a spoon will cut through it cleanly, leaving a smooth edge. If you can’t wait, eat it immediately — it will be more like a thick chocolate pudding, and that’s lovely too.
Notes
There you have it — a genuinely quick weeknight dessert that feels like a proper indulgence but fits into a busy family schedule without any fuss. I love to serve this after a simple dinner of grilled chicken and steamed veg, or even alongside a batch of Fudgy Zucchini Brownies With Chocolate Glaze when we’re having friends over. The best part? My kids think they’re getting a special treat, and I know they’re eating protein and not a load of processed sugar. I’d love to hear how this works for your family — drop a comment below and let me know if your little ones loved it as much as mine do.