Sweet Honey Greek Yogurt No Bake Cheesecake
Life with a bustling family often feels like a beautiful whirlwind, doesn’t it? From school runs to after-school activities, and then the inevitable “What’s for dinner?” chorus, finding moments to create something truly delightful without adding to the chaos can be a real challenge. I know that feeling all too well – the desire to offer a nourishing, satisfying meal that still leaves room for a sweet ending, without spending half the evening in the kitchen.
For years, I’ve refined my repertoire to include dishes that deliver on flavour and satisfaction while demanding minimal fuss. This has led me to some ingenious shortcuts and make-ahead marvels, particularly when it comes to desserts. Because let’s be honest, a little something sweet after a busy day can feel like a small victory, a moment of calm amidst the storm, and a lovely way to bring everyone together around the table.
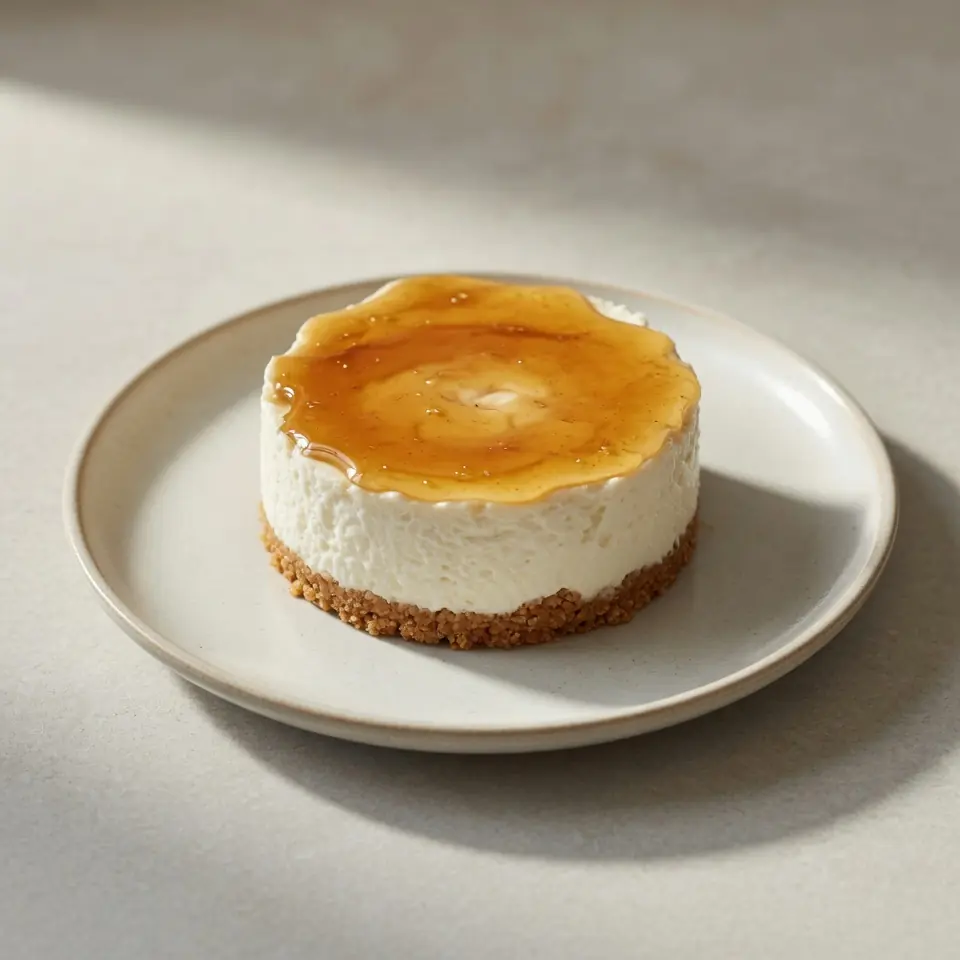
That’s precisely why this Sweet Honey Greek Yogurt No Bake Cheesecake has become a cherished staple in my home. It’s the answer to those weeknights when time is short, but the craving for something creamy, subtly sweet, and genuinely wholesome strikes. It comes together with astonishing speed, requires no oven time, and the minimal cleanup is a godsend – leaving you more precious time for family, or simply to put your feet up with a cuppa. Friends always ask me for this recipe after trying it at dinner parties, often surprised by how effortless it is despite its luxurious taste.
Recipe Overview
- Prep Time: 25 minutes
- Chill Time: 4-6 hours (or overnight)
- Total Time: 4 hours 25 minutes
- Servings: 8-10
- Difficulty: Easy
Why You’ll Love This Sweet Honey Greek Yogurt No Bake Cheesecake
- Effortless Preparation: No baking required means less time tethered to the oven and a cooler kitchen, especially welcome on warmer evenings.
- Minimal Cleanup: With fewer pots and pans involved, tidying up afterwards is a breeze, leaving you more time to relax.
- Make-Ahead Marvel: This cheesecake is designed to be prepared in advance, freeing up your evening for other activities and ensuring a stress-free dessert.
- Wholesome & Satisfying: Packed with the goodness of Greek yoghurt and natural honey, it’s a lighter, yet utterly indulgent, treat that won’t leave you feeling overly full.
- Family-Friendly Flavours: The gentle sweetness of honey combined with the creamy tang of yoghurt appeals to a wide range of palates, making it a hit with both adults and children.
Ingredients You’ll Need
- 200g digestive biscuits
- 75g unsalted butter, melted
- 500g full-fat Greek yoghurt
- 250g cream cheese, full-fat, softened
- 100ml double cream
- 100g runny honey (plus extra for drizzling)
- 1 teaspoon vanilla extract
- 1 tablespoon fresh lemon juice
- 5g gelatine powder (or 3 gelatine leaves)
- 3 tablespoons cold water (if using gelatine powder)
- Pinch of salt
- Fresh berries (strawberries, blueberries, raspberries) for serving
- Mint leaves for garnish (optional)
Tip: Using full-fat dairy products is key here. They contribute to the rich, creamy texture and ensure the cheesecake sets beautifully, preventing a watery or grainy consistency.
How to Make Sweet Honey Greek Yogurt No Bake Cheesecake
- Prepare the Biscuit Base: Place the digestive biscuits into a large freezer bag and crush them finely using a rolling pin until they resemble coarse sand. Alternatively, blitz them in a food processor until fine crumbs form. The aroma of sweet biscuits should fill the air.
- Combine with Butter: Melt the unsalted butter in a small saucepan over a low heat or in the microwave. Pour the melted butter over the biscuit crumbs in a bowl and mix thoroughly until all the crumbs are evenly coated and glistening.
- Form the Base: Press the buttered biscuit mixture firmly into the bottom of a 20cm springform tin, ensuring an even layer. Use the back of a spoon or the bottom of a glass to really compact it down. Place the tin in the fridge to chill for at least 30 minutes until the base feels firm to the touch.
- Bloom the Gelatine: If using gelatine powder, sprinkle it over 3 tablespoons of cold water in a small, heatproof bowl. Let it sit for 5-10 minutes until it “blooms” and turns into a wobbly, translucent mass. If using leaves, soak them in a bowl of cold water for 5 minutes until soft.
- Prepare the Filling: In a large mixing bowl, beat the softened cream cheese until smooth and creamy with no lumps visible, ensuring a consistent pale colour. Add the Greek yoghurt, double cream, honey, vanilla extract, lemon juice, and a pinch of salt. Beat on a medium speed until the mixture is light, fluffy, and well combined – it should have a wonderfully smooth, slightly thickened texture.
- Dissolve Gelatine and Combine: Gently heat the bloomed gelatine (either in the microwave for 10-15 seconds or over a pan of simmering water) until it’s fully dissolved and clear. It should be completely liquid with no granules. If using gelatine leaves, squeeze out excess water and stir into a tablespoon of the warm cream mixture until dissolved. Slowly pour the dissolved gelatine into the cheesecake filling while continuously mixing on a low speed, ensuring it’s thoroughly incorporated without any streaks.
- Assemble the Cheesecake: Pour the smooth, creamy filling over the chilled biscuit base in the springform tin. Gently tap the tin a few times on the counter to release any air bubbles and ensure an even top. The surface should look perfectly level and glossy.
- Chill and Set: Cover the cheesecake loosely with cling film and refrigerate for a minimum of 4-6 hours, but ideally overnight. The cheesecake is ready when the filling is completely firm and no longer wobbly in the centre when gently nudged. This is the crucial step for a perfect slice!
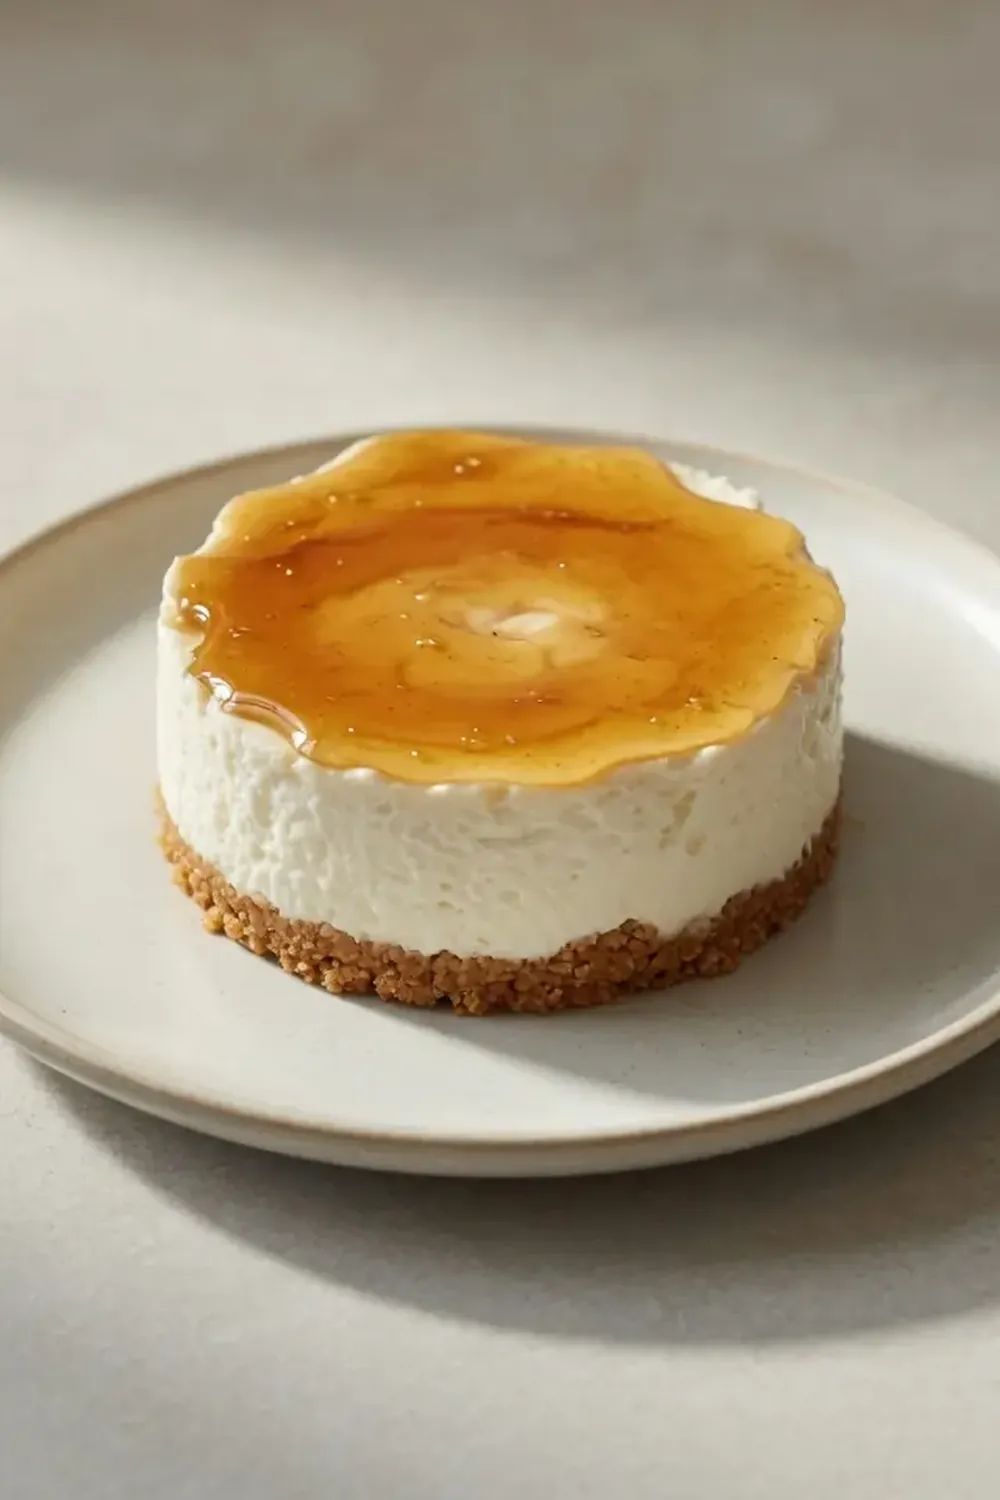
- Serve: Once fully set, carefully remove the cheesecake from the springform tin. Serve chilled, garnished with fresh berries, a drizzle of extra honey, and a few fresh mint leaves for a burst of colour and aroma.
Tips From My Kitchen
- Quality Ingredients Matter: Always opt for full-fat Greek yoghurt and cream cheese. The higher fat content provides the necessary structure and richness for a truly creamy, stable no-bake cheesecake. Skimping on fat here can result in a filling that’s too thin or doesn’t set properly, leaving you with a disappointing, runny dessert. I really notice the difference in texture when I use good quality dairy.
- Chill Time is Non-Negotiable: While 4-6 hours might seem long, chilling this cheesecake overnight is genuinely the best approach. It allows the gelatine to fully do its job and the flavours to meld beautifully. Trying to serve it too early will result in a soft, collapsing dessert, which can be frustrating after all your effort. Think of it as an investment in a perfectly firm and sliceable treat.
- Room Temperature Cream Cheese: Ensure your cream cheese is properly softened to room temperature before you start. This is vital for achieving a smooth, lump-free filling. Cold cream cheese will be difficult to beat and will likely leave you with small, unmixed bits in your otherwise gorgeous filling, affecting both texture and appearance.
- Gentle Gelatine Incorporation: When adding the dissolved gelatine, pour it in a slow, steady stream while the mixer is running on a low speed. This prevents the gelatine from clumping and ensures it’s evenly distributed throughout the mixture, which is essential for uniform setting. If added too quickly, it might set in strands or patches, leading to an uneven texture.
- Make-Ahead for Sanity: This recipe is my go-to when I need something quick but impressive, precisely because it can be made a day or even two in advance. Preparing it the night before a busy weeknight means one less thing to worry about during the dinner rush. Store it covered in the fridge, and it will be perfectly ready when you are, even tasting better as the flavours deepen.
- Biscuit Base Alternatives: While digestive biscuits are traditional, feel free to experiment with other biscuit types like hobnobs for a slightly oaty base, or even ginger biscuits for a warming spice note. Just ensure they are finely crushed and mixed well with the melted butter to achieve a firm base.
Equipment You’ll Need
- 20cm springform tin
- Large mixing bowl
- Electric hand mixer or stand mixer
- Small saucepan or microwave-safe bowl (for melting butter and dissolving gelatine)
- Rolling pin (if crushing biscuits manually)
- Spatula
- Measuring cups and spoons
Common Mistakes to Avoid
- Not chilling long enough: Rushing the chilling process is the most common mistake. The cheesecake needs ample time (4-6 hours, preferably overnight) for the gelatine to fully set, otherwise, the filling will be too soft and won’t hold its shape when sliced.
- Over-mixing the filling: While you want the ingredients combined, over-mixing the cream cheese and Greek yoghurt can incorporate too much air, which might lead to a less dense, slightly aerated texture, and can sometimes cause it to weep liquid. Mix until just combined and smooth.
- Lumpy cream cheese: Starting with cold cream cheese will result in a lumpy filling that is impossible to smooth out. Always ensure your cream cheese is at room temperature and softened before you begin mixing for a truly silky-smooth result.
Delicious Variations to Try
- Fruity Version: Incorporate a swirl of fruit purée (raspberry, passion fruit, or mango work beautifully) into the filling before chilling, or layer it on top for extra sweetness and tang.
- Chocolate Drizzle: For a touch of decadence, melt some good quality dark chocolate and drizzle it over the set cheesecake before serving.
- Nutty Base: Add a couple of tablespoons of finely ground almonds or walnuts to your biscuit base for an extra layer of flavour and texture.
What to Serve With Sweet Honey Greek Yogurt No Bake Cheesecake
- A generous handful of fresh mixed berries.
- A light dusting of icing sugar.
- A dollop of extra Greek yoghurt or crème fraîche.
- A drizzle of your favourite fruit coulis.
Frequently Asked Questions
Sweet Honey Greek Yogurt No Bake Cheesecake
Ingredients
Method
- Prepare the Biscuit Base: Place the digestive biscuits into a large freezer bag and crush them finely using a rolling pin until they resemble coarse sand. Alternatively, blitz them in a food processor until fine crumbs form. The aroma of sweet biscuits should fill the air.
- Combine with Butter: Melt the unsalted butter in a small saucepan over a low heat or in the microwave. Pour the melted butter over the biscuit crumbs in a bowl and mix thoroughly until all the crumbs are evenly coated and glistening.
- Form the Base: Press the buttered biscuit mixture firmly into the bottom of a 20cm springform tin, ensuring an even layer. Use the back of a spoon or the bottom of a glass to really compact it down. Place the tin in the fridge to chill for at least 30 minutes until the base feels firm to the touch.
- Bloom the Gelatine: If using gelatine powder, sprinkle it over 3 tablespoons of cold water in a small, heatproof bowl. Let it sit for 5-10 minutes until it "blooms" and turns into a wobbly, translucent mass. If using leaves, soak them in a bowl of cold water for 5 minutes until soft.
- Prepare the Filling: In a large mixing bowl, beat the softened cream cheese until smooth and creamy with no lumps visible, ensuring a consistent pale colour. Add the Greek yoghurt, double cream, honey, vanilla extract, lemon juice, and a pinch of salt. Beat on a medium speed until the mixture is light, fluffy, and well combined – it should have a wonderfully smooth, slightly thickened texture.
- Dissolve Gelatine and Combine: Gently heat the bloomed gelatine (either in the microwave for 10-15 seconds or over a pan of simmering water) until it's fully dissolved and clear. It should be completely liquid with no granules. If using gelatine leaves, squeeze out excess water and stir into a tablespoon of the warm cream mixture until dissolved. Slowly pour the dissolved gelatine into the cheesecake filling while continuously mixing on a low speed, ensuring it's thoroughly incorporated without any streaks.
- Assemble the Cheesecake: Pour the smooth, creamy filling over the chilled biscuit base in the springform tin. Gently tap the tin a few times on the counter to release any air bubbles and ensure an even top. The surface should look perfectly level and glossy.
- Chill and Set: Cover the cheesecake loosely with cling film and refrigerate for a minimum of 4-6 hours, but ideally overnight. The cheesecake is ready when the filling is completely firm and no longer wobbly in the centre when gently nudged. This is the crucial step for a perfect slice!
- Serve: Once fully set, carefully remove the cheesecake from the springform tin. Serve chilled, garnished with fresh berries, a drizzle of extra honey, and a few fresh mint leaves for a burst of colour and aroma.
Notes
And there you have it – a truly delightful Sweet Honey Greek Yogurt No Bake Cheesecake that’s designed to fit seamlessly into the rhythm of family life. It’s a testament to the fact that delicious, wholesome food doesn’t have to be complicated or time-consuming. Give it a try this week, and I promise you’ll be met with happy faces around the table, without the usual weeknight dinner drama. I’d love to hear how it turns out for you and your family in the comments below!