
Rich Chocolate Chip Tahini Blondies Recipe
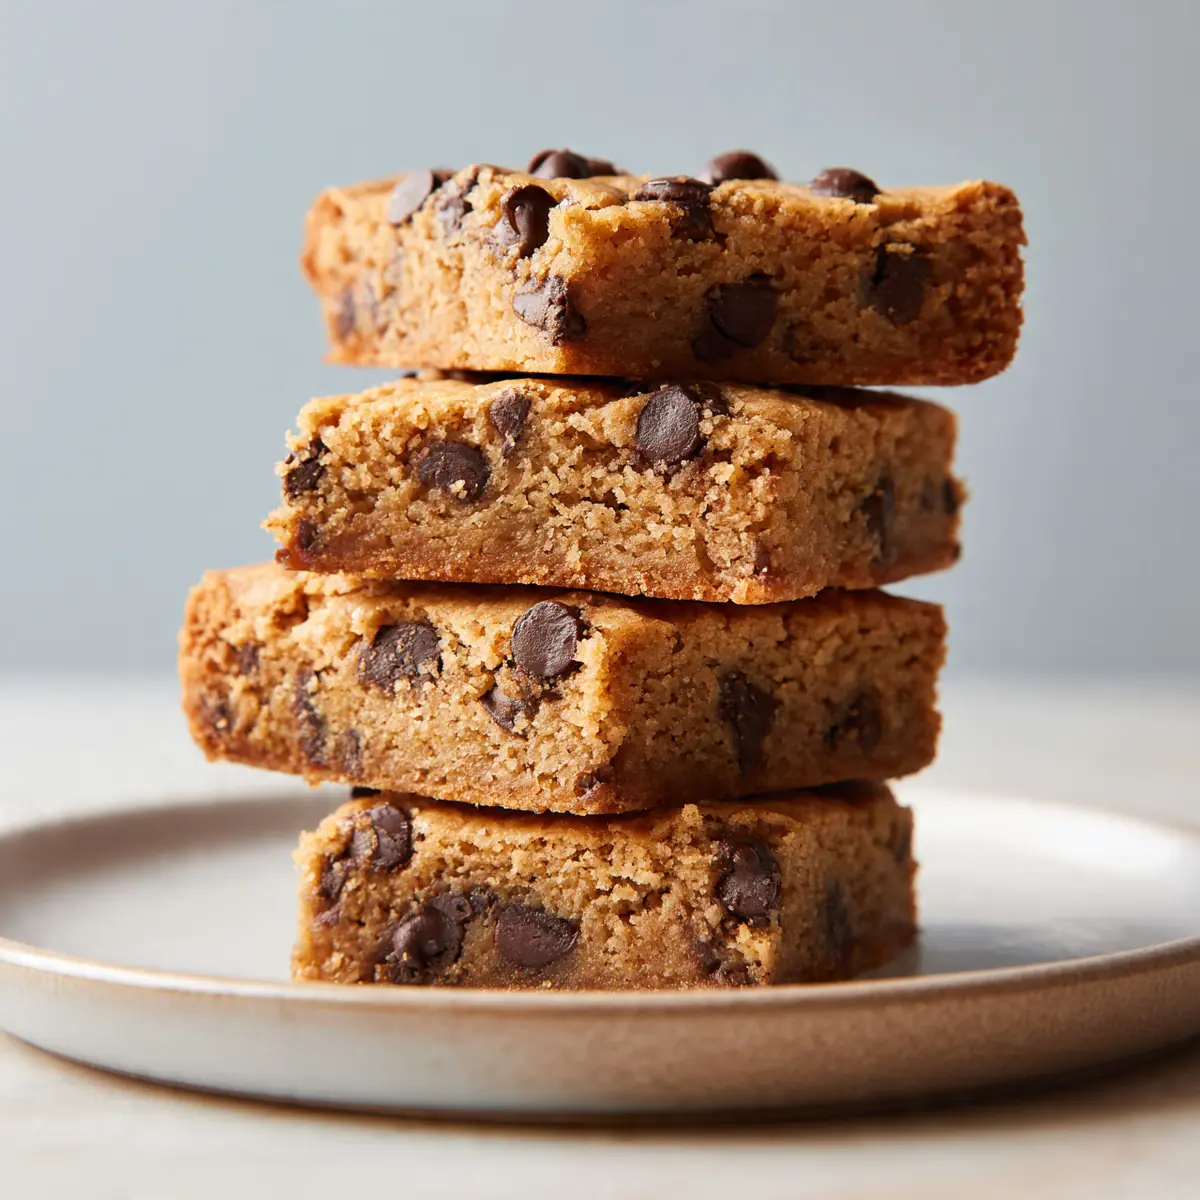
After a whirlwind day of school runs, work deadlines, and navigating the general beautiful chaos that is family life, the idea of conjuring up a dessert often feels like an impossible feat. Yet, the longing for a comforting, sweet treat to cap off a busy weeknight is undeniably real. That’s precisely where these Rich Chocolate Chip Tahini Blondies come into their own, offering a truly satisfying end to any evening without demanding hours of your precious time or a mountain of washing up.
I remember countless evenings, standing in the kitchen, utterly exhausted, wishing for something more exciting than a biscuit for pudding, but lacking the energy for anything elaborate. It was a familiar dilemma for many of us with bustling households. I used to struggle with finding a dessert that felt both special and achievable on a Tuesday night until I discovered the magic of blondies – a versatile canvas for flavour, and surprisingly forgiving when you’re short on time.
This particular recipe for Tahini Blondies became my go-to when I needed something quick but impressive. They come together with minimal fuss, mostly in one bowl, meaning less scrubbing later. Plus, they’re wonderfully adaptable for make-ahead convenience, meaning you can whip them up when you have a spare moment and have them ready to enjoy when the evening rush hits. Trust me, these blondies are a game-changer for anyone wanting deliciousness without the drama.
Recipe Overview
- Prep time: 15 minutes
- Cook time: 25-30 minutes
- Total time: 40-45 minutes
- Servings: 12 squares
- Difficulty: Easy
Why You’ll Love This Rich Chocolate Chip Tahini Blondies Recipe
- Effortless Elegance for Busy Evenings: These blondies deliver a sophisticated flavour profile with minimal effort, making them a delightful dessert even on your most hectic weeknights.
- Speedy Preparation & Baking: From mixing bowl to oven, the prep is incredibly swift, and they bake relatively quickly, meaning you’re not waiting ages for that sweet reward.
- Minimal Cleanup: Designed with efficiency in mind, this recipe often uses just one bowl for mixing, drastically cutting down on post-dinner washing up.
- Make-Ahead Marvel: Blondies store beautifully, allowing you to bake them a day or two in advance. This means you can have a delicious dessert ready to go when you need it most, truly embracing the weeknight-friendly ethos.
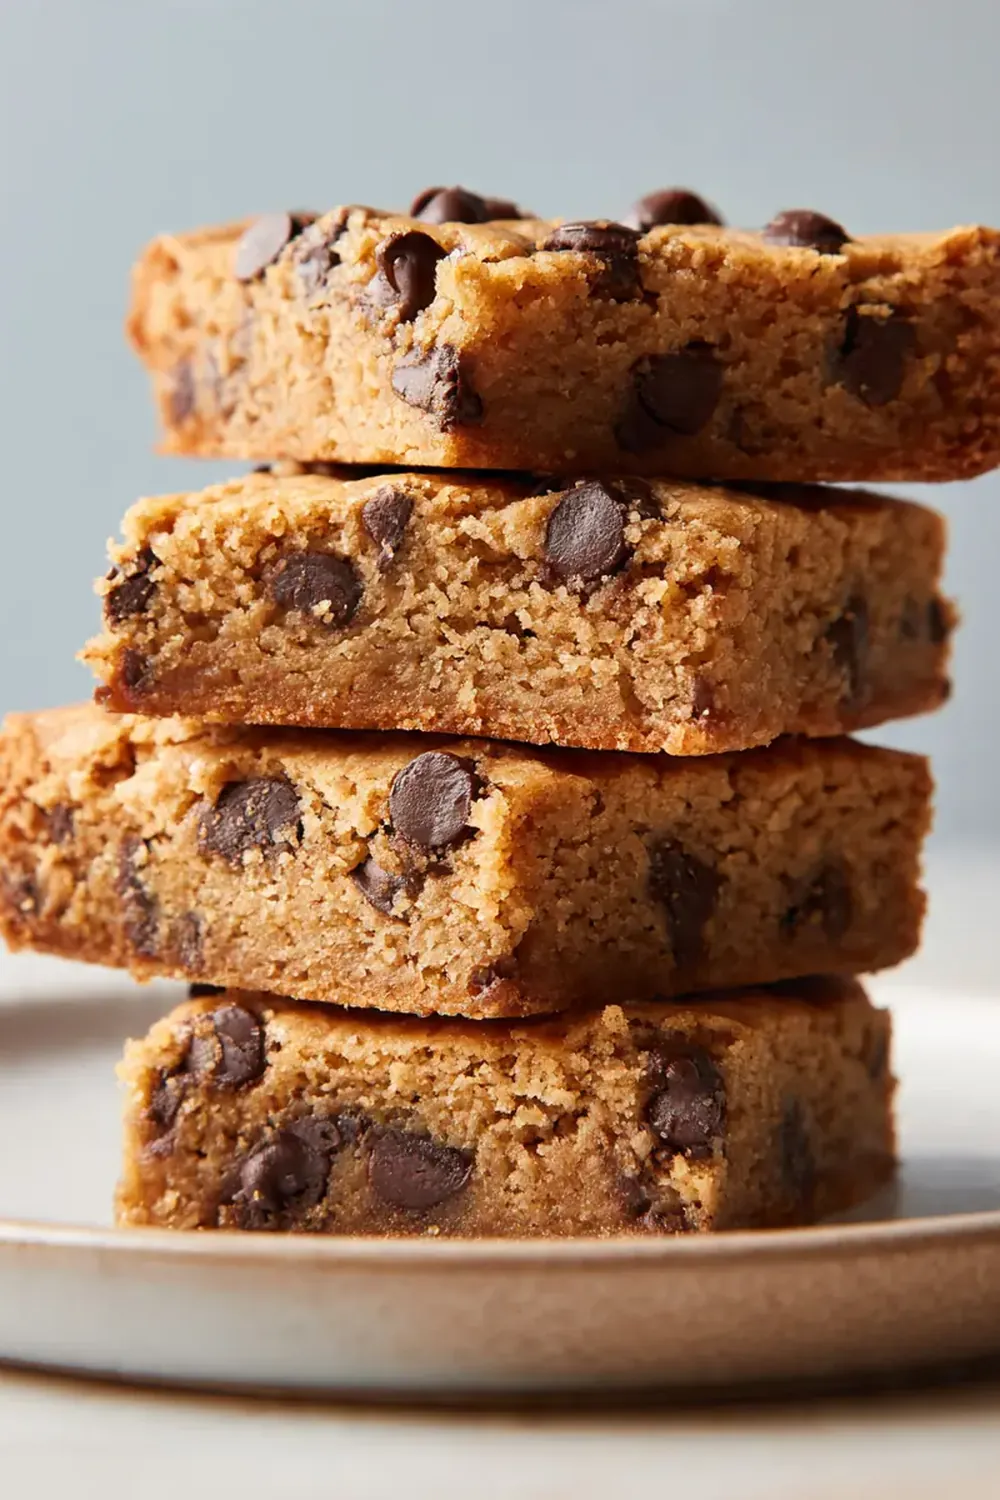
- Irresistible Texture & Flavour: The combination of chewy edges, a soft, fudgy centre, and the unexpected nutty depth from tahini perfectly complements the rich chocolate chips, creating a truly memorable treat.
Ingredients You’ll Need
- 170g unsalted butter, melted
- 200g light muscovado sugar (or soft brown sugar)
- 100g caster sugar
- 2 large eggs, at room temperature
- 1 teaspoon vanilla extract
- 60ml tahini (well-stirred)
- 200g plain flour
- ½ teaspoon baking powder
- ¼ teaspoon salt
- 200g good quality chocolate chips (a mix of milk and dark works wonderfully)
- Optional: Flaky sea salt, for sprinkling
Tip: Using room temperature eggs helps them emulsify better with the sugar and butter, leading to a smoother batter and a more even texture in your baked blondies.
How to Make Rich Chocolate Chip Tahini Blondies Recipe
- Preheat and Prepare: Preheat your oven to 180°C (160°C fan / Gas Mark 4). Grease and line a 20cm x 20cm square baking tin with baking parchment, leaving an overhang on two sides to easily lift the blondies out later. This preparation step ensures a seamless removal and minimal sticking, saving you time and effort.
- Melt Butter and Combine Sugars: In a large mixing bowl, pour in the melted butter. Add the light muscovado sugar and caster sugar. Whisk them together vigorously until the mixture is glossy and well combined, taking on a slightly caramel-like hue and a wonderfully sweet aroma. This step is crucial for dissolving the sugars and creating that signature chewy blondie texture.
- Add Wet Ingredients: Crack in the two large eggs, one at a time, whisking well after each addition until fully incorporated and the mixture looks pale and frothy. Stir in the vanilla extract and the tahini. Continue to whisk until the tahini is completely blended in, leaving no streaks, and the mixture becomes smooth and slightly thicker, emitting a faint nutty scent.
- Incorporate Dry Ingredients: Sift the plain flour, baking powder, and salt directly into the wet mixture. Using a spatula or wooden spoon, gently fold the dry ingredients into the wet until just combined. Be careful not to overmix; stop as soon as you no longer see any pockets of dry flour. The batter will be thick and slightly lumpy, with a subtle bready aroma.
- Fold in Chocolate Chips: Add the chocolate chips to the batter. Gently fold them through until evenly distributed. You want to see specks of dark and milk chocolate throughout the thick, rich batter. This ensures every bite gets a generous dose of chocolatey goodness.
- Bake to Perfection: Pour the blondie batter into your prepared baking tin, spreading it evenly with your spatula. If desired, sprinkle a pinch of flaky sea salt over the top for a delightful contrast. Place the tin in the preheated oven and bake for 25-30 minutes. The blondies are ready when the edges are lightly golden brown and set, but the centre still has a slight wobble when gently shaken. A skewer inserted into the centre should come out with moist crumbs, not wet batter. The kitchen will fill with a heavenly warm, sweet, and nutty aroma.
- Cool and Serve: Once baked, remove the tin from the oven and place it on a wire rack to cool completely in the tin. This is crucial for achieving that fudgy texture. Resist the urge to cut them while warm! Once cooled, use the parchment overhang to lift the blondie slab out of the tin. Cut into 12 squares. The blondies will be firm to the touch, with a slightly sticky, chewy exterior.
Tips From My Kitchen
- Don’t Overmix the Batter: When adding the dry ingredients, mix only until just combined. Overmixing develops the gluten in the flour too much, which can lead to tough, cakey blondies instead of the desired fudgy, chewy texture. We’re aiming for a tender crumb, so gentle folding is key to keeping them light and soft.
- The Importance of Melted Butter: Using melted butter, rather than softened, contributes significantly to the fudgy texture of these blondies. It helps create a denser, chewier bite compared to creaming softened butter with sugar, which incorporates more air and results in a cake-like crumb. Make sure it’s cooled slightly before adding, so it doesn’t scramble the eggs.
- Tahini: Stir It Well: Tahini naturally separates, with the oil rising to the top. Before measuring, give your tahini jar a really good stir to ensure the oil and solids are fully incorporated. This guarantees you get the full, rich, nutty flavour and smooth consistency evenly distributed throughout your blondies, preventing an oily or dry result.
- Cool Completely for Best Texture: It’s incredibly tempting to slice into warm blondies, but patience is a virtue here! Blondies continue to set and firm up as they cool. Cutting them while warm can lead to a crumbly mess and a less defined, fudgy texture. Letting them cool entirely, preferably for at least an hour or two (or even chilling them), yields perfectly chewy, clean-cut squares.
- Make-Ahead and Storage Savvy: These blondies are fantastic for busy families because they store so well. Bake them the day before you need them, let them cool completely, and then store them in an airtight container at room temperature for up to 3-4 days. You can even freeze them for longer storage (up to 3 months), making them an ideal dessert to have on hand for unexpected cravings or guests.
- Use Good Quality Chocolate: Since chocolate chips are a star ingredient, investing in a good quality brand truly makes a difference to the flavour and texture of your blondies. High-quality chocolate melts beautifully, creating those irresistible pockets of gooey richness throughout the blondies, elevating the overall experience.
Equipment You’ll Need
- 20cm x 20cm square baking tin
- Large mixing bowl
- Whisk
- Spatula or wooden spoon
- Measuring jug and scales
- Wire cooling rack
Common Mistakes to Avoid
- Overbaking: Overbaking is the quickest way to turn fudgy blondies into dry, cakey ones. Keep a close eye on them; the edges should be set and lightly golden, but the centre should still look slightly soft and might even have a gentle wobble. A skewer inserted should come out with moist crumbs, not wet batter, around the 25-30 minute mark at 180°C (160°C fan).
- Incorrect Tahini Measurement: Tahini can be quite thick and dense, so it’s important to measure it accurately. Too little, and you lose that distinctive nutty depth; too much, and the blondies can become too dense or oily. Always use measuring spoons or cups levelled correctly.
- Skipping the Rest Time: Blondies need time to cool and set properly. This rest time allows the sugars to crystallise and the fats to firm up, resulting in that wonderfully chewy, fudgy texture we all love. Cutting them warm will often lead to a crumbly, messy result.
Delicious Variations to Try
- Espresso Kick: For a more grown-up flavour, add 1-2 teaspoons of instant espresso powder (dissolved in a tiny bit of hot water) to the wet ingredients. This deepens the chocolate flavour and adds a sophisticated note.
- Nutty Crunch: Fold in 50g of chopped toasted walnuts, pecans, or almonds along with the chocolate chips for added texture and flavour. The nuttiness pairs beautifully with the tahini.
- Citrus Zest Brightness: Stir in the zest of one orange or lemon when you add the vanilla extract. The bright citrus notes offer a lovely contrast to the richness of the chocolate and tahini.
What to Serve With Rich Chocolate Chip Tahini Blondies Recipe
- A scoop of vanilla bean ice cream
- A dollop of unsweetened whipped cream
- A drizzle of extra tahini or caramel sauce
- A hot cup of tea or coffee
Frequently Asked Questions
Rich Chocolate Chip Tahini Blondies Recipe
Ingredients
Method
- Preheat and Prepare: Preheat your oven to 180°C (160°C fan / Gas Mark 4). Grease and line a 20cm x 20cm square baking tin with baking parchment, leaving an overhang on two sides to easily lift the blondies out later. This preparation step ensures a seamless removal and minimal sticking, saving you time and effort.
- Melt Butter and Combine Sugars: In a large mixing bowl, pour in the melted butter. Add the light muscovado sugar and caster sugar. Whisk them together vigorously until the mixture is glossy and well combined, taking on a slightly caramel-like hue and a wonderfully sweet aroma. This step is crucial for dissolving the sugars and creating that signature chewy blondie texture.
- Add Wet Ingredients: Crack in the two large eggs, one at a time, whisking well after each addition until fully incorporated and the mixture looks pale and frothy. Stir in the vanilla extract and the tahini. Continue to whisk until the tahini is completely blended in, leaving no streaks, and the mixture becomes smooth and slightly thicker, emitting a faint nutty scent.
- Incorporate Dry Ingredients: Sift the plain flour, baking powder, and salt directly into the wet mixture. Using a spatula or wooden spoon, gently fold the dry ingredients into the wet until just combined. Be careful not to overmix; stop as soon as you no longer see any pockets of dry flour. The batter will be thick and slightly lumpy, with a subtle bready aroma.
- Fold in Chocolate Chips: Add the chocolate chips to the batter. Gently fold them through until evenly distributed. You want to see specks of dark and milk chocolate throughout the thick, rich batter. This ensures every bite gets a generous dose of chocolatey goodness.
- Bake to Perfection: Pour the blondie batter into your prepared baking tin, spreading it evenly with your spatula. If desired, sprinkle a pinch of flaky sea salt over the top for a delightful contrast. Place the tin in the preheated oven and bake for 25-30 minutes. The blondies are ready when the edges are lightly golden brown and set, but the centre still has a slight wobble when gently shaken. A skewer inserted into the centre should come out with moist crumbs, not wet batter. The kitchen will fill with a heavenly warm, sweet, and nutty aroma.
- Cool and Serve: Once baked, remove the tin from the oven and place it on a wire rack to cool completely in the tin. This is crucial for achieving that fudgy texture. Resist the urge to cut them while warm! Once cooled, use the parchment overhang to lift the blondie slab out of the tin. Cut into 12 squares. The blondies will be firm to the touch, with a slightly sticky, chewy exterior.
Notes
There you have it – a truly adaptable and utterly delightful recipe for Rich Chocolate Chip Tahini Blondies that perfectly fits into the rhythm of family life. No longer do weeknight desserts need to be an afterthought or a rushed affair. With their speedy prep, minimal mess, and fantastic make-ahead potential, these blondies are a genuine lifesaver for those moments when you crave something sweet and satisfying without the fuss.
I hope these become a regular fixture in your home, bringing a little bit of calm, comforting sweetness to even your busiest evenings. Give them a try and let me know how they turn out in the comments below!






