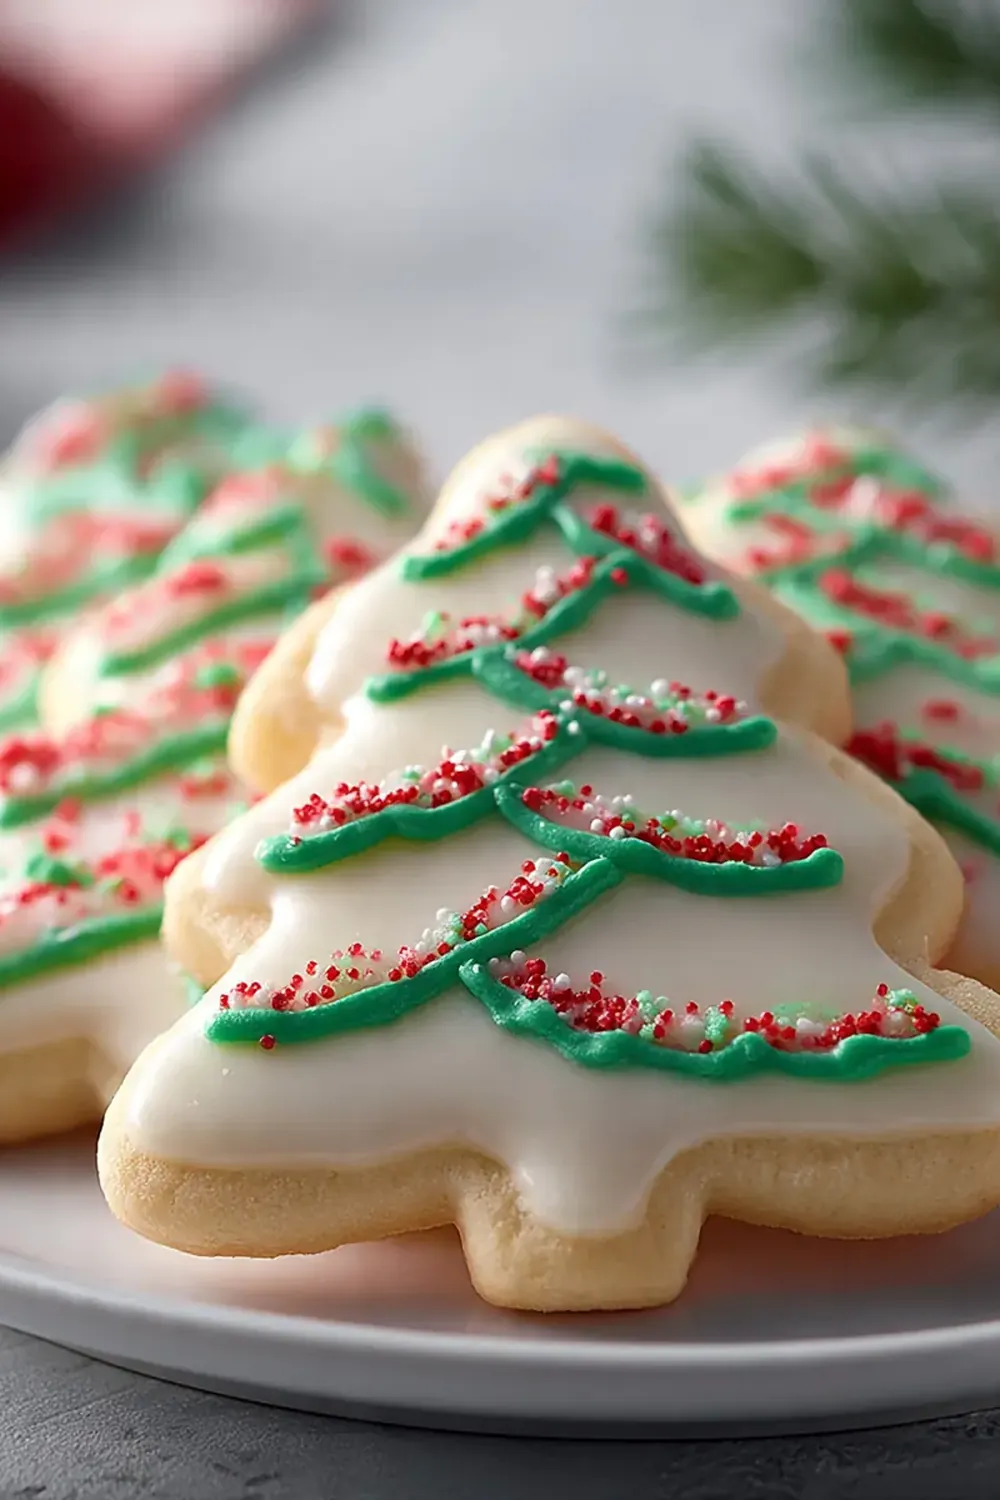
Holiday Christmas Tree Cookies For Festive Parties

I remember the Tuesday evening my youngest announced she needed 48 Christmas tree cookies for her school party the next morning. It was nearly seven o’clock, the washing-up from dinner was still in the sink, and I hadn’t even thought about dessert for the following night. That’s when I stopped overthinking festive baking and started working smarter. These Holiday Christmas Tree Cookies for Festive Parties were born from that very moment — a recipe that ditches the fussy piping bags and multi-day chilling routines, focusing instead on what busy families actually need: speed, minimal cleanup, and a result that looks like you spent hours in the kitchen.
Recipe Overview
- Prep time: 15 minutes
- Cook time: 10-12 minutes per tray
- Total time: 40 minutes (including cooling)
- Servings: Makes 24-30 cookies
- Difficulty: Easy
Why You’ll Love This Holiday Christmas Tree Cookies for Festive Parties
- You can mix the dough in one bowl — less washing up means more time with your family.
- No rolling pin required; we shape the trees directly on the baking tray with our hands, just like with our Fluffy 3 Ingredient Lemon Cupcakes Recipe.
- Make-ahead friendly: the dough keeps in the fridge for three days or the freezer for a month, a fantastic feature also found in our Simple Overnight Oats Guide For Breakfast Prep.
- Each cookie bakes in under twelve minutes, so you can have a full batch ready before the kettle’s boiled twice.
- The decorating is forgiving — even the smallest hands can help without making a mess.
Ingredients You’ll Need
- 250g unsalted butter, softened
- 200g caster sugar
- 1 large egg
- 1 teaspoon vanilla extract
- 350g plain flour
- 1 teaspoon baking powder
- ½ teaspoon salt
- Green gel food colouring
- 100g white chocolate chips (for the star on top)
- 50g sprinkles or edible glitter (for decoration)
- Icing sugar for dusting (optional)
Tip: Make sure your butter is genuinely at room temperature — it should give slightly when you press it with a finger. Cold butter won’t cream properly and will leave you with dense, flat cookies.
How to Make Holiday Christmas Tree Cookies for Festive Parties
- Cream the butter and sugar. In a large mixing bowl, beat the softened butter and caster sugar together until the mixture turns pale and fluffy — you’ll notice the colour shift from yellow to a soft cream, and the texture will feel light and airy when you lift the beaters. This should take about 3 minutes with an electric mixer.
- Add the wet ingredients. Crack in the egg and pour in the vanilla extract. Beat again until everything is fully combined. The batter will look slightly glossy and smell wonderfully sweet at this stage.
- Mix the dry ingredients. Sift the flour, baking powder, and salt into the wet mixture. Stir with a wooden spoon or spatula until a soft dough forms. You’ll know it’s ready when the dough pulls away from the sides of the bowl and no dry patches remain — it should feel smooth and slightly tacky to the touch.
- Add the colour. Drop in a few drops of green gel food colouring and mix thoroughly. Keep adding until you reach a rich forest green shade. The colour will deepen slightly as the dough rests, so aim for a shade just lighter than you want the final cookie to be.
- Shape the trees. Preheat your oven to 180°C (fan). Line two baking trays with parchment paper. Take a tablespoon-sized piece of dough and roll it into a ball, then pinch the top to form a point and flatten the bottom slightly — you’re aiming for a rough triangle shape about 1cm thick. Place each tree on the tray, leaving 3cm between them for spreading. I make this at least once a week — it’s become a family favourite, and the kids love the shaping part.
- Bake until set. Bake for 10-12 minutes. The cookies are ready when the edges are just beginning to turn golden brown — you’ll catch a faint nutty smell from the butter, and the tops will look dry rather than shiny. Don’t wait for the centres to darken; they’ll continue cooking from the residual heat on the tray.
- Cool and decorate. Let the cookies sit on the tray for 5 minutes — they’ll be soft when first out of the oven but will firm up beautifully. Transfer to a wire cooling rack. Once completely cool, melt the white chocolate chips in the microwave in 20-second bursts, stirring between each. Dip the top of each tree cookie into the melted chocolate to form a star, then immediately sprinkle with decorations before the chocolate sets.
Tips From My Kitchen
- Use gel food colouring, not liquid. Liquid colouring adds extra moisture to the dough, which can make the cookies spread too much during baking. Gel colouring gives a vibrant green without altering the dough’s consistency — you’ll get clean, sharp tree shapes every time.
- Chill the shaped cookies for 10 minutes before baking. This brief rest in the fridge firms up the butter in the dough, which means the cookies will hold their triangle shape rather than melting into blobs. It’s a small step that makes a massive difference to the final appearance.
- Bake one tray at a time. If you try to bake two trays simultaneously, the heat circulates unevenly, and you’ll end up with some cookies overdone and others underbaked. Position the tray in the centre of the oven for the most consistent results.
- Double the batch for freezing. I always make twice what I need and freeze half the unbaked shaped dough on a tray. Once frozen solid, pop the trees into a freezer bag. When the school party panic strikes, just bake them straight from frozen — add 2 extra minutes to the baking time.
- Let the cookies cool completely before decorating. Warm cookies will melt the white chocolate into a puddle rather than forming a neat star shape. Patience here pays off — I usually bake the cookies one evening and decorate them the next morning while the coffee brews.
Equipment You’ll Need
- Stand mixer or hand mixer
- Baking tray
- Parchment paper
- Wire cooling rack
- Large mixing bowl
- Wooden spoon or silicone spatula
- Small microwave-safe bowl for melting chocolate
Common Mistakes to Avoid
- Overcrowding the pan: These cookies spread by about 2cm during baking. If you place them too close together, they’ll merge into one giant green blob instead of distinct trees. Stick to 6-8 per standard tray, and use two trays if needed.
- Wrong temperature: Baking at too high a temperature will brown the bottoms before the centres are set, leaving you with raw middles. Too low, and the cookies will spread into flat discs. 180°C (fan) is the sweet spot — if your oven runs hot, reduce it by 10 degrees.
- Skipping the rest time: Those 5 minutes on the hot tray after baking aren’t just for show. During this time, the cookies finish setting internally. Moving them too early will cause them to crumble or break apart at the “branches” of your tree shape.
Delicious Variations to Try
- Spicy Version: Add ½ teaspoon of ground cinnamon and ¼ teaspoon of ground ginger to the flour mixture. The warmth of the spices pairs beautifully with the sweet white chocolate star on top — friends always ask me for this recipe after trying it at dinner parties.
- Vegan Option: Substitute the butter with a plant-based block margarine (not spreadable tub margarine, which has too much water) and use a flax egg (1 tablespoon ground flaxseed mixed with 3 tablespoons water, left to sit for 5 minutes). The texture will be slightly more biscuit-like but still delicious.
- Different Protein: Swap the plain flour for 100g ground almonds and 250g plain flour for a nuttier flavour and a more tender crumb. This also makes the cookies naturally gluten-free if you use a gluten-free flour blend instead of the plain flour.
What to Serve With Holiday Christmas Tree Cookies for Festive Parties
- A warm mug of mulled apple juice (non-alcoholic, simmered with cinnamon sticks and orange slices)
- A scoop of vanilla ice cream alongside the cookies for a simple dessert plate
- Fresh berries and a dollop of whipped cream to balance the sweetness
- A cup of strong black coffee or a chai latte for the grown-ups
Frequently Asked Questions
Holiday Christmas Tree Cookies for Festive Parties
Ingredients
Method
-
Cream the butter and sugar. In a large mixing bowl, beat the softened butter and caster sugar together until the mixture turns pale and fluffy — you’ll notice the colour shift from yellow to a soft cream, and the texture will feel light and airy when you lift the beaters. This should take about 3 minutes with an electric mixer.
-
Add the wet ingredients. Crack in the egg and pour in the vanilla extract. Beat again until everything is fully combined. The batter will look slightly glossy and smell wonderfully sweet at this stage.
-
Mix the dry ingredients. Sift the flour, baking powder, and salt into the wet mixture. Stir with a wooden spoon or spatula until a soft dough forms. You’ll know it’s ready when the dough pulls away from the sides of the bowl and no dry patches remain — it should feel smooth and slightly tacky to the touch.
-
Add the colour. Drop in a few drops of green gel food colouring and mix thoroughly. Keep adding until you reach a rich forest green shade. The colour will deepen slightly as the dough rests, so aim for a shade just lighter than you want the final cookie to be.
-
Shape the trees. Preheat your oven to 180°C (fan). Line two baking trays with parchment paper. Take a tablespoon-sized piece of dough and roll it into a ball, then pinch the top to form a point and flatten the bottom slightly — you’re aiming for a rough triangle shape about 1cm thick. Place each tree on the tray, leaving 3cm between them for spreading. I make this at least once a week — it’s become a family favourite, and the kids love the shaping part.
-
Bake until set. Bake for 10-12 minutes. The cookies are ready when the edges are just beginning to turn golden brown — you’ll catch a faint nutty smell from the butter, and the tops will look dry rather than shiny. Don’t wait for the centres to darken; they’ll continue cooking from the residual heat on the tray.
-
Cool and decorate. Let the cookies sit on the tray for 5 minutes — they’ll be soft when first out of the oven but will firm up beautifully. Transfer to a wire cooling rack. Once completely cool, melt the white chocolate chips in the microwave in 20-second bursts, stirring between each. Dip the top of each tree cookie into the melted chocolate to form a star, then immediately sprinkle with decorations before the chocolate sets.
Notes
These Holiday Christmas Tree Cookies for Festive Parties have saved me on more school bake sales, last-minute gatherings, and holiday coffee mornings than I can count. They’ve become the recipe my friends text me for in November, and the one my children request by name. I’d love to hear how they turn out in your kitchen — drop a comment below and let me know if your family loved them as much as mine does. And if you’re looking for another sweet treat that comes together in a flash, try my Fudgy Zucchini Brownies With Chocolate Glaze for a veggie-packed dessert that nobody guesses is healthy. Happy baking, everyone!