Biscoff Caramel Bars
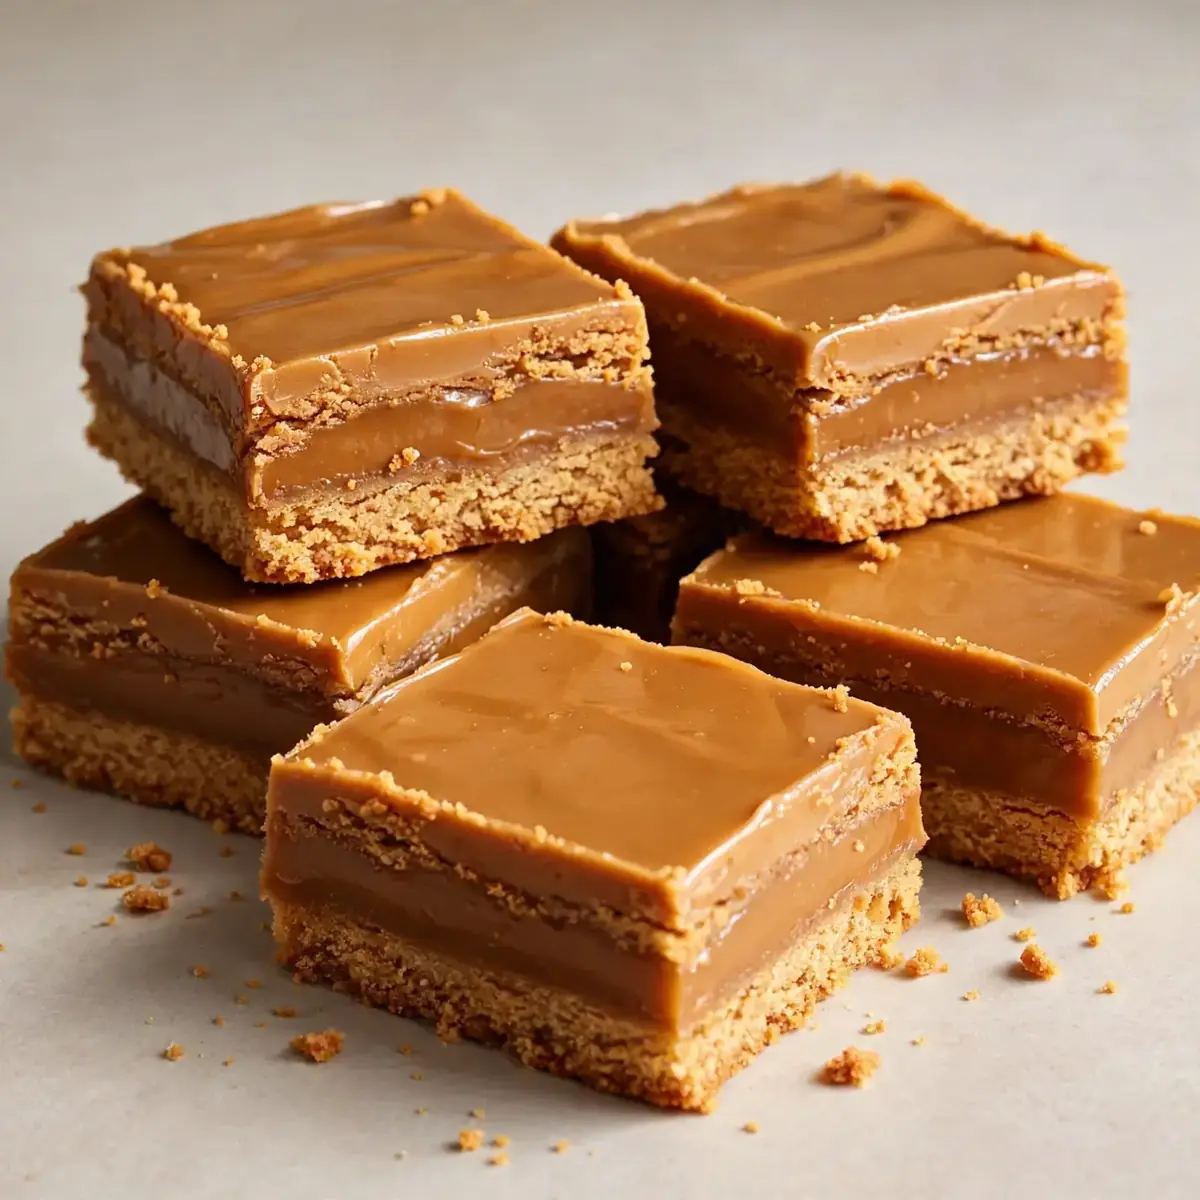
There’s a particular kind of magic that happens in a kitchen on a grey Saturday afternoon, when the only agenda is the gentle clatter of a wooden spoon against a bowl and the promise of something sweet baking in the oven. These Biscoff Caramel Bars are my go-to project for those slow, deliberate hours; they fill the house with a toasty, spiced warmth that feels like a hug, and the process itself becomes a ritual of patience and reward.
Recipe Overview
- Prep Time: 30 minutes
- Cook Time: 35 minutes
- Total Time: 1 hour 5 minutes (plus 2 hours chilling)
- Servings: 16 generous bars
- Difficulty: Medium (requires a little patience for the caramel)
Why You’ll Love This Biscoff Caramel Bars
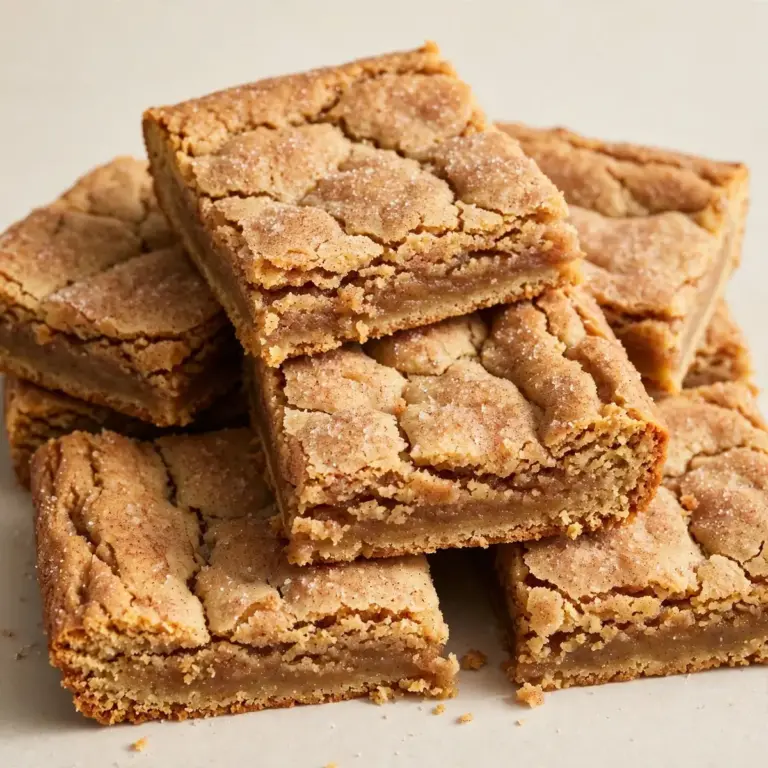
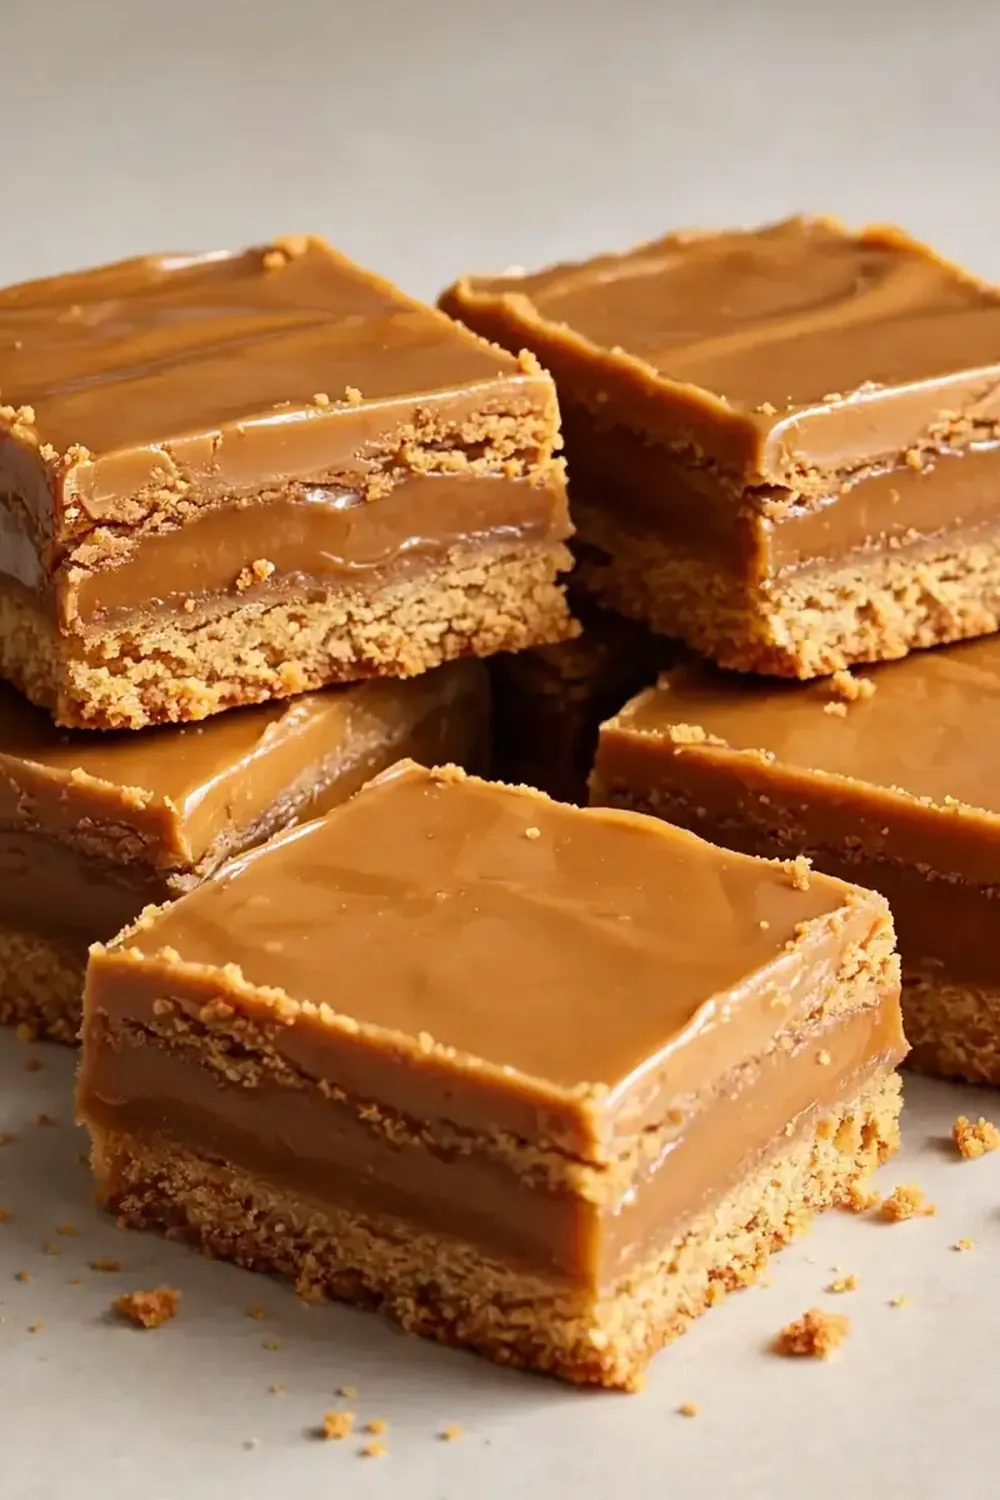
- The Layered Texture: A crunchy, buttery biscuit base gives way to a silky, golden caramel, all crowned with a thick, creamy topping. Every bite offers a distinct contrast that keeps you coming back for “just one more.”
- Deep, Spiced Flavour: The caramel isn’t just sweet; it’s enriched with the unmistakable caramelised notes of Biscoff spread and a whisper of cinnamon, creating a depth that feels both familiar and luxurious.
- A Satisfying Weekend Project: This isn’t a recipe you rush. Making the caramel from scratch, watching it bubble and deepen in colour, is a genuinely calming experience that rewards you with something far superior to anything from a packet.
- Perfect for Sharing (or Not): These bars slice beautifully, making them ideal for taking to a gathering or for stashing in the tin for a week of blissful afternoon tea breaks. My husband, who’s usually picky, asked for seconds before the first one was even finished!
- Make-Ahead Friendly: They actually taste better the next day, once the flavours have had time to meld and the topping has set perfectly. It’s the kind of dessert you can happily prepare a day in advance.
Ingredients You’ll Need
- 250g digestive biscuits (or Hobnobs for extra oaty crunch)
- 125g unsalted butter, melted
- 400g tin of sweetened condensed milk
- 150g light brown sugar
- 120g unsalted butter, cubed
- 3 tbsp golden syrup
- 1 tsp vanilla extract
- 150g smooth Biscoff spread (the crunchy kind also works well)
- 300ml double cream
- 100g white chocolate, chopped
- 50g Biscoff biscuits, crushed, for topping
- Pinch of sea salt flakes
Tip: For the smoothest caramel, make sure your butter and condensed milk are at room temperature before you begin. Cold ingredients can cause the caramel to seize or split, and nobody wants a grainy bar.
How to Make Biscoff Caramel Bars
- Make the base. Line a 20cm (8-inch) square baking tin with baking parchment, leaving some overhang for easy removal. Blitz the digestive biscuits in a food processor until they resemble fine, damp sand. Pour in the melted butter and pulse until the mixture clumps together when pressed. Tip the crumbs into the tin and press them down firmly with the back of a spoon, ensuring an even, compact layer. The base should feel dense and solid, like wet sand at the beach. Bake at 180°C (160°C fan) for 10 minutes, until the edges just begin to darken and the kitchen smells toasty. Set aside to cool.
- Start the caramel. In a medium, heavy-bottomed saucepan, combine the condensed milk, brown sugar, cubed butter, and golden syrup. Place the pan over a low heat and stir gently with a wooden spoon. Do not rush this stage. You want the butter to melt slowly and the sugar to dissolve completely. The mixture will look grainy at first, but as it warms, it will become a smooth, pale golden liquid. Listen for the gentle hiss of the heat against the pan.
- Simmer the caramel to perfection. Once the mixture is smooth, increase the heat to medium and bring it to a gentle, lazy bubble. Continue to stir frequently, scraping the bottom and sides of the pan to prevent scorching. Let it bubble for 5-7 minutes. The colour will deepen to a rich amber, and the texture will thicken noticeably, leaving a trail on the bottom of the pan when you stir. It should smell deeply of toasted sugar and butter. Remove from the heat and stir in the vanilla extract and the Biscoff spread until the caramel is glossy and fully combined.
- Pour and chill. Pour the hot caramel over the cooled biscuit base. Tilt the tin gently to spread it evenly. Tap the tin on the counter a few times to release any air bubbles. Place the tin in the refrigerator for at least 1 hour, or until the caramel is firm to the touch and no longer jiggles. The surface should look set and matte.
- Make the topping. In a heatproof bowl set over a pan of barely simmering water (make sure the bowl doesn’t touch the water), combine the double cream and chopped white chocolate. Stir gently until the chocolate has melted and the mixture is smooth and silky. The texture should be thick enough to coat the back of a spoon. Remove from the heat and let it cool for 5 minutes, stirring occasionally, until it has a thick, pourable consistency.
- Assemble and set. Pour the white chocolate topping over the chilled caramel layer, spreading it right to the edges with a small offset spatula. While the topping is still wet, sprinkle the crushed Biscoff biscuits and a generous pinch of sea salt flakes over the surface. Return the tin to the refrigerator for another 2 hours, or until the topping is completely firm and set. When you gently press the surface, it should feel firm and not stick to your finger.
- Slice and serve. Lift the block out of the tin using the parchment overhang. Place it on a cutting board and use a sharp, long knife to slice it into 16 even bars. For the cleanest cuts, wipe the knife blade clean between each slice. The base should hold together firmly, the caramel should be chewy but not sticky, and the topping should be creamy and smooth.
Tips From My Kitchen
- Use a heavy-bottomed saucepan for the caramel. This is non-negotiable. A thin pan will have hot spots that cause the sugar to burn in one area while remaining grainy in another. A heavy pan distributes the heat evenly, giving you a smooth, consistent caramel that won’t catch and burn. You’ll know you’re doing it right when the bubbles are uniform and the colour changes gradually.
- Don’t rush the caramel simmer. I used to struggle with this dish until I discovered the importance of the simmering stage. You need to let it bubble for the full 5-7 minutes to drive off excess moisture. If you under-simmer, the caramel will be too soft to slice and will ooze out when you cut the bars. You’re looking for a thick, taffy-like consistency that holds its shape when you pull the spoon through it.
- Press the biscuit base down firmly. A loose, crumbly base will fall apart when you try to slice the bars. Use the flat bottom of a glass or a measuring cup to compact the crumbs into a solid, even layer. The base should feel like a single, solid slab, not loose sand. This also helps prevent the caramel from seeping underneath and making the base soggy.
- Let the caramel cool slightly before adding the topping. If the caramel is still warm when you pour on the white chocolate mixture, the heat can cause the topping to melt and become oily. Wait until the caramel is completely chilled and firm in the fridge. This ensures a clean, distinct layer between the caramel and the topping.
- Use a sharp, hot knife for slicing. For the cleanest cuts, run your knife under hot water, dry it off, and then slice. The heat helps the blade glide through the firm caramel and topping without dragging or cracking. Wipe the blade clean and reheat it between each cut for perfectly square bars.
Equipment You’ll Need
- 20cm (8-inch) square baking tin
- Baking parchment
- Food processor (or a rolling pin and a sturdy bag for crushing biscuits)
- Medium, heavy-bottomed saucepan
- Wooden spoon or heatproof silicone spatula
- Heatproof mixing bowl
- Small offset spatula (optional, but helpful)
- Sharp chef’s knife
Delicious Variations to Try
- Chocolate-Dipped Version: For an extra indulgent touch, melt 150g of dark chocolate with a teaspoon of coconut oil and dip the ends of each fully set bar into the chocolate. Place them on a parchment-lined tray to set. The bitter chocolate perfectly balances the sweet caramel and creamy topping.
- Vegan Option: Use a good-quality vegan digestive biscuit and a plant-based block butter for the base. For the caramel, use a tin of coconut condensed milk and a vegan butter block. For the topping, swap the double cream for full-fat coconut cream and use a vegan white chocolate. The flavour will be slightly different, but the texture remains wonderfully indulgent.
- Nutty Crunch Variation: Add 75g of toasted, roughly chopped pecans or almonds to the biscuit base before pressing it into the tin. You can also sprinkle a handful of toasted hazelnuts over the caramel before adding the topping for an extra layer of crunch and flavour.
What to Serve With Biscoff Caramel Bars
- A strong, freshly brewed cup of black coffee to cut through the sweetness.
- A dollop of lightly whipped, unsweetened cream for a cool, airy contrast.
- A small scoop of vanilla bean ice cream, allowing it to melt slightly over the warm bar (if you can’t wait for it to chill fully).
- Alongside a selection of other homemade bakes, like our Bakery Style Strawberry Cream Cheese Muffins, for a proper afternoon tea spread.
Still hungry for ideas? You might also love Salted Caramel Apple Pie Bars Recipe, Coffee Caramel Cheesecake Bars Recipe Dessert from our sister kitchens.
Frequently Asked Questions
Biscoff Caramel Bars
Ingredients
Method
- Make the base. Line a 20cm (8-inch) square baking tin with baking parchment, leaving some overhang for easy removal. Blitz the digestive biscuits in a food processor until they resemble fine, damp sand. Pour in the melted butter and pulse until the mixture clumps together when pressed. Tip the crumbs into the tin and press them down firmly with the back of a spoon, ensuring an even, compact layer. The base should feel dense and solid, like wet sand at the beach. Bake at 180°C (160°C fan) for 10 minutes, until the edges just begin to darken and the kitchen smells toasty. Set aside to cool.
- Start the caramel. In a medium, heavy-bottomed saucepan, combine the condensed milk, brown sugar, cubed butter, and golden syrup. Place the pan over a low heat and stir gently with a wooden spoon. Do not rush this stage. You want the butter to melt slowly and the sugar to dissolve completely. The mixture will look grainy at first, but as it warms, it will become a smooth, pale golden liquid. Listen for the gentle hiss of the heat against the pan.
- Simmer the caramel to perfection. Once the mixture is smooth, increase the heat to medium and bring it to a gentle, lazy bubble. Continue to stir frequently, scraping the bottom and sides of the pan to prevent scorching. Let it bubble for 5-7 minutes. The colour will deepen to a rich amber, and the texture will thicken noticeably, leaving a trail on the bottom of the pan when you stir. It should smell deeply of toasted sugar and butter. Remove from the heat and stir in the vanilla extract and the Biscoff spread until the caramel is glossy and fully combined.
- Pour and chill. Pour the hot caramel over the cooled biscuit base. Tilt the tin gently to spread it evenly. Tap the tin on the counter a few times to release any air bubbles. Place the tin in the refrigerator for at least 1 hour, or until the caramel is firm to the touch and no longer jiggles. The surface should look set and matte.
- Make the topping. In a heatproof bowl set over a pan of barely simmering water (make sure the bowl doesn't touch the water), combine the double cream and chopped white chocolate. Stir gently until the chocolate has melted and the mixture is smooth and silky. The texture should be thick enough to coat the back of a spoon. Remove from the heat and let it cool for 5 minutes, stirring occasionally, until it has a thick, pourable consistency.
- Assemble and set. Pour the white chocolate topping over the chilled caramel layer, spreading it right to the edges with a small offset spatula. While the topping is still wet, sprinkle the crushed Biscoff biscuits and a generous pinch of sea salt flakes over the surface. Return the tin to the refrigerator for another 2 hours, or until the topping is completely firm and set. When you gently press the surface, it should feel firm and not stick to your finger.
- Slice and serve. Lift the block out of the tin using the parchment overhang. Place it on a cutting board and use a sharp, long knife to slice it into 16 even bars. For the cleanest cuts, wipe the knife blade clean between each slice. The base should hold together firmly, the caramel should be chewy but not sticky, and the topping should be creamy and smooth.
Notes
There you have it — a proper weekend project that fills your home with the scent of warm caramel and spice, rewarding you with a tin full of something truly special. I do hope you find the same quiet joy in making these as I do. If you give them a go, I’d love to hear how you get on in the comments below. And if you’re looking for another satisfying bake to fill a cosy afternoon, you might also enjoy our Sweet Peach Mango Pie With Flaky Pastry Crust 2 for a fruity change of pace.