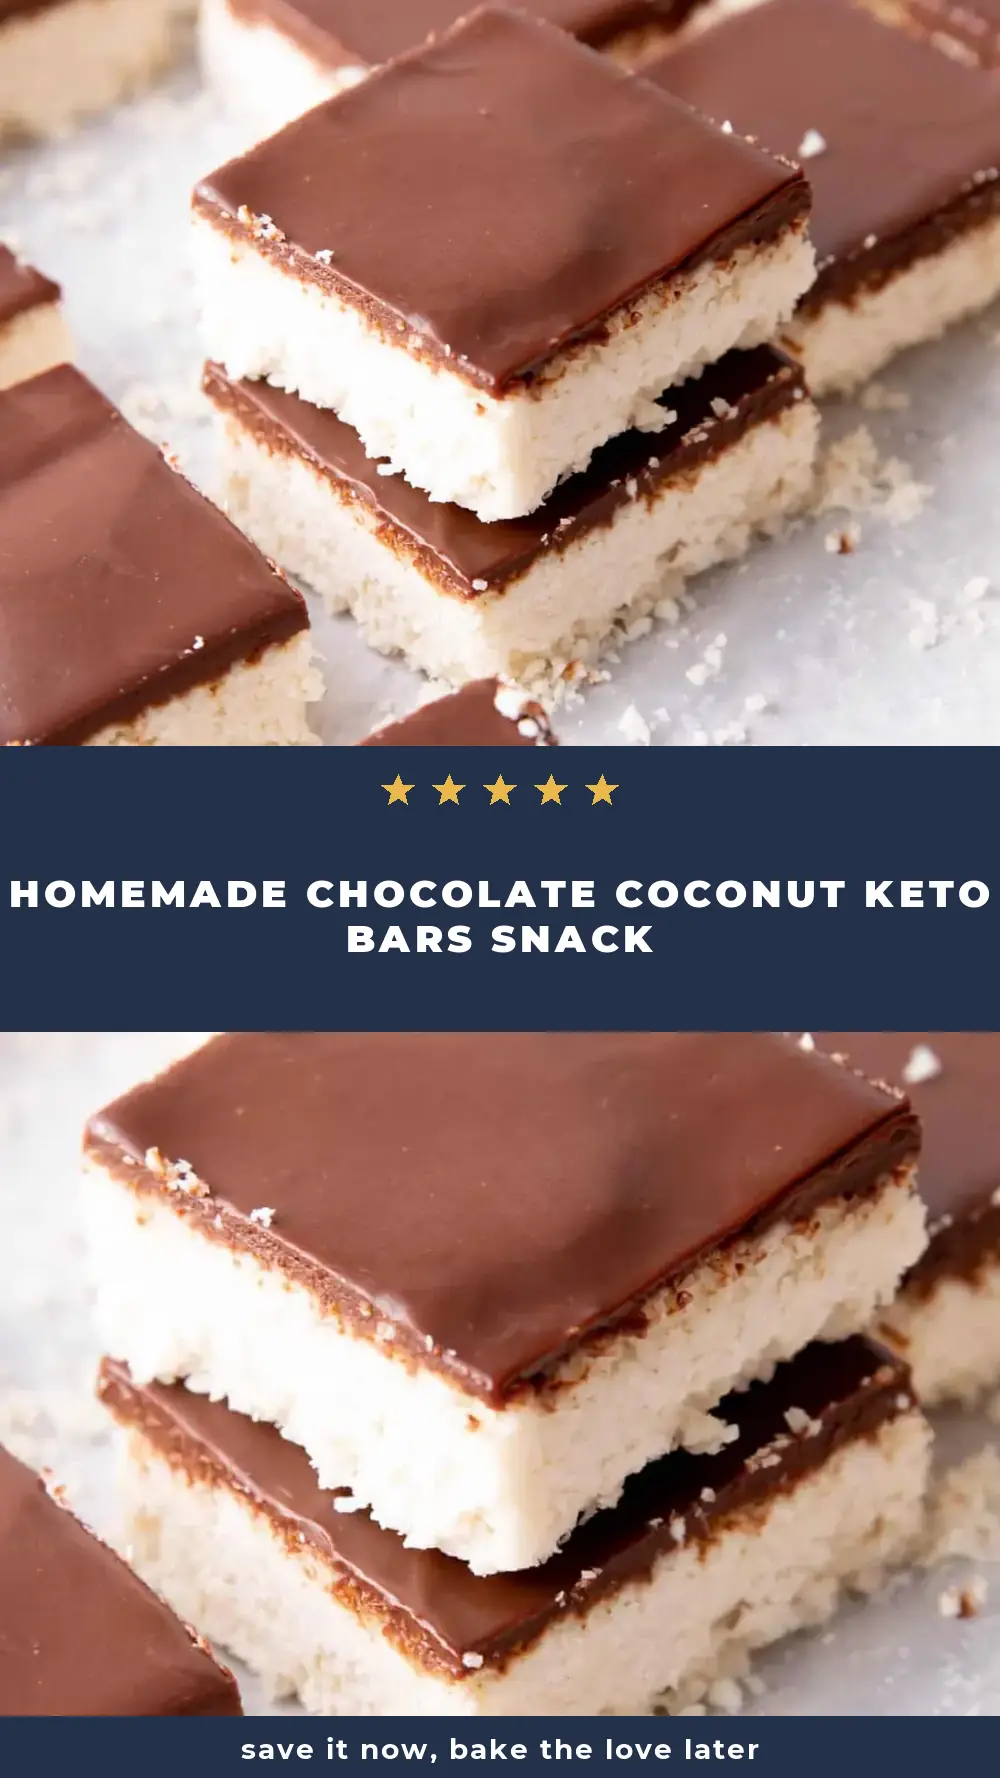
Homemade Chocolate Coconut Keto Bars Snack
As the sun dips below the horizon on a bustling Tuesday, the familiar symphony of school bags dropping, hungry tummies rumbling, and the general cacophony of a family reuniting after a long day begins. For years, this hour used to fill me with a quiet dread, the looming question of “What’s for dinner?” echoing in my mind.
I’m Sara Gomez, and like many of you, I’ve spent countless evenings juggling homework, after-school clubs, and the seemingly insurmountable task of getting a nutritious, satisfying meal on the table without resorting to a takeaway. It was during one such particularly frantic period, when my energy levels were at an all-time low and my patience even lower, that I realised something had to give. I needed a secret weapon, something that felt indulgent and comforting, yet required minimal fuss and could be prepared ahead of time to ease the weeknight strain, much like our Fluffy 3 Ingredient Lemon Cupcakes Recipe, or even a Simple Overnight Oats Guide For Breakfast Prep for busy mornings.com/fluffy-3-ingredient-lemon-cupcakes-recipe-2/”>Fluffy 3 Ingredient Lemon Cupcakes Recipe.
That’s when these Homemade Chocolate Coconut Keto Bars entered my life, not just as a snack, but as a genuine lifesaver for our family’s weeknight routine. They’ve become a cherished component of our ‘snack dinner’ evenings or a substantial, guilt-free dessert that keeps everyone happy and energised, perfect for any gathering, including Crowd Pleasing Thanksgiving Desserts F, or even a healthier option like No Bake Keto Cheesecake Bites Sugar-Free.com/crowd-pleasing-thanksgiving-desserts-for-parties-2/”>Crowd Pleasing Thanksgiving Desserts For Parties. The beauty of these bars lies in their ability to be whipped up in a flash, requiring no baking, and providing that deep satisfaction of chocolate and coconut without the usual sugar crash, much like our Zesty No Bake Key Lime Cheesecake Jars, a delicious No-Bake Peach Cobbler Cheesecake Cups Recipe .com, or a refreshing Creamy Peach Mousse Trifle For Summer Parties.com/no-bake-peach-cobbler-cheesecake-cups-recipe/”>No-Bake Peach Cobbler Cheesecake Cups Recipe.com/zesty-no-bake-key-lime-cheesecake-jars/”>Zesty No Bake Key Lime Cheesecake Jars. Trust me, these aren’t just bars; they’re a beacon of calm in the weeknight storm, allowing us to reclaim precious family time.
Recipe Overview
- Prep Time: 15 minutes
- Chill Time: 1-2 hours
- Total Time: 1 hour 15 minutes – 2 hours 15 minutes
- Servings: 12-16 bars
- Difficulty: Very Easy
Why You’ll Love This Homemade Chocolate Coconut Keto Bars Snack
- Effortless Weeknight Solution: These bars are incredibly simple to assemble, requiring no oven time, making them a dream for evenings when you’re short on time and energy.
- Minimal Cleanup: With just a few bowls and utensils, tidying up after preparing these bars is a breeze, leaving you more time to relax with your family.
- Make-Ahead Magic: Prepare a batch on a Sunday, and you’ll have delicious, satisfying treats ready for the entire week, easing the burden of daily meal prep.
- Wholesome Indulgence: Packed with healthy fats and natural sweetness, these bars satisfy those chocolate cravings without any refined sugars, keeping you feeling good.
- Customisable for All Tastes: Easily adapt the toppings and mix-ins to suit everyone’s preferences, ensuring even the pickiest eaters find something to love.
Ingredients You’ll Need
- 200g desiccated coconut (unsweetened)
- 60g coconut flour
- 120g coconut butter (or creamed coconut)
- 120ml full-fat coconut milk (from a can, chilled, thick cream only)
- 60ml sugar-free maple syrup or erythritol blend (liquid equivalent)
- 1 teaspoon vanilla extract
- Pinch of fine sea salt
- 150g sugar-free dark chocolate (at least 85% cocoa solids), chopped
- 30g coconut oil
- Optional: 2 tablespoons chopped toasted almonds or pecans for topping
- Optional: Zest of 1 orange for a citrusy twist
Tip: For the best texture, ensure your coconut butter is soft and pliable. If it’s too firm, gently warm it in a bain-marie or microwave for a few seconds until it softens, but don’t melt it completely. This allows it to combine smoothly with the other ingredients.
How to Make Homemade Chocolate Coconut Keto Bars Snack
- First, prepare your tin. Line a 20cm x 20cm square baking tin with baking parchment, ensuring an overhang on all sides. This will make lifting the set bars out much easier later.
- In a large mixing bowl, combine the desiccated coconut, coconut flour, and a pinch of fine sea salt. Give them a good stir with a wooden spoon until everything is evenly distributed. You’ll notice the dry ingredients coming together, ready for the wet components.
- In a separate, smaller bowl, gently warm the coconut butter until it’s soft and creamy, almost like a thick paste, but not fully liquid. Whisk in the thick cream from the chilled coconut milk, the sugar-free maple syrup (or liquid erythritol blend), and the vanilla extract. The mixture should become smooth and fragrant, emitting a lovely sweet aroma.
- Pour the wet ingredients into the dry coconut mixture. Using a sturdy spatula or your hands, mix thoroughly until a thick, uniform dough forms. The mixture should be sticky enough to hold together when pressed, taking on a slightly clumpy but cohesive texture. If it feels too dry, add a tiny splash more coconut milk; if too wet, a touch more coconut flour.
- Press the coconut mixture firmly and evenly into the prepared baking tin. Use the back of a spoon or your clean hands to compact it tightly. This is crucial for the bars to hold their shape, so press down until the surface looks smooth and the base feels solid. Place the tin in the freezer for 15-20 minutes to firm up while you prepare the chocolate topping.
- While the base chills, melt the sugar-free dark chocolate and coconut oil together. You can do this in a heatproof bowl set over a saucepan of simmering water (a bain-marie) or in the microwave in 30-second bursts, stirring well after each. Stir until the chocolate is completely smooth, glossy, and has a rich, deep brown colour, with no visible lumps.
- Retrieve the chilled coconut base from the freezer. Pour the melted chocolate mixture evenly over the top, spreading it right to the edges with a spatula. If you’re adding optional toppings like chopped nuts or orange zest, sprinkle them over the chocolate now, before it sets. The chocolate will look beautifully reflective and smooth.
- Return the tin to the refrigerator for at least 1-2 hours, or until the chocolate topping is completely firm to the touch and has lost its glossy sheen, becoming matte. The bars should feel solid and ready to cut.
- Once fully set, use the parchment paper overhangs to lift the slab out of the tin. Place it on a cutting board and use a sharp, warm knife to cut into 12-16 bars. The knife will glide through the firm chocolate with a satisfying ‘thunk’ as it hits the coconut base. For cleaner cuts, wipe the knife between slices.
- Store the finished bars in an airtight container in the refrigerator for up to a week. They’re also excellent straight from the freezer for a firmer, colder treat.
Tips From My Kitchen
- Chilling is Key for Texture: I’ve learned over the years that patience during the chilling phase truly pays off. While it’s tempting to rush, allowing the coconut base to properly firm up in the freezer for 15-20 minutes before adding the chocolate, and then letting the finished bars chill for at least 1-2 hours in the fridge, ensures a beautifully firm, non-crumbly bar. This is because the fats in the coconut butter and coconut oil need time to solidify fully, creating that satisfying, chewy-yet-firm texture we all love.
- Don’t Skimp on the Pressing: When you’re pressing the coconut mixture into the tin, really put some muscle into it. A well-compacted base is essential for bars that hold together without falling apart when cut or eaten. I use the flat bottom of a glass or a piece of baking parchment and my hands to get it really dense and even. This firmness is what gives the bars their structure and makes them so satisfying to bite into.
- Warm Knife for Clean Cuts: For those perfectly neat, professional-looking bars, a warm knife is your best friend. After the bars are fully set, dip a sharp knife into hot water, wipe it dry, and then make your cuts. The warmth helps the knife glide through the chocolate topping without cracking it and prevents the coconut base from dragging. Re-warm and wipe the knife after every couple of cuts for the cleanest finish. I’ve been doing this for over 10 years, and it never disappoints.
- Quality Ingredients Make a Difference: Because this recipe has so few ingredients, the quality really shines through. Opt for unsweetened desiccated coconut to control the sweetness, and a good quality sugar-free dark chocolate for the richest flavour. Using full-fat coconut milk (the thick cream from a chilled can) also contributes to the luxurious mouthfeel. Better ingredients mean a more flavourful and satisfying bar, making all your efforts worthwhile.
- Make-Ahead Mastery for Weeknights: The beauty of these bars is how well they keep, making them an ideal make-ahead component for busy weeknights. I often double the batch on a Sunday afternoon, cut them, and store them in an airtight container in the fridge. This way, when the “what’s for dessert?” question inevitably arises after a light, hurried main course, or when someone needs a substantial pick-me-up, they’re ready to grab. This little bit of planning truly frees up time during the week.
Equipment You’ll Need
- 20cm x 20cm square baking tin
- Baking parchment
- Large mixing bowl
- Small heatproof bowl
- Wooden spoon or sturdy spatula
- Whisk
- Sharp knife and cutting board
Delicious Variations to Try
- Nut Butter Swirl: After pouring the chocolate layer, dollop small spoonfuls of sugar-free almond or peanut butter over the wet chocolate. Use a skewer or toothpick to swirl it gently for a marbled effect before chilling.
- Citrus Zest Burst: For a refreshing twist, add the finely grated zest of one organic orange or lemon to the coconut base mixture. This provides a bright, zesty counterpoint to the richness of the chocolate and coconut.
- Coffee Kick: Incorporate 1-2 teaspoons of instant espresso powder (dissolved in a tiny amount of hot water) into the melted chocolate mixture. This deepens the chocolate flavour and adds a sophisticated coffee note.
What to Serve With Homemade Chocolate Coconut Keto Bars Snack
- A steaming mug of herbal tea or decaffeinated coffee.
- A small bowl of fresh berries, like raspberries or blueberries.
- A dollop of sugar-free whipped cream.
- As a satisfying end to a light weeknight meal such as a simple grilled chicken salad or a quick vegetable stir-fry.
Frequently Asked Questions
Homemade Chocolate Coconut Keto Bars Snack
Ingredients
Method
-
First, prepare your tin. Line a 20cm x 20cm square baking tin with baking parchment, ensuring an overhang on all sides. This will make lifting the set bars out much easier later.
-
In a large mixing bowl, combine the desiccated coconut, coconut flour, and a pinch of fine sea salt. Give them a good stir with a wooden spoon until everything is evenly distributed. You’ll notice the dry ingredients coming together, ready for the wet components.
-
In a separate, smaller bowl, gently warm the coconut butter until it’s soft and creamy, almost like a thick paste, but not fully liquid. Whisk in the thick cream from the chilled coconut milk, the sugar-free maple syrup (or liquid erythritol blend), and the vanilla extract. The mixture should become smooth and fragrant, emitting a lovely sweet aroma.
-
Pour the wet ingredients into the dry coconut mixture. Using a sturdy spatula or your hands, mix thoroughly until a thick, uniform dough forms. The mixture should be sticky enough to hold together when pressed, taking on a slightly clumpy but cohesive texture. If it feels too dry, add a tiny splash more coconut milk; if too wet, a touch more coconut flour.
-
Press the coconut mixture firmly and evenly into the prepared baking tin. Use the back of a spoon or your clean hands to compact it tightly. This is crucial for the bars to hold their shape, so press down until the surface looks smooth and the base feels solid. Place the tin in the freezer for 15-20 minutes to firm up while you prepare the chocolate topping.
-
While the base chills, melt the sugar-free dark chocolate and coconut oil together. You can do this in a heatproof bowl set over a saucepan of simmering water (a bain-marie) or in the microwave in 30-second bursts, stirring well after each. Stir until the chocolate is completely smooth, glossy, and has a rich, deep brown colour, with no visible lumps.
-
Retrieve the chilled coconut base from the freezer. Pour the melted chocolate mixture evenly over the top, spreading it right to the edges with a spatula. If you’re adding optional toppings like chopped nuts or orange zest, sprinkle them over the chocolate now, before it sets. The chocolate will look beautifully reflective and smooth.
-
Return the tin to the refrigerator for at least 1-2 hours, or until the chocolate topping is completely firm to the touch and has lost its glossy sheen, becoming matte. The bars should feel solid and ready to cut.
-
Once fully set, use the parchment paper overhangs to lift the slab out of the tin. Place it on a cutting board and use a sharp, warm knife to cut into 12-16 bars. The knife will glide through the firm chocolate with a satisfying ‘thunk’ as it hits the coconut base. For cleaner cuts, wipe the knife between slices.
-
Store the finished bars in an airtight container in the refrigerator for up to a week. They’re also excellent straight from the freezer for a firmer, colder treat.
Notes
There you have it – my tried-and-tested recipe for Homemade Chocolate Coconut Keto Bars, a true lifesaver for those demanding weeknights. They’ve brought so much joy and ease to our family’s dinner routine, transforming what used to be a stressful hour into one of quiet satisfaction. I truly hope they do the same for yours, giving you back precious moments and a delicious, guilt-free indulgence. Give them a try, and let me know in the comments below how they fit into your busy schedule – I always love hearing your stories and adaptations!