
Classic Creme Brulee Recipe For Date Night
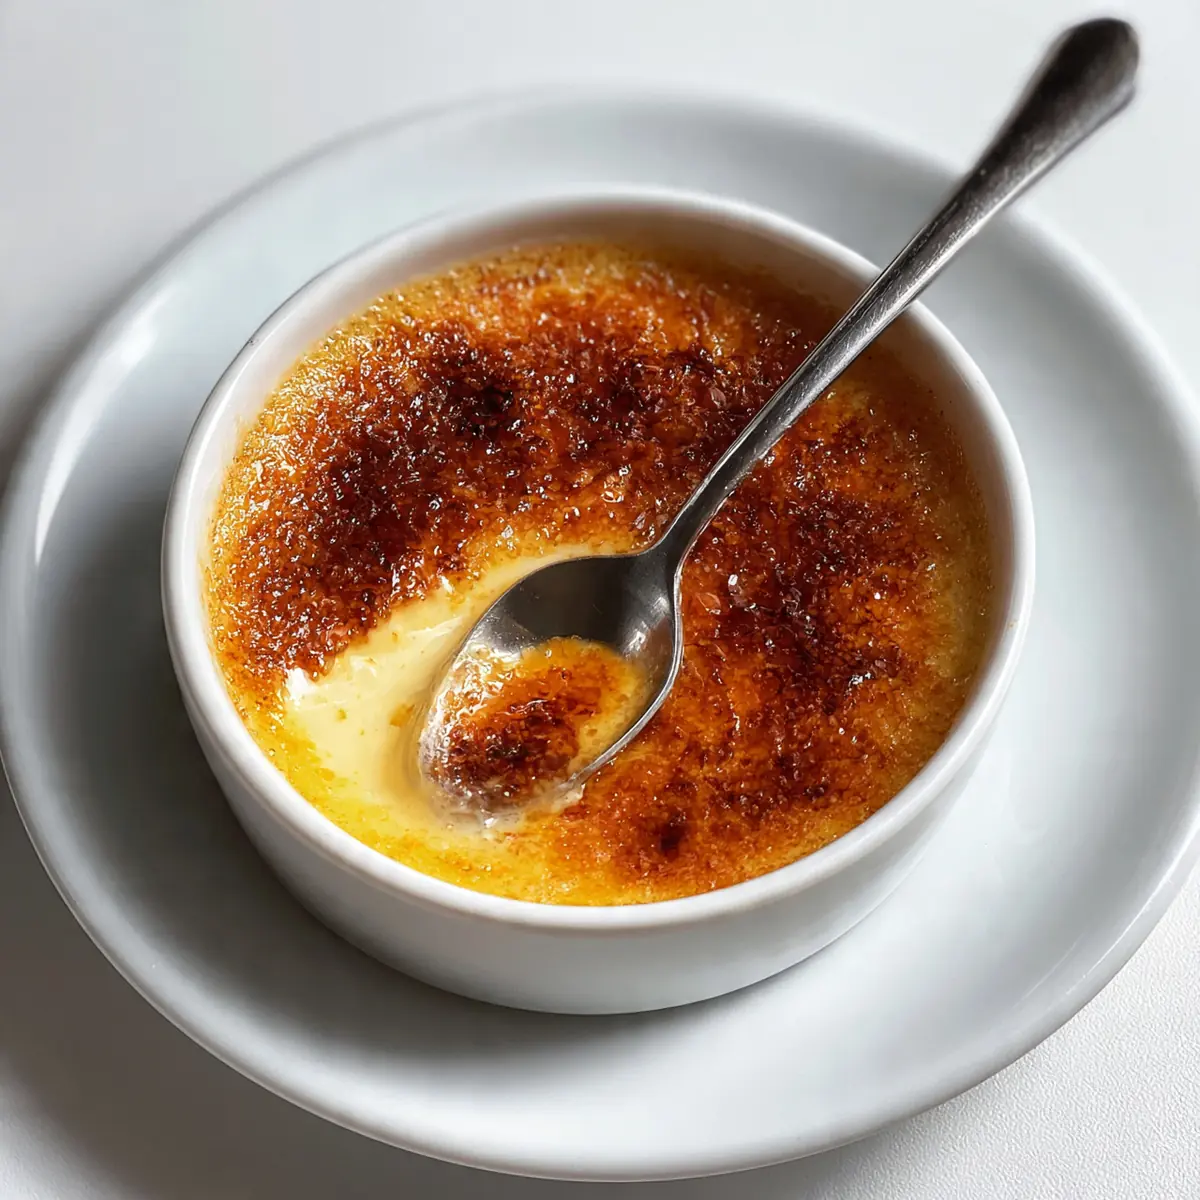
Life with a bustling family often feels like a beautiful whirlwind, doesn’t it? Between school runs, after-school clubs, work commitments, and simply trying to keep on top of the laundry mountain, finding time for anything beyond the essentials can feel like a luxurious impossibility. Yet, I’ve always believed that even in the midst of the mayhem, we deserve those little moments of indulgence, those small gestures that transform a regular Tuesday into something truly special. That’s precisely why I’ve honed this Classic Creme Brulee Recipe for those very weeknights – it’s a dessert that whispers elegance but, I promise you, screams simplicity and minimal fuss.
I remember one particular Tuesday evening, not so long ago, when everything seemed to go wrong. A last-minute work deadline meant a late dinner, the kids were overtired, and I felt utterly drained. The thought of adding a complicated dessert to the mix was laughable. But then, I remembered the ramekins chilling in the fridge, filled with this pre-prepared creme brulee base. A quick blast under the grill, and suddenly, the kitchen was filled with the sweet scent of vanilla and caramelising sugar, a comforting aroma that instantly lifted the mood. My husband, who’s usually picky and just wants a biscuit after dinner, asked for seconds, and even the kids, after their initial reluctance, found themselves captivated by the satisfying crack of the sugar crust. It was a small victory, but it reminded me that deliciousness doesn’t have to be laborious.
This isn’t just a dessert for grand occasions; it’s a testament to the fact that you can infuse a little bit of ‘wow’ into your everyday without needing hours in the kitchen or a mountain of washing up afterwards. My version focuses on efficiency without compromising on that signature creamy texture and crisp, burnt sugar topping. It’s designed for busy families, allowing you to prep ahead and finish just before serving, making it the ideal sweet treat to elevate any weeknight meal into a delightful family date night experience. Let me show you how genuinely achievable this culinary delight is.
Recipe Overview
- Prep Time: 15 minutes
- Cook Time: 40-45 minutes
- Total Time: 55-60 minutes (plus chilling)
- Servings: 6
- Difficulty: Easy to Moderate
Why You’ll Love This Classic Creme Brulee Recipe for Date Night
- Effortless Elegance for Weeknights: This recipe delivers a sophisticated dessert with minimal hands-on time, making it utterly achievable even after a long day.
- Perfectly Make-Ahead: Prepare the custard base up to three days in advance, bake, and chill. All you need to do on the night is caramelise the sugar!
- Minimal Cleanup: With clever technique, we keep the washing-up to a minimum, ensuring your evening ends on a sweet note, not a scrubbing one.
- Customisable Flavours: While classic vanilla is divine, I’ll share how you can easily infuse other flavours to keep things interesting for repeat family date nights.
- Impressive Results, Every Time: Achieve that perfectly creamy custard and shatteringly crisp caramel crust that will have everyone thinking you spent hours in the kitchen.
Ingredients You’ll Need
- 600 ml double cream
- 1 vanilla pod, split lengthwise and seeds scraped out (or 2 teaspoons vanilla extract)
- 120 g caster sugar, plus extra for caramelising
- 6 large egg yolks
- Pinch of salt
- Optional: A few drops of almond extract or a hint of orange zest for a flavour twist
Tip: Always use good quality double cream; it makes a significant difference to the richness and texture of your creme brulee.
How to Make Classic Creme Brulee Recipe for Date Night
- Warm the Cream and Vanilla: In a medium saucepan, gently heat the double cream with the vanilla pod and scraped seeds (or vanilla extract) over a medium-low heat. You’re looking for the cream to become aromatic and just begin to steam around the edges, but do not let it boil. It should have a lovely, sweet, fragrant smell. Once hot, remove from the heat, take out the vanilla pod, and set aside to cool slightly.
- Whisk the Yolks and Sugar: In a large mixing bowl, whisk together the 120g caster sugar and egg yolks until they are pale yellow and well combined. The mixture should feel slightly thick and ribbon-like when you lift the whisk. This ensures a smooth custard base.
- Temper the Egg Mixture: Slowly pour the warm cream into the egg yolk mixture, whisking continuously. This crucial step, called tempering, prevents the eggs from scrambling. Pour in a thin, steady stream, whisking all the while, until everything is thoroughly combined and has a uniform, pale creamy colour.
- Prepare for Baking: Preheat your oven to 150°C (130°C fan/Gas Mark 2). Arrange six 150ml ramekins in a large roasting tin. Carefully pour the custard mixture evenly into each ramekin. The surface should be smooth and a uniform pale yellow.
- Create a Water Bath: Carefully pour hot water into the roasting tin around the ramekins, ensuring the water comes about halfway up the sides of the ramekins. This water bath (bain-marie) helps the custard cook gently and evenly, preventing it from curdling or cracking, and keeps the top looking smooth and unset as it cooks.
- Bake and Chill: Bake for 40-45 minutes, or until the edges of the custards are set, but the centres still have a slight wobble when gently shaken. They should appear lightly golden around the edges. Carefully remove the roasting tin from the oven, then lift the ramekins out of the water bath. Let them cool completely at room temperature, then cover them with cling film and refrigerate for at least 4 hours, or preferably overnight, until thoroughly chilled and firm. This is my go-to recipe when I need something quick but impressive, as this make-ahead step is a lifesaver!
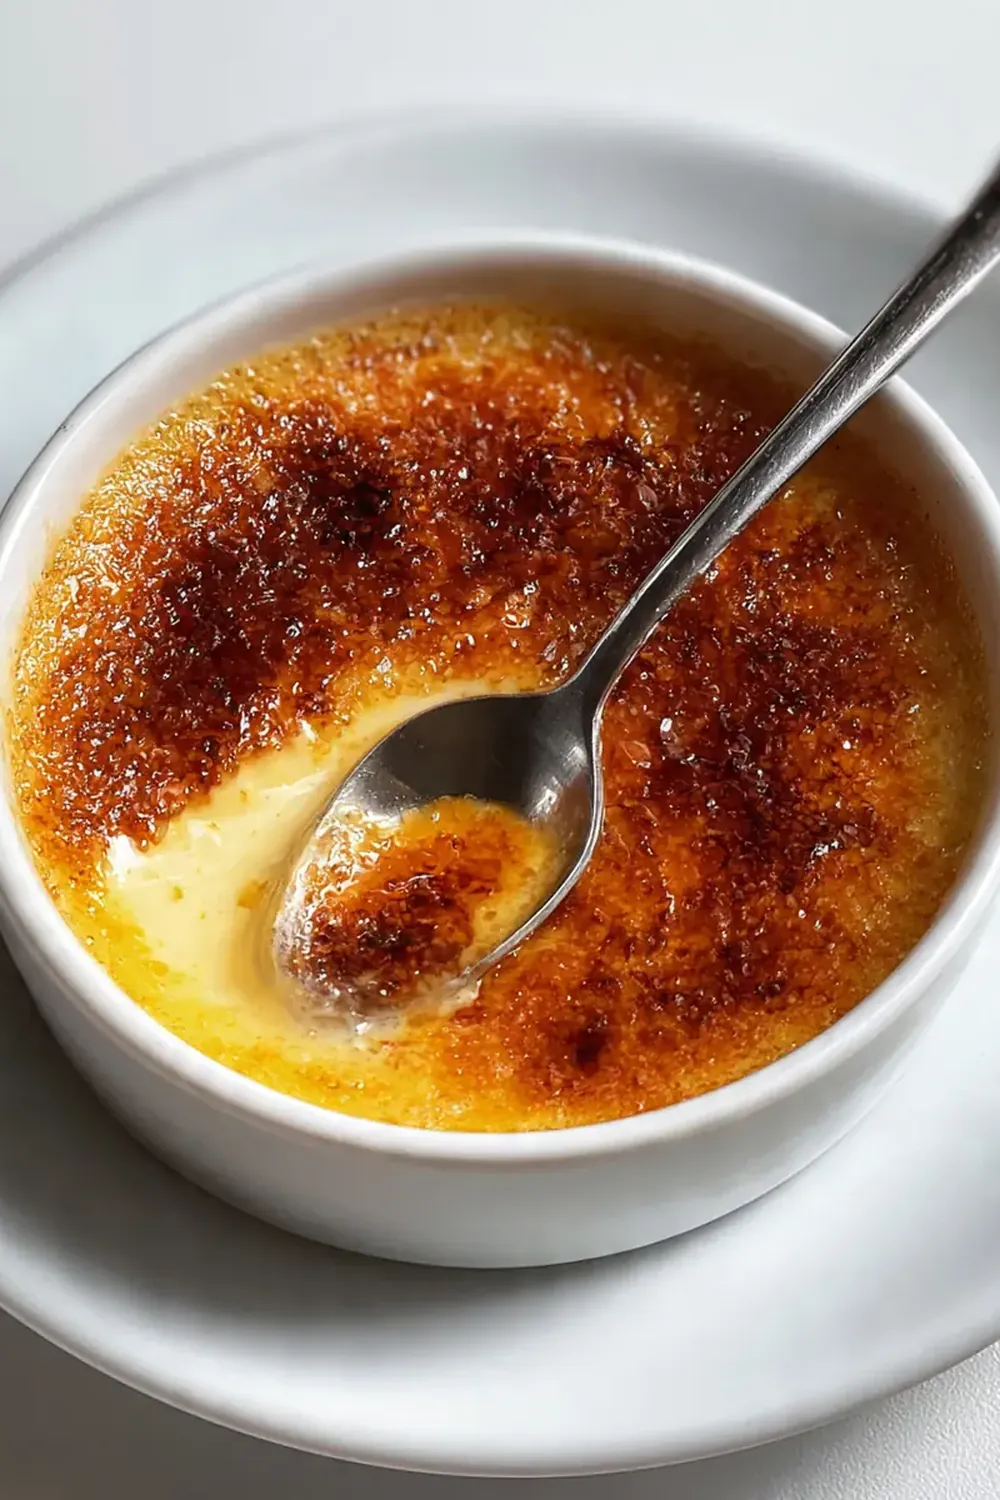
- Caramelise the Sugar: Just before serving, sprinkle an even layer of caster sugar (about 1-2 teaspoons) over the top of each chilled custard. Use a kitchen blowtorch to caramelise the sugar until it melts, bubbles, and turns a rich, deep amber colour. Listen for the satisfying crackle as the sugar melts. Alternatively, place the ramekins under a very hot grill (broiler) for 1-2 minutes, watching carefully to prevent burning, until the sugar caramelises. Serve immediately, enjoying the contrast between the hot, crisp sugar and the cold, creamy custard.
Tips From My Kitchen
- Embrace the Make-Ahead Magic: The beauty of creme brulee for a busy weeknight is its ability to be prepped almost entirely in advance. Prepare the custard, bake, and chill the ramekins up to three days before you plan to serve them. This means on the actual ‘date night’, you only have the fun part of caramelising the sugar. This tip is essential for stress-free entertaining and truly fits the “quick weeknight” brief, giving you back precious time.
- Mind the Water Bath Temperature: When filling your roasting tin for the water bath, use hot (not boiling) tap water. If the water is too cold, it will significantly extend your baking time. If it’s boiling, it can cook the custards too quickly and unevenly. The water bath creates a gentle, moist cooking environment, which is key to achieving that silky-smooth texture without scrambling the eggs or creating a rubbery finish. It’s the ‘why’ behind the perfect texture.
- Strain for Silky Smoothness: After tempering the cream into the egg mixture, I always recommend straining the custard through a fine-mesh sieve into a clean jug. This simple step removes any tiny bits of cooked egg or vanilla pod residue, ensuring your finished creme brulee is incredibly smooth and free of lumps. It’s a small effort that yields a professional result and greatly enhances the eating experience.
- The Blowtorch is Your Best Friend: While you can use a hot grill to caramelise the sugar, a kitchen blowtorch offers far greater control and precision. It allows you to achieve an even, deep amber crust without heating the custard underneath too much. This preserves the delightful contrast between the warm, crisp sugar and the cold, creamy custard. If using a grill, ensure your ramekins are chilled and watch them like a hawk, as sugar burns very quickly!
- Don’t Overbake: Overbaking is the enemy of creamy creme brulee. The custards should still have a slight ‘jiggle’ in the centre when they come out of the oven. They will continue to set as they cool. If you bake them until they are completely firm, they will likely be rubbery once chilled. Trust the wobble – it’s your indicator for perfection and ensures that luxurious, melt-in-your-mouth texture.
- Cleanup Hack: To minimise washing up, especially for the water bath, line your roasting tin with foil before adding the water. Any drips or spills from the ramekins are caught by the foil, and you can simply discard it afterwards, saving you from scrubbing burnt-on custard. This little trick is a godsend on a busy weeknight!
Equipment You’ll Need
- Medium saucepan
- Large mixing bowl
- Whisk
- Fine-mesh sieve (optional, but recommended)
- Measuring jug
- Six 150ml oven-safe ramekins
- Large roasting tin (for the water bath)
- Kitchen blowtorch (highly recommended) or oven grill
- Cling film
Common Mistakes to Avoid
- Boiling the Cream: If the cream boils vigorously, it can scald, which will impart an off-flavour to your custard. It also makes it harder to temper properly with the egg yolks. Always heat gently until just steaming.
- Scrambled Eggs: This happens if you add hot cream to cold egg yolks too quickly without whisking constantly. Always temper by pouring the cream slowly and continuously whisking the egg mixture to gradually raise its temperature.
- Overbaking the Custard: As mentioned in the tips, an overbaked creme brulee will be rubbery and dense, losing its signature silky texture. Look for the gentle wobble in the centre as your cue to remove it from the oven.
- Burning the Sugar Crust: When caramelising, it’s a fine line between a beautiful amber and a bitter, burnt black. Keep a close eye on the sugar, especially under the grill. A blowtorch offers more control.
- Not Chilling Long Enough: The custards need ample time in the fridge to set properly and become thoroughly cold. This contrast between the cold custard and the hot caramelised sugar is what makes creme brulee so special. Rushing this step will result in a runny or warm centre.
What to Serve With Classic Creme Brulee Recipe for Date Night
- Fresh berries (raspberries, blueberries, or sliced strawberries)
- A light dusting of cocoa powder
- A small spoonful of homemade shortbread biscuits
- A sprig of fresh mint for garnish
Frequently Asked Questions
Classic Creme Brulee Recipe for Date Night
Ingredients
Method
- Warm the Cream and Vanilla: In a medium saucepan, gently heat the double cream with the vanilla pod and scraped seeds (or vanilla extract) over a medium-low heat. You're looking for the cream to become aromatic and just begin to steam around the edges, but do not let it boil. It should have a lovely, sweet, fragrant smell. Once hot, remove from the heat, take out the vanilla pod, and set aside to cool slightly.
- Whisk the Yolks and Sugar: In a large mixing bowl, whisk together the 120g caster sugar and egg yolks until they are pale yellow and well combined. The mixture should feel slightly thick and ribbon-like when you lift the whisk. This ensures a smooth custard base.
- Temper the Egg Mixture: Slowly pour the warm cream into the egg yolk mixture, whisking continuously. This crucial step, called tempering, prevents the eggs from scrambling. Pour in a thin, steady stream, whisking all the while, until everything is thoroughly combined and has a uniform, pale creamy colour.
- Prepare for Baking: Preheat your oven to 150°C (130°C fan/Gas Mark 2). Arrange six 150ml ramekins in a large roasting tin. Carefully pour the custard mixture evenly into each ramekin. The surface should be smooth and a uniform pale yellow.
- Create a Water Bath: Carefully pour hot water into the roasting tin around the ramekins, ensuring the water comes about halfway up the sides of the ramekins. This water bath (bain-marie) helps the custard cook gently and evenly, preventing it from curdling or cracking, and keeps the top looking smooth and unset as it cooks.
- Bake and Chill: Bake for 40-45 minutes, or until the edges of the custards are set, but the centres still have a slight wobble when gently shaken. They should appear lightly golden around the edges. Carefully remove the roasting tin from the oven, then lift the ramekins out of the water bath. Let them cool completely at room temperature, then cover them with cling film and refrigerate for at least 4 hours, or preferably overnight, until thoroughly chilled and firm. This is my go-to recipe when I need something quick but impressive, as this make-ahead step is a lifesaver!
- Caramelise the Sugar: Just before serving, sprinkle an even layer of caster sugar (about 1-2 teaspoons) over the top of each chilled custard. Use a kitchen blowtorch to caramelise the sugar until it melts, bubbles, and turns a rich, deep amber colour. Listen for the satisfying crackle as the sugar melts. Alternatively, place the ramekins under a very hot grill (broiler) for 1-2 minutes, watching carefully to prevent burning, until the sugar caramelises. Serve immediately, enjoying the contrast between the hot, crisp sugar and the cold, creamy custard.
Notes
And there you have it – my secret to transforming a regular weeknight into a moment of pure, unadulterated bliss. This Classic Creme Brulee Recipe isn’t just a dessert; it’s an invitation to slow down, savour, and create beautiful memories with your loved ones, even when time feels like it’s racing ahead. The satisfaction of cracking through that glossy caramelised sugar to reveal the silky custard beneath is a simple pleasure that never gets old. So, go on, give it a try this week. You might just find it becomes your new favourite way to bring a touch of restaurant-quality magic to your family table. I’d absolutely love to hear how your creme brulee turns out – do pop a comment below and share your experiences!






